.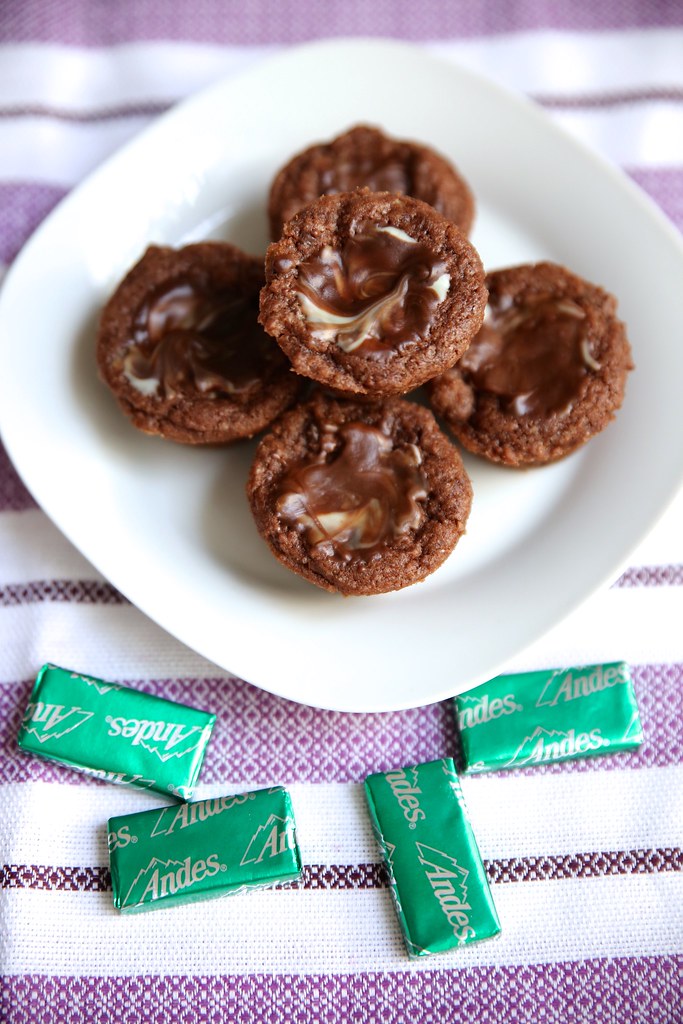
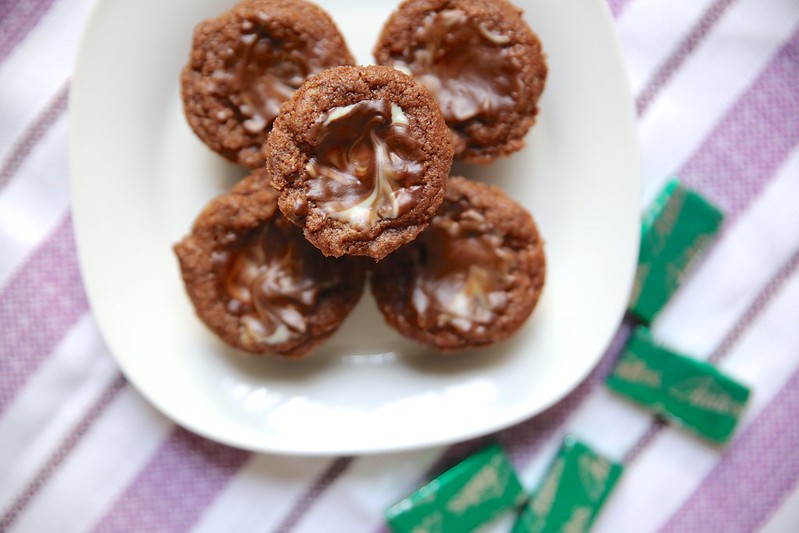
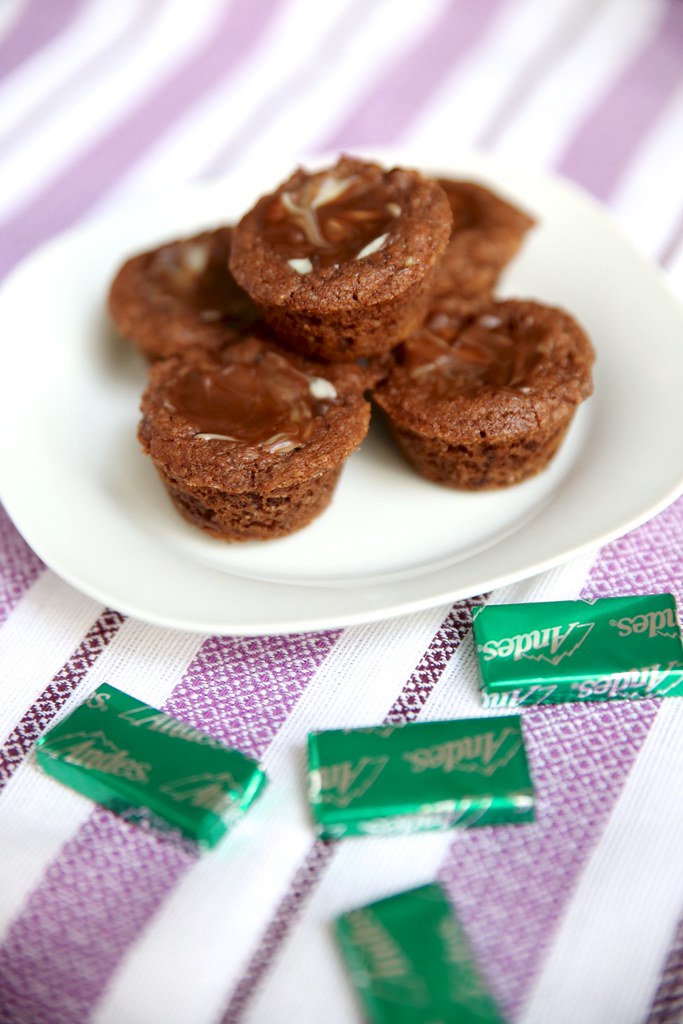
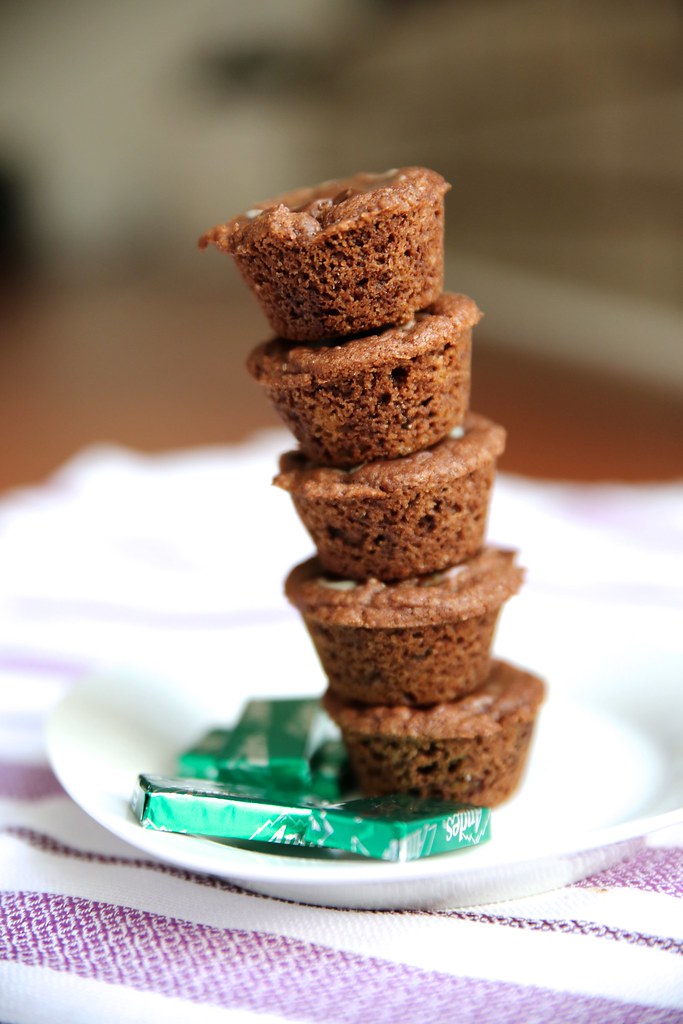
Day 11 of my 12 days of cookies: Dark Chocolate Andes Mint Cookie Cups. Oops! I definitely did not finish before Christmas so I’m cranking out the last two days before the new year. Maybe next year I’ll finish it in time. Sorry, guys.
I hope you’re all done with your baking this year! I’m still planning on baking up a little something tomorrow for New Year’s. We’re keeping it low key with Ellie.
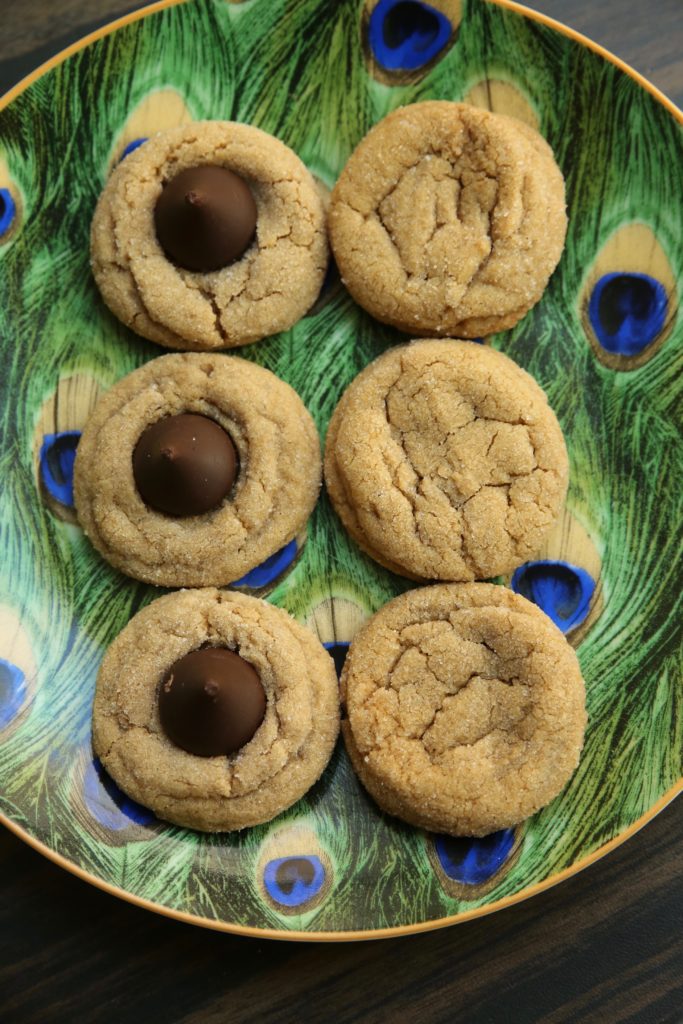
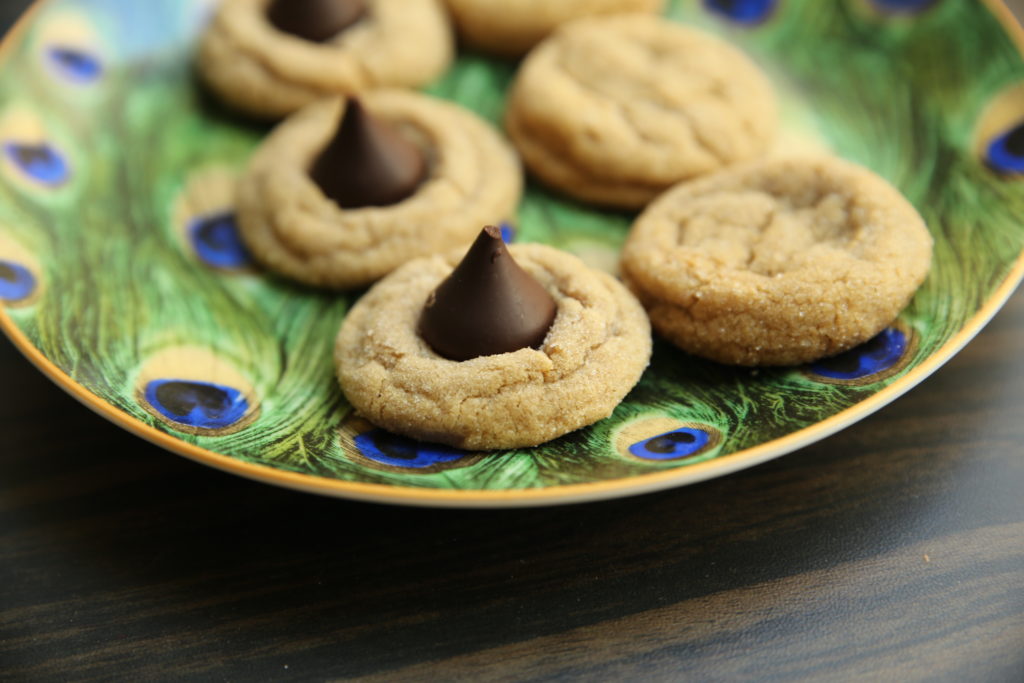
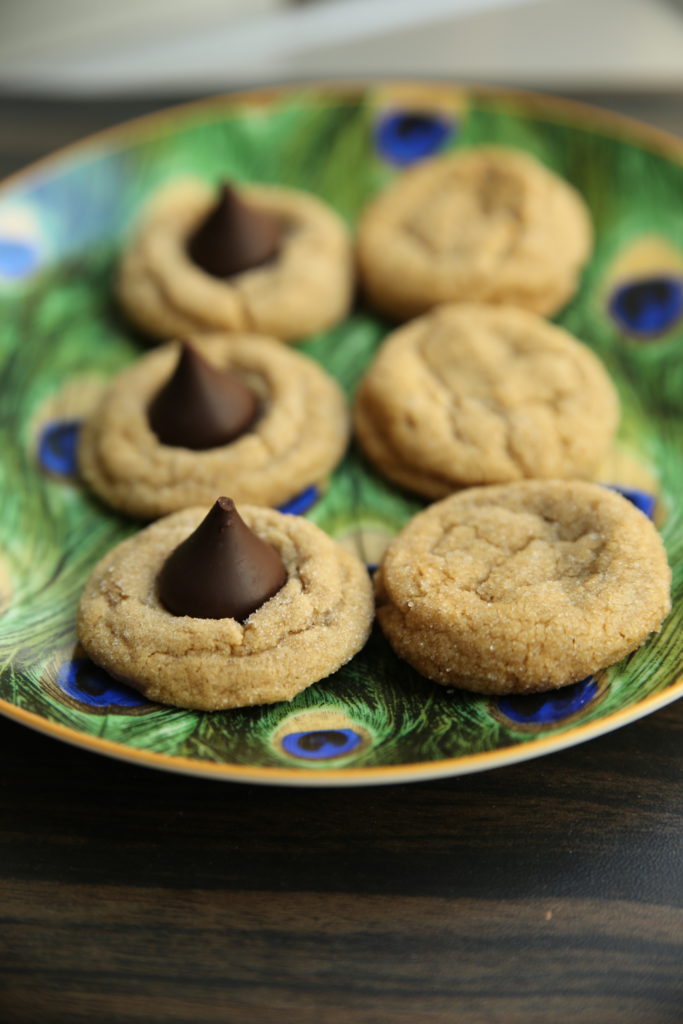
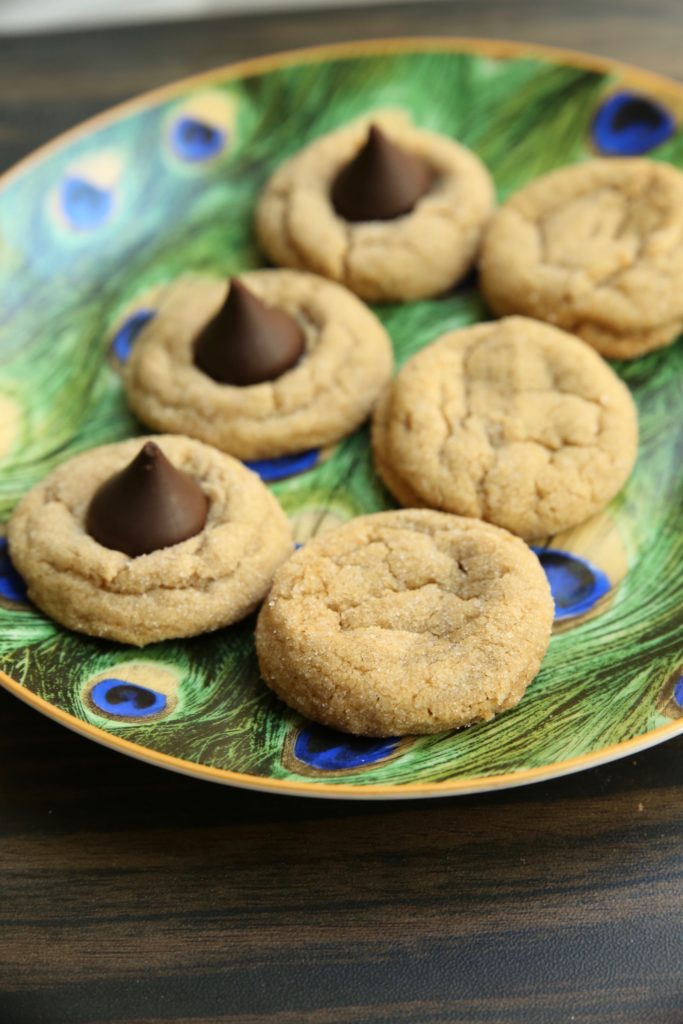
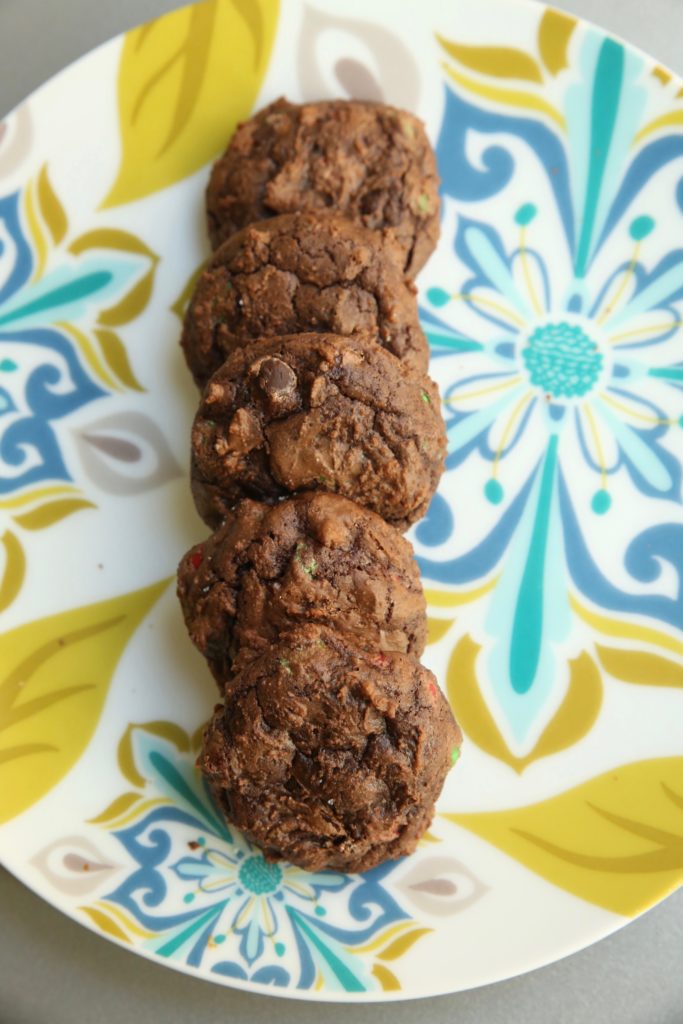
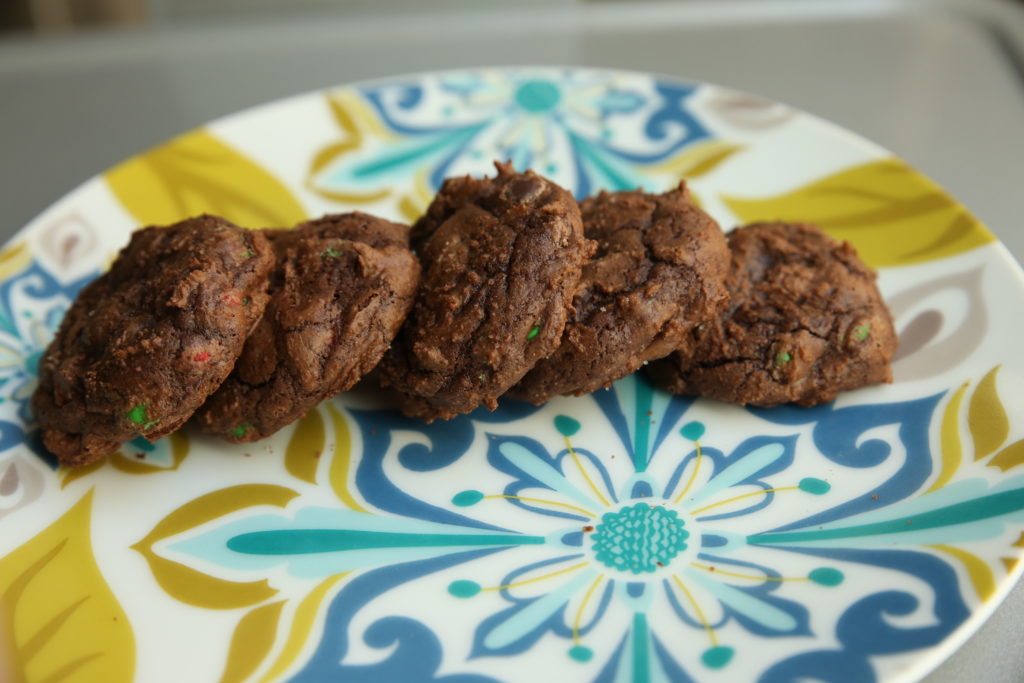
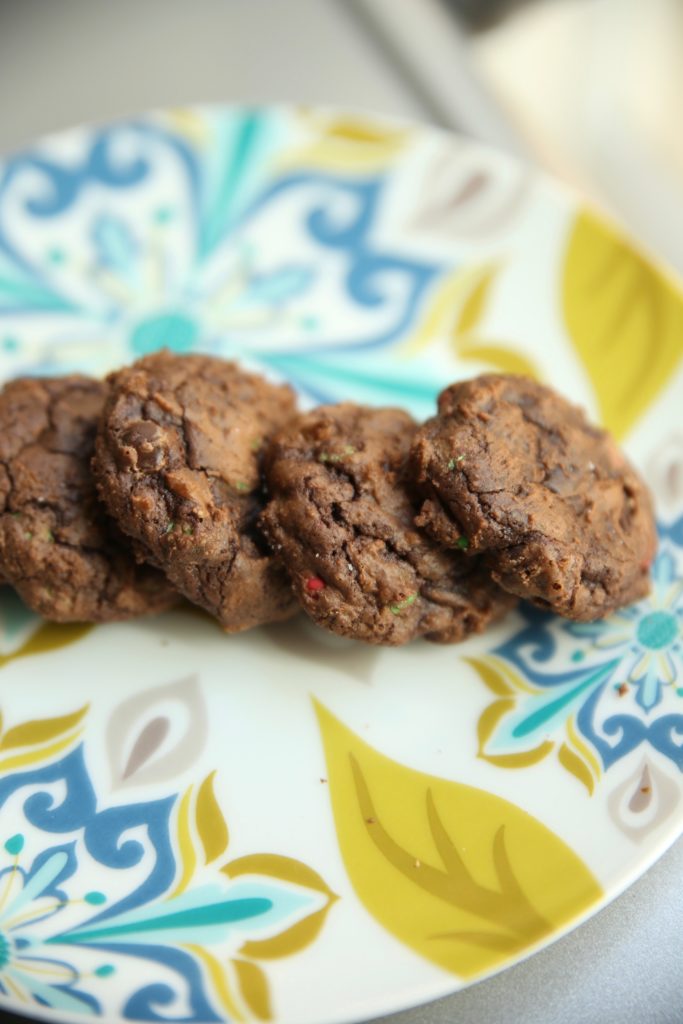
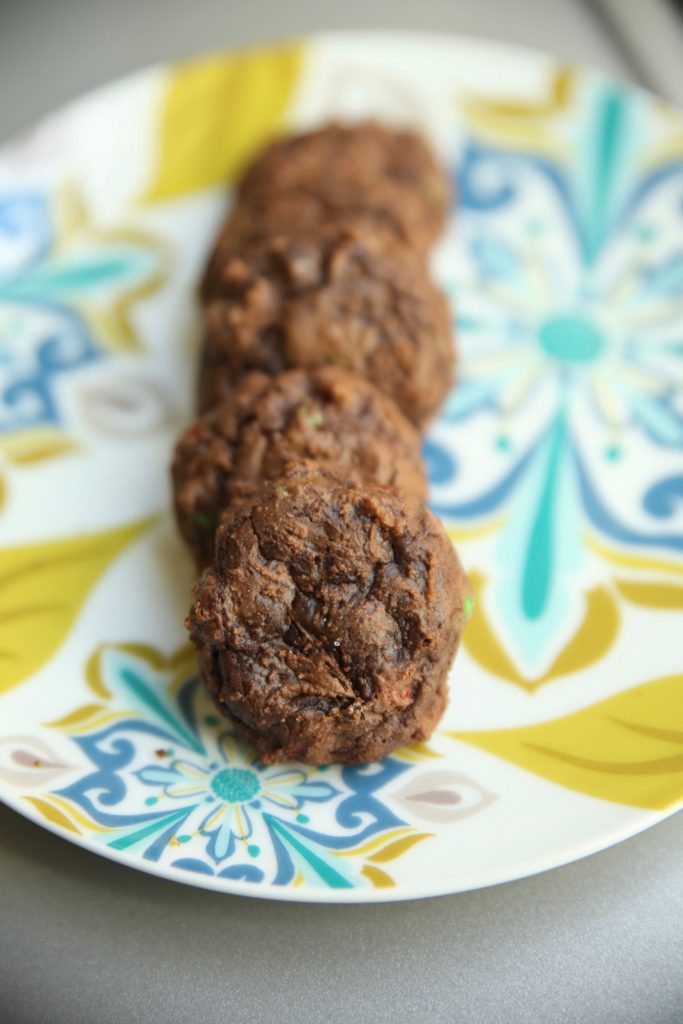
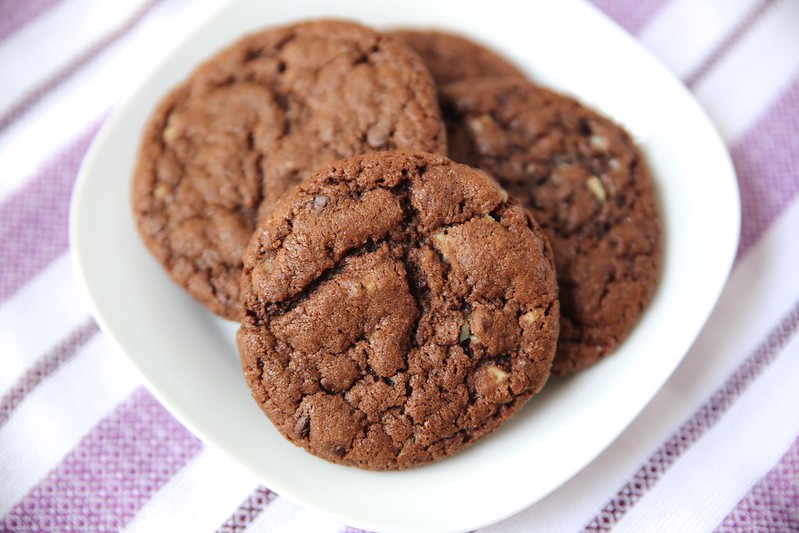
I was curious as to how these would bake as a cookie, so I did just that. I formed them into balls and threw them onto a baking sheet at 350 degrees for about 9 minutes.
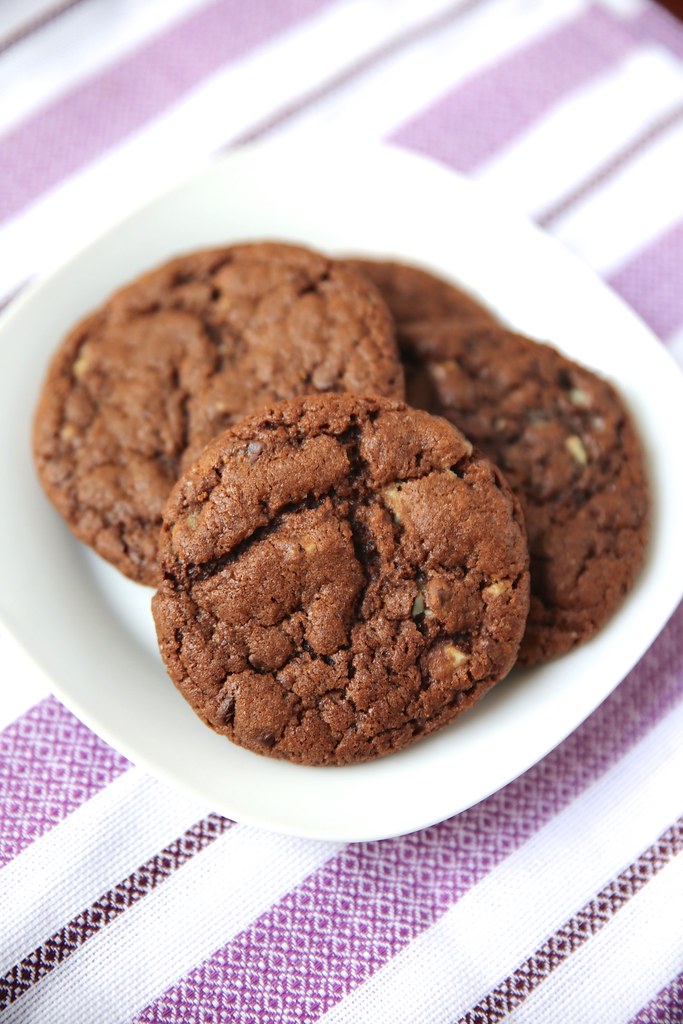
What do you know, they still turned out beautiful!
Recipe from Beyond Frosting
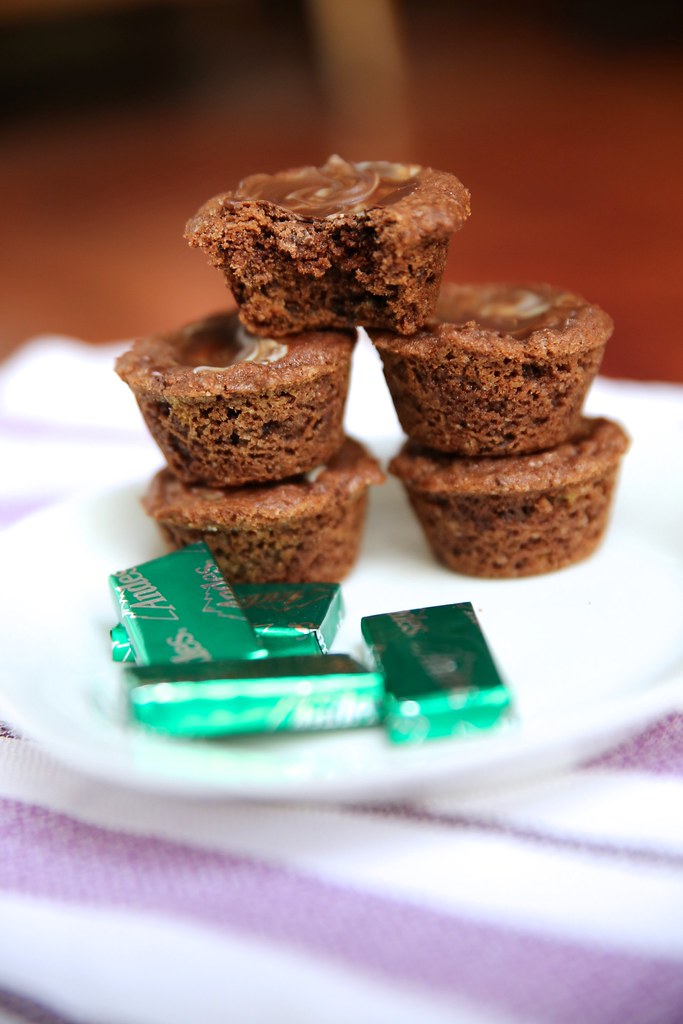
Dark Chocolate Andes Mint Cookie Cups
Ingredients
- 1 C (2 sticks) Unsalted butter
- 1 C Light brown sugar
- ¾ C Granulated sugar
- 2 Large eggs
- 3 tsp Pure vanilla extract
- ½ tsp Peppermint extract
- 1 pk (3.4oz) Dark chocolate pudding mix
- ¼ C Hershey's Dark chocolate cocoa powder
- 2¼ C All-purpose flour
- 1 tsp Baking soda
- ½ tsp Salt
- 2 tbsp Milk
- 2 C Andes mints, crushed
Directions
- Preheat oven to 350° F. If you are not using a non-stick pan, it's best to grease the mini muffin pan.
- Beat butter on medium speed until soft. For this recipe, you can use cold butter, it does not need to be at room temperature. You may have to stop the mixer and scrape it down a couple times.
- Add light brown sugar and sugar to butter and beat until light and fluffy. Add eggs and vanilla and peppermint extracts and continue to beat on medium speed until eggs are dissolved into sugar.
- Pour pudding mix and cocoa powder into eggs and sugar. Beat on low until all ingredients are incorporated.
- In a separate bowl, combine flour, baking soda and salt. Slowly add flour to batter and continue to beat on low speed. Dough will start to form and become very thick.
- Once all the flour has been added, pour in milk and increase to medium speed until milk is dissolved in the batter.
- Unwrap Andes mints. Cut with a sharp knife into small pieces. Add crushed Andes into dough.
- Spoon approximately two tablespoons of dough into a mini muffin pan. Bake at 350° F for 14-16 minutes.
- Remove from oven and allow to set for 5-10 minutes. Use a tart shaper, wrap the end in wax paper and gently press into the center of the cookie to form a cup.
- Allow cookies to set for another 10 minutes before removing from muffin tin. Allow to cool completely.