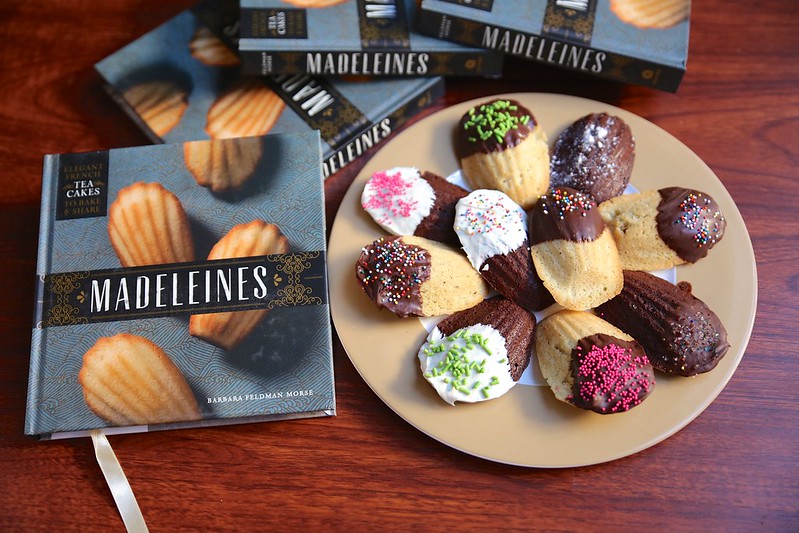
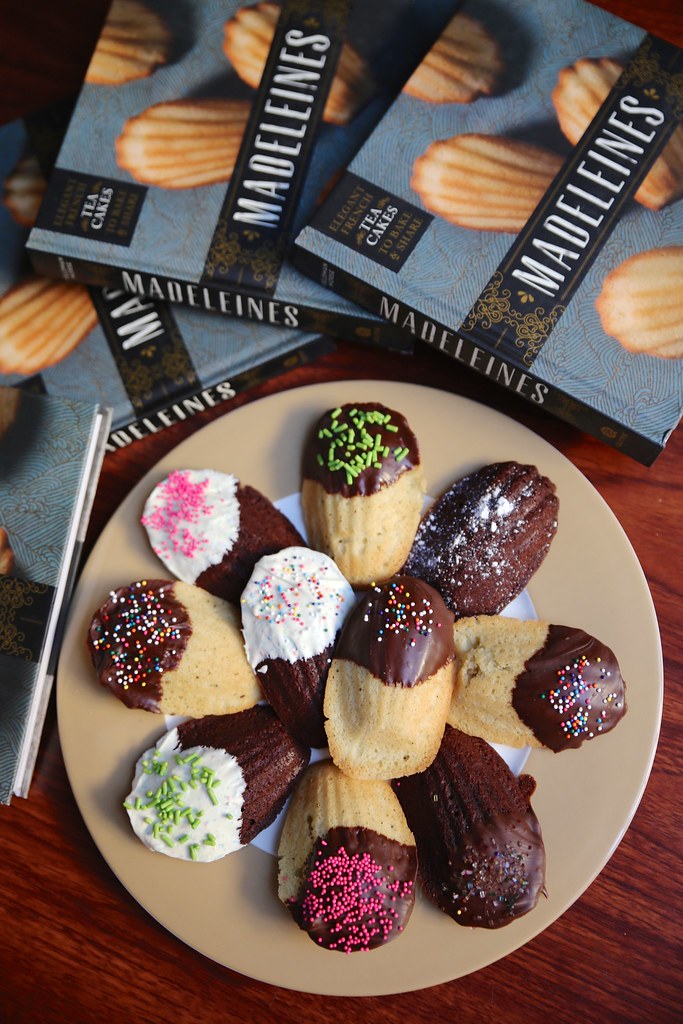
 Happy New Year, fellow blog readers! I was a bit ambitious for our New Year’s party and tried my hand at madeleines for the first time. Thanks to this Madeleines book by Barbara Feldman Morse, it was a cinch.
 Madeleines are the perfect excuse for having a party. After prepping and baking a couple of different flavors, you can set up a sprinkles/toppings bar for guests to decorate their own madeleines. Kids, especially, would love it!
 I chose to try classic french madeleines and dark chocolate espresso madeleines so I could have the best of both worlds. To be honest, my first batch was a disaster. Not because they turned out terrible, but because I thought I could hold the pan with one hand right out of the oven. The corner of the pan just bumped the side of the oven when they came out and the whole batch went tumbling down.
 It wasn’t all bad, though. I managed to salvage two and a half madeleines. My DH ate the half and then quickly finished off the other two so I knew they were good. Not to worry, I was planning on making a couple of batches anyway. I only had one madeleine pan to bake with, so I was making twelve at a time (half a batch). The pan that Quick Books sent me is awesome. Nothing stuck, the madeleines shaped wonderfully (assuming you put in just the right amount of batter), and it’s lightweight and heavy duty at the same time.
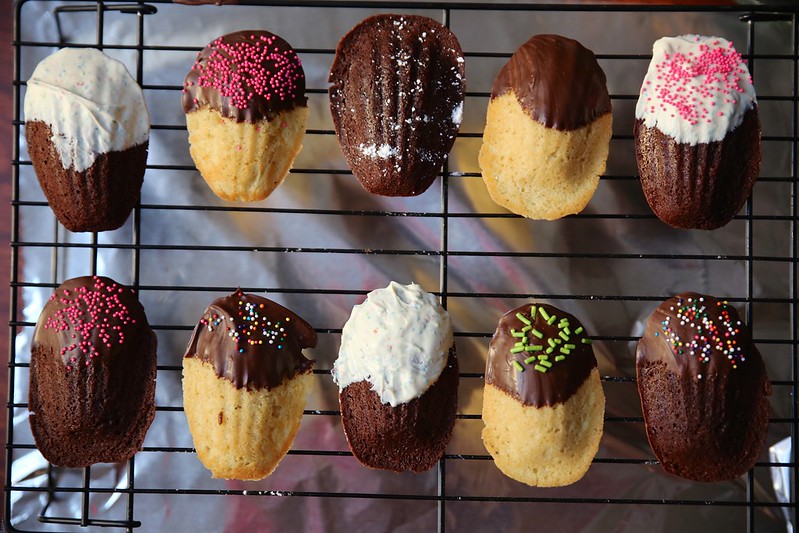
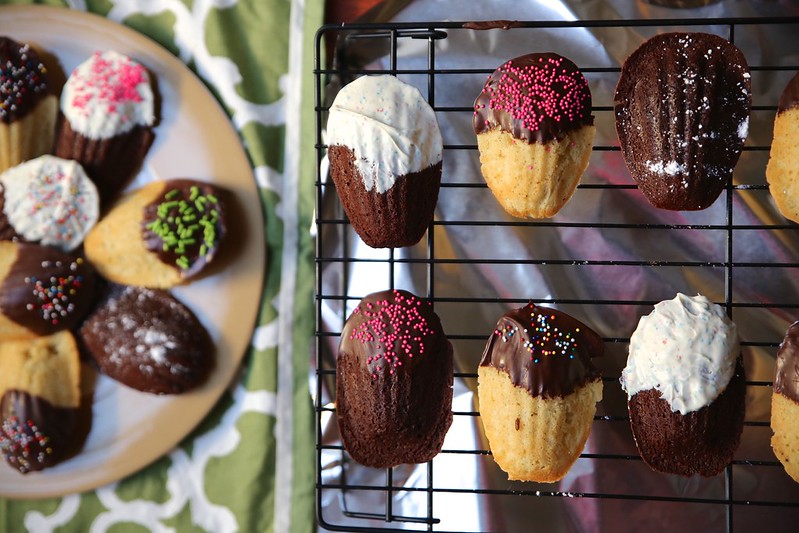
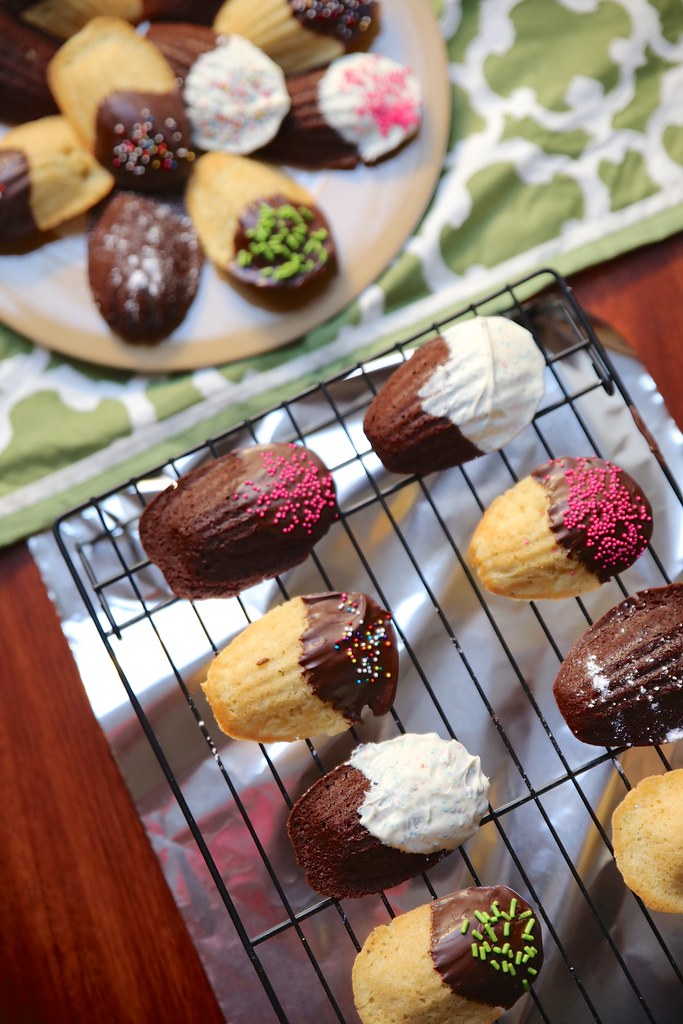
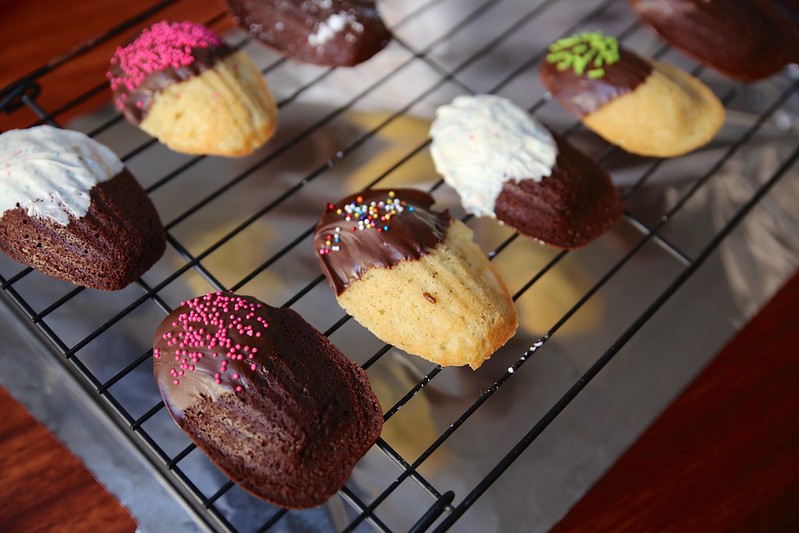 I enjoyed the madeleines plain, but my DH preferred them dipped in dark chocolate. I threw an assortment of sprinkles on top for the new year. Plus, they’re more eye-catching with bold and bright colors.
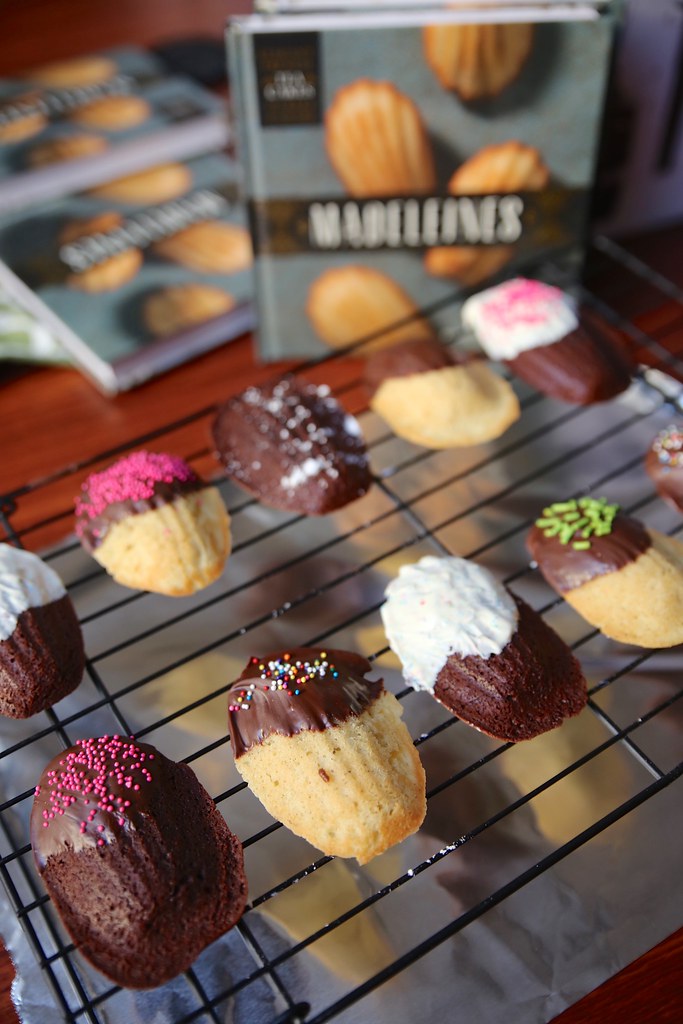
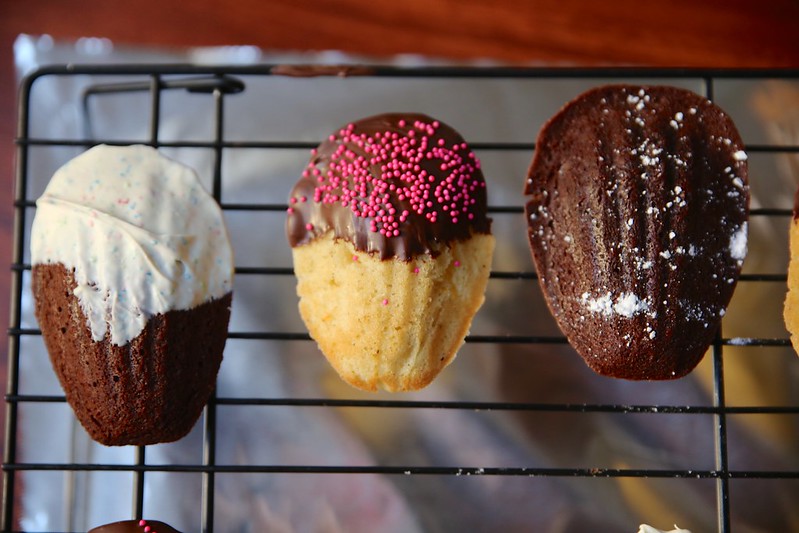 This is the first time that I’ve baked with vanilla bean paste and let me tell you, it’s a game changer. The little specks of vanilla bean laced throughout the layers of each madeleine enhanced the flavor. As for the dark chocolate madeleines, the large amount of coffee added into the batter deepened the cocoa.
 From what I’ve learned after my many batches, here are a couple of tips for your first time:
- Filling up the pan cavity almost all the way was too much for me. They overflowed. It’s better to start out with a little less than a little too much.
- When they say to mix the eggs and sugar together for five minutes, do it! The aerating is necessary for a light and fluffy madeleine. A mixer is your best friend when it comes to making madeleines.
- Use top of the line ingredients. Since there are so few ingredients in making a basic madeleine, it makes a huge difference the quality of your butter, vanilla, and chocolate.
- Baking spray is your best friend. If you generously cover your pan, those babies will slip out with little effort.
- Speaking of getting them out of a pan, I inverted them over a cooling rack and gently tapped the back of the pan to let them fall out. For the ones that didn’t come out out on their own, I used my finger to gently push one corner of the madeleine and they’d just slide out without a problem.
- You must let them cool on a baking rack. Leaving them on a flat surface will not cut it because both sides need to cool.
- The texture changes dramatically straight from the oven to after cooling. They’ll be a lot more dense after being cooled. I prefer to eat them warm and fluffy, but that timeframe’s very small.
 Now, thanks to my friend over at Quirk Books, I’m giving away a copy of Madeleines and a madeleine pan for one reader to bake with this new year! The book has more recipes than you’ll ever need to entertain. There’s sweet, savory, light, heavy, fruity, and indulgent. Enter via the Rafflecopter below.
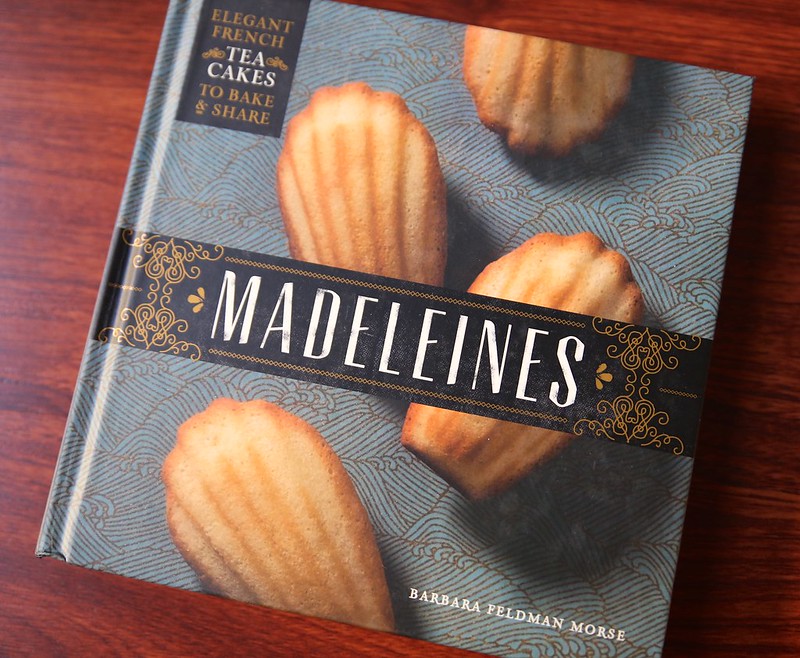
Ingredients
- 8 tbsp (1 stick) unsalted butter
- 1 cup all purpose flour
- 1/2 tsp baking powder
- 3 large eggs
- 1/2 cup granulated sugar
- 1 tsp vanilla bean paste or vanilla extract
- 1 1/2 tsp freshly grated lemon zest (I subbed this with grated vanilla beans)
Directions
- Place a rack in the center of the oven and preheat oven to 350 degrees F. Coat two 12-shell pans with baking spray.
- In a small bowl, whisk together flour and baking powder.
- Place butter in another bowl and microwave on low power for 1 minute, or until melted. Allow to cool to room temperature.
- Place eggs and sugar in a 2-quart glass bowl or measuring cup and beat with a hand or stand mixer on medium-high speed until mixture is light and fluffy, about 3 to 5 minutes.
- Add vanilla and zest and continue beating for another minute or so. Fold in the flour mixture until just blended, then drizzle the cooled butter over the batter and incorporate completely.
- Using a 1 1/2 inch-diamter scoop or a teaspoon, fill shell molds with bater until almost full. Gently press batter to distribute it evenly.
- Bake for 10 to 12 minutes, until madeleines puff up and are golden brown.
- Remove pans from oven and let cool on a wire rack for 2 to 3 minutes, then invert and tap madeleines onto the rack. You may also use a small offset spatula to remove each one individually. Let cool completely if planning to store and/ or freeze. Otherwise, serving madeleines warm from the oven is best!
This is a sponsored post, but the opinions expressed are my own.