Lovin' From the Oven

  • Home
  • About Me
  • Recipes
  • FAQ
  • My Lifestyle Blog
  • Disclaimer

Meatball Sandwiches

April 3, 2012 by kim 2 Comments

meatball-7

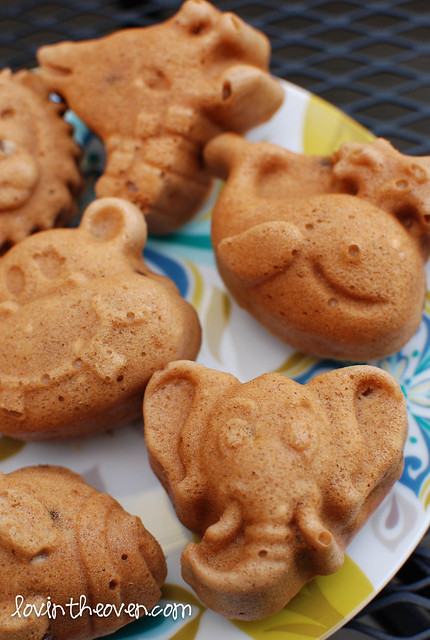
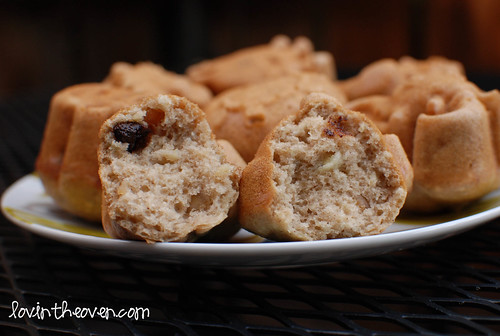
I’m so embarrassed by the pictures in my last post that I had to quickly update the blog to push it down a level.

meatball-8

Is that better?

meatball-11

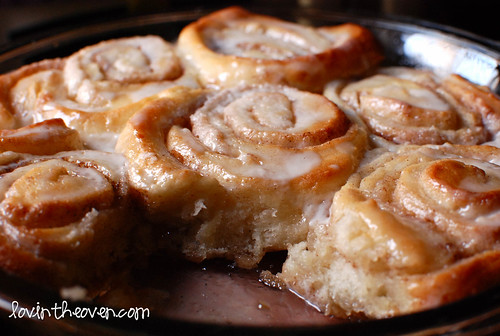
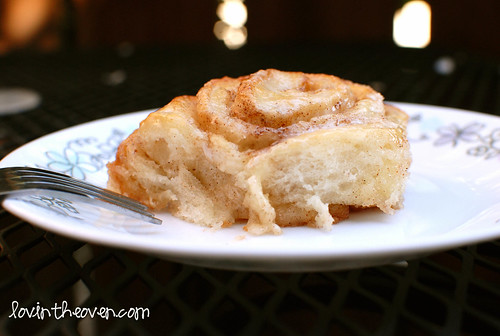
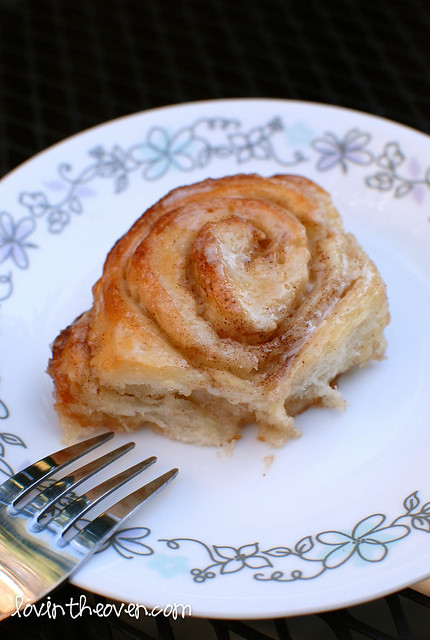
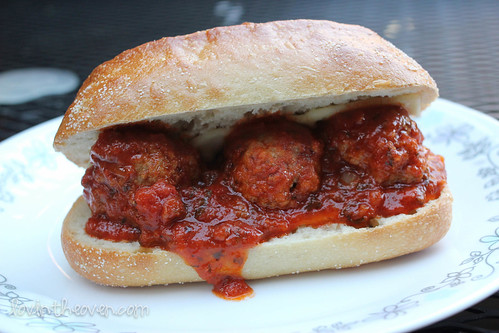
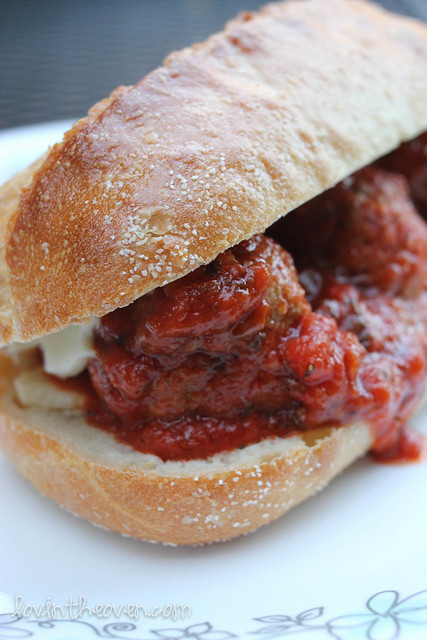
I sure hope so because these were delish!

meatball

meatball-2

meatball-3

meatball-4

meatball-5

meatball-6

meatball-9

meatball-10

meatball-12

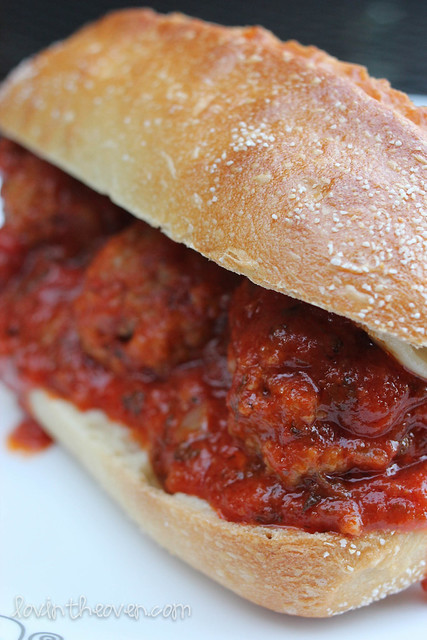
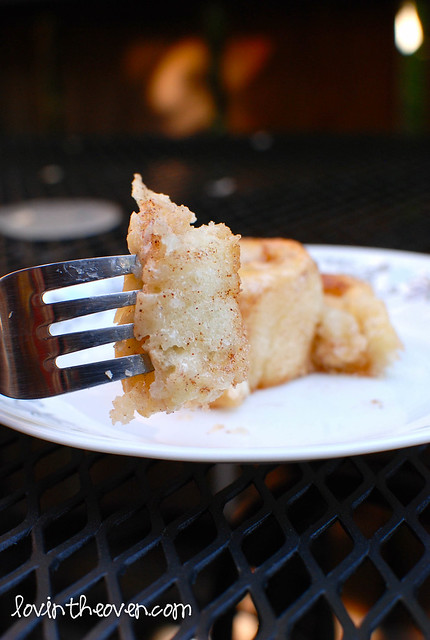
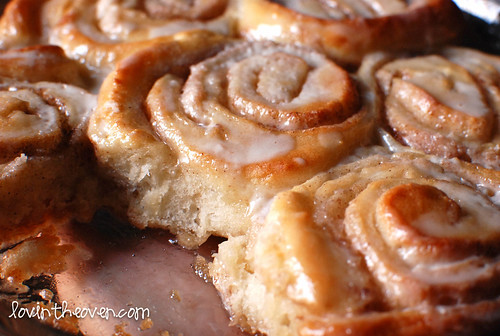
Pretty sure it doesn’t get any better than this. This recipe comes from one of my favorite bloggers, The Pioneer Woman, and she has yet to fail me on a recipe. Everything that I’ve made from her blog so far is fairly simple and extremely mouthwatering. Just look at these pictures. It’s surely a meal to please the man of your life.

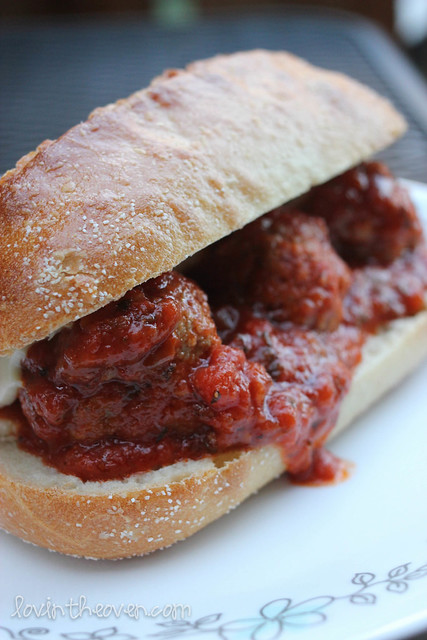
I served the meatballs on fresh ciabatta bread from Costco (LOVE them). You can change it up to any kind of bread you prefer– rolls, sourdough, wheat, etc. The real star is what’s in between the layers of bread. This meal would also be perfect for a lunch with friends or a kid’s party. Eat up!

Print
Meatball Sandwiches

Ingredients

  • 1 pound Ground Chuck Or Ground Beef
  • 1/2 cup Panko Or Other Bread Crumbs
  • 1 clove Garlic, Minced
  • 1/2 teaspoon Salt
  • Freshly Ground Black Pepper
  • 1/2 cup Milk
  • 2 Tablespoons Olive Oil
  • 1/2 whole Medium Onion, Diced
  • 1 jar (large) Marinara Sauce
  • Ciabatta bread (or whatever you prefer)
  • 4 slices Provolone Cheese, Cut Into Four Wedges Each

Directions

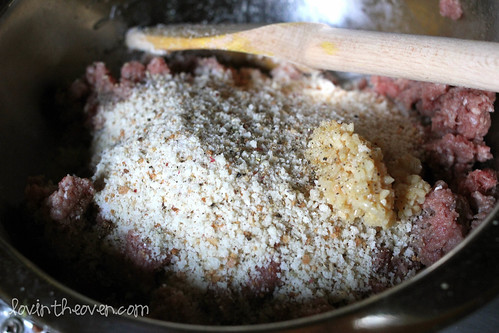
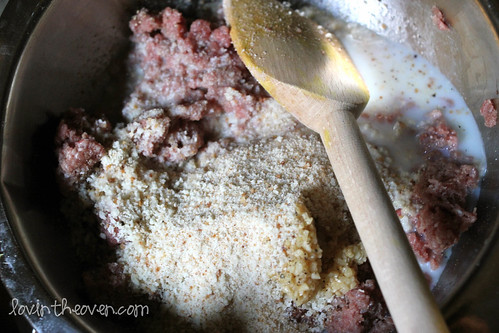
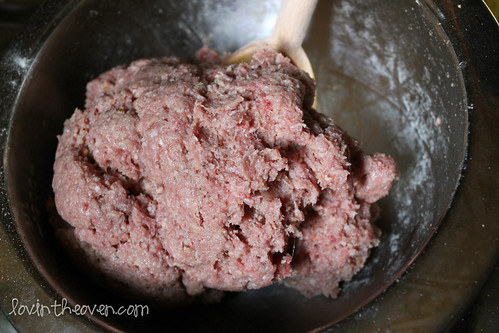
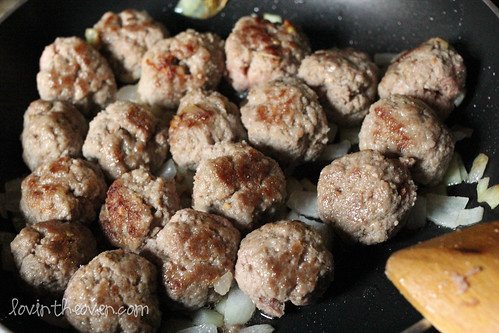
  1. Knead together the meat with bread crumbs, garlic, salt, pepper, and milk and roll into desired size balls.
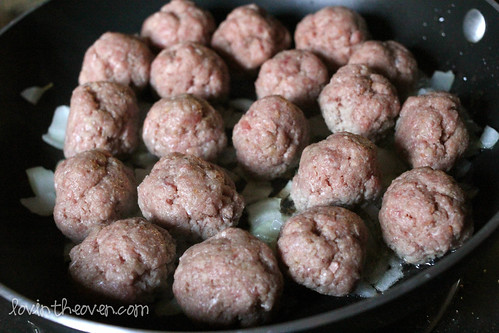
  2. Pour olive oil into a skillet and turn the heat to medium. Add the diced onions and sautee for about a minute before adding in the meatballs. Cook until just browned, about another minute.
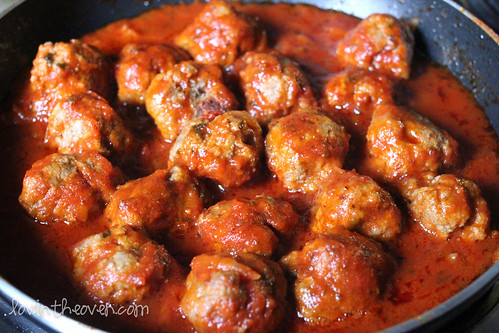
  3. Pour in the jar of marinara and shake the pan slightly to coat the meatballs. Simmer for 20 minutes, covered.
  4. When done, cut your bread in half and place a piece of cheese. Pour some of the meatballs and marinara on top of the cheese. Serve hot!
3.1
https://lovintheoven.com/meatball-sandwiches/

P.S. I forgot to announce the Olive Garden gift card winner, who was #83, miahsbabe89.
Congrats and thanks for replying so quickly!

Filed Under: beef, bread, dinner, lunch, sandwich

Cinnamon Rolls with Vanilla Cream Glaze

March 18, 2012 by kim 6 Comments

cinnamonrolls-7

cinnamonrolls-13

Good Lord. The one thing I fear more than yeast is cinnamon rolls. Not eating them, making them.

I fear that it begins with yeast.
I fear waiting for the yeast to work its magic and the dough to rise.
I fear rolling out the dough.
I fear the dough sticking to everything in my kitchen.
I fear not being able to make a tight enough roll.
I fear slicing the rolls into parts too big or too small.
I fear the rolls falling apart after being cut.
I fear putting in hours of work only to have a failed project.

But you guys… something miraculous happened. I made cinnamon rolls. I. Made. Cinnamon. Rolls. Thank you Pioneer Woman!

cinnamonrolls-11

Fear number two overcome: My dough rose beautifully!

cinnamonrolls

How to overcome the sticky dough? I rolled it between two pieces of wax paper. Bring on the next fear!

cinnamonrolls-2

Alright, well the rolling part was a little difficult for me. I may or may not have had to re-roll some of them after slicing my log.

cinnamonrolls-3

But that’s okay because they still looked semi normal:

cinnamonrolls-4

…Minus the two at the bottom with little embryos.

cinnamonrolls-5

Nothing a little glaze couldn’t cover.

cinnamonrolls-6

cinnamonrolls-12

cinnamonrolls-8

cinnamonrolls-9

cinnamonrolls-10

cinnamonrolls-14

These were divine, more than anything I could have asked for. Was it worth the labor? I only say no because I’m lazy and because cinnamon rolls could easily be bought. Seriously… yeast dough is SO MUCH work! Is it worth making once a year? Definitely. So if I ever make cinnamon rolls for you, know that I love you. Deeply and truly. I might as well be proposing to you.

They’re best warm, so if you’re not eating them right away, nuke them in the microwave for a couple of seconds before devouring. I’m craving one now just looking at the pictures.

You can find the original recipe from Pioneer Woman here. Since I didn’t have the need for enough rolls to feed an army, I cut the recipe in half, as follows (I still ended up freezing half and saving it for later):

Print
Cinnamon Rolls with Vanilla Cream Glaze

Ingredients

  • 2 cups milk
  • 1/2 cup vegetable oil
  • 1/2 cup sugar
  • 1 packages active dry yeast (2 1/4 teaspoons)
  • 4 cups (plus 1/2 cup extra, separated) AP flour
  • 1/2 teaspoon (heaping) baking powder
  • 1/2 teaspoon (scant) baking soda
  • 1/2 tablespoon (heaping) salt
  • plenty of melted butter
  • 1 cup sugar
  • generous sprinkling of cinnamon

Directions

  1. Heat the milk, vegetable oil, and sugar in a medium saucepan over medium heat to just below a boil. Set aside for about 45 minutes and cool to warm. Sprinkle the yeast on top and let it sit on the milk for 1 minute. Add 4 cups of the flour. Stir until just combined, then cover with a clean kitchen towel, and set aside in a relatively warm place for 1 hour.
  2. After 1 hour, remove the towel and add the baking powder, baking soda, salt, and the remaining 1/2 cup flour. Stir thoroughly to combine. Use the dough right away, or place in a mixing bowl and refrigerate for up to 3 days, punching down the dough if it rises to the top of the bowl. (Note: dough is easier to work with if it’s been chilled for at least an hour or so beforehand.)
  3. Preheat the oven to 375°F. To assemble the rolls, remove the dough from the bowl. On a floured baking surface, roll the dough into a large rectangle, about 30 x 10 inches. The dough should be rolled very thin. To make the filling, pour 3/4 cup to 1 cup of the melted butter over the surface of the dough. Use your fingers to spread the butter evenly. Generously sprinkle the ground cinnamon and the 1 cup of sugar over the butter.
  4. Now, beginning at the end farthest from you, roll the rectangle tightly towards you. Use both hands and work slowly, being careful to keep the roll tight. Don’t worry if the filling oozes as you work; that just means the rolls are going to be divine. When you reach the end, pinch the seam together and flip the roll so that the seam is face down.
  5. Slip a cutting board underneath the roll and with a sharp knife, make 1/2-inch slices. One “log “will produce 20 to 25 rolls. Pour a couple of teaspoons of melted butter into disposable foil cake pans and swirl to coat. Place the sliced rolls in the pans, being careful not to overcrowd. (Each pan will hold 7 to 9 rolls.)
  6. Bake for 15 to 18 minutes, until golden brown.
3.1
https://lovintheoven.com/cinnamon-rolls-with-vanilla-cream-glaze/

For the glaze, I stuck to a simple vanilla one rather than the maple one that Pioneer Woman has on her blog. I used the recipe from How Sweet It Is. She says that it’s enough for one pan of cinnamon rolls, but I used it for two:

Print
Vanilla Cream Glaze

Ingredients

  • 1 heaping cup of powdered sugar
  • 1 1/2 teaspoons vanilla extract
  • 1/4 cup heavy cream
  • 2 1/2 tablespoons milk

Directions

  1. Whisk all the ingredients together until smooth, about 2-3 minutes. Evenly pour the glaze over the cinnamon rolls when they come straight out of the oven and let them absorb all the goodness.
3.1
https://lovintheoven.com/cinnamon-rolls-with-vanilla-cream-glaze/

Filed Under: bread, breakfast, comfort food

Milk Chocolate Macadamia Nut Banana Bread

March 1, 2012 by kim 8 Comments

chocomacadamianut

chocomacadamianut-2

chocomacadamianut-3

chocomacadamianut-5

chocomacadamianut-4

chocomacadamianut-6

Rule number one of food: It always tastes better when it looks cute… and how cute are these?! I saw this pan at Costco and immediately put it in my cart. Why is it that I always walk out of Costco with unnecessary items? Since I’m pretty sure they don’t sell it anymore, you can find it online at Amazon:

 Nordic Ware Pro Cast Zoo Animal Muffin Pan
The pan is even an “admit one” ticket! Nordic Ware seriously makes the best pans. Nothing sticks to them and they’re made to withstand a hurricane. No joke. I divided the batter evenly into these little animals, but I guess you can make a normal loaf if you really have to.
I’m not sure how I feel about milk chocolate and macadamia nuts. The next time I make this bread, I’ll make sure to use white chocolate chips instead.

Print
Milk Chocolate Macadamia Nut Banana Bread

Ingredients

  • 2 bananas, mashed
  • 1 egg
  • 1/2 cup packed brown sugar
  • 1/4 cup olive oil
  • 2 tsp vanilla
  • 2/3 cup buttermilk
  • 1 3/4 cup AP flour
  • 1 1/2 tsp baking powder
  • 1/2 tsp baking soda
  • 2 tsp cinnamon
  • pinch of nutmeg
  • pinch of salt
  • handful of chocolate chips
  • 1/8-1/4 cup roughly chopped roasted macadamia nuts

Directions

  1. Preheat oven to 350 degrees.
  2. Mix all ingredients together, stirring in the chocolate chips and macadamia nuts last.
  3. Bake until top is just browned, about 20 minutes.
3.1
https://lovintheoven.com/milk-chocolate-macadamia-nut-banana-bread/

Filed Under: banana, bread, breakfast, chocolate chip, nuts

  • « Previous Page
  • 1
  • …
  • 8
  • 9
  • 10
  • 11
  • 12
  • …
  • 16
  • Next Page »

hi! i'm kim-- a girl mom, baker, blogger, and ex-flight attendant. welcome!

Search

  • Facebook
  • Instagram
  • Pinterest
  • Twitter

Categories

RODELLE-BABadge


Categories

  • Facebook
  • Instagram
  • Pinterest
  • Twitter

Copyright © 2026 · Foodie Pro Theme by Shay Bocks · Built on the Genesis Framework · Powered by WordPress