Lovin' From the Oven

  • Home
  • About Me
  • Recipes
  • FAQ
  • My Lifestyle Blog
  • Disclaimer

Caramelized Pecan Banana Bread

September 9, 2011 by kim 13 Comments

banana-4 banana banana-2 banana-7 banana-3 banana-5 banana-6

I think I’ve fully adjusted to living in the bay area. It took a month, but I’m pretty sure I’ve got a good chunk of it down.
–I love being able to walk from my apartment to go shopping, the post office, the grocery store, or grab dinner.
–The radio stations in my car are set to Nor Cal stations.
–I actually go out to bars here every once in a while because I love the crowd (not to drink, though. I’m pretty much a grandma. And by crowd, I mean my DB’s classmates).
–I bring a sweater or scarf with me everywhere because no matter how hot it looks outside, that breeze will kill you.

But the things I’ll never get used to?
–Calling the BART just plain ol’ BART.
–Worrying about parking everywhere I go.
–Seeing Giants gear everywhere instead of my dear Lakers.
–The word “hella.”
–My nearest Nordstrom Rack & Forever 21 are a half hour drive away from me.

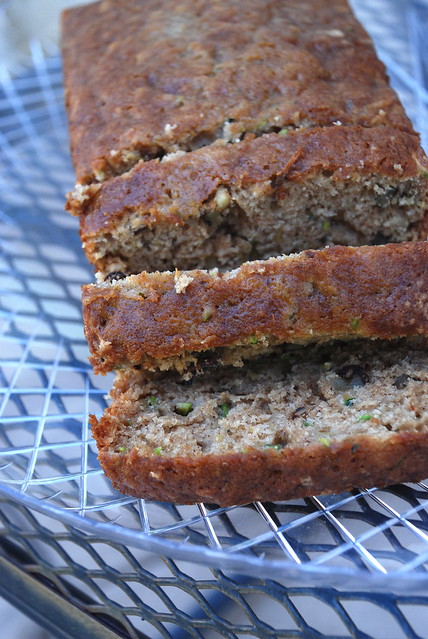
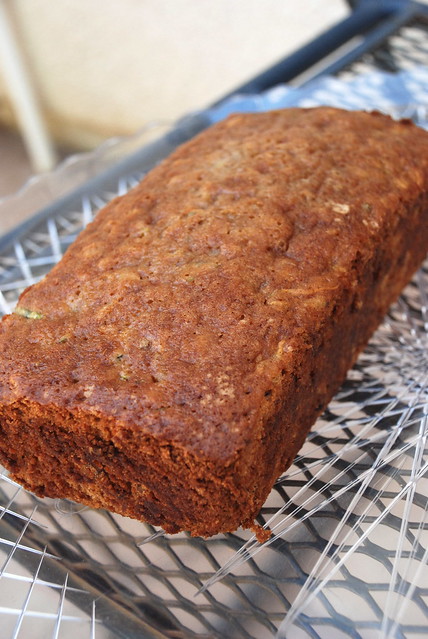
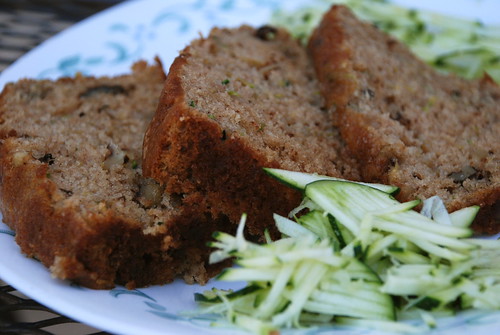
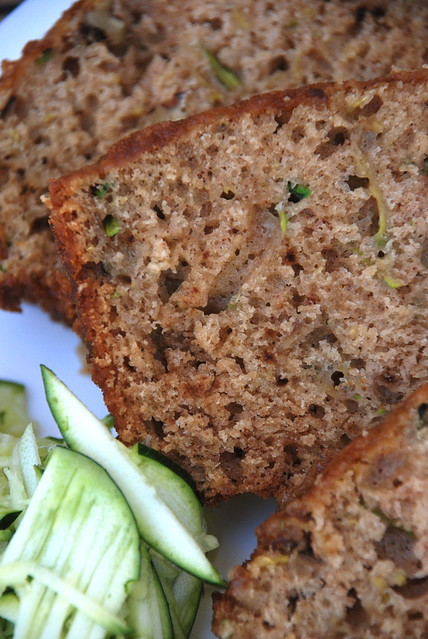
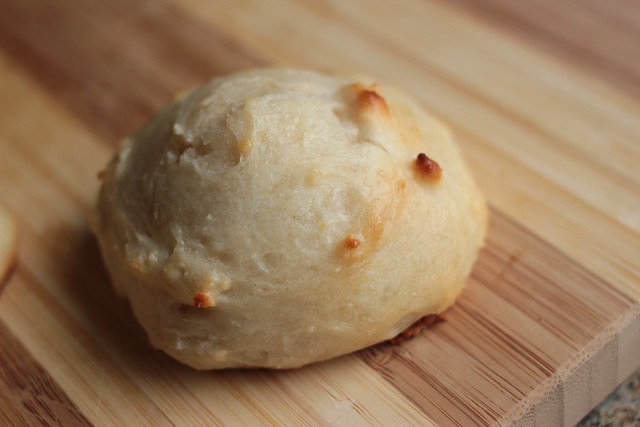
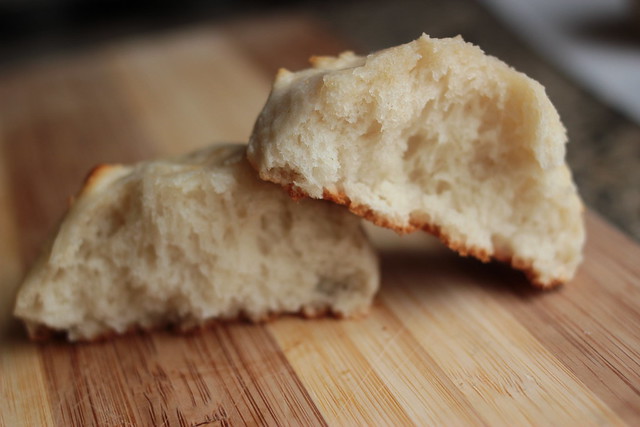
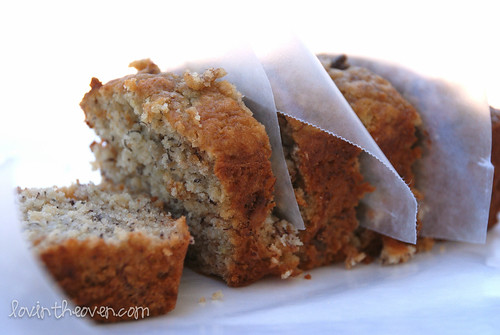
I’m sure there’s plenty to add to both lists, but let’s talk about this banana bread.

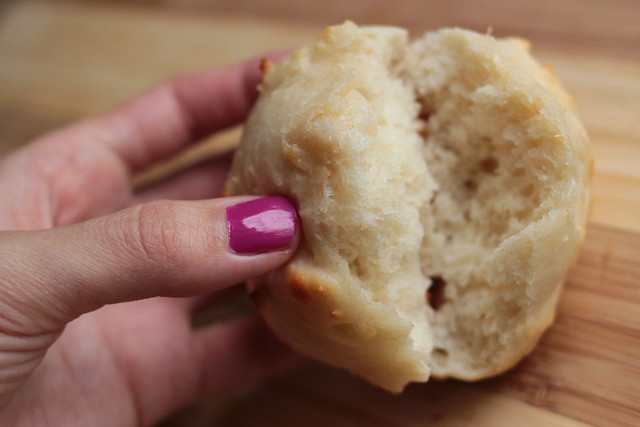
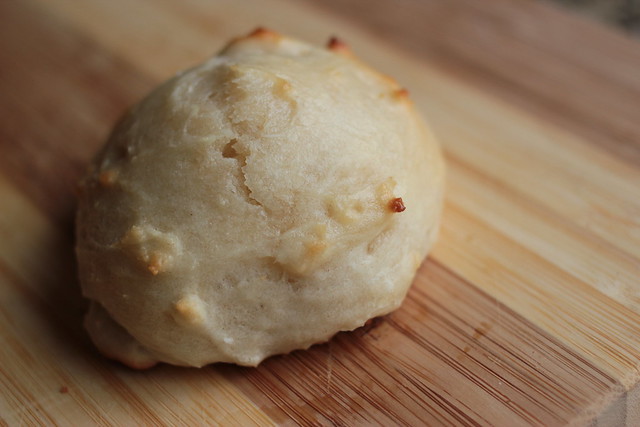
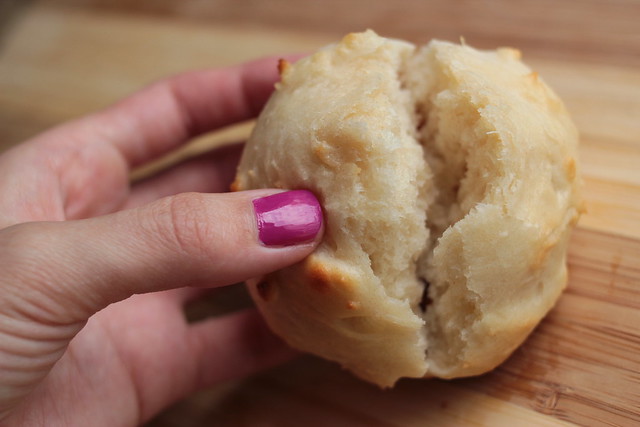
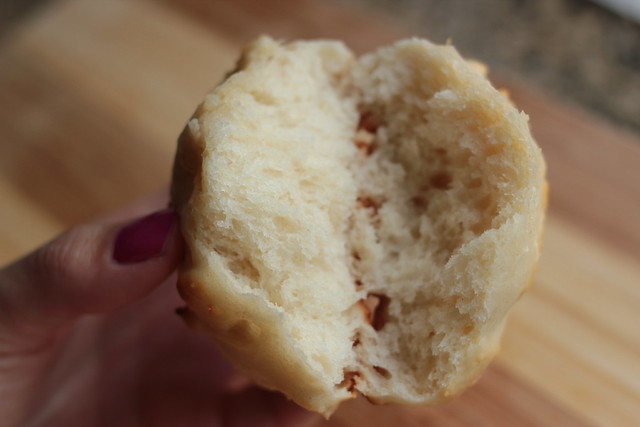
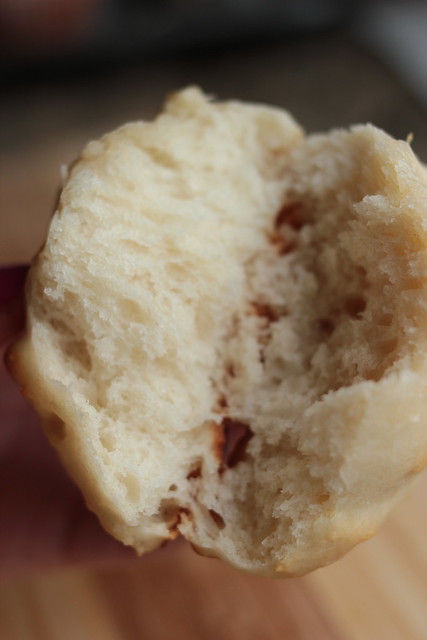
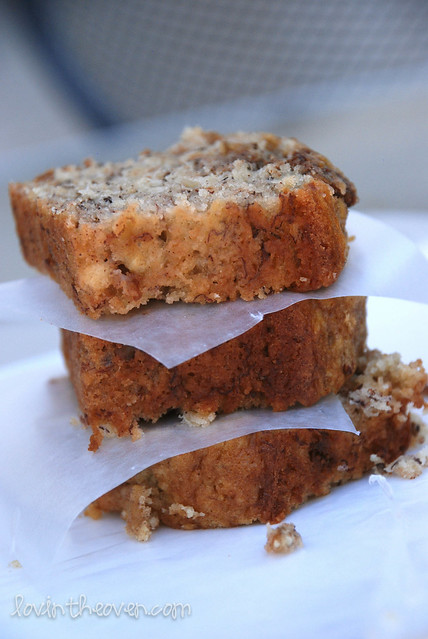
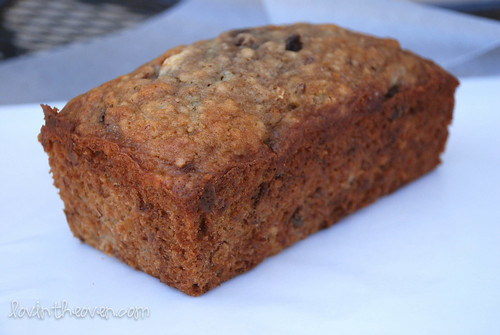
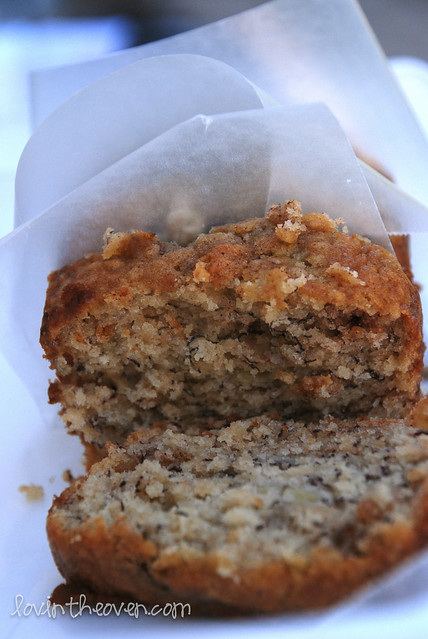
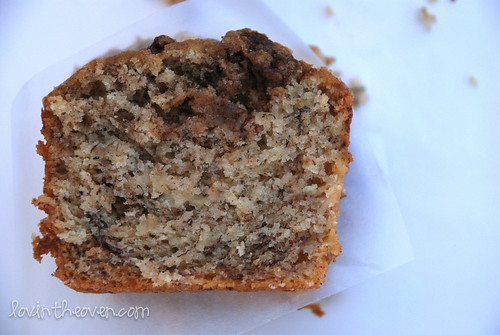
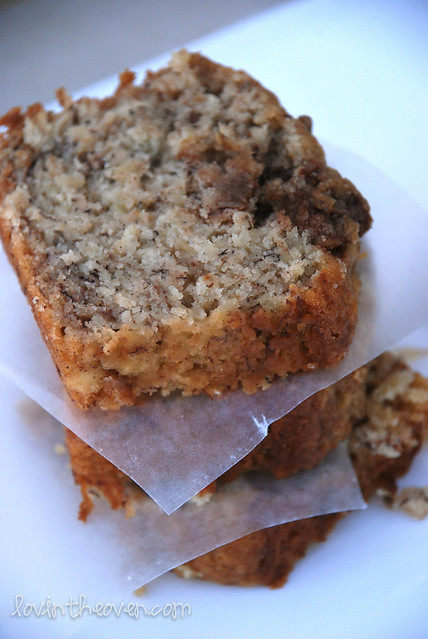
This banana bread was delightful. The caramelized pecans really did add a sweeter crunch to the bread. In retrospect, I probably should have added some kind of streusel on top. Banana bread is just ten times better with a topping. The bread was sweet without being overly sweet, heavy without being too dense, and about as moist as can be. I’d recommend adding a touch of cinnamon next time I make these. From What Katie’s Baking.

  • 1 1/4 cups sugar
  • 1/2 cup butter or margarine, softened
  • 2 eggs
  • 1 1/2 cups mashed very ripe bananas (3 to 4 medium)
  • 1/2 cup buttermilk
  • 1 teaspoon vanilla
  • 2 1/2 cups AP flour
  • 1 teaspoon baking soda
  • 1 teaspoon salt

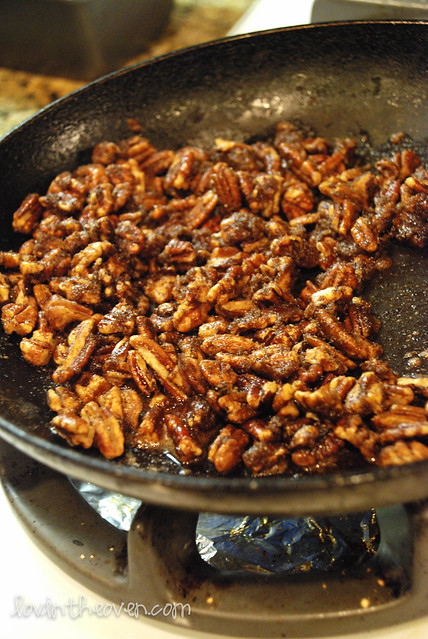
For the Caramelized Pecans:

  • 1 tablespoon butter
  • 2 tablespoons sugar
  • 1 cup pecan halves
  • 2 tablespoons ground cinnamon
  1. Preheat the oven to 350°F. Grease two medium loaf pans or one large loaf pan.
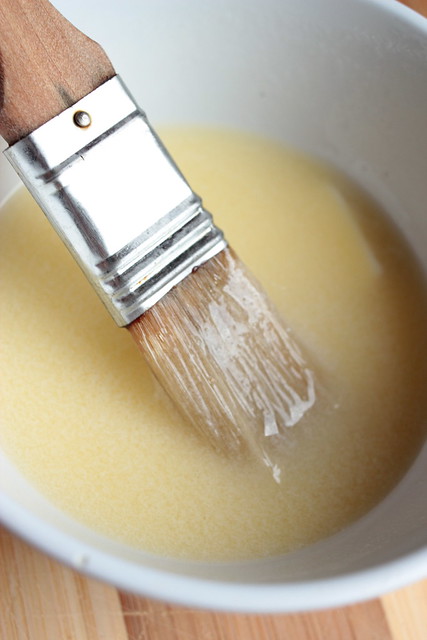
  2. For the caramelized pecans: Melt the tablespoon of butter over medium heat. Add the sugar, pecans, and cinnamon, and mix until evenly coated. Set aside and let cool.
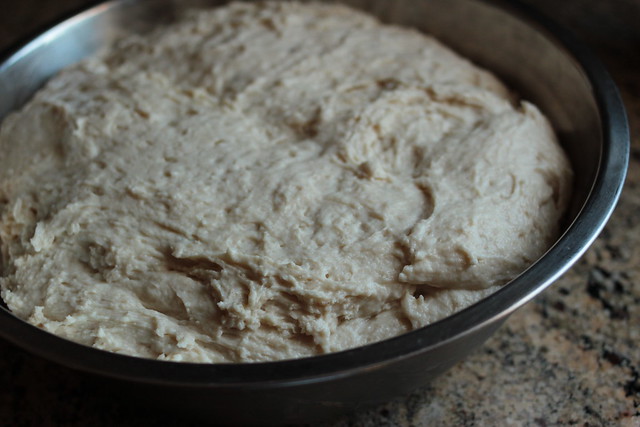
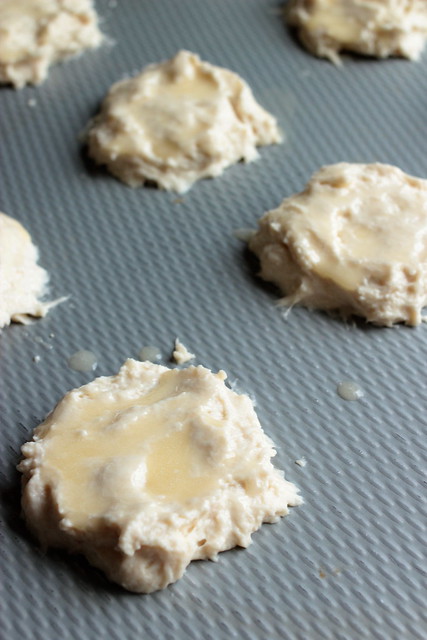
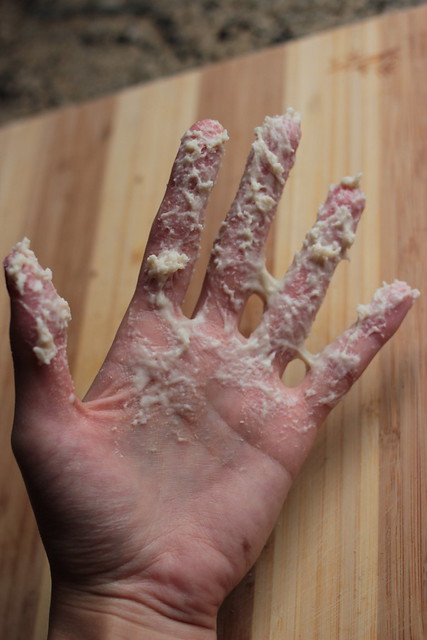
  3. For the banana bread: Mix together the sugar and butter. Add eggs and stir. Add bananas, buttermilk and vanilla, beating until smooth. Stir in flour, baking soda and salt just until moistened. Add in the nuts. Pour into prepared pans.
  4. Bake smaller loaves for about 1 hour, large loaf about 1 hour and 15 minutes, or until toothpick inserted in center comes out clean.

Filed Under: banana, bread, breakfast, nuts

Zucchini Bread

August 2, 2011 by kim 2 Comments

DSC_7132

DSC_7123

DSC_7163

DSC_7165

Zuchinni.. Zuchini… Zucchini.. ahhh, I definitely would have gotten kicked with that word at a spelling bee. Come to think of it, I’ve only been in a spelling bee once and it wasn’t on purpose. In second grade, I remember trying to spell “chimpanzee” wrong in the qualifying round on purpose so that I wouldn’t have to compete with kids outside of my classroom, but I spelled it right on accident. Imagine my surprise! You bet I spelled the first word wrong in the official competition so that I could sit down and get away from the audience. Hey, I was young. And scared. Being in front of people was so not my thing. It wasn’t then and it isn’t now.

Speaking of grade school… the first time I made zucchini bread was in my first grade classroom. We were given the ingredients in a ziploc bag and were told to mix it by shaking, pinching, doing whatever our heart desired to get it done. We gave back our ziploc bags to the teacher and she returned it as a mini loaf twenty minutes later. All I remember back then was pure heaven. Curious as to if I still loved it as much as I thought I did, I gave it a go in my kitchen.

Sure enough, the results were just as how I remembered it. Don’t worry, it doesn’t really taste like zucchini. My DB even ate a bite and he HATES vegetables!

  • 3 cups all-purpose flour
  • 1 teaspoon salt
  • 1 teaspoon baking soda
  • 1 teaspoon baking powder
  • 3 teaspoons ground cinnamon
  • 3 eggs
  • 1/2 cup vegetable oil
  • 1/2 cup apple sauce
  • 1 cup white sugar
  • 1 cup brown sugar
  • 2 1/2 teaspoons vanilla extract
  • 4 cups grated zucchini
  • 1 cup chopped walnuts
  1. Butter two 8 x 4 inch pans. Preheat oven to 325 degrees F.
  2. Mix together the eggs, oil, apple sauce, vanilla, and both sugars in a large bowl.
  3. Add flour, salt, baking powder, soda, and cinnamon into the mixture. 
  4. Gently stir in zucchini and nuts until well combined. Pour batter into prepared pans.
  5. Bake for 45-55 minutes, or until toothpick omes out clean.
P.S. As of today, I’m officially a Berkley-an! Whoo hoo! I’m still working on putting together my apartment, but here’s a sneak peak at one of my cubbies on my Expedit bookself, courtesy of Easy Canvas Prints: 
IMG_4001

Remember my brownie roll out cookies? Well, I decided to choose one of the pictures from that shoot for my canvas because 1. my DB loves anything Star Wars (can’t you tell by his bobblehead?) and 2. the background matched my tiffany blue themed kitchen.

IMG_3998

IMG_4005

The canvas was smooth, the perfect size, and even better than I expected. The colors seemed a bit darker than my actual photo, but it wasn’t a big deal. I loved the mirroring method on the sides of the canvas. If you want, you can make your own canvas print here. Enjoy!

Filed Under: bread, breakfast, dessert, nuts

Buttermilk Biscuits

April 4, 2011 by kim 12 Comments

IMG_4256

IMG_4267

First of all, thanks for all your suggestions on what to do with a carton of buttermilk over on my Facebook Fan Page! I ended up making one of the more popular suggestions, buttermilk biscuits. I was so excited with how they turned out that I even made a video. What got over me? I have no idea. So here it is, my very first video (nothing special, it’s just shot using my webcam so don’t get too excited). After watching it, I realized I may or may not have biscuit batter in my hair. But hey, that’s life.

Scary, right? Let’s stick to pictures… This is the dough after it’s been sitting in the fridge for a day.
IMG_4022

And this is how I chose to splat them on the baking sheet.
IMG_4239

Melted a bit of butter…
IMG_4234

I brushed the butter on prior to making in one batch, and after they were baked in another.
IMG_4246

IMG_4258

IMG_4266

IMG_4262

Look at that gorgeous center!
IMG_4264

IMG_4270

So here’s the recipe, courtesy of Melissa and dedicated to Sarah (“my favorite Southern friend”). 🙂 Thanks again, readers!

Makes approximately 2 dozen large biscuits.

  • ‎1 package yeast
  • 1/4 cup warm water
  • 4 teaspoons baking powder
  • 1/2 teaspoon baking soda
  • 2 teaspoons salt
  • 1/2 cup vegetable oil
  • 2 1/2 cups buttermilk
  • 1/2 cup sugar
  • 5 1/4 cup flour
  1. Dissolve the yeast in the warm water and set aside.
  2. In a separate bowl, mix together the baking powder, baking soda, salt, vegetable oil, buttermilk, sugar, and flour.
  3. Add in the yeast mixture. Mix until well combined.
  4. Keep in refrigerator and pinch off as much as you need. It can be rolled out or dropped onto greased cookie sheet.
  5. Bake at 450 degrees for 10 minutes or until brown.
*It gets better each day it sits in the refrigerator. (Melissa’s note that I whole heartedly agree with!)

I chose to brush mine with melted butter. I tried putting the butter on pre baking and post baking. In my opinion, they turned out better when the butter is brushed on post baking. Also, the dough is very, very sticky to work with. Don’t believe me? See for yourself:

IMG_4166

“Splatting” them on the baking sheet was wayyyyy easier than rolling it out, but if you’re feeling courageous, I say go for it. Looks can be deceiving, though. It actually washes off your hands quite easily under warm water. I only know that because I had to wash one hand using that one hand so that I could take this picture.

P.S. I’ll be heading to San Fran/Berkeley for this weekend. Does anyone have any food suggestions that I must check out? Thanks in advance!

Filed Under: bread, breakfast, comfort food, snack

  • « Previous Page
  • 1
  • …
  • 9
  • 10
  • 11
  • 12
  • 13
  • …
  • 16
  • Next Page »

hi! i'm kim-- a girl mom, baker, blogger, and ex-flight attendant. welcome!

Search

  • Facebook
  • Instagram
  • Pinterest
  • Twitter

Categories

RODELLE-BABadge


Categories

  • Facebook
  • Instagram
  • Pinterest
  • Twitter

Copyright © 2026 · Foodie Pro Theme by Shay Bocks · Built on the Genesis Framework · Powered by WordPress