 Looking for some party appetizers? Look no further! I’ve got the perfect recipe for you (plus, there’s no stovetop involved… everything’s in the oven!).
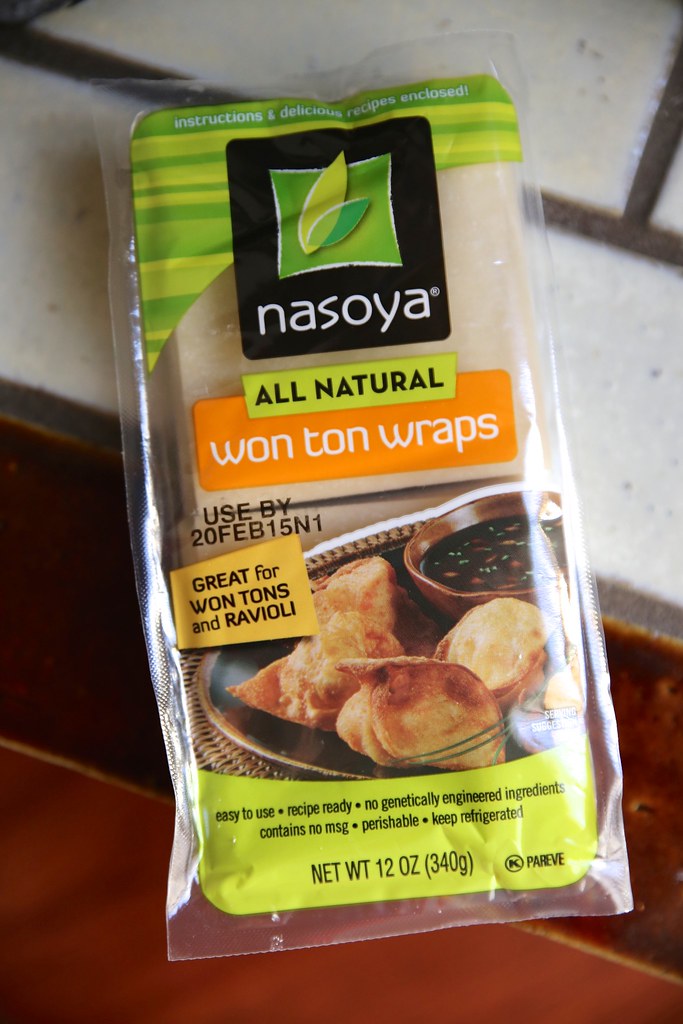
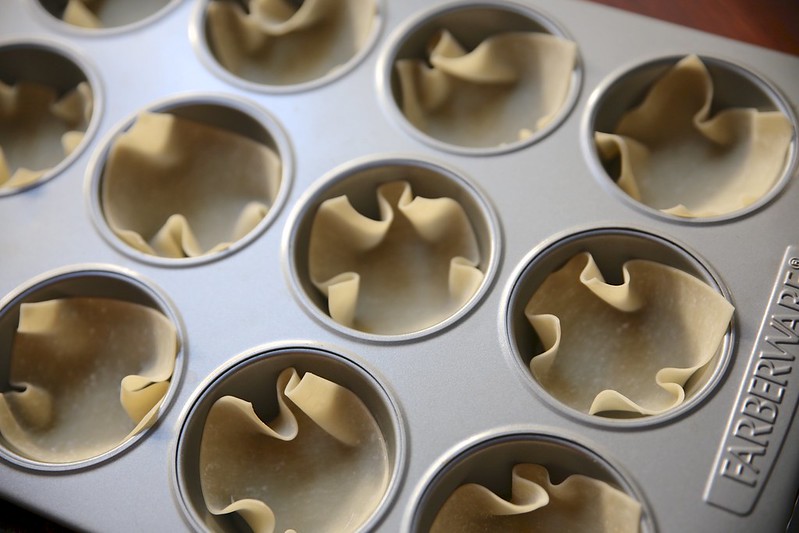
 Have you heard of these won ton wraps from Nasoya? They’re the perfect base for lots of recipes! It took me a couple of laps around the grocery store to find them, but I finally did in the refrigerated section next to the tofu.
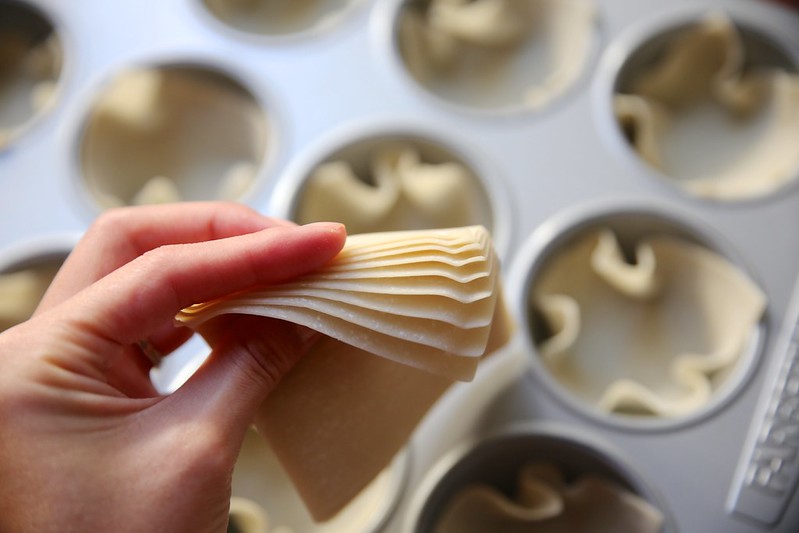 I was impressed with how easy the wraps came apart from one another. They didn’t stick at all! I remember making egg rolls with my mom when I was little and the biggest hassle was separating one egg roll sheet from another. If I had a dime for every egg roll sheet that I ripped, then I’d be able to buy a Le Creuset pot by now!
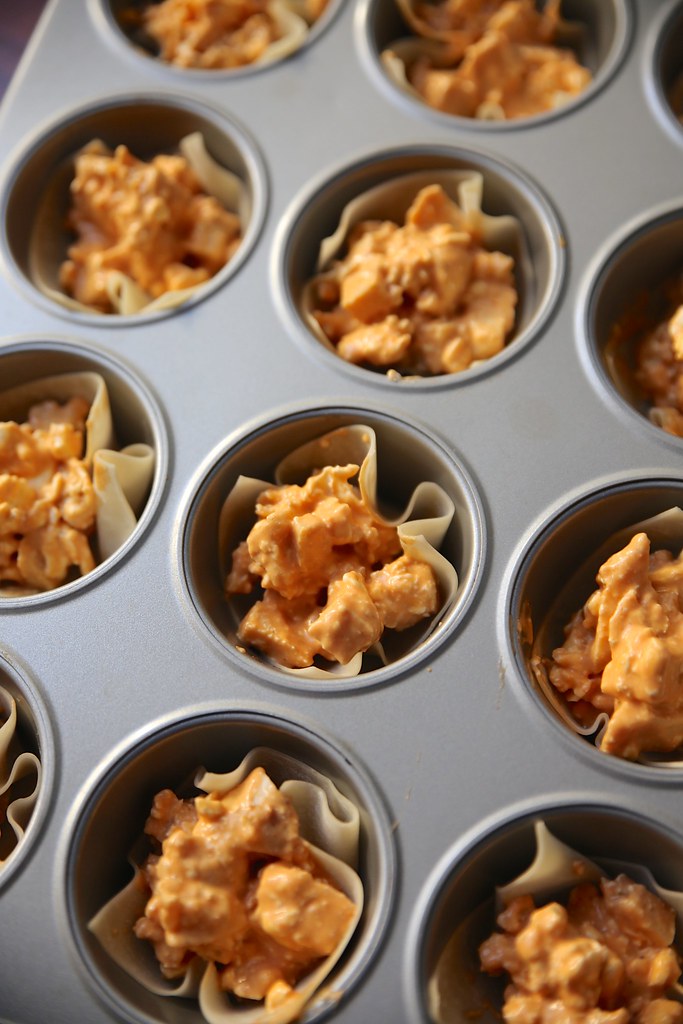
 This recipe is quick to bake and prepare because it involves pre-cooked chicken. You can buy it like that (I did!) or cook the chicken yourself.
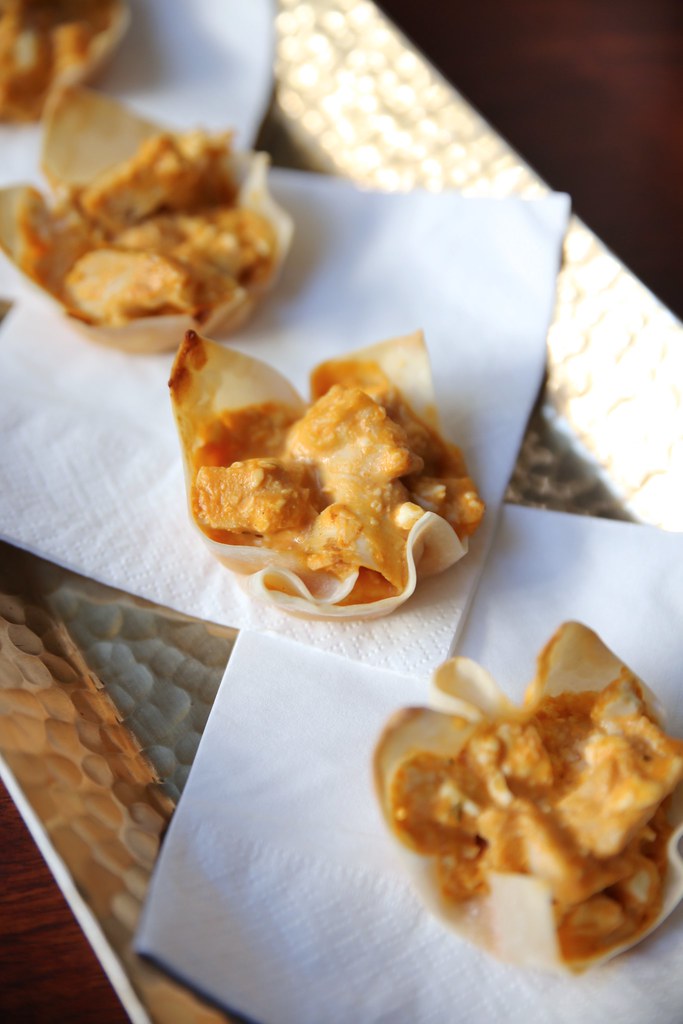
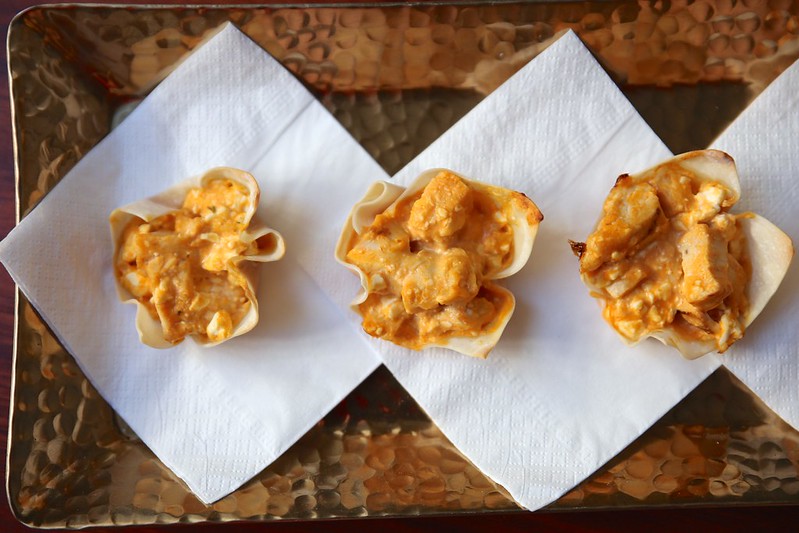
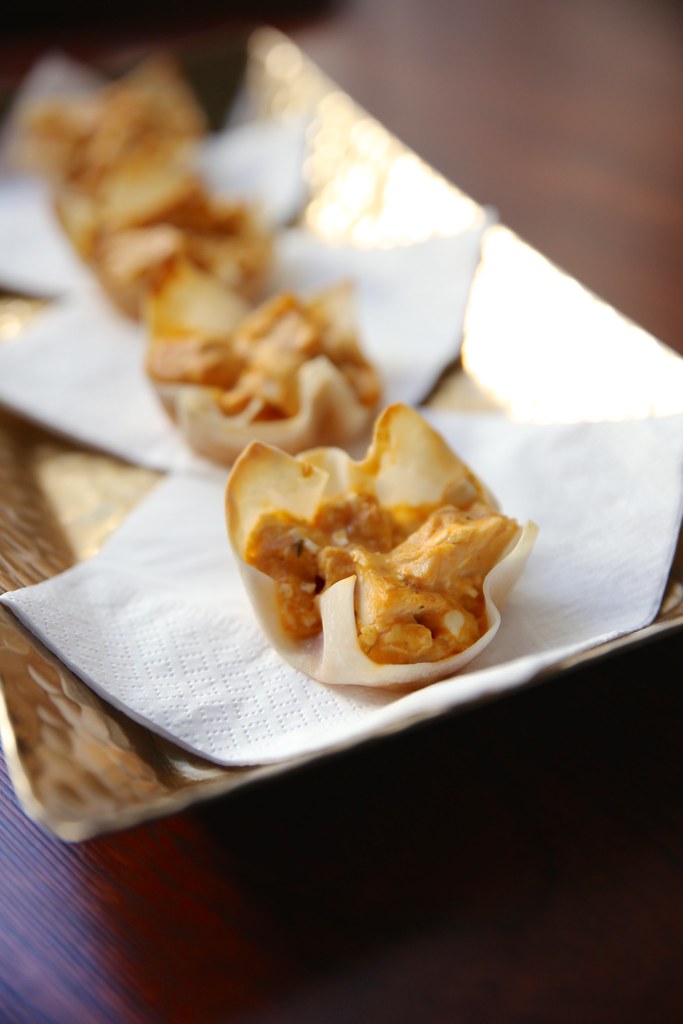
 The only issue I had with the wontons was that the bottom didn’t crisp. I even baked them an extra two minutes in hopes that they would brown more, but to no avail.
 Oh well, it could have been worse.
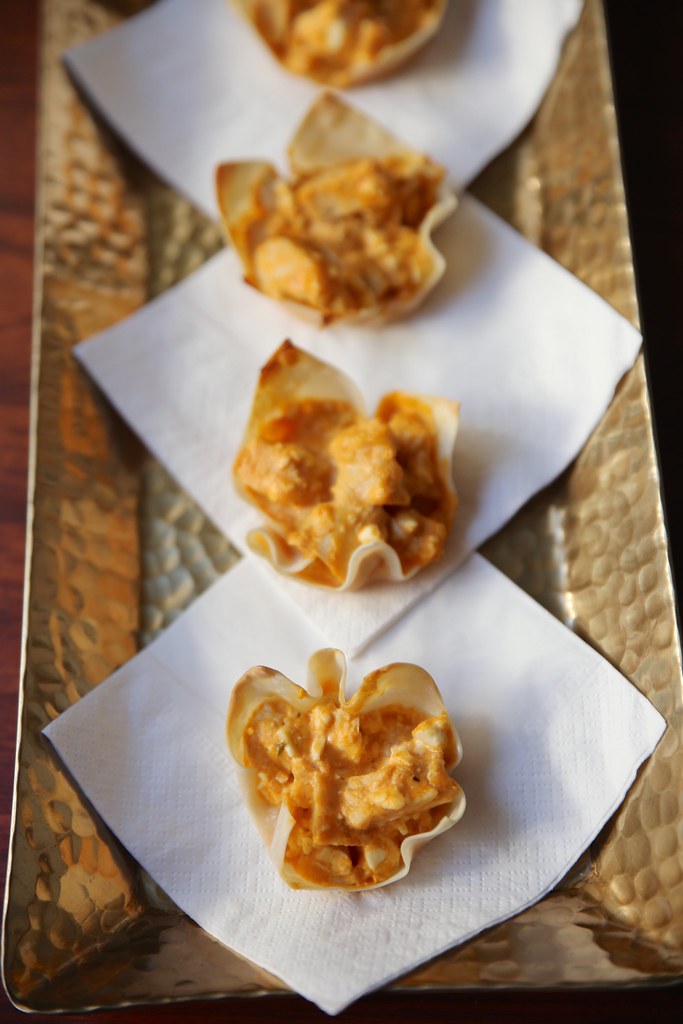 My DH basically inhaled these the moment they came out of the oven. You can eat six and not even notice it!
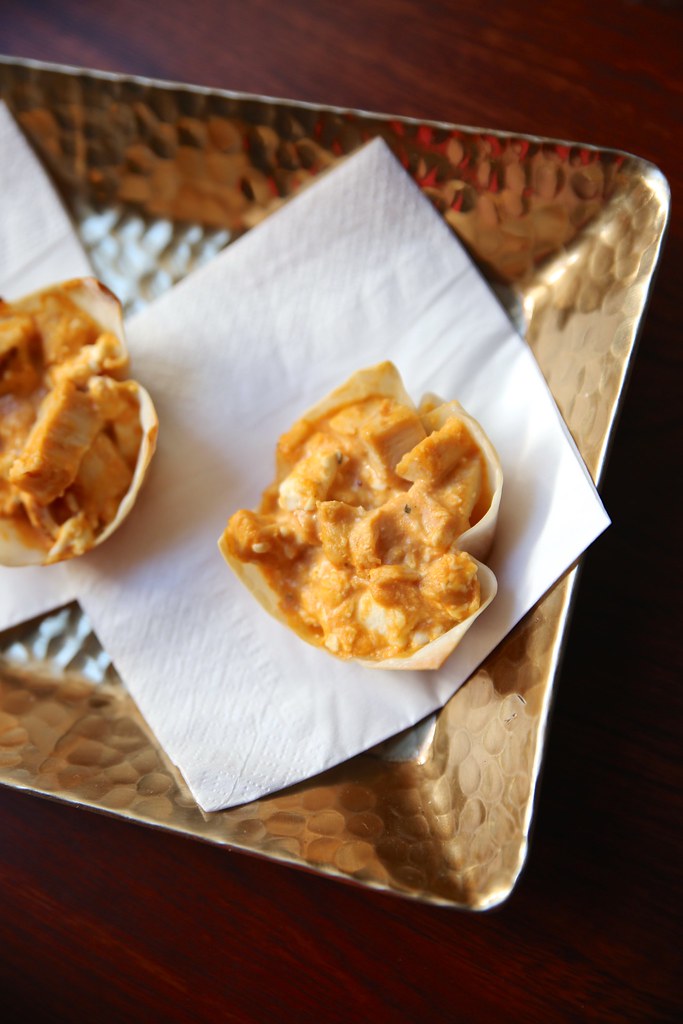 Since I’m not a fan of blue cheese, I replaced it with feta. Feta goes well with buffalo sauce. The original recipe also suggests to sprinkle cheese on top after putting in the chicken mixture, but I thought there was enough cheese as is.
 Recipe from Nasoya.
Ingredients
- 12 oz of cooked chicken, diced
- 3 oz of blue cheese, crumbled (I used feta)
- ¼ cup of wing sauce (mild or hot, according to taste)
- ½ cup of cream cheese, softened
- ¼ cup of ranch dressing (I used light)
- 24 Nasoya Won Ton Wraps
- Cupcake Pan
Directions
- Preheat oven to 350 degrees
- Place chicken and blue cheese in a bowl and set aside. In a separate bowl mix together the hot wing sauce, softened cream cheese, and ranch dressing. Pour the cream cheese mixture over top of the chicken and crumbled blue cheese. Stir until just combined
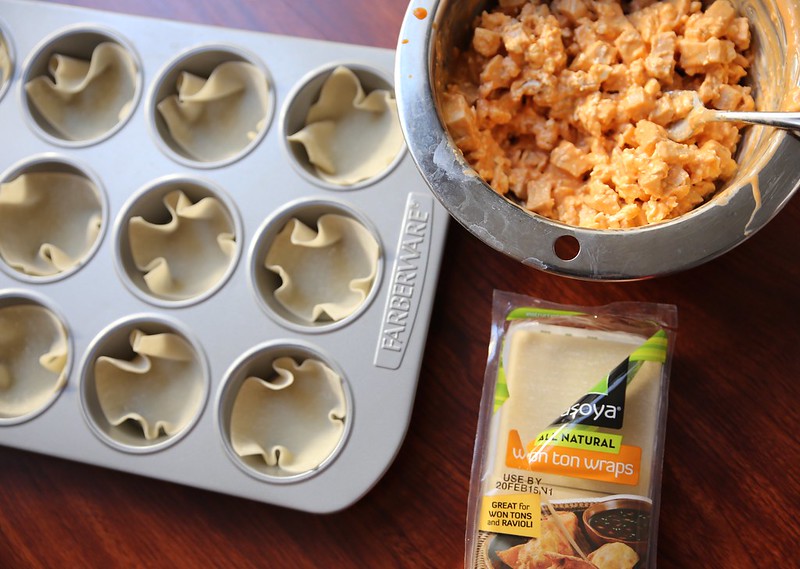
- Place one wonton wrapper in each cupcake opening- press down until it creates a cup
- Fill each wrapper cup ¾ of the way with the chicken mixture
- Bake for 10 minutes, or until the wrappers are golden brown and the cheese is bubbling. Top with more crumbled blue cheese for garnish, if you wish.
- Serve warm.
This is a sponsored post, but the opinions expressed are my own.