Lovin' From the Oven

  • Home
  • About Me
  • Recipes
  • FAQ
  • My Lifestyle Blog
  • Disclaimer

Fried Rice

April 18, 2012 by kim 2 Comments

friedrice-6

friedrice

friedrice-2

friedrice-3

friedrice-2-2

friedrice-3-2

friedrice-4

friedrice-5

Thanks for the well wishes.. I’m still sickly but slowly getting better. I honestly don’t know what’s taking me so long to kick this bug. The best part about it is that I have an excuse not to cook for a week! Who wants sickly, infected people cooking food? Not me.

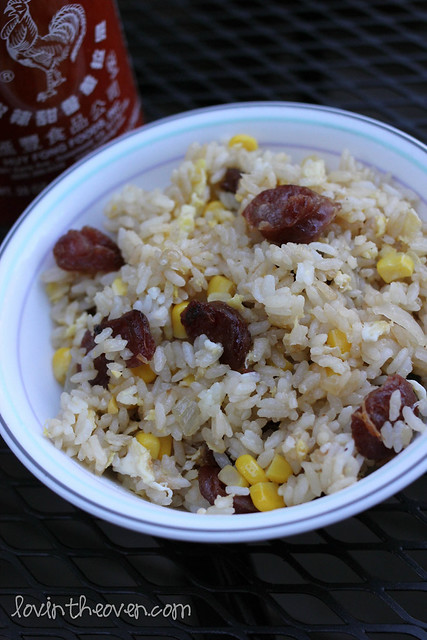
My parents have been making fried rice for as long as I can remember. It’s one of those dishes that my dad can make when my mom’s out of town; it’s that easy. This can be customized to your own taste buds. Sometimes I add in green beans, peas, carrots, green onions, etc., depending on what I have in my refrigerator. Other times, I make it completely plain with just meat for the DB.

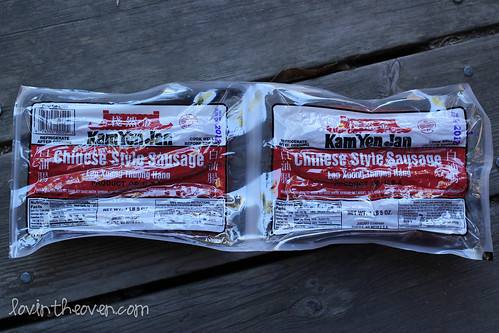
You can buy Chinese sausage at most Asian supermarkets like 99 Ranch Market. I found mine at Costco, believe it or not! Oh, don’t worry… I didn’t make this while I was sick. This was from a while ago. It really helps having a full queue of posts!

Print
Fried Rice

Ingredients

  • 2 cups rice, uncooked
  • 1/2 onion, diced
  • 2-3 chinese sausages
  • 2 eggs, scrambled with a fork
  • 1 1/2 tablespoons oyster sauce
  • half can of corn, drained
  • pinch of salt & sugar
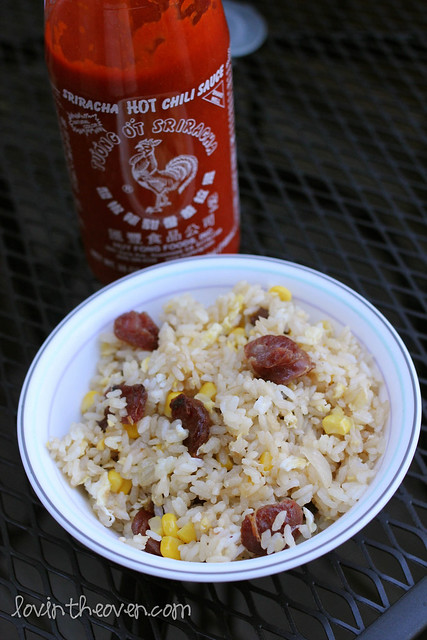
  • sricaha (optional)

Directions

  1. Cook rice according to the directions on package.
  2. Slice the chinese sausages and cook them with the diced onions in a large saucepan over medium heat, moving occasionally to make sure they don't burn, about 5 minutes.
  3. Once they are charred on the edges, remove the meat and onions from heat and set aside.
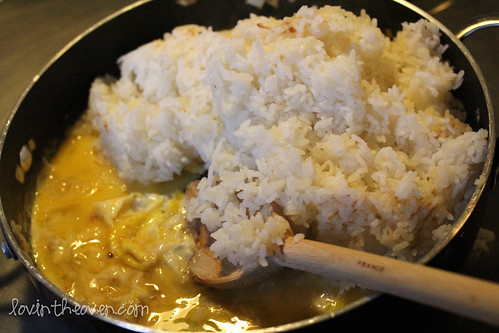
  4. Using the same pan with the oils left in, pour in the scrambled eggs over low-medium heat for a minute. Add the rice on top. Continue stirring together the rice and eggs, until the eggs are thoroughly cooked.
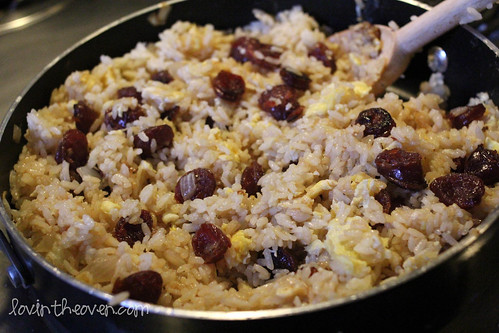
  5. Return the sausage, onions, and corn back into the pot.
  6. Add the oyster sauce, salt, and sugar, mixing well.
  7. Serve topped with sriarcha, if you want.
3.1
https://lovintheoven.com/fried-rice/

Filed Under: dinner, lunch, vegetables

Meatball Sandwiches

April 3, 2012 by kim 2 Comments

meatball-7

I’m so embarrassed by the pictures in my last post that I had to quickly update the blog to push it down a level.

meatball-8

Is that better?

meatball-11

I sure hope so because these were delish!

meatball

meatball-2

meatball-3

meatball-4

meatball-5

meatball-6

meatball-9

meatball-10

meatball-12

Pretty sure it doesn’t get any better than this. This recipe comes from one of my favorite bloggers, The Pioneer Woman, and she has yet to fail me on a recipe. Everything that I’ve made from her blog so far is fairly simple and extremely mouthwatering. Just look at these pictures. It’s surely a meal to please the man of your life.

I served the meatballs on fresh ciabatta bread from Costco (LOVE them). You can change it up to any kind of bread you prefer– rolls, sourdough, wheat, etc. The real star is what’s in between the layers of bread. This meal would also be perfect for a lunch with friends or a kid’s party. Eat up!

Print
Meatball Sandwiches

Ingredients

  • 1 pound Ground Chuck Or Ground Beef
  • 1/2 cup Panko Or Other Bread Crumbs
  • 1 clove Garlic, Minced
  • 1/2 teaspoon Salt
  • Freshly Ground Black Pepper
  • 1/2 cup Milk
  • 2 Tablespoons Olive Oil
  • 1/2 whole Medium Onion, Diced
  • 1 jar (large) Marinara Sauce
  • Ciabatta bread (or whatever you prefer)
  • 4 slices Provolone Cheese, Cut Into Four Wedges Each

Directions

  1. Knead together the meat with bread crumbs, garlic, salt, pepper, and milk and roll into desired size balls.
  2. Pour olive oil into a skillet and turn the heat to medium. Add the diced onions and sautee for about a minute before adding in the meatballs. Cook until just browned, about another minute.
  3. Pour in the jar of marinara and shake the pan slightly to coat the meatballs. Simmer for 20 minutes, covered.
  4. When done, cut your bread in half and place a piece of cheese. Pour some of the meatballs and marinara on top of the cheese. Serve hot!
3.1
https://lovintheoven.com/meatball-sandwiches/

P.S. I forgot to announce the Olive Garden gift card winner, who was #83, miahsbabe89.
Congrats and thanks for replying so quickly!

Filed Under: beef, bread, dinner, lunch, sandwich

Crockpot Chicken Noodle Soup

April 2, 2012 by kim Leave a Comment

chickennoodle-2

chickennoodle

I apologize in advance for the nature of this picture. Meaning I took it at 8PM in our dark dark apartment and didn’t have any light. I should probably invest in a light box. Ehhhh maybe one day. I don’t have space for it!

Here’s another crockpot recipe for you. Extremely easy to make, like all crockpot recipes, and it results in a healthy and low fat dinner. I will warn you that this isn’t the best thing to store since the noodles soak all of the liquids after a couple of hours and leave soggy noodles with no broth. I served mine with some cornbread muffins. From Creatively Domestic.

Print
Crockpot Chicken Noodle Soup

Ingredients

  • 5 cups of chicken broth
  • One can cream of chicken soup
  • 1/2 cup onions, chopped fine
  • 1/2 cup celery, chopped fine
  • 1/2 cup carrots, chopped fine
  • 1/2 cup green onions, sliced
  • One 15 oz can of whole kernel corn, drained
  • Salt and Pepper to taste
  • 1 1/2 cup Egg noodles
  • 2 cups cooked chicken chopped

Directions

  1. Add everything but the noodles and cooked chicken to the crockpot and cook on low for 5-6 hours.
  2. For the last hour, turn the crockpot to high and add the noodles and chicken.
3.1
https://lovintheoven.com/crockpot-chicken-noodle-soup/

Filed Under: chicken, dinner, dinner sides

  • « Previous Page
  • 1
  • …
  • 25
  • 26
  • 27
  • 28
  • 29
  • …
  • 32
  • Next Page »

hi! i'm kim-- a girl mom, baker, blogger, and ex-flight attendant. welcome!

Search

  • Facebook
  • Instagram
  • Pinterest
  • Twitter

Categories

RODELLE-BABadge


Categories

  • Facebook
  • Instagram
  • Pinterest
  • Twitter

Copyright © 2026 · Foodie Pro Theme by Shay Bocks · Built on the Genesis Framework · Powered by WordPress