Lovin' From the Oven

  • Home
  • About Me
  • Recipes
  • FAQ
  • My Lifestyle Blog
  • Disclaimer

Chunky Monkey Bars & Winner

June 28, 2011 by kim 4 Comments

IMG_5744

IMG_5755

IMG_5743

IMG_5766

IMG_5749

Before we get to the bars, I’m sure you guys are all wondering who the winner of the Shabby Apple giveaway is! Well, with some help from random.org, the winner is….

Tree! Congratulations! Keep an eye out for an email from me so I can get your contact information and size for the dress. 🙂

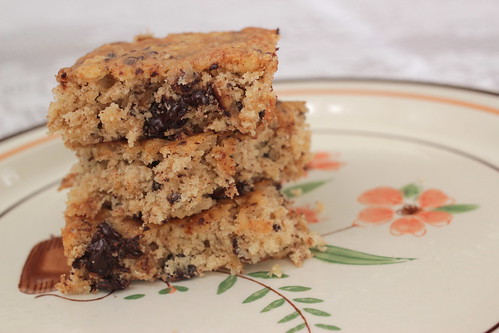
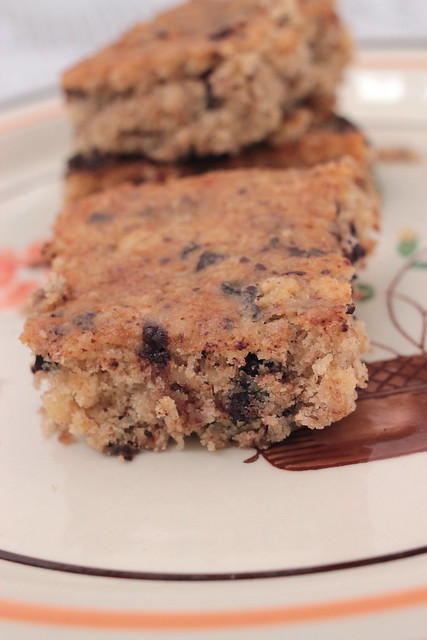
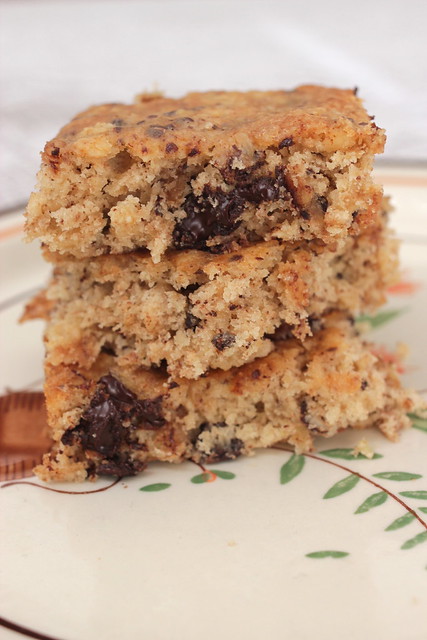
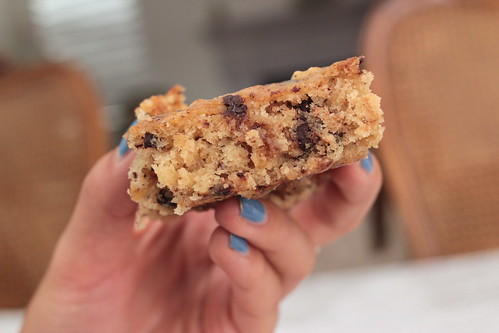
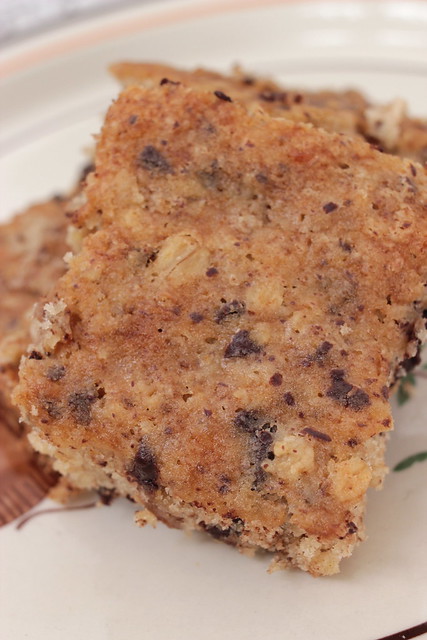
I was craving Ben & Jerry’s “chunky monkey” one night and didn’t want to drive all the way to the grocery store at one o’clock in the morning. Since I had the three main ingredients on hand, I decided to whip something up (not to mention my family somehow has a never ending amount of ripe bananas). Of course these aren’t as good as the real thing, but paired with vanilla ice cream, they’d give them a run for their money. This recipe does make quite a bit, so cut it in half if you’re not feeding a family of twenty.

These bars are very light– they’d make a great breakfast or brunch snack to take on the go. The walnuts can be omitted, and the chocolate can be changed to white or milk… whatever floats your boat.

  • 2 cups AP flour
  • 1 cup oats
  • 1 tablespoon baking powder
  • 1 teaspoon baking soda
  • pinch of salt
  • 1 cup softened butter
  • 1 cups granulated sugar
  • 1 1/2 cups packed light brown sugar
  • 2 eggs
  • 4 very ripe, mashed bananas
  • 2 teaspoons pure vanilla extract
  • 8 oz chopped dark chocolate
  • 1 cup chopped walnuts
  1. Preheat oven to 350 degrees. 
  2. Grease a rimmed cookie sheet with butter or oil.
  3. Cream together the butter and both sugars. 
  4. Mix in the eggs, bananas, and vanilla until well blended.
  5. Mix in the flour, oats, baking powder, baking soda, and salt until incorporated.
  6. Stir in chocolate and walnuts. Spread into prepared cookie sheet and bake for 35-40 minutes, or until toothpick comes out clean.

Filed Under: banana, bars/brownies, chocolate chip, dessert, giveaway, nuts, oatmeal

Marshmallow Monster Cookies

June 9, 2011 by kim 10 Comments

IMG_3695

IMG_3699

IMG_3729

IMG_3714

I’ve got a bone to pick with you guys. With summer coming up in full swing, which sunscreen do you guys use? The spray or lotion kind? I’m usually a lotion kind of girl, but we recently bought the aerosol version since it seemed so much easier to apply.

Never again. The bottle lasted my DB and I literally 3 days. Not only that, but it doesn’t quite spread everywhere. We both got burnt with zebra stripes on our backs/arms/legs, despite our efforts of putting it on twice in one afternoon. Ouch. So it’s more expensive, doesn’t last nearly as long, and isn’t quite effective. I definitely won’t be using the aerosol kind anymore. Am I doing something wrong or does it truly suck?

These cookies were wonderful. They were hearty with a good mix of peanut butter, oatmeal, and chocolate, and had a wonderful texture. They were thick and chewy, while the marshmallows were a nice addition to the mix. My DB even ate these and he HATES oatmeal! He barely noticed that they were even there. This recipe is adapted from Pinch of Yum and lives up to the “monster” name!

  • 2 cups all-purpose flour
  • 1/2 teaspoon baking powder
  • 1 teaspoon baking soda
  • pinch of salt
  • 2 sticks unsalted butter, softened
  • 1 cup granulated sugar
  • 1 cup packed light brown sugar
  • 2 large eggs
  • 1 1/2 tablespoon vanilla extract
  • 1/2 cup peanut butter
  • 2 cups quick-cooking oats
  • 1 cup milk chocolate chips
  • 1 cup white chocolate chips
  • 1 cup miniature marshmallows
  1. Preheat the oven to 350 degrees F. 
  2. Stir together the flour, baking powder and baking soda in a large bowl. 
  3. Cream butter and both sugars until fluffy. Beat in the eggs one at a time, then add the vanilla. 
  4. Add the peanut butter and mix until smooth. Mix in the flour mixture until just combined.
  5. Stir the oats and chips into the dough with a wooden spoon.
  6. Drop the dough by heaping tablespoonfuls onto baking sheets, about 3 inches apart. Push in 4-5 marshmallows into each cookie dough ball. Bake for about 8-10 minutes, until golden.

Filed Under: chocolate chip, cookies, dessert, oatmeal, white chocolate

Moist Chocolate Cupcakes

June 1, 2011 by kim 7 Comments

IMG_4031

IMG_4032

IMG_4052

IMG_4067

Time has really been flying recently. Before I know it, it’s been a week since I’ve updated my food blog. Eeeeep! No bueno. I need to get back on my schedule and keep things organized. It’s hectic since I left my job last week, have been getting ready to move out, and started figuring out my finances until then. I’ve also been addicted to getting furniture on Craigslist for the past couple of weeks. I scored a sweet counter-style dining table with four chairs for only 75 bucks!

This chocolate cupcake comes from foodess and they were alright to me. The texture was great, but the taste was stale. The coffee supposedly brings out the chocolate flavor, but I really think these could have benefitted from using a chocolate bar or some real melted chocolate chips mixed in. The cocoa powder just wasn’t enough. Don’t worry though, you definitely don’t taste any of the coffee! If you’re looking for a chocolate cake recipe, I’d recommend this one. It still stands to be my favorite.

Don’t forget: one more week until the giveaway ends!

  • 2 cups sugar
  • 1 3/4 cups flour
  • 3/4 cup cocoa
  • 1 1/2 tsp baking powder
  • 1 1/2 tsp baking soda
  • 1 teaspoon salt
  • 2 eggs
  • 1 cup buttermilk
  • 1/2 cup butter, melted
  • 1 tbsp vanilla extract
  • 1 cup hot coffee (or 2 tsp instant coffee in 1 cup boiling water, or simply 1 cup boiling water)
  1. Preheat oven to 350 degrees. Line 24 cupcakes with liners.
  2. Mix together sugar, flour, cocoa, baking powder, baking soda, and salt. 
  3. Add in the eggs, buttermilk, melted butter and vanilla extract until combined. Gradually stir in hot coffee.
  4. Fill the cupcake liners 3/4 of the way full and bake for 18-20 minutes, or until toothpick inserted in centre comes out clean. 
  5. Cool completely and finish with a dusting of powdered sugar (or frosting).

Filed Under: cake, cocoa, dessert

  • « Previous Page
  • 1
  • …
  • 88
  • 89
  • 90
  • 91
  • 92
  • …
  • 159
  • Next Page »

hi! i'm kim-- a girl mom, baker, blogger, and ex-flight attendant. welcome!

Search

  • Facebook
  • Instagram
  • Pinterest
  • Twitter

Categories

RODELLE-BABadge


Categories

  • Facebook
  • Instagram
  • Pinterest
  • Twitter

Copyright © 2026 · Foodie Pro Theme by Shay Bocks · Built on the Genesis Framework · Powered by WordPress