Lovin' From the Oven

  • Home
  • About Me
  • Recipes
  • FAQ
  • My Lifestyle Blog
  • Disclaimer

Archives for January 2013

No Bake Chocolate Chip Granola Bars

January 26, 2013 by kim 15 Comments

granolabars-7

For a girl that’s dating a video game lover, I’m really bad at video games. My DB grew up playing with every console and every popular video game he could get his hands on. Sure, I played my fair share of Playstation one games (Spyro, Crash Bandicoot, Rayman, PaRappa the Rapper, Rampage, and Cool Boarders 2, just to name a few), but none of them were first person shooter. The games I played had bubbly characters, unlimited lives, and happy endings.

granolabars

When I found out that The Walking Dead came out with a video game, I wanted to try it immediately. We’re big Walking Dead fans (heck, sign us up for anything zombie related), so naturally, playing my own story and being able to choose my own fate appealed to me. It’s one of those games where you have different situations and sayings you can choose from. Every decision you make in the game affects your storyline.

granolabars-2

Remember those Goosebumps books? The “Reader Beware… Choose Your Own Scare!”? It’s like that, but on the television. The only difference is that you can’t cheat and read all the outcomes ahead of time before choosing which path you want to take.

granolabars-3

I started playing The Walking Dead, but it just wasn’t the game for me. I didn’t know the Xbox controller well enough to quickly press the button when it pops on the screen. That means I couldn’t block when a zombie was lunging at my face. Let’s just say I didn’t last very long playing. Frustrated, I handed the controller back to my DB after a tough ten minutes.

granolabars-4

Still, the storyline intrigued me. The Walking Dead has received many “game of the year” awards, so I knew it was going to be good. I watched my DB play and told him which phrases I would have chosen to say or what actions I would have done. That got too tiring, so I eventually let him play the game and I merely watched.

granolabars-5

We’re currently on the last episode and I’m addicted. The story is so. so. good. If you don’t play video games, have someone else do the dirty work and just watch the story. It’s like being able to watch another season of The Walking Dead while it’s on break.

granolabars-6

Pretty sure we’ll finish this final episode by tonight, but it’s okay because The Walking Dead comes back on air in a couple of weeks. There’s always a way to get your zombie fix.

Not that I’m saying zombies are a good thing. I’d be the first one dead in a zombie apocalypse. My DB, on the other hand, has trained for it pretty much his whole life. Did I ever tell you guys that when he was little, he used to shower with googles on? That way, no one could attack him when he was the most vulnerable and he could keep his eyes open the entire time. Who does that?

granolabars-8

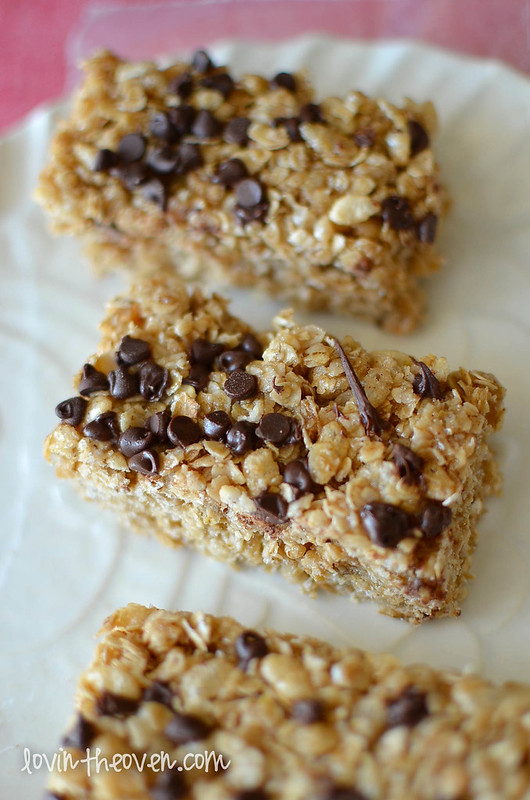
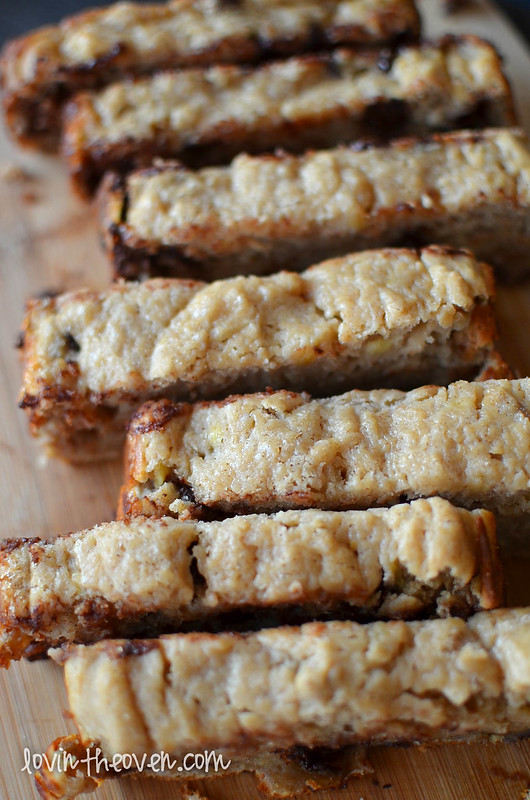
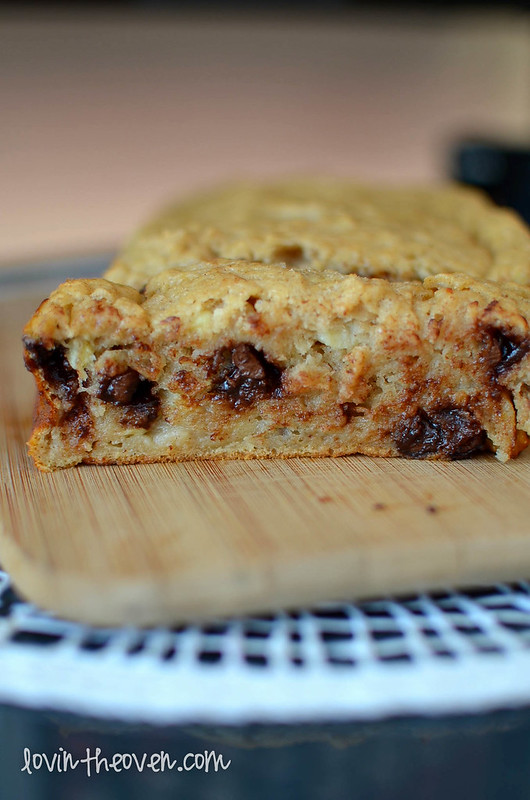
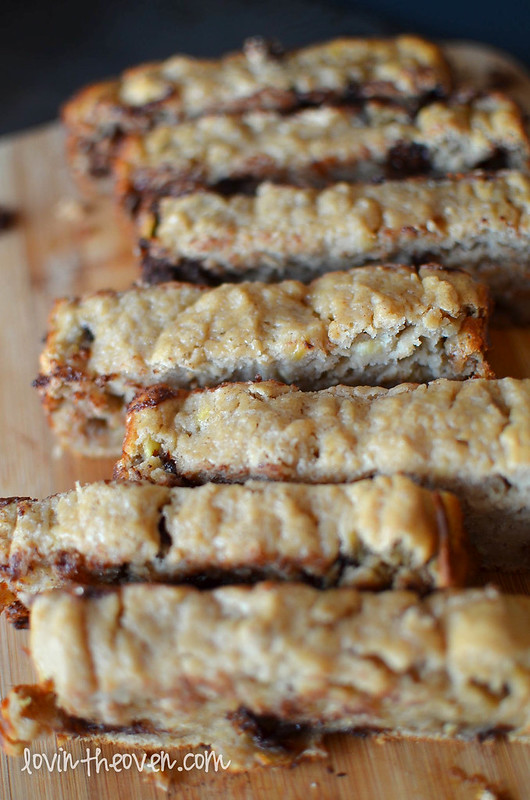
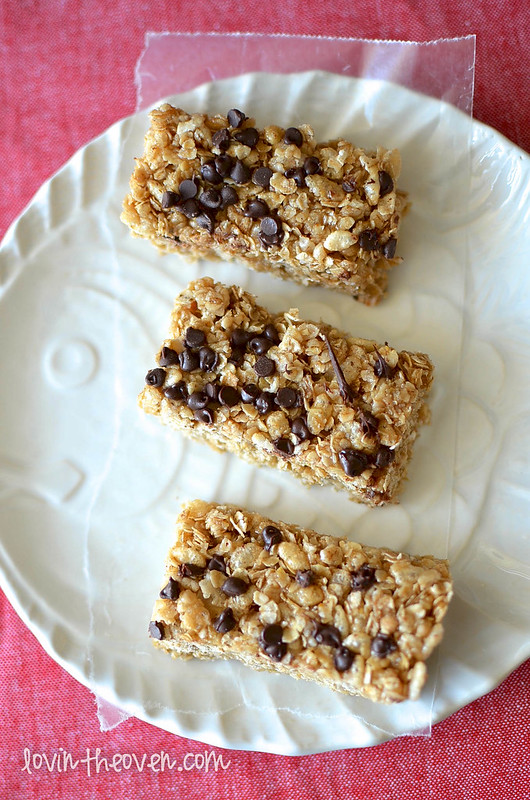
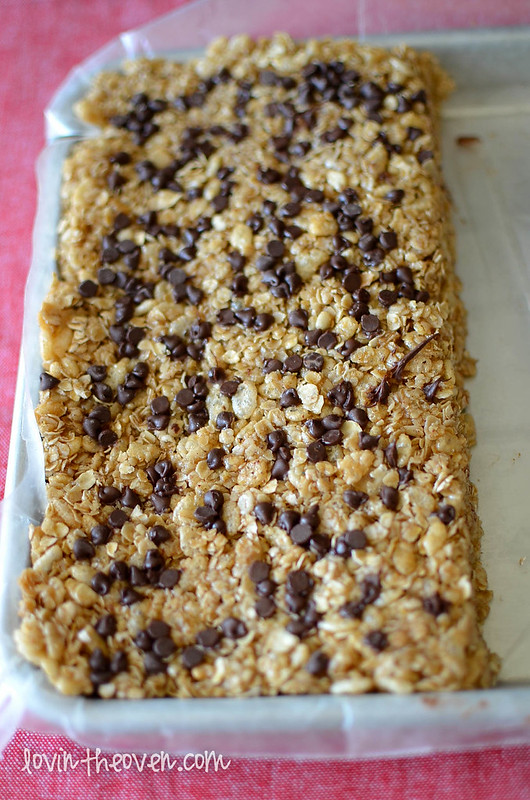
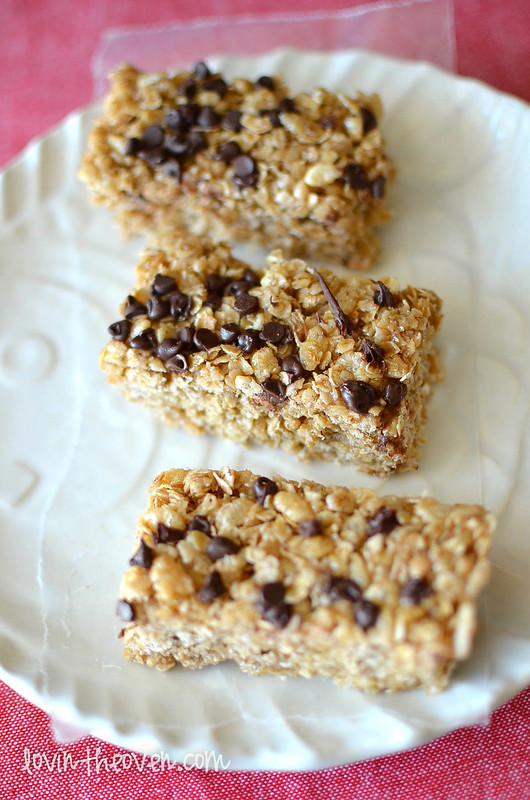
That’s okay, though… because until the zombie apocalypse comes, I’ll be baking my little heart away. Chocolate chip granola bars, anyone? There’s no baking required! No heat, no oven time, and no waiting in front of the oven.

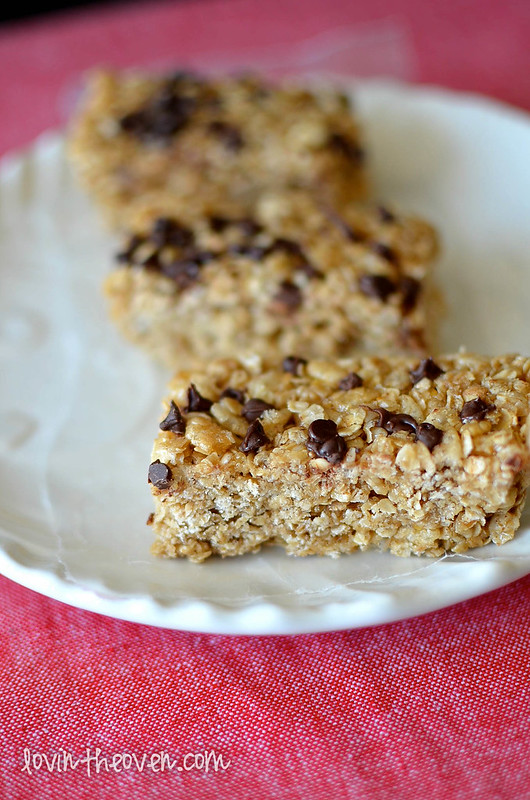
These are easy to whip up and can be easily adjusted. Don’t want chocolate? Throw in some nuts. Want something healthier? Add in some flaxseeds. My DB even loved these granola bars more than the ones from the store, which is saying a lot.

If you don’t have a small jelly pan as the recipe calls for, you can use a large one and flatten them onto one half. Problem solved.

From Lauren’s Latest 

Print
No-Bake Chocolate Chip Granola Bars

Yield: 10 bars

Ingredients

  • 1/4 cup butter
  • 1/4 cup honey
  • 1/3 cup packed brown sugar
  • 2 cups quick cooking oats {not rolled oats!}
  • 1 cup crispy rice cereal
  • 1/2 teaspoon vanilla
  • 2 tablespoons mini chocolate chips

Directions

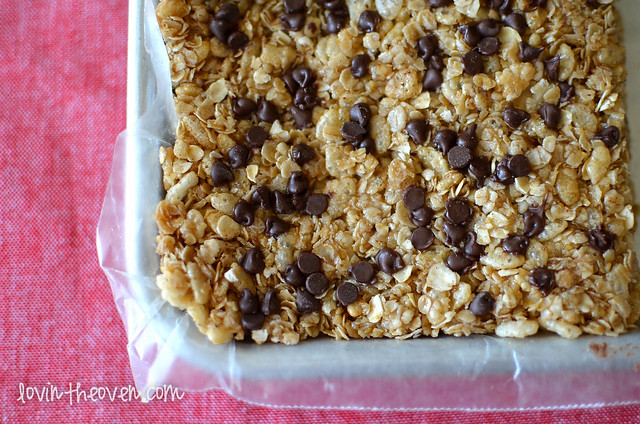
  1. Line a small jelly roll pan (12x8x1) with wax paper.
  2. In a large bowl, stir oats and rice cereal together. Set aside.
  3. In a saucepan, melt the butter, honey and brown sugar together over medium high heat until it begins to bubble. Turn the heat down to low and cook for an additional 2 minutes, constantly stirring.
  4. Once done, stir in the vanilla.
  5. Pour the mixture over the dry ingredients and gently fold until evenly coated.
  6. Pour the entire mixture into half of the pan, pressing down in between. You want the bars to be about 3/4 inch thick. Make sure you pack the mixture tightly on top and the sides.
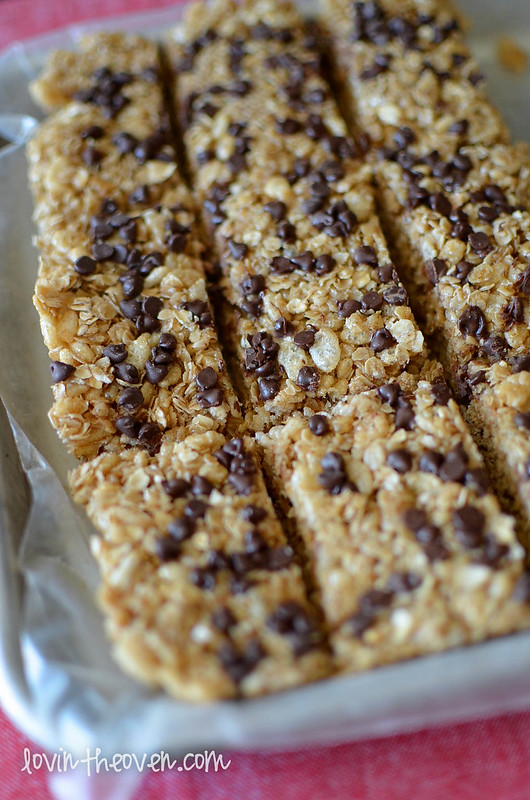
  7. Sprinkle with mini chocolate chips and press down lightly. Cool to room temperature (about 2 hours) before cutting.
  8. To store, wrap in plastic wrap and leave at room temperature.
3.1
https://lovintheoven.com/no-bake-chocolate-chip-granola-bars/


Filed Under: bars/brownies, breakfast, chocolate chip, oatmeal, snack

Chocolate Chip Banana Bread made with Greek Yogurt

January 24, 2013 by kim 59 Comments

bananachocobread-4

I don’t remember if I told you guys, but I took a little time off work this month and next. I was originally planning on doing some traveling, but it doesn’t look like I’ll be able to go anywhere too far since my DB has a pretty strict school schedule. Can he be a 3L already so we can travel?

It’s okay, though. I’ve been able to get a lot of Ebaying done. I haven’t Ebayed in months because it’s so time consuming and I’m away from home a lot, but now’s the perfect time to get all of it done.

bananachocobread

Not only that, but now I have time to do things that I didn’t have time to before. I can try new things in the kitchen: working with yeast, cooking fish, and my favorite.. making ice cream! My DB’s mom gave me an ice cream maker and I’ve already started brainstorming all the possibilities. I’m currently freezing my bowl now so that I can use it in the machine tomorrow.

bananachocobread-2

You guys will be the first to know on how my first ice cream attempt turns out. Do you have any tried and true recipes that I can add to my list? I have no experience whatsoever when it comes to making ice cream. Actually, I take that back. I think I might have made it in first grade classroom with a ziploc bag and some salt and ice, but that’s a little different.

bananachocobread-5

But banana bread– that’s something I’m used to and have made plenty of times in my life. There are always brown bananas on my counter that are waiting to be used up. If I can’t use them in before they turn to complete mush, I’ll peel, slice, and freeze them to use in smoothies at another time. That way, no banana goes to waste.

This recipe uses greek yogurt to get that moisture everyone craves instead of the usual oil. To me, this bread wasn’t anything special. It was definitely moist, though. It didn’t rise as much as I would have liked and was a little too dense. I’ll have to experiment baking with greek yogurt more often. Maybe I’ll add that to my list for this month, too…

From No Sugar Sweet Life

Oh yeah, I got a little fancy (thanks to WordPress)! Now you can print and save recipes from my blog. Hope that helps some of you out!

Print
Chocolate Chip Banana Bread made with Greek Yogurt

Yield: 1 loaf

Ingredients

  • 1 1⁄2 cup plus 3 tablespoons Whole Wheat Pastry Flour
  • 1 1⁄2 teaspoon Baking Powder
  • 1⁄2 teaspoon Salt
  • 1⁄2 cup Brown Sugar (or 1/4 cup agave nectar)
  • 1⁄2 cup Mini Chocolate Chips
  • 2 Ripe Bananas, smashed
  • 1 Egg
  • 3⁄4 cups Greek Yogurt (I used Chobani)
  • 1 teaspoon Vanilla

Directions

  1. Preheat oven to 350 degrees. Grease a large loaf pan.
  2. Mix together bananas, egg, greek yogurt, vanilla, and sugar.
  3. Gradually stir in the pastry flour, baking powder, and salt. Add in the chocolate chips.
  4. Evenly pour the batter into the pan about 3/4 full. Bake for 45 minutes, or until toothpick comes out clean. Cool completely before removing and cutting.
3.1
https://lovintheoven.com/chocolate-chip-banana-bread-made-with-greek-yogurt/

Filed Under: banana, bread, breakfast, chocolate chip

Blogger vs WordPress and How To Make the Switch

January 22, 2013 by kim

test

I’ve had a couple of readers reach out to me about my recent move from Blogger to WordPress. Is it worth it? Do you think I should do it? Which one is better if I’m starting my own blog? I figured I’d compile a post (even though it’s not food related) of my pros and cons for Blogger vs WordPress.

I originally started my blog out on Blogger. The reasons were simple:

  1. It’s completely free. I didn’t have to pay an initiation fee, to have my site hosted, or for a template. Since I was originally starting my blog out for myself to keep track of recipes, I didn’t want to pay for something that I wasn’t going to make a profit from. There were many layouts to choose from and it was easy to customize my background and header with just a few changes in the HTML. A simple aesthetic for a simple blog.
  2. It’s easy to use. Learning how to write posts was a cinch. Click “new post,” scribble away, and then publish. Blogger has an easy interface that anyone could use.
  3. Let’s be honest. WordPress scared the crap out of me. Everyone said that WordPress was for the pros and the big dogs. Since I was a newbie and had no idea what I was doing, why would I jump into that? I wanted to ease into the process. I prefer stepping into the pool one step at a time instead of diving in head first.

As the years went on, I found some cons of having my blog on Blogger:

  1. There are limits. All sorts of limits. Your photo account can only hold up to 1GB of storage. Once you reach that limit, you have to find another party to host your photos on. That could be a problem if, say, I don’t know… you’re a photography blog? Your labels also get capped. You can’t have more than 2000 labels per blog and 20 labels per post. Your blog description can only be 500 characters and your “About Me” has a limit as well. That may not be a big deal, but I just don’t like being restricted.
  2. Your blog is as the mercy of Google. I’ve only heard horror stories about this and have never personally experienced anything myself, but it’s like a recurring nightmare that you have every month. You don’t really think about it, but the possibility of it happening just lingers in the back of your head. What if every single one of my posts just vanished into the black abyss?
  3. There was only so much I could do with my layout. I was always frustrated because my blogger layout was generic. I couldn’t add things where I wanted to. This seems like a lame excuse, but it’s true. WordPress blogs are just prettier.

Now, I’ve only been on WordPress for a couple of days, but I’ve already started noticing a huge difference. Some of those pros include:

  1. Widgets. There are hundreds, thousands of different widgets you can download to customize your website. It’s like having an app store for your blog. Need a widget for popular posts? How about one for ad revenue? Simply download one of your choice and let the creators work their magic. It’s amazing.
  2. The WordPress Forum. Never have I ever seen such a supportive group of users. Simply ask any question you have regarding your WordPress website and there will be a user out there to help you. Can’t get your header right? Don’t know what to do to add a favicon? They’ll tell you. Step by step, even sometimes with picture tutorials. It’s like I’ve found my third family.
  3. It’s a lot more accessible to ads. What this means is that having a WordPress blog opens up the doors for more revenue.
  4. You have complete control and ownership of your blog. As the words in Finding Nemo, “Mine! Mine! Mine!”
  5. My blog is finally pretty! Yay!
  6. Being able to link to your blog posts within the draft. This helps me a ton for my Recipe Index since I don’t have to go back and forth all the time now.

And the cons of WordPress:

  1. Obviously, it’s not free anymore. Although the fee is pretty small ($5-$15 a month, depending on your host), it’s not free anymore. If you’re just blogging diary entries, then having to pay a bill every month isn’t exactly ideal. It may be little, but it adds up in the end. For example, if you’re paying the premium of $15 a month, that’s $180 dollars you’re losing a year. You can do a lot with $180 buckaroos.
  2. If something goes down, you have to fix it yourself. Before, Google would be the one to blame for any glitches going on in Blogger. Now, you have to do the dirty work and fix your own problems because your blog is all you. Literally. You run it, you self-host it, you fix it.
  3. The amount of spam I get. Goodness gracious. Whoever invented spam is the worst! I have only been on WordPress for three days, and I’ve had 140 spam comments. Thank goodness for spam widgets, but still! How is that possible?!

———————————————————————————

On to the next part: how did I go about moving five years of posts from Blogger to WordPress?

Since I didn’t feel like I was tech savvy enough to make the move myself, I confided in a pro to do the job for me. I was terrified of losing my posts, comments, RSS feed, and even worse, my entire blog!

After a bit of research, I found my way to Blogelina. She charged the least and seemed to be pretty reputable. She took care of the entire migration process and kept me in the loop every step of the way. Everything went flawlessly, except for my blog layout. Blogelina only guaranteed to carry over my current layout to the best of her ability, which is exactly what she did. I was in the market for a new layout, anyways, so it wasn’t a big deal for me.

Next, you’ll need to find someone to host your blog. I’d recommend Bluehost for their low prices and unlimited space.

Anddddd… that’s all I’ve got for now. Bottom line: If you’re starting out, want something simple, and don’t plan on having a large blog following, then I’d recommend using Blogger. If you’re comfortable with HTML, are pretty tech savvy, crave customization, and want to utilize your blog for ad space, then I’d recommend signing up for a self hosted WordPress site.

What are you more partial to? Have you thought about making the switch either way?

Filed Under: tips

  • « Previous Page
  • 1
  • 2
  • 3
  • 4
  • …
  • 6
  • Next Page »

hi! i'm kim-- a girl mom, baker, blogger, and ex-flight attendant. welcome!

Search

  • Facebook
  • Instagram
  • Pinterest
  • Twitter

Categories

RODELLE-BABadge


Categories

  • Facebook
  • Instagram
  • Pinterest
  • Twitter

Copyright © 2026 · Foodie Pro Theme by Shay Bocks · Built on the Genesis Framework · Powered by WordPress