Lovin' From the Oven

  • Home
  • About Me
  • Recipes
  • FAQ
  • My Lifestyle Blog
  • Disclaimer

Homemade Egg McMuffin

January 10, 2015 by kim 1 Comment

eggmcmuffins-5

Breakfast is probably my favorite meal of the day. It’s also probably the one that I spend the least amount of time on. One of my New Year’s Resolutions is to change that. I want to be more involved with preparing a decent breakfast.

eggmcmuffins

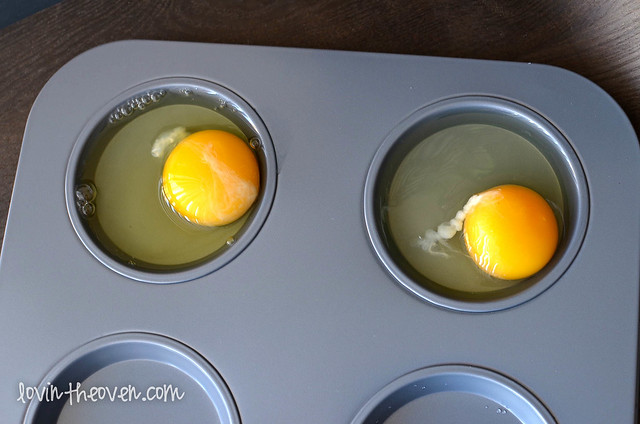
It’s not hard to do so. Making breakfast mcmuffins at home is much easier than you think. It helps when you have this pan from Chicago Metallic. I own a couple of Chicago Metallic pans and I can vouch for each and every one. They’re great! And no, there’s no sponsorship here… just some good ol’ real talk.

eggmcmuffins-2

This pan is known as a “muffin top” pan, but the cavity makes it ideal for our eggs.
eggmcmuffins-4

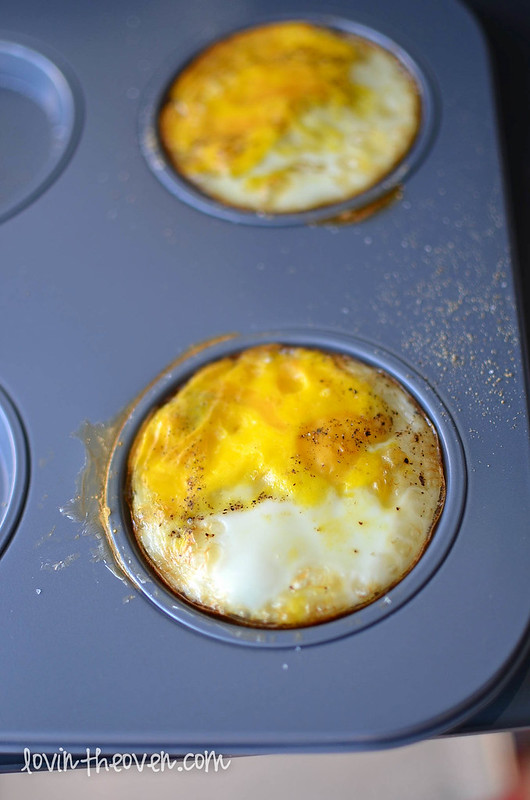
You can even make the eggs ahead of time for the week and then warm them up every morning.
eggmcmuffins-3

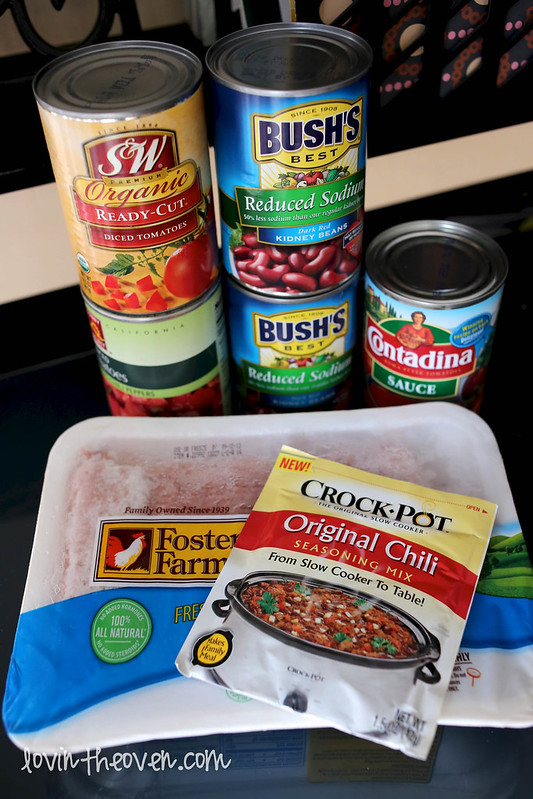
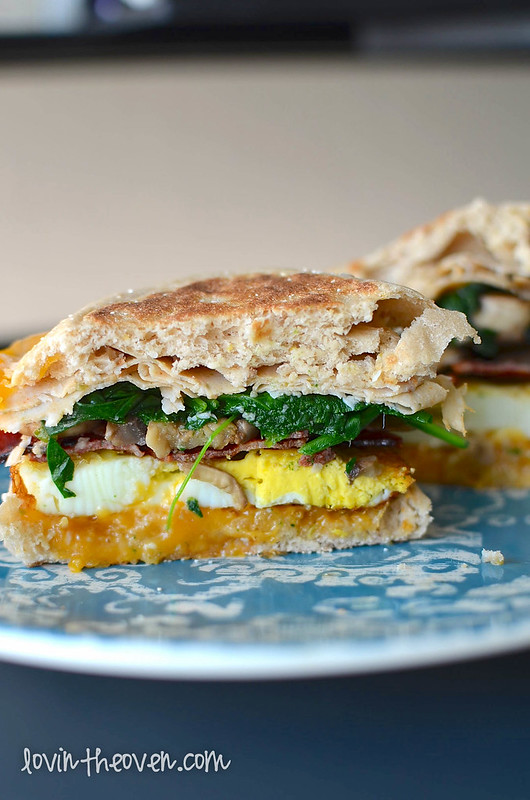
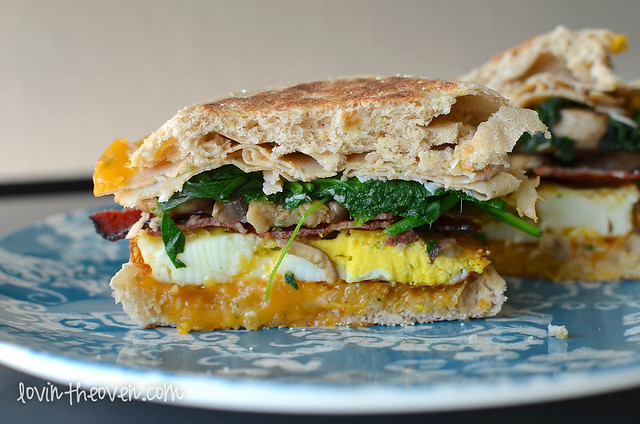
These are the ingredients that I used, but feel free to change them to your liking! Want something simple with just meat and cheese? Or how about adding some bell peppers and making it vegetarian? Go for it.
eggmcmuffins-6

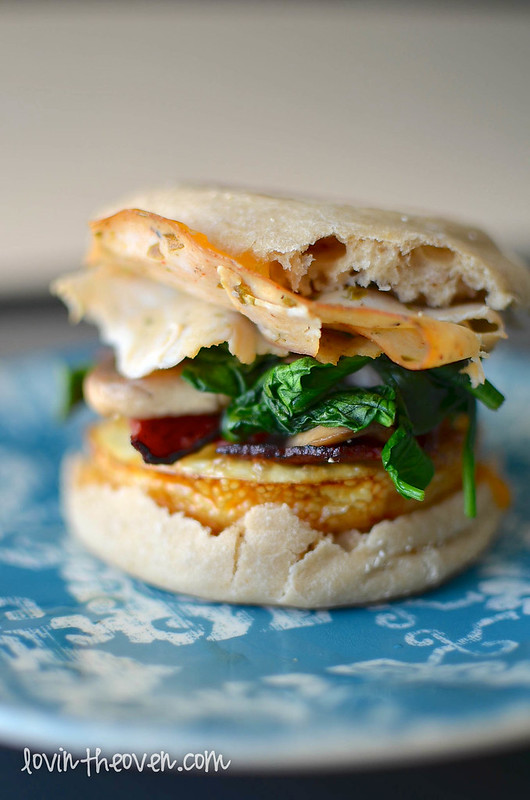
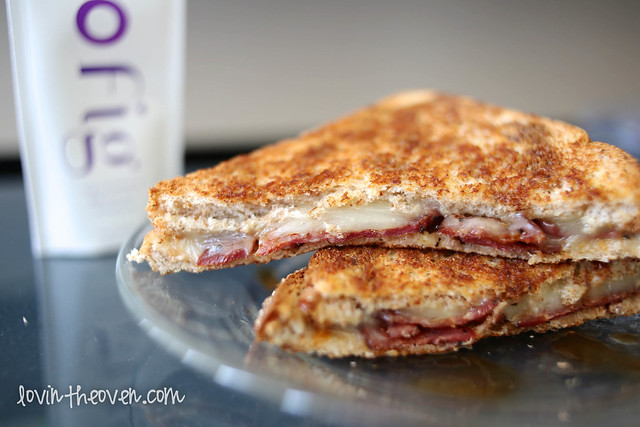
My mcmuffin turned out a little tall. I’m not complaining.
eggmcmuffins-7
eggmcmuffins-8

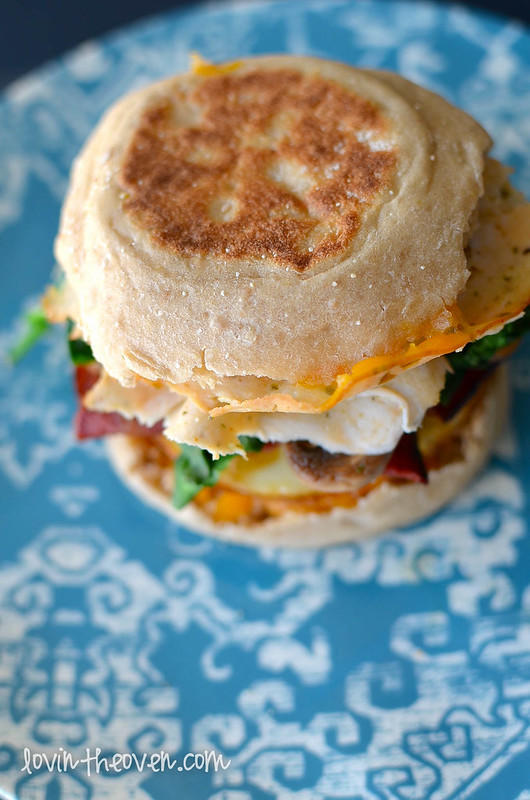
Just the way I like it.
eggmcmuffins-9

Print
Homemade Egg McMuffin

Ingredients

  • 2 english muffins
  • 2 eggs
  • 1/4 cup sautéed mushrooms
  • 1/2 cup spinach, cooked and wilted
  • 2 pieces of bacon, cooked
  • 2 slices of turkey breast
  • shredded cheddar cheese
  • pepper, to taste

Directions

  1. Preheat oven to 350 degrees. Spray two cavities of your baking pan.
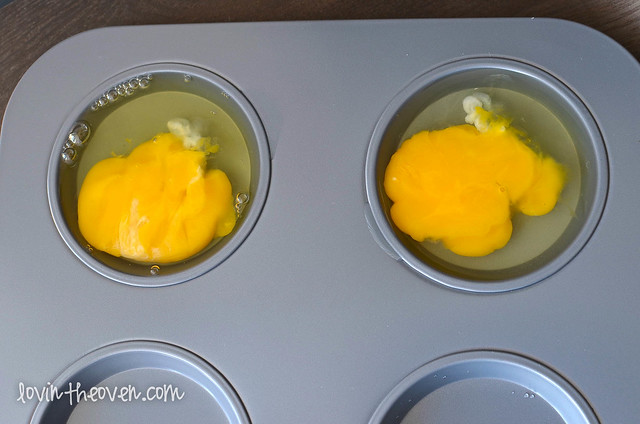
  2. Crack and egg into each cavity. Use a fork to lightly scramble the eggs. Grate some pepper on top.
  3. Bake for 15-17 minutes.
  4. Toast your english muffins. I like to add the cheese on while doing so.
  5. Assemble your sandwich as you'd like. Enjoy!
3.1
https://lovintheoven.com/homemade-egg-mcmuffin/

Filed Under: breakfast, turkey, vegetables

Crock Pot Original Chili

October 29, 2014 by kim 2 Comments

chili-4

Since it’s starting to get colder everywhere else in world except for LA, I figured now would be a good time to share some warm recipes! I’m such a sucker for hot soups. Even when we go out to eat, I’ll often choose a big bowl of soup rather than an entree because it hits the spot. Note to my DH, you got lucky because I’m a cheap date.

chili-7

When it comes to cooking, I will gladly use any shortcut available. A package of all of the necessary seasonings already pre measured? Great. Microwave and it’ll be done in a minute? Even better.

These seasoning mixes from Crock Pot make my life so much easier. Plus, they fool my DH into thinking that I actually can cook! They have packets for other Crock Pot meals, too.

chili-3

See that above? That’s all you need. Seriously! How easy can it get?

chili-6

The result was mouth watering. I also baked some cornbread to go with it, but it tasted wonderful alone.

chili-5

Recipe from the back of the Crock Pot seasoning bag.

Print
Crockpot Original Chili

Ingredients

  • 2 lbs lean ground beef or turkey
  • 2 cans (14.5 oz each) diced tomatoes, undrained
  • 2 cans (15.5 oz) kidney beans, undrained
  • 1 can (15.5 oz) tomato sauce
  • 1 package Crock Pot Chili Seasoning

Directions

  1. Brown meat in skillet and drain fat.
  2. Place cooked meat and remaining ingredients in slow cooker. Stir well.
  3. Cover and cook for 8 hours on low or 4 hours on high. Do not remove cover during cooking.
3.1
https://lovintheoven.com/crock-pot-original-chili/

Filed Under: lunch, turkey

Balsamic Bacon Grilled Cheese

June 7, 2014 by kim 13 Comments

grilledcheese-2

I’ve always had a soft spot for grilled cheese sandwiches, no matter what time of the year it is. They’re simple to make, great to eat on the go, and tasty.

grilledcheese-4

I’ll eat them as is, but I’m a sucker for dipping the ends in a creamy tomato soup.

hatchery

This month’s hatchery box seemed a teeny bit different than the last two. It was packed in a smaller box (don’t worry, the contents haven’t changed.. they’re still wonderfully consistent).

hatchery-3

Then, I read on their Facebook page that after months of testing, Hatchery has come out with a box that’s made from 100% post-consumer fibers! No trees were harmed in the making of your Hatchery box. The crinkle paper tucked away inside the bright red box is also fully biodegradable.

Not only does Hatchery support local artisans, they support the earth with environmentally-conscious materials. I can definitely support a brand like that.

hatchery-4

In this month’s Hatchery Box, we have (from top to bottom, left to right):

  • Organic Blueberry Fruit Spread from Delta Blue Blueberries
  • Glicco’s Arrabbiata Pasta Gravy from Elbow Foods
  •  Motherlode from Murphy’s Mustard Company
  • Maple Flakes from Tonewood
  • Salmon Chemise Spice Blend from Two Snooty Chefs
  • Fig Balsamic Vinegar from O Olive Oil

hatchery-9

I chose to use the fig balsamic vinegar for today’s lunch.

grilledcheese-3

It added a wonderful sour taste that balanced out the creaminess of the cheese. Since balsamic vinegar is great for dipping breads in, it only makes sense that it would taste just as good drizzled on top of a sandwich.

grilledcheese-5

The sample that I used had plenty for making one sandwich. In fact, I’m sure you could use one packet from your Hatchery Box to top off four sandwiches.

grilledcheese

You can sign up for your own Hatchery Box shipment for just $20/month here. You’ll get 5-6 hand selected artisan ingredients sent straight to your door. It’s a great way for trying ingredients that you never would have thought about trying before. After three boxes, I’m still a fan!

Print
Balsamic Bacon Grilled Cheese

Ingredients

  • 2 slices of wheat bread
  • 1 teaspoon butter
  • 1 slice of muenster cheese
  • 2 slices of bacon, cooked
  • about 1 teaspoon Fig Balsamic Vinegar (or more, if desired)

Directions

  1. Spread butter on one side of both breads.
  2. In a skillet over medium heat, place one slice of bread with the butter side facing down. Layer the cheese and bacon on top, followed by the last slice of bread (butter side up).
  3. Let cook until brown, about 2 minutes.
  4. Carefully use a spatula and flip your sandwich, allowing the other side to brown as well.
  5. Once down, slice in half and drizzle balsamic vinegar on top.
3.1
https://lovintheoven.com/balsamic-bacon-grilled-cheese/

Filed Under: bread, lunch, sandwich, turkey

  • « Previous Page
  • 1
  • 2
  • 3
  • 4
  • Next Page »

hi! i'm kim-- a girl mom, baker, blogger, and ex-flight attendant. welcome!

Search

  • Facebook
  • Instagram
  • Pinterest
  • Twitter

Categories

RODELLE-BABadge


Categories

  • Facebook
  • Instagram
  • Pinterest
  • Twitter

Copyright © 2026 · Foodie Pro Theme by Shay Bocks · Built on the Genesis Framework · Powered by WordPress