Lovin' From the Oven

  • Home
  • About Me
  • Recipes
  • FAQ
  • My Lifestyle Blog
  • Disclaimer

Lemon Poppyseed Mini Muffins

June 12, 2015 by kim 1 Comment

IMG_3069

You know you’re getting old (or growing up, however you want to look at it) when you get excited about a toilet paper deal. That was me yesterday. I bought 100 rolls of toilet paper for my ginormous household of two. Why not? It’s something you’re always going to need. Running out of toilet paper would be a disaster!

Now I just need to figure out how to extreme coupon…

IMG_3073

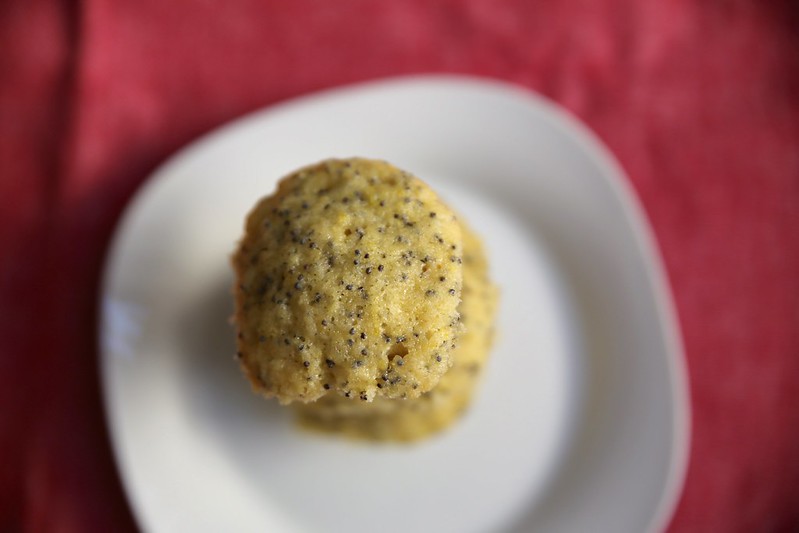
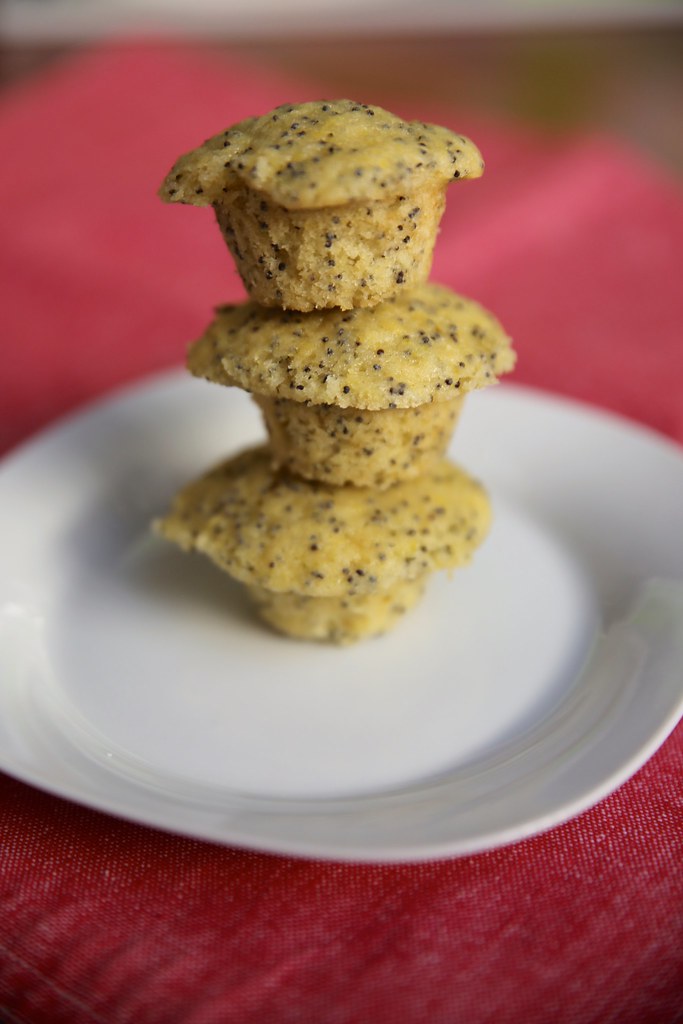
These lemon poppyseed mini muffins are just the thing for summer. They’re light and fresh, perfect for a poolside snack. Mini size snacks are great for parties because everyone can have a taste without getting too messy.

Recipe from She’s in the Kitchen

Print
Lemon Poppyseed Mini Muffins

Ingredients

  • zest of two large lemons
  • 6 tablespoons poppyseeds
  • 3 cups King Arthur all-purpose flour
  • 1 and 1/2 cups sugar
  • 2 teaspoons baking powder
  • 6 large eggs
  • 1 tablespoon vanilla
  • 6 tablespoons milk
  • 3 sticks unsalted butter, softened, room temperature

Directions

  1. Preheat oven to 350 degrees. Grease a mini muffin pan.
  2. Mix together the lemon zest, poppy seeds, flour, sugar, and baking powder.
  3. Add the eggs, vanilla, and milk. With mixture still on low, add the butter, a little at a time.
  4. Mix until the batter is smooth and creamy.
  5. Scoop batter into muffin tins. Bake for 18-20 minutes, or until toothpick comes out clean.
3.1
https://lovintheoven.com/lemon-poppyseed-mini-muffins/

Filed Under: breakfast, lemon, muffins

Classic French Madeleines

January 6, 2015 by kim 19 Comments

IMG_3621Happy New Year, fellow blog readers! I was a bit ambitious for our New Year’s party and tried my hand at madeleines for the first time. Thanks to this Madeleines book by Barbara Feldman Morse, it was a cinch.

IMG_3661Madeleines are the perfect excuse for having a party. After prepping and baking a couple of different flavors, you can set up a sprinkles/toppings bar for guests to decorate their own madeleines. Kids, especially, would love it!

IMG_3624I chose to try classic french madeleines and dark chocolate espresso madeleines so I could have the best of both worlds. To be honest, my first batch was a disaster. Not because they turned out terrible, but because I thought I could hold the pan with one hand right out of the oven. The corner of the pan just bumped the side of the oven when they came out and the whole batch went tumbling down.

IMG_3639It wasn’t all bad, though. I managed to salvage two and a half madeleines. My DH ate the half and then quickly finished off the other two so I knew they were good. Not to worry, I was planning on making a couple of batches anyway. I only had one madeleine pan to bake with, so I was making twelve at a time (half a batch). The pan that Quick Books sent me is awesome. Nothing stuck, the madeleines shaped wonderfully (assuming you put in just the right amount of batter), and it’s lightweight and heavy duty at the same time.

IMG_3649I enjoyed the madeleines plain, but my DH preferred them dipped in dark chocolate. I threw an assortment of sprinkles on top for the new year. Plus, they’re more eye-catching with bold and bright colors.

IMG_3655

IMG_3659This is the first time that I’ve baked with vanilla bean paste and let me tell you, it’s a game changer. The little specks of vanilla bean laced throughout the layers of each madeleine enhanced the flavor. As for the dark chocolate madeleines, the large amount of coffee added into the batter deepened the cocoa.

IMG_3666From what I’ve learned after my many batches, here are a couple of tips for your first time:

  1. Filling up the pan cavity almost all the way was too much for me. They overflowed. It’s better to start out with a little less than a little too much.
  2. When they say to mix the eggs and sugar together for five minutes, do it! The aerating is necessary for a light and fluffy madeleine. A mixer is your best friend when it comes to making madeleines.
  3. Use top of the line ingredients. Since there are so few ingredients in making a basic madeleine, it makes a huge difference the quality of your butter, vanilla, and chocolate.
  4. Baking spray is your best friend. If you generously cover your pan, those babies will slip out with little effort.
  5. Speaking of getting them out of a pan, I inverted them over a cooling rack and gently tapped the back of the pan to let them fall out. For the ones that didn’t come out out on their own, I used my finger to gently push one corner of the madeleine and they’d just slide out without a problem.
  6. You must let them cool on a baking rack. Leaving them on a flat surface will not cut it because both sides need to cool.
  7. The texture changes dramatically straight from the oven to after cooling. They’ll be a lot more dense after being cooled. I prefer to eat them warm and fluffy, but that timeframe’s very small.

IMG_3669Now, thanks to my friend over at Quirk Books, I’m giving away a copy of Madeleines and a madeleine pan for one reader to bake with this new year! The book has more recipes than you’ll ever need to entertain. There’s sweet, savory, light, heavy, fruity, and indulgent. Enter via the Rafflecopter below.IMG_3678

Print
Classic French Madeleines

Ingredients

  • 8 tbsp (1 stick) unsalted butter
  • 1 cup all purpose flour
  • 1/2 tsp baking powder
  • 3 large eggs
  • 1/2 cup granulated sugar
  • 1 tsp vanilla bean paste or vanilla extract
  • 1 1/2 tsp freshly grated lemon zest (I subbed this with grated vanilla beans)

Directions

  1. Place a rack in the center of the oven and preheat oven to 350 degrees F. Coat two 12-shell pans with baking spray.
  2. In a small bowl, whisk together flour and baking powder.
  3. Place butter in another bowl and microwave on low power for 1 minute, or until melted. Allow to cool to room temperature.
  4. Place eggs and sugar in a 2-quart glass bowl or measuring cup and beat with a hand or stand mixer on medium-high speed until mixture is light and fluffy, about 3 to 5 minutes.
  5. Add vanilla and zest and continue beating for another minute or so. Fold in the flour mixture until just blended, then drizzle the cooled butter over the batter and incorporate completely.
  6. Using a 1 1/2 inch-diamter scoop or a teaspoon, fill shell molds with bater until almost full. Gently press batter to distribute it evenly.
  7. Bake for 10 to 12 minutes, until madeleines puff up and are golden brown.
  8. Remove pans from oven and let cool on a wire rack for 2 to 3 minutes, then invert and tap madeleines onto the rack. You may also use a small offset spatula to remove each one individually. Let cool completely if planning to store and/ or freeze. Otherwise, serving madeleines warm from the oven is best!
3.1
https://lovintheoven.com/classic-french-madeleines/

a Rafflecopter giveaway

This is a sponsored post, but the opinions expressed are my own.

Filed Under: book review, cake, chocolate chip, cocoa, coffee, dessert, food porn, giveaway, lemon, white chocolate

Lemon Chicken Orzo Soup

November 6, 2014 by kim 2 Comments

chickensoup-3

I am such a weakling when it comes to cold weather. It dropped down to 65 degrees F last week in Los Angeles, and I was busting out all of the blankets to put on the couch. My feet were freezing and I was wearing ponchos in the house. My DH thought I was crazy.

chickensoup-2

Still, I’d take cold weather over scorching hot ones any day. I love staying in and cuddling with a cup of tea. Throw in a bowl of soup and I’m done for. Soup is actually one of the dishes that I feel comfortable cooking (and that’s saying a lot!). It’s lot a crockpot on the stove. Throw the ingredients together and let the soup simmer for a couple of minutes. Done.

chickensoup

This was a warm and hearty soup. The lemon flavor truly shines through and meshes wonderfully with the orzo and chicken. Recipe adapted from Cooking Light.

Print
Lemon Chicken Orzo Soup

Ingredients

  • 1 tablespoon olive oil
  • 1 1/2 tablespoons dried onion
  • 3 cloves garlic, minced
  • 2 carrots, peeled and sliced into 1/4 inch thick
  • 1 celery stalk, thinly sliced
  • 4 cups water
  • 4 cups (2 cans) chicken stock
  • Juice of 2 lemons
  • 2 teaspoons dried basil
  • 2 teaspoons garlic powder
  • 8 oz (1.5 cups) orzo pasta
  • 2 chicken breasts, cubed
  • Salt and pepper, to taste

Directions

  1. In a large stockpot, heat the olive oil over medium-high heat. Add the onion, garlic, carrots, and celery and cook until tender, about 5 minutes.
  2. Add the chicken broth, lemon juice, dried basil, and garlic powder and bring to a boil. Cover, reduce heat to low, and cook for 20 minutes.
  3. Add the shredded chicken and orzo to the pot and cook for about 10 minutes, until the orzo is tender.
  4. Season with salt and pepper to taste before serving.
3.1
https://lovintheoven.com/lemon-chicken-orzo-soup/

Filed Under: carrot, chicken, comfort food, lemon, lunch, pasta, vegetables

  • « Previous Page
  • 1
  • 2
  • 3
  • 4
  • Next Page »

hi! i'm kim-- a girl mom, baker, blogger, and ex-flight attendant. welcome!

Search

  • Facebook
  • Instagram
  • Pinterest
  • Twitter

Categories

RODELLE-BABadge


Categories

  • Facebook
  • Instagram
  • Pinterest
  • Twitter

Copyright © 2026 · Foodie Pro Theme by Shay Bocks · Built on the Genesis Framework · Powered by WordPress