Lovin' From the Oven

  • Home
  • About Me
  • Recipes
  • FAQ
  • My Lifestyle Blog
  • Disclaimer

Sir Kensington’s Chocolate Chip Walnut Cookies

October 28, 2013 by kim 2 Comments

baking-38

I’ve heard of using mayonnaise in cakes, but have you ever tried them in cookies? Sir Kensington gave me the idea of doing so by sending over a recipe for chocolate chip walnut cookies, along with some gourmet mayonnaise and ketchup.

baking-20

baking-19

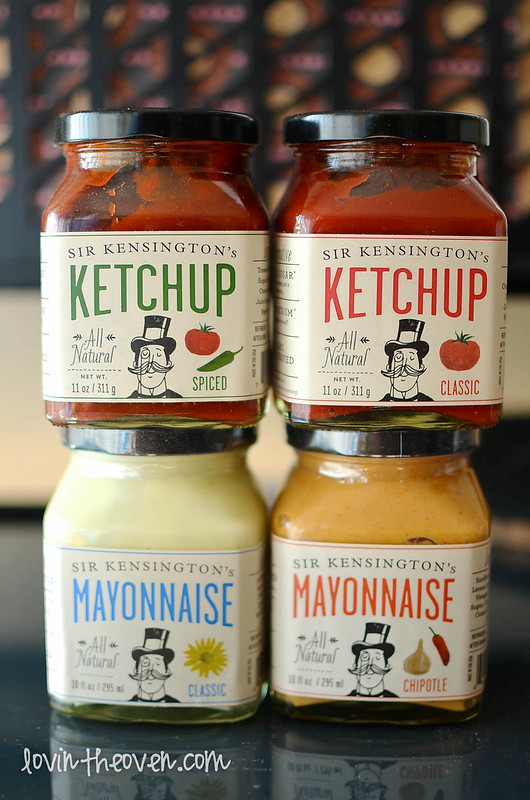
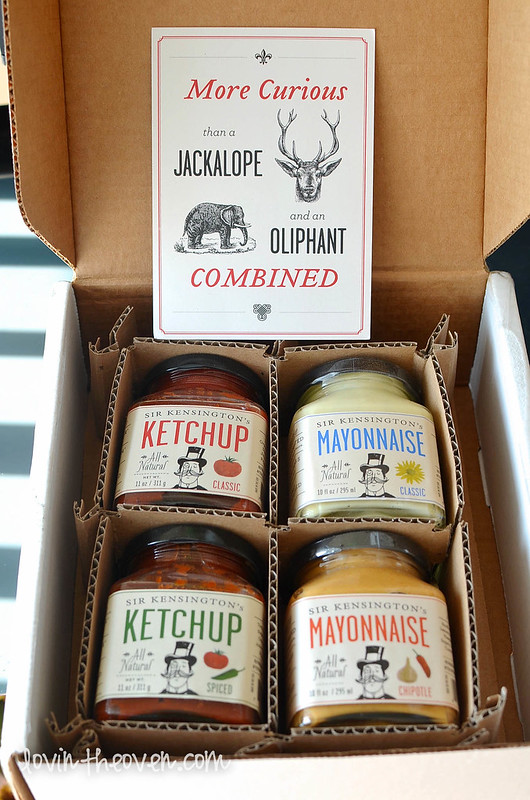
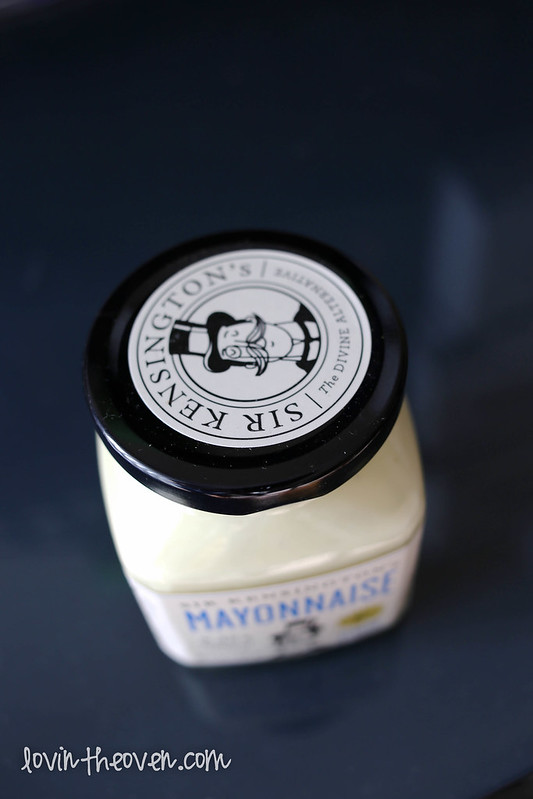
How cute is their packaging? They pretty much nailed it on the fonts, logo, and colors. I’m a sucker for a cute cartooned man with a monocle, mustache, and top hat.

baking-33

baking-34

baking-32

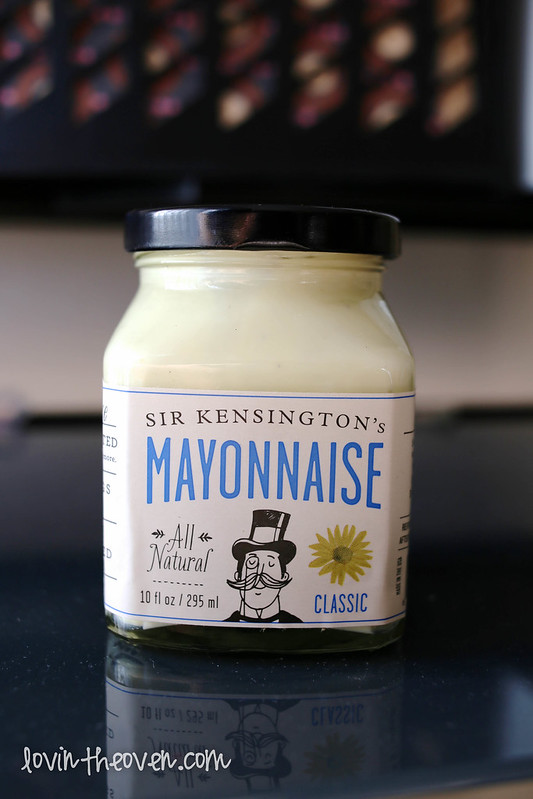
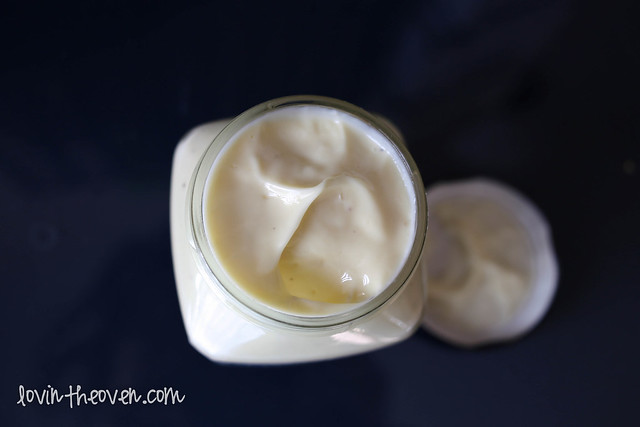
Once I popped open the jar, I could immediately tell the difference in quality between Sir Kensington’s and commonly found mayonnaise. It was thick, creamy, and exceptionally smooth.

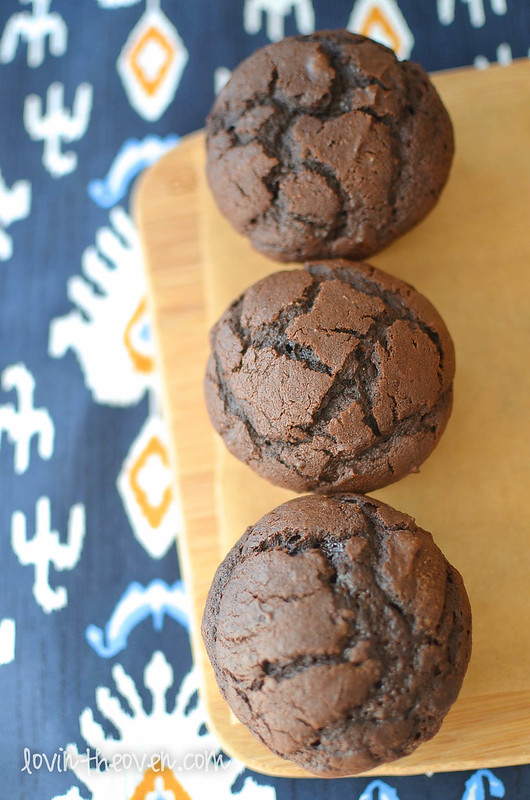
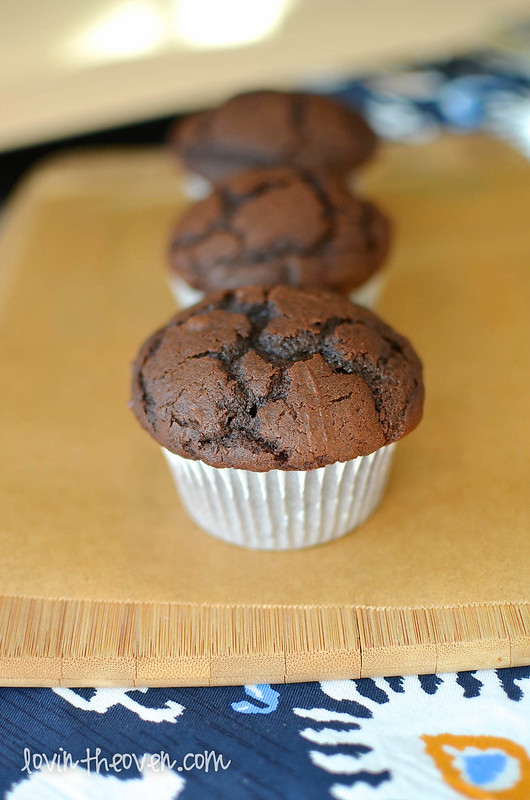
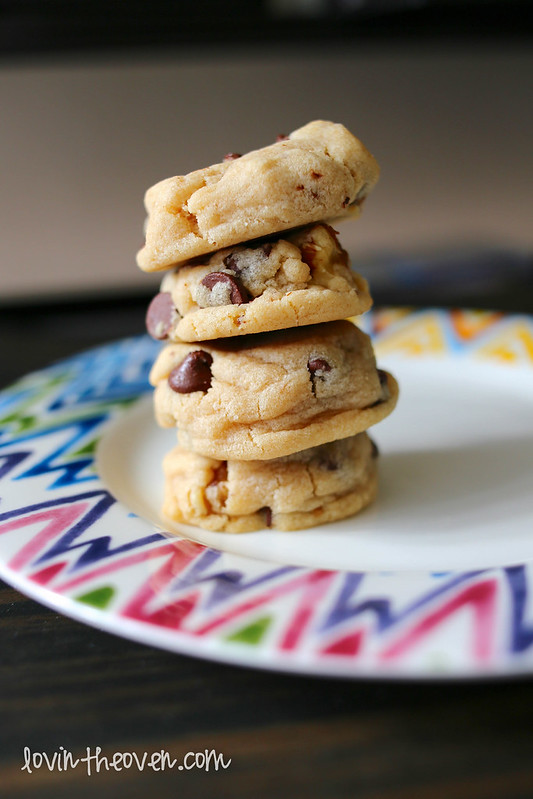
I’ve never baked mayonnaise into cookies, so I was anxious to see the results. I will admit that the dough was a bit crumbly for my taste. Since there were no eggs in the recipe, the mayo was responsible for holding the dough together.

baking-35

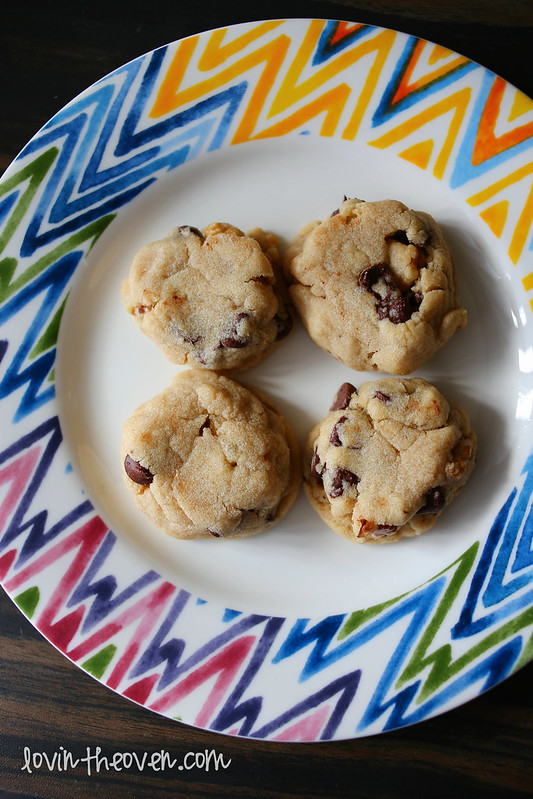
After pressing the cookie dough with my hands into dough balls, I plopped them on the cookie sheet to bake. Since the dough was more crumbly and dry than my regular cookie dough, I knew the cookies wouldn’t be spreading very much. I baked them for 5 minutes as dough balls, but decided to press down on the tops just a bit with a spatula so they would flatten out.

baking-36

That did the trick. The cookies didn’t spread or flatten at all on its own. You need to really help mold the dough into the shape that you want your cookie to be. This would probably be a great recipe for cutting shapes out of. I can even see myself using this recipe again and filling a metal cookie cutter with the dough prior to putting in the oven, which would create a fun shaped cookie that can hold its shape.

baking-39

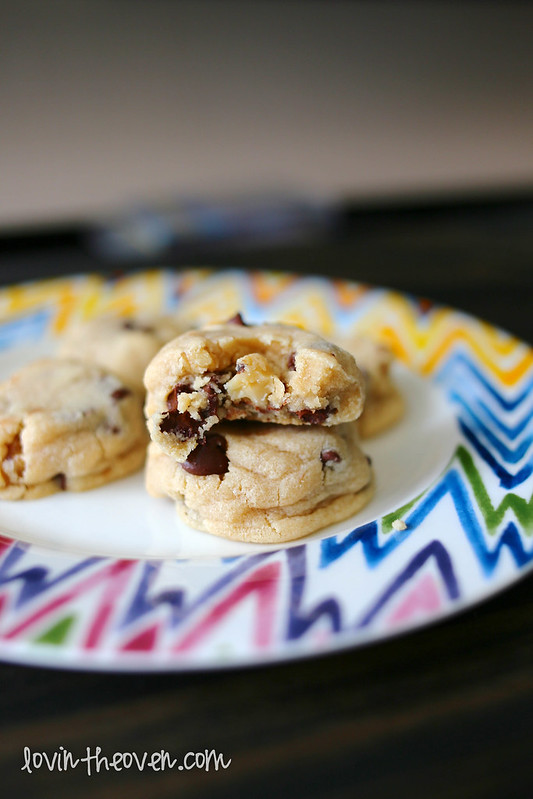
Since there are no eggs in the recipe, the cookie dough is safe to eat. I must warn you that the cookie dough did have a strong mayo taste even though I only used a tiny bit. However, after baking, the mayonnaise taste seems to just disappear from the cookie, leaving you with a light, crumbly, shortbread-like consistency.

You can find Sir Kensington’s products at Sur La Table, Safeway, and Whole Foods, just to name a few. Heck, you can even buy them online!

Print
Sir Kensington’s Chocolate Chip Walnut Cookies

Prep Time: 10 minutes

Cook Time: 8 minutes

Total Time: 18 minutes

Yield: 2 dozen cookies

Ingredients

  • ½ cup butter
  • ½ cup granulated sugar
  • ½ cup brown sugar
  • 3 tablespoons Sir Kensington’s Classic Mayonnaise
  • 1 teaspoon vanilla
  • 1 ½ cups flour
  • ½ teaspoon baking soda
  • ¾ cup semisweet chocolate chips
  • ½ cup walnuts, roughly chopped

Directions

  1. In a large bowl cream the butter, granulated sugar and brown sugar. Add mayonnaise and mix well. Add vanilla.
  2. In a separate bowl sift together the flour and baking soda. Gradually add the flour mixture to the wet ingredients. Add chocolate chips and walnuts.
  3. Drop dough by rounded spoonfuls onto ungreased cookie sheet. Bake at 375 degrees for 8-9 minutes or until they begin to brown.
3.1
https://lovintheoven.com/sir-kensingtons-chocolate-chip-walnut-cookies/

I received product to review, but the opinions expressed are my own.

Filed Under: chocolate chip, cookies, dessert, nuts

Chocolate Pumpkin Cupcakes

October 26, 2013 by kim 1 Comment

chocolatepumpkin-4

Confession: I have been watching this YouTube video on repeat with tears streaming down my face. It’s a Crest commercial for Halloween treats gone wrong and it’s the reason why I love kids so much. They have nothing to hide and will tell you exactly how it is.

chocolatepumpkin-2

I’m sure the kids would enjoy these cupcakes much more than the vegetable treats in the video.

This recipe came from Panera‘s chefs and is inspired by their fall menu. Pumpkin and chocolate— what’s more Halloween than that?

chocolatepumpkin

Have you ever seen a more beautiful naked cupcake than this? They rose so high that I almost felt bad covering up the perfect dome. The higher the cupcake, the less frosting that you have to use. That makes it a little healthier, right?

chocolatepumpkin-3

I kept it simple and frosted the cupcakes with a ziploc bag. It was convenient since the frosting had to sit in the refrigerator for a couple of hours prior to decorating.

chocolatepumpkin-5

Did I mention that this is pumpkin cheesecake frosting? Why didn’t I think of that?

chocolatepumpkin-6

chocolatepumpkin-7

chocolatepumpkin-8

chocolatepumpkin-9

chocolatepumpkin-10

These pictures don’t do the cupcakes justice. I wish you could reach through the screen and feel how moist the cake is. Alright I take that back… that sounds a little weird. There may be a bit of pumpkin in the cake batter, but you don’t really taste it. The dark cocoa that I used was more overpowering. The pumpkin flavor definitely comes through in the frosting, though.

chocolatepumpkin-11

I brought the cupcakes to work with me using a Chinet pan. Their pans always come in handy for me since I deliver baked goods a lot to my friends and coworkers. You can bring food with you anywhere (In my case, it was in the car, walking with luggage, through security, and on an airplane) and not have to worry about bringing the carrier back home.

chocolatepumpkin-12

I was able to celebrate fall and share the cupcakes with my crew. The first officer even said that it was one of the best cupcakes that she had ever tried! Who says you can’t have cupcakes for breakfast on an airplane?

I also used the pan to store the cupcakes in the refrigerator overnight and the pan kept it’s shape and didn’t sag. Sometimes, when you expose carriers to different temperatures, they begin to sag in the middle and lose its shape. This was not the case.

chocolatepumpkin-13

The lids latch on, so I didn’t have to worry about cupcakes flying out through the security line. It makes my life a whole lot easier when I’m not looking like a hot mess running through the airport.

Print
Chocolate Pumpkin Cupcakes

Prep Time: 30 minutes

Cook Time: 25 minutes

Total Time: 3 hours, 55 minutes

Yield: a dozen cupcakes

Serving Size: 12

443

16 g

Having a Halloween party? With real pumpkin in both the chocolate cake and the orange-colored cream cheese frosting, these lightened-up treats will steal the show.

Ingredients

    Frosting:
  • ¼ cup butter, softened
  • 8 ounces (1 cup) reduced-fat cream cheese
  • 3½ cups confectioners’ sugar
  • ¼ cup canned pumpkin puree (not pie filling)
  • ½ teaspoon pumpkin-pie spice
  • 1½ teaspoons vanilla extract
  • Cupcakes:
  • 3 tablespoons butter, softened
  • 1¼ cups sugar
  • 2 eggs, at room temperature
  • ½ cup canned pumpkin puree (not pie filling)
  • 1 teaspoon vanilla extract
  • 1½ cups all-purpose flour
  • ⅔ cup unsweetened cocoa powder
  • 1½ teaspoons pumpkin-pie spice
  • 1½ teaspoons baking powder
  • ¾ teaspoon baking soda
  • ¼ teaspoon salt
  • ⅓ cup low-fat buttermilk
  • 3 tablespoons canola oil

Directions

  1. For the frosting, beat the butter and cream cheese in a large bowl with an electric mixer on medium-low speed until blended, 1 to 2 minutes. Add the confectioners’ sugar and beat until blended, 1 to 2 minutes. Scrape down the inside of the bowl; then add the pumpkin, pumpkin-pie spice, and vanilla extract and beat until blended, 2 minutes more. Spoon the frosting into a pastry bag or zip-top bag, seal the bag, and refrigerate the frosting until it is cold, at least 3 hours or up to 2 days. Makes about 3½ cups.
  2. For the cupcakes, heat the oven to 350°F. Line a 12-cup muffin pan with cupcake papers.
  3. In a large bowl, beat the butter and sugar with an electric mixer on medium speed until sandy in texture, 2 to 3 minutes. Add the eggs, one at a time, beating well after each addition. Beat in the pumpkin puree and vanilla extract.
  4. In a medium bowl, whisk together the flour, cocoa powder, pumpkin-pie spice, baking powder, baking soda, and salt. Add the dry ingredients to the egg mixture alternately with the buttermilk and oil in three additions, beating on low speed after each addition.
  5. Fill the muffin cups with batter and bake until a toothpick inserted in the center of one cupcake comes out clean, 20 to 25 minutes. Cool the cupcakes in the pan on a rack for 10 minutes. Remove them from the pan to cool completely on the rack.
  6. Attach a tip to the pastry bag or snip off a corner from the zip-top bag, and squeeze the frosting onto the cupcakes.

Notes

Recipe from www.panerabread.com

3.1
https://lovintheoven.com/chocolate-pumpkin-cupcakes/

This is a sponsored post, but the opinions expressed are my own.

Filed Under: cocoa, cupcake, dessert, frosting, pumpkin

Dark Chocolate Peeps Cookie Sandwiches

October 12, 2013 by kim 2 Comments

peeps-14

Have you bought your Halloween candy yet? It’s less than two weeks away! Before you know it, you’ll have to start pulling out your pumpkins and leaf decorations for Thanksgiving.

peeps-10

peeps-12

If you still have to do your candy shopping, don’t fret. Peeps has a wonderful line of individually wrapped marshmallow chicks, easy for giving away to trick or treaters.

peeps-2

See? I know what I’m giving away to kids! I don’t get any trick or treaters in my apartment complex because it’s a little difficult to get into, but I’ll be giving these away at work.

peeps-3

peeps-4

They’re quite cute and the perfect size for snacking. Plus, they come in bright and festive Halloween colors!

But today, I’m focusing on the regular Peeps-sized ghosts. The sugar glistening on top always draws me in. Sugar’s a magical thing, I tell ya.

peeps-5

That middle row of ghosts look much friendlier than the bottom. I especially love the Elvis hairdo in the center.

peeps-6

All I did was bake dark chocolate cookies, stick a ghost on top of an upside down cookie, microwaved it for a couple of seconds to get the marshmallow mushy, and then twist another cookie on top. Voi-la! You just made a cookie sandwich.

peeps-7

peeps-8

The deep chocolate brown color of the cookies would look great on a Halloween themed plate, don’t you think?

peeps-11

I played with the microwaving time to see what would result in the best marshmallow consistency. Ten seconds is far too long, but five seconds is not enough. See the cookie on the bottom left? That was ten seconds.

peeps-13

It’s not a bad thing, it just wasn’t perfect. I wanted the marshmallow to stay in between the cookies, not ooze out.

peeps-15

peeps-16

No matter, I’ll eat them all.

Print
Dark Chocolate Peeps Cookie Sandwiches

Ingredients

  • 1/2 cup softened butter
  • 1/2 cup light brown sugar
  • 1/4 cup white sugar
  • 1 egg
  • 2 tsp vanilla
  • 2/3 cups dark chocolate chips
  • 1 cup all purpose flour
  • 1/4 cup dark cocoa powder
  • 1 1/2 teaspoons baking soda
  • pinch of salt
  • Marshmallow Peeps

Directions

  1. Preheat oven to 330 degrees F.
  2. Cream together the butter and both sugars. Mix in the egg and vanilla.
  3. In a microwave safe bowl, melt the dark chocolate chips. With the mixer on low, beat the melted chocolate into the butter/sugar batter until smooth.
  4. Gradually add in the flour, cocoa powder, baking soda, and salt until just combined.
  5. Chill for at least 30 minutes.
  6. Roll the dough into large golf sized balls and drop onto a baking sheet. Bake for 16 minutes.
  7. To assemble the sandwiches, make sure your cookies have completely cooled. Then take one and flip it upside down so that the the flat end is facing up. Put a Peep on top and place in microwave for 6-7 seconds (10 seconds is too long!). Remove from the microwave and use another cookie to smash the marshmallow in between.
3.1
https://lovintheoven.com/dark-chocolate-peeps-cookie-sandwiches/

Filed Under: cocoa, cookies, dessert

  • « Previous Page
  • 1
  • …
  • 53
  • 54
  • 55
  • 56
  • 57
  • …
  • 159
  • Next Page »

hi! i'm kim-- a girl mom, baker, blogger, and ex-flight attendant. welcome!

Search

  • Facebook
  • Instagram
  • Pinterest
  • Twitter

Categories

RODELLE-BABadge


Categories

  • Facebook
  • Instagram
  • Pinterest
  • Twitter

Copyright © 2026 · Foodie Pro Theme by Shay Bocks · Built on the Genesis Framework · Powered by WordPress