Lovin' From the Oven

  • Home
  • About Me
  • Recipes
  • FAQ
  • My Lifestyle Blog
  • Disclaimer

Caramel Oatmeal Cookies

November 9, 2013 by kim 1 Comment

oatmealcaramelcookies-6


Being a flight attendant, there are a lot of things that come with the job that I never would have thought of before. One of those things are flight delays. We literally sit around either on the airplane or in the airport just waiting… We do a lot of “airport appreciation.” San Francisco has to be one of the worst airport with delays because of the heavy low fog that likes to roll around.

oatmealcaramelcookies-3


By the way, don’t get mad at the flight attendants or gate agents for weather delays. We have no control over that. If there’s a crazy storm and airport traffic control has stopped planes from landing, it’s not our fault. Taking your anger out on us for your delayed flight isn’t going to solve anything. Just saying.

oatmealcaramelcookies-5


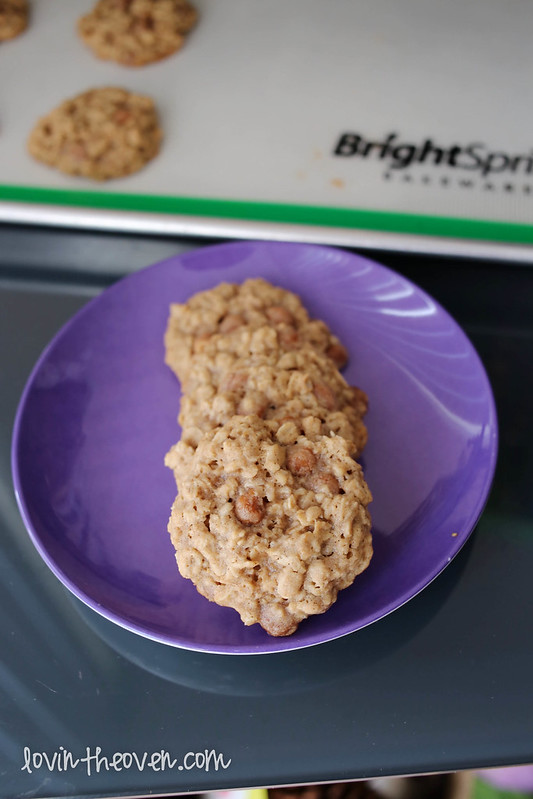
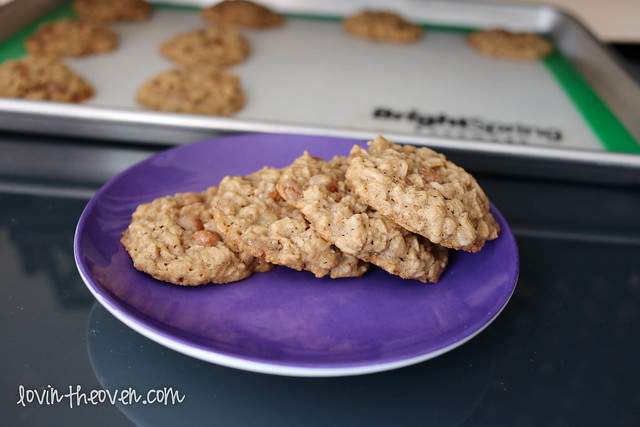
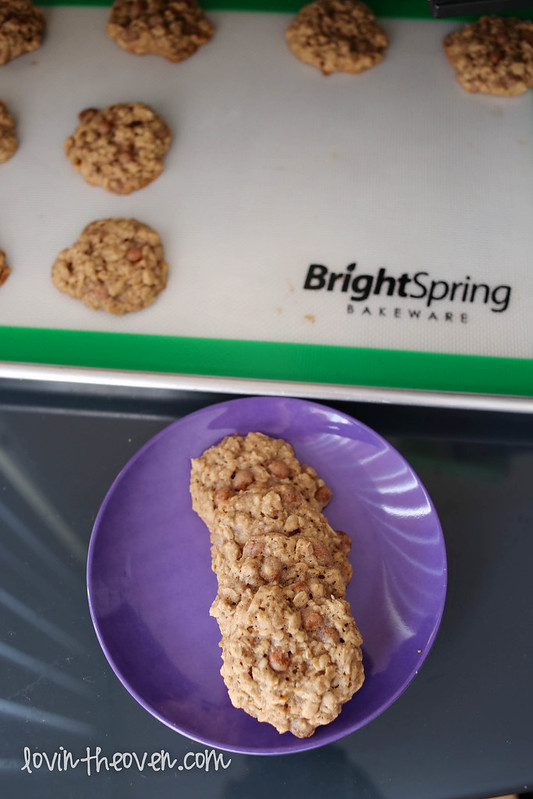
My crew and I did a lot of “airport appreciation” last week and these cookies helped us get through it. I brought over two dozen of these cookies with me on the trip and the pilots alone ate half.

oatmealcaramelcookies-4


Homemade oatmeal cookies are better than monogamous airport food, I guess.

oatmealcaramelcookies-7


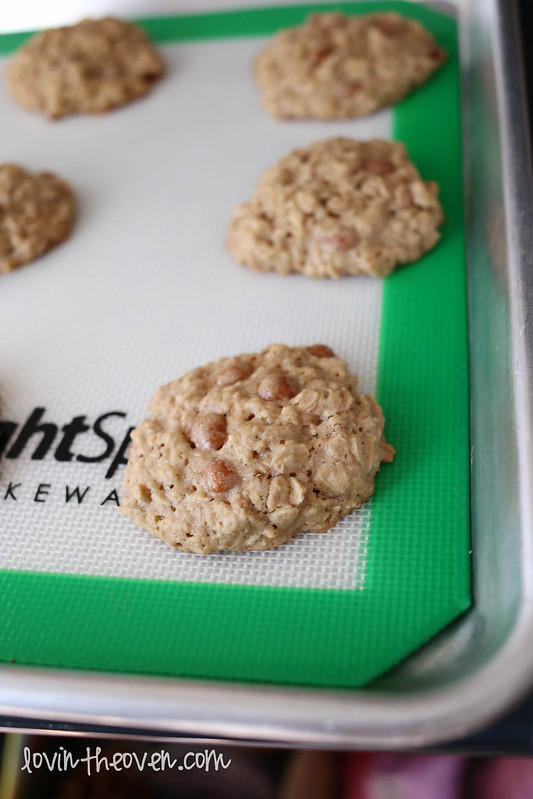
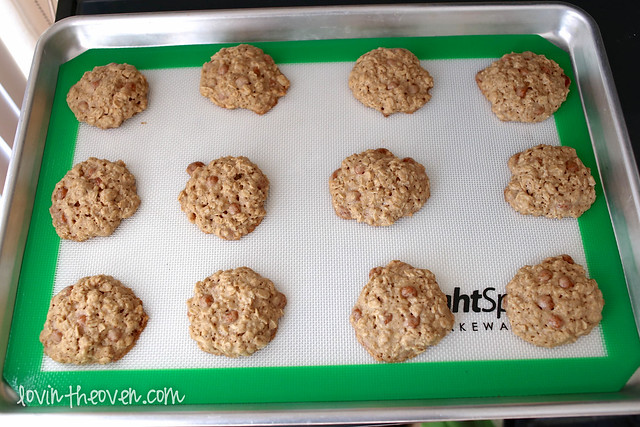
I’d definitely recommend using a silicone mat for these cookies since the caramel tends to stick to the pan if you don’t. I used one from BrightSpring and it worked like a charm. Nothing stuck to the mat or the pan and the cookies slide right off. It fit my baking sheet like a glove and the clean up was even easier.

oatmealcaramelcookies-9


You can find more information about BrightSpring bakeware here.

oatmealcaramelcookies-8

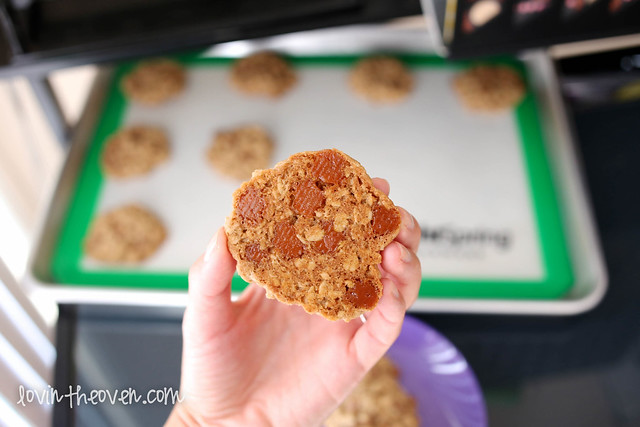
I love using the caramels bits from Kraft because they remain soft and won’t chip your tooth after baking. Here’s to another great oatmeal cookies recipe from Six Sisters Stuff!

Print
Caramel Oatmeal Cookies

Ingredients

  • 1 1/2 cups all purpose flour
  • 1 teaspoon baking soda
  • 1 teaspoon cinnamon
  • 1 teaspoon salt
  • 1 cup (2 sticks) butter, softened
  • 3/4 cup granulated sugar
  • 3/4 cup packed light brown sugar
  • 2 eggs
  • 1 teaspoon vanilla extract
  • 3 cups quick or old-fashion oats, uncooked
  • 1 package Kraft Caramel Bits

Directions

  1. Preheat oven to 350 degrees.
  2. Cream together butter, granulated sugar, brown sugar, eggs and vanilla extract. Gradually beat in the flour, baking soda, cinnamon and salt. Fold in oats and caramel bits.
  3. Drop by rounded tablespoons onto baking sheets lined with parchment paper or a silicone mat.
  4. Bake for 10-12 minutes.
3.1
https://lovintheoven.com/caramel-oatmeal-cookies/

I was sent product to review, but the opinions expressed are my own.

Filed Under: candy, cookies, dessert, oatmeal

Peeps Rice Crispy Treat Sandwiches

November 8, 2013 by kim 1 Comment

donuts-11


Every single time I make rice crispy treats, my DF always asks, “Can you drizzle some chocolate on it?” I don’t know what his fascination with chocolate drizzled rice crispy treats are, but the plain ones are just fine for me. When PEEPS® sent over some of their holiday marshmallows, I figured that I would entertain my DF’s idea for once.

donuts-13


I present to you: Peeps Rice Crispy Treat Sandwiches dipped in chocolate. Okay, that’s not the same as drizzling, but who’s really taking notes?

donuts-2

donuts-3


I used the Sugar Cookie flavored Peeps that were already dipped in milk chocolate for my sandwiches to give them a s’mores vibe. Marshmallows and chocolate sandwiched between two crunchy outsides? All that’s missing is the graham cracker (which is why I chose to sprinkle graham crackers on top of the dipped chocolate).

donuts-4

donuts-5


My DF loved these Peeps, which was surprising to me. I’m usually the ones that seeks out Peeps at the grocery store to eat, but I’m a fan of the classic ones. It’s probably because these are dipped in chocolate. What a sucker. We all know he loves that kind of stuff.

donuts-7

They are pretty cute, though. They remind me of the rubber ducks that kids use in their bathtub.

donuts-8

donuts-10

My DF was so psyched about this dessert.

donuts-12

Here’s the kicker, though: He only ate the chocolate dipped side of each sandwich, leaving me with the naked part.

donuts-14


I’m not complaining though. That’s my favorite side. Our relationship truly balances out in the food aspect and it really is perfect. There is never any food wasted between the two of us. If that’s not true love, then I don’t know what is.

donuts-15

For more PEEPS recipes, crafts and other fun holiday ideas visit them on Facebook!

Print
Peeps Rice Crispy Sandwiches

Ingredients

  • 2 tablespoons butter
  • 2 cups miniature marshmallows
  • 3 cups rice crispy cereal
  • 6 chocolate dipped sugar cookie Peeps (2 packages)
  • 1 cup chocolate candy melts
  • toppings for decorating, optional (I used crushed graham crackers)

Directions

  1. Lightly spray an 8"x8" pan with cooking spray. Set aside.
  2. In a large pot over low heat, melt together the butter and miniature marshmallows. Stir constantly until smooth.
  3. Remove from heat and pour in the cereal. Gently fold until all of the cereal is evenly coated.
  4. Press the mixture into the bottom of the prepared pan using wax paper. Let cool completely.
  5. Cut the rice crispy treats to create 12 rectangles (cut two lines vertically and three lines horizontally).
  6. Place Peeps onto one side of the rice crispy treat and microwave for 5-7 seconds. Immediately place another rice crispy treat on top, squishing the Peeps in between. Let cool.
  7. Once you have created all of your "sandwiches," melt the chocolate in a microwave until smooth (about a minute).
  8. Dip half of each sandwich into the melted chocolate and place on wax paper to dry. Sprinkle toppings on top.
3.1
https://lovintheoven.com/peeps-rice-crispy-treat-sandwiches/

Filed Under: chocolate chip, dessert

Lunch Lady Brownies

November 7, 2013 by kim 5 Comments

dessert-10

Remember those brownies back in elementary school that you would look forward to after lunch? The ones with the magic frosting that would be firm to the touch, but suddenly melt in your mouth? How did they do that? They were the best for packing in lunch boxes since the top wouldn’t smudge if you stacked them on top of something else.

Well, I’ve just recreated them in my kitchen and I’ve got the recipe to share!

dessert-3

Rodelle sent over some seriously awesome baking ingredients to help with this recipe. I’ve used their gourmet european dutch processed baking cocoa for most of the recipes on my blog for the past two years. Did you know that they sell their cocoa and vanilla beans at Costco? It makes my life so much easier since I go through ingredients quite quickly. Obviously, I need the 25 oz can of baking cocoa rather than the little box at the grocery store.

dessert

They sure know how to put together a gift basket over there. I’m still swooning over the cute tote!

I could not stop eating this brownie batter. Something about the cocoa, melted butter, and sugar just gave it the perfect texture. It is by far my favorite raw batter to eat. That’s probably not something I should be encouraging…. Don’t eat raw batter, folks.

dessert-8

Don’t even get me started on the frosting. When I was whipping it up, it was smooth, creamy, and thick. How in the world does this harden? It looks like regular frosting!

dessert-9

This is what the brownies looked like after two minutes of frosting.

dessert-14

See how it just oozes down the side? The top is already getting the nice shiny layer. If I would have waited ten more minutes, all of the frosting becomes that nice shiny layer.

dessert-15

dessert-16

I was trying to debate if I should cut the brownies first prior to frosting them or not. That’s exactly what I ended up doing. The frosting flooded into the cracks, engulfing each brownie piece.

dessert-17

Sometimes the “behind the scenes” picture is just better than the staged one.

Recipe from Saltbox House

Print
Lunch Lady Brownies

Yield: 16 brownies

Ingredients

  • For the brownies:
  • 1/2 cup of unsalted butter, melted
  • 1/4 cup Rodelle's baking cocoa
  • 1 cup of all purpose flour
  • 1 cup of sugar
  • 2 eggs
  • 3 teaspoons Rodelle vanilla extract
  • 1/2 cup of chopped walnuts
  • For the frosting:
  • 2 tablespoons butter, softened
  • 2 tablespoons milk
  • 2 tablespoons Rodelle baking cocoa
  • 1 1/2 cups powdered sugar

Directions

  1. Preheat oven to 350 degrees F. Grease an 8x8 inch pan.
  2. In a large bowl, mix together the melted butter and baking cocoa. Add in the flour and sugar.
  3. Beat in eggs and vanilla until combined. Stir in the walnuts.
  4. Evenly spread the batter into the prepared pan and bake for 25 minutes (no longer!).
  5. When the brownies are done, making the frosting by creaming all ingredients together until smooth. Spread the frosting over the brownies while they are still warm. Let the frosting harden before cutting and serving.
3.1
https://lovintheoven.com/lunch-lady-brownies/

I received product from Rodelle, but the opinions expressed are my own.

Filed Under: bars/brownies, cocoa, dessert, frosting, nuts

  • « Previous Page
  • 1
  • …
  • 51
  • 52
  • 53
  • 54
  • 55
  • …
  • 159
  • Next Page »

hi! i'm kim-- a girl mom, baker, blogger, and ex-flight attendant. welcome!

Search

  • Facebook
  • Instagram
  • Pinterest
  • Twitter

Categories

RODELLE-BABadge


Categories

  • Facebook
  • Instagram
  • Pinterest
  • Twitter

Copyright © 2026 · Foodie Pro Theme by Shay Bocks · Built on the Genesis Framework · Powered by WordPress