Lovin' From the Oven

  • Home
  • About Me
  • Recipes
  • FAQ
  • My Lifestyle Blog
  • Disclaimer

Day 6: Biscoff Chocolate Chip Cookies

December 12, 2016 by kim 2 Comments

img_0262

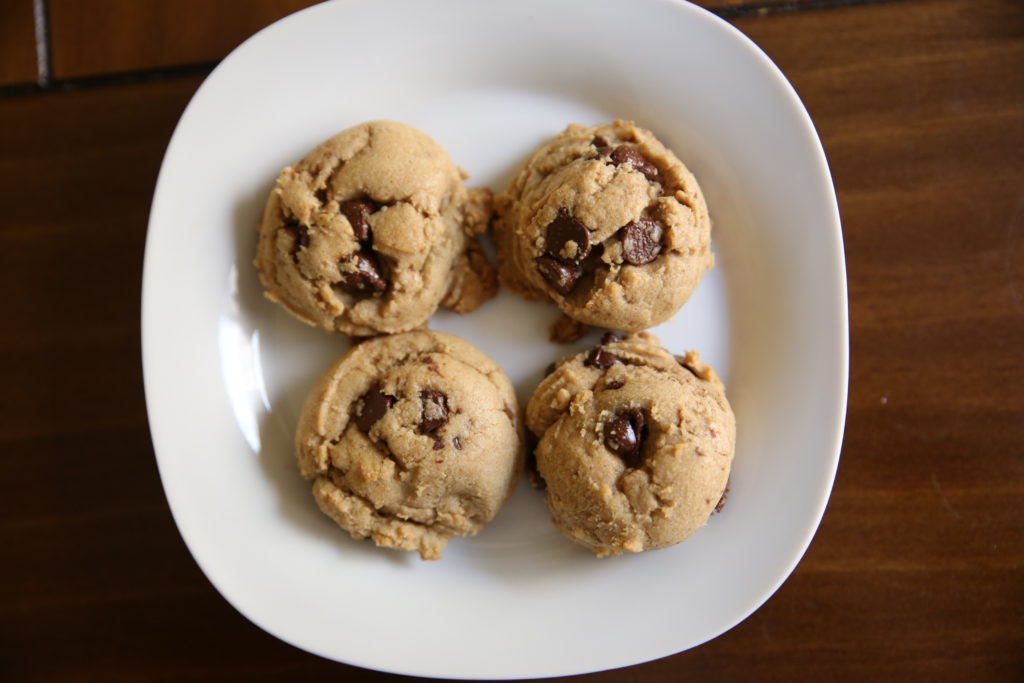
Day 6 of my 12 days of cookies: Biscoff Chocolate Chip Cookies! Yeah, these may be called Biscoff cookies, but I used Trader Joe’s cookie butter. Guilty! It’s a lot more accessible, cheaper, and tastes pretty much the same!
img_0264

Thank you Trader Joe’s for being my go-t0 grocery store. Plus, Ellie loves shopping there. She sits in the cart and stares down everyone that walks by. The employees always try to make her laugh, but she’s as serious as can be. Every once in a while, she’ll crack a smile. img_0270

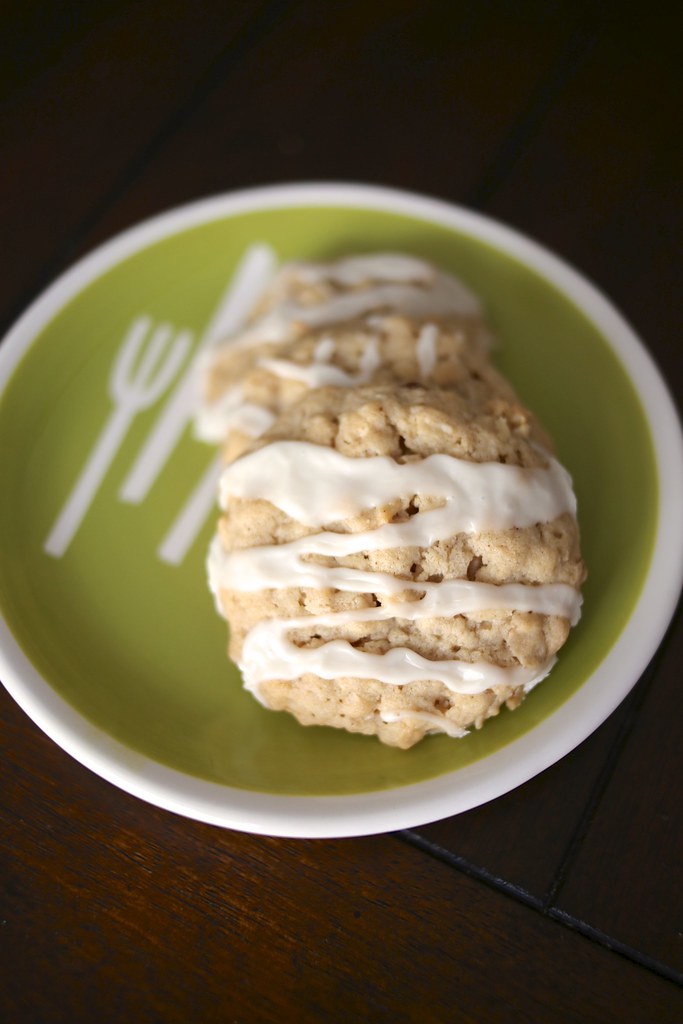
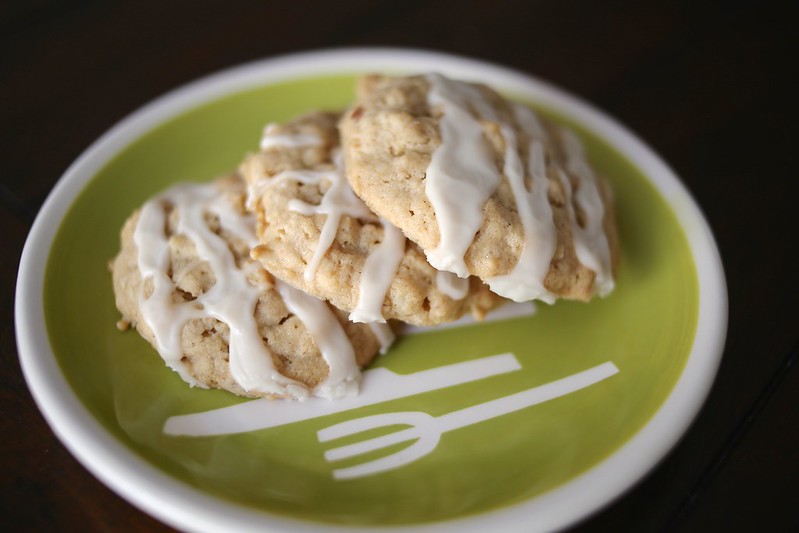
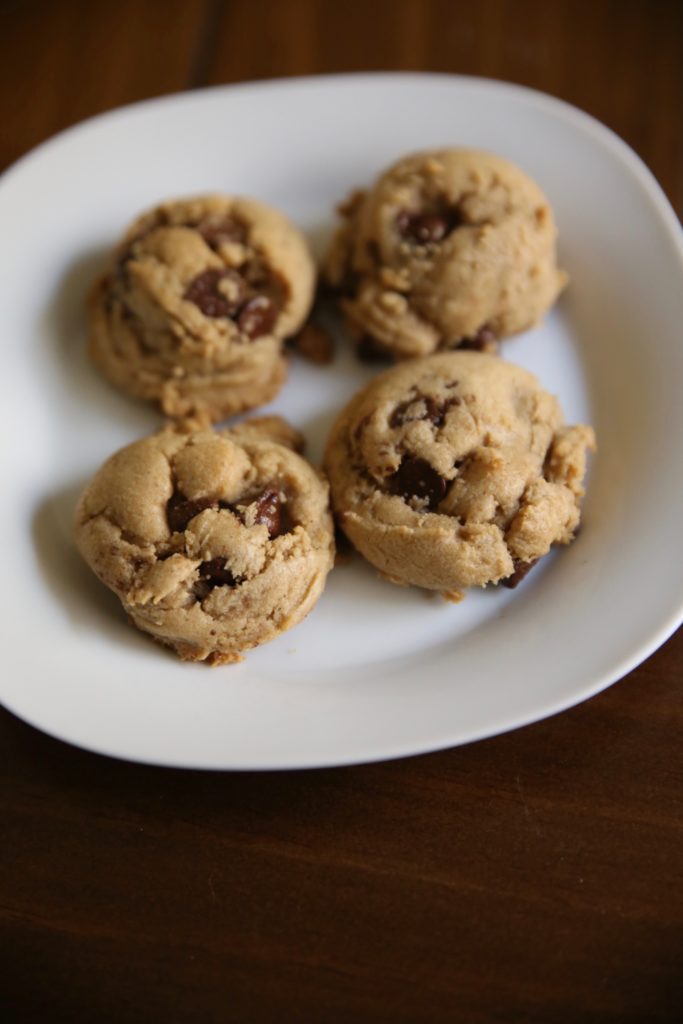
These cookies are deeeee-lish… and beautiful! Can you imagine them packed in a box for the holidays with a box on top? Who wouldn’t love that?img_0273
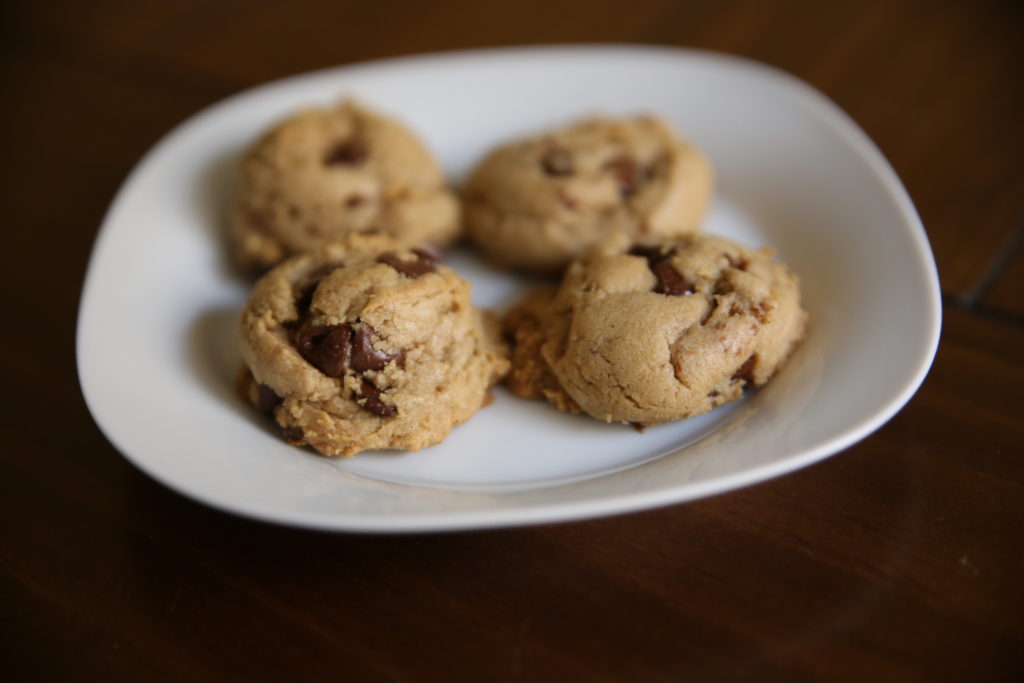
Recipe from Sally’s Baking Addiction

Print
Biscoff Chocolate Chip Cookies

Ingredients

  • 1/2 cup unsalted butter, softened to room temperature
  • 1/2 cup granulated sugar
  • 1/2 cup packed light or dark brown sugar
  • 1 large egg, at room temperature
  • 1 large egg yolk, at room temperature
  • 2 teaspoons pure vanilla extract
  • ½ cup Biscoff spread (or Trader Joe’s Speculoos Cookie Butter)
  • 2 1/4 cups all-purpose flour
  • 1 teaspoon baking soda
  • 1 teaspoon cornstarch
  • 1/2 teaspoon ground cinnamon
  • 1/2 teaspoon salt
  • 1 1/4 cups semi-sweet chocolate chips

Directions

  1. Cream together the butter and both sugars. Add in the egg, egg yolk, vanilla, and Biscoff.
  2. Gradually stir in the baking soda, cornstarch, cinnamon, and salt until just combined. Mix in chocolate chips.
  3. Cover and chill overnight.
  4. Preheat oven to 350.
  5. Roll dough into 2 tablespoon sized balls and place on lined baking sheet.
  6. Bake for 9-10 minutes.
3.1
https://lovintheoven.com/biscoff-chocolate-chip-cookies/

Filed Under: chocolate chip, cookies, dessert

Day 5: Maple Iced Oatmeal Cookies

December 9, 2016 by kim Leave a Comment

IMG_8971

Day 5 of my 12 days of cookies: maple iced oatmeal cookies. These are made with Rodelle vanilla (heck, all of my cookies are made with Rodelle vanilla). You have to use the best in order to make the best.

In case you’re looking for more cookies to make for the holidays, Rodelle has a “Cookies with Rodelle” tab that features so many more delicious recipes! Come back to the page often since they’ll be updating it with more content for the rest of the month.

IMG_8966

I la-la-love this combo. Oats and maple syrup? Yes, please. It’s like breakfast in a cookie. They’re chewy but have the ability to become crunchy with a little extra time in the oven. I should just make the icing and put it on top of all my cookies. The cookie alone is very simple and not overly sweet. The icing on top balances it out with just the right amount of sugar.

IMG_8974

Instead of water in the icing, you can use food coloring to make the tops more festive. Green and red food coloring equal Christmas cookies!

IMG_8980

Recipe from Pretty Plain Jane

Print
Maple Iced Oatmeal Cookies

Ingredients

  • 2 cups quick cooking oats
  • 2 1/4 cups all purpose flour
  • 1/2 tsp baking powder
  • 1/2 tsp baking soda
  • 1/4 tsp salt
  • 1/4 tsp nutmeg
  • 1/4 tsp cinnamon
  • 2 sticks softened unsalted butter
  • 1 cup light brown sugar
  • 1/2 cup granulated sugar
  • 2 eggs, room temp
  • 1 tsp Rodelle vanilla
  • Icing:
  • 1 cup powdered sugar
  • 3 tbsp maple syrup
  • 1-3 tsp water, added as needed

Directions

  1. Preheat oven to 350F.
  2. Beat butter and sugars together. Add eggs and vanilla.
  3. Slowly stir in the flour, oats, baking soda, baking powder, nutmeg, cinnamon and salt.
  4. Drop balls of dough onto baking sheet, two inches apart.
  5. Bake for 9-12 minutes, until they are lightly golden.
  6. Once completely cooled, prepare your icing.
  7. Mix syrup into powdered sugar until a thick consistency is achieved, adding water in small amounts if the icing is too thick. You can dip the tops of the cookies or drizzle it on (like I did).
3.1
https://lovintheoven.com/maple-iced-oatmeal-cookies/

Filed Under: cookies, frosting, oatmeal

Day 4: Andes Peppermint Cookies

December 7, 2016 by kim Leave a Comment

IMG_3577

Day 4 or my 12 days of cookies: Andes Peppermint Cookies. This one is a spin on an old Andes mint cookie that I like. I just changed it to peppermint candies instead of mint. You can even use both candies to make shades of red and green for Christmas!

IMG_3575

I will admit, I’m still partial to the green ones. Regular mint overrules peppermint, in my opinion.

IMG_3582

This cookie is a staple in my kitchen, thanks to my cousin. She’s the one that first introduced me to them! Recipe on AllRecipes.

Print
Day 4: Andes Peppermint Cookies

Ingredients

  • 3/4 cup butter
  • 1 1/2 cups brown sugar
  • 2 tablespoons water
  • 2 cups semisweet chocolate chips
  • 2 eggs
  • 2 1/2 cups all-purpose flour
  • 1 1/4 teaspoons baking soda
  • 1/2 teaspoon salt
  • 1 package Andes Peppermint Chocolates

Directions

  1. In a saucepan over medium heat, cook the sugar, butter and water, stirring occasionally until melted. Remove from heat, stir in the chocolate chips until melted and set aside to cool for 10 minutes.
  2. Pour the chocolate mixture into a large bowl, and beat in the eggs, one at a time. Combine the flour, baking soda and salt, stir into the chocolate mixture. Cover and refrigerate dough for at least 1 hour.
  3. Preheat oven to 350 degrees F (175 degrees C). Grease cookie sheets. Roll cookie dough into walnut sized balls and place 2 inches apart onto the prepared cookie sheets.
  4. Bake for 8 to 10 minutes in the preheated oven, be careful not to overbake. When cookies come out of the oven, Press one mint wafer into the top of each cookie and let sit for 1 minute. When the mint is softened, swirl with the back of a spoon or toothpick to make a pattern with the green filling of the mint wafer. For smaller cookies, break mints in half.
3.1
https://lovintheoven.com/day-4-andes-peppermint-cookies/

Filed Under: candy, chocolate chip, cookies, dessert

  • « Previous Page
  • 1
  • …
  • 7
  • 8
  • 9
  • 10
  • 11
  • …
  • 105
  • Next Page »

hi! i'm kim-- a girl mom, baker, blogger, and ex-flight attendant. welcome!

Search

  • Facebook
  • Instagram
  • Pinterest
  • Twitter

Categories

RODELLE-BABadge


Categories

  • Facebook
  • Instagram
  • Pinterest
  • Twitter

Copyright © 2026 · Foodie Pro Theme by Shay Bocks · Built on the Genesis Framework · Powered by WordPress