Lovin' From the Oven

  • Home
  • About Me
  • Recipes
  • FAQ
  • My Lifestyle Blog
  • Disclaimer

Day 3: York Peppermint Pieces Cookies

December 5, 2012 by kim 2 Comments

DSC_2716

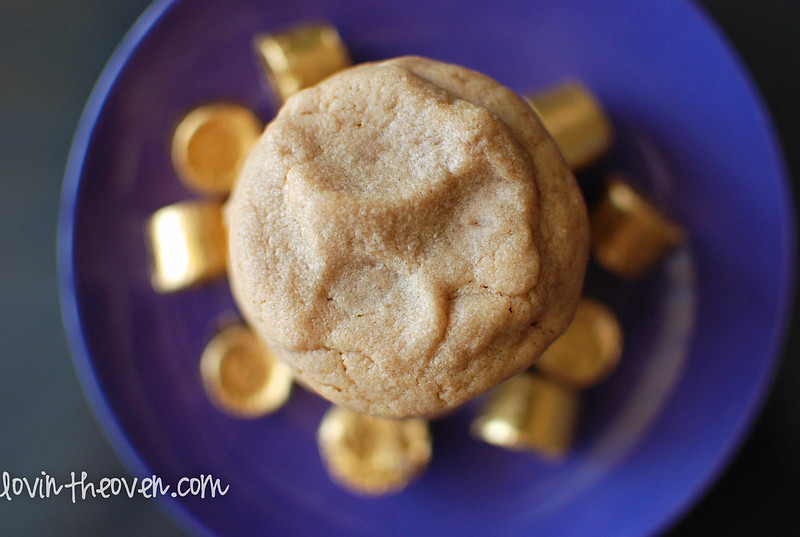
Day 3 of my 12 days of cookies: York Peppermint Pieces Cookies. I’ve always seen those cute little packages at Target of candy pieces (Reeses, Almond Joy, Hershey’s Special Dark, etc.), but I never bothered to buy any because I’m so used to the original form of the candies.

DSC_2713

Then, on a flight that I was working, a passenger gave us a bag of these York Pieces. YUM! Of course, the people I was working with wanted nothing to do with the candy (we get a lot of treats and apparently everyone’s watching their figure), so I gladly took the bag for myself.

DSC_2722

The first thing I think of when I get candy is, “Can I bake this into something?” The hard shells remind me of M&M’s, so naturally, the candies went into a cookie.

DSC_2731

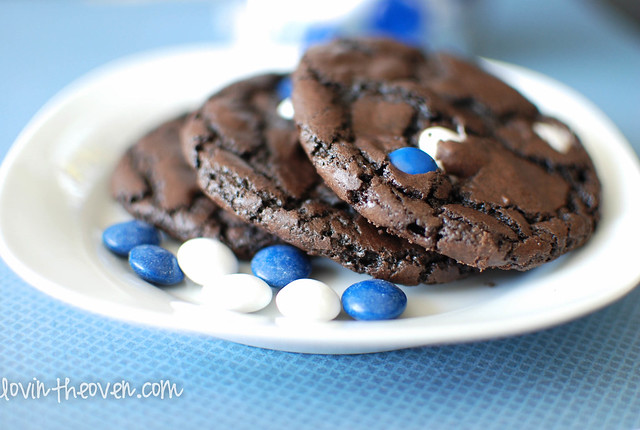
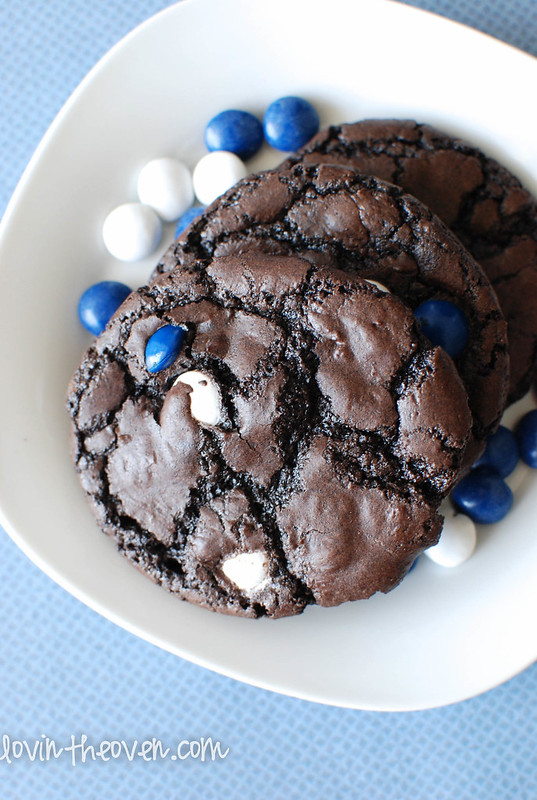
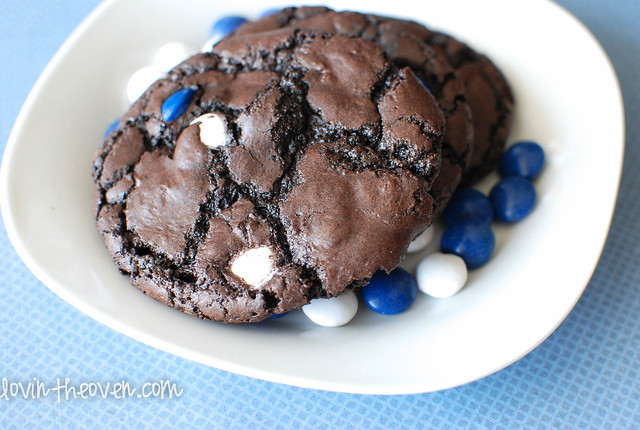
… and what a mighty fine cookie that was. It should be a crime for cookies to look this pretty. Just look at the crinkly top, the beautiful clash in colors, the perfect circle shape (I didn’t even use a cookie scoop!), and the uniformity of thickness in each cookie. You’re lucky to get one of those characteristics in a cookie, but all four?! Impossible… Or so I thought.

DSC_2706

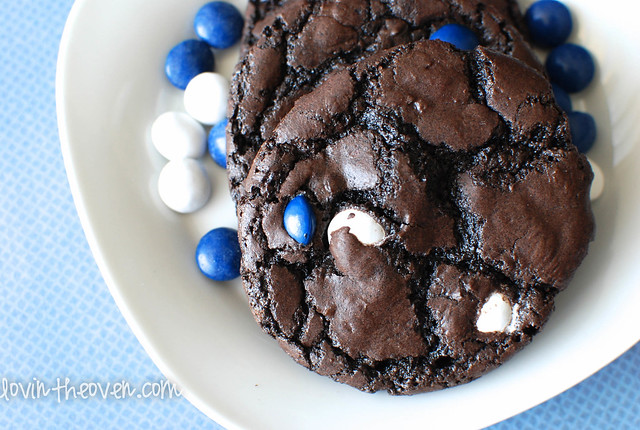
The dark chocolate cocoa powder that I used goes great with the minty flavor. Dark chocolate and mint go together like peanut butter and jelly. They just belong.

From SLO blog, The Tribune
Print
Day 3: York Peppermint Pieces Cookies

Ingredients

  • 1 cup all-purpose flour
  • ½ cup unsweetened cocoa powder (I used dark)
  • ½ teaspoon baking soda
  • ½ teaspoon salt
  • 4 ounces semisweet chocolate, coarsely chopped
  • 1 stick (½ cup) butter, cut into pieces
  • ¾ cup York Pieces (or similar candy)
  • 1½ cups sugar 2 large eggs
  • 1 teaspoon vanilla

Directions

  1. Preheat your oven to 325˚F.
  2. Melt the semisweet chocolate and butter using a double boiler method, stirring until smooth. Set aside and let cool for 2-3 minutes.
  3. In a mixer, combine the melted chocolate, sugar, eggs, and vanilla.
  4. Slowly mix in the flour, cocoa powder, baking soda, and salt. Stir in the candy pieces.
  5. Roll the dough into tablespoon sized balls and place on baking sheet.
  6. Bake for 13-14 minutes. Let them cool on pan for 2-3 minutes before removing to wire rack to cool completely.
3.1
https://lovintheoven.com/day-3-york-peppermint-pieces-cookies/

Filed Under: candy, chocolate chip, cocoa, cookies, dessert

Day 2: Cookies N’ Cream Cookies

December 4, 2012 by kim 1 Comment

DSC_2651

Day 2 of my 12 days of cookies: Cookies N’ Cream Cookies. I’m usually a big fan of Trader Joe items, no matter what it is. Their brand usually even trumps main brands since they offer a better quality item for a more competitive price. Sadly, this was not one of them.

DSC_2592

Let’s just say that Joe-Joe’s have nothin’ on Oreos. Oreos taste wayyyy better than these cookies. Alone, you can definitely tell the difference. By mashing the cookies up and baking them, it’s a bit harder to differentiate between the two because of all of the other goodness in the cookie.

DSC_2590

They look pretty much exactly the same as an Oreo, but they aren’t as sweet. They have a weird aftertaste and aren’t as crunchy. Fail.

DSC_2561

It’s okay, just throw it into some dough and you’ve got yourself a solution to the problem.

DSC_2605

These cookies remind me of little bird nests. The kiss on top melts quite a bit, making a little puddle in the middle of the cookie. Make sure you give yourself plenty of time for the kisses to harden if you’re planning on packaging them or taking them somewhere.

DSC_2627

I didn’t really form these cookies into balls like the instructions told me to. I got lazy and just did drop cookies for the first batch. It makes a huge difference since the dough holds its shape pretty well. Make sure you roll your dough into balls!

DSC_2629

See? When rolling the dough into balls, you don’t have any weird jagged edges:

DSC_2642

For such a loaded cookie, I thought the outcome was pretty light. I wasn’t overwhelmed with cookie pieces or chocolate, and it was just the right combination of both. The cookie is a bit more tedious than others, but just unwrap all those kisses while the cookies are baking in the oven. Recipe from Visions of Sugar Plum.

Print
Day 2: Cookies N’ Cream Cookies

Ingredients

  • 2 cups all purpose flour
  • 1 tablespoon cornstarch
  • 1 1/2 teaspoons baking powder
  • 1/2 teaspoon salt
  • 4 ounces cream cheese, softened
  • 1/2 cup unsalted butter or margarine, softened
  • 3/4 cup granulated sugar
  • 1 large egg
  • 1 teaspoon vanilla extract
  • 1/4 teaspoon almond extract
  • 1 cup coarsely chopped Oreo cookies (I used Joe-Joe's)
  • 24 cookies 'n cream kisses

Directions

  1. Beat cream cheese until softened. Cream in the butter and sugar.
  2. Mix in the egg, vanilla, and almond extract.
  3. Slowly stir in the flour, cornstarch, baking powder, and salt until just combined. Add the Oreo pieces and mix.
  4. Refrigerate the dough for 30 minutes.
  5. Preheat oven to 350 degrees.
  6. Drop by rounded tablespoons onto baking sheet. Bake for 12 minutes or until puffed and lightly brown on the edges.
  7. Remove from oven and press a kiss into each cookie. Transfer to wire rack and cool completely.
3.1
https://lovintheoven.com/day-2-cookies-n-cream-cookies/

Filed Under: candy, cookies, dessert, white chocolate

Day 1: Rolo Stuffed Peanut Butter Cookies

December 3, 2012 by kim 3 Comments

DSC_2738


Day 1 of my 12 days of cookies: Rolo Stuffed Peanut Butter Cookies. It’s that time of the year!! My 12 days of Cookies has finally begun and I can hardly contain my excitement. Well, mostly because I’m doing this blog post from Cancun right now. It’s kind of hard to have a bad day here.

DSC_2743

I came to Cancun yesterday evening and am leaving in a few hours. The weather today couldn’t have been any more beautiful. If you’re following me on instagram, then you know exactly what I’m talking about.

DSC_2746

I got to stuff my face in a breakfast buffet, dip my feet into the water, and lay out on the buttery soft sand. Before I have to go get ready again for work, I decided to kick off with some cookies because it’s past the 1st already. Where did the time go?

DSC_2751

That’s how much I love you guys. I’m in my room blogging when I could be soaking up my last couple of minutes in paradise.

DSC_2752

I made these cookies for a friend’s gift basket and he loved them. My DB never had a Rolo until I made these cookies. Can you believe it? He wasn’t a fan of the Rolo itself, but he ate all the cookie around it.

DSC_2762

When you bake the Rolo and eat the cookie straight from the oven, you get one hot, gooey, glorious mess. It’s awesome.

DSC_2767

These cookies packaged well and tasted great. If you’re a peanut butter lover, I’d say you better make this right away. Recipe from Sally’s Baking Addiction.

Print
Day 1: Rolo Stuffed Peanut Butter Cookies

Yield: 2 1/2 dozen

Ingredients

  • 1/2 cup (1 stick) salted butter, softened to room temperature
  • 1/2 cup dark brown sugar
  • 1/4 cup granulated sugar
  • 1 egg
  • 3/4 cup creamy peanut butter
  • 1 tsp vanilla extract
  • 1/2 tsp baking soda
  • 1 1/4 cups all purpose flour
  • 24 rolos

Directions

  1. Cream the butter and both sugars together. Mix in the peanut butter, egg, and vanilla.
  2. Slowly stir in the baking soda and flour without over mixing. Refrigerate the dough for 30 minutes.
  3. Preheat oven to 350 degrees.
  4. Take 1 1/2 tablespoon scoop of the chilled dough and rip it apart in half. Stick a rolo on the bottom half and top with the other side of the dough. Close the sides of the dough so that the rolo is completely sealed.
  5. Drop onto baking sheet and bake for 9 minutes. Cool completely on a wire rack.
3.1
https://lovintheoven.com/day-1-rolo-stuffed-peanut-butter-cookies/

Filed Under: candy, cookies, dessert, peanut butter/peanuts

  • « Previous Page
  • 1
  • …
  • 48
  • 49
  • 50
  • 51
  • 52
  • …
  • 105
  • Next Page »

hi! i'm kim-- a girl mom, baker, blogger, and ex-flight attendant. welcome!

Search

  • Facebook
  • Instagram
  • Pinterest
  • Twitter

Categories

RODELLE-BABadge


Categories

  • Facebook
  • Instagram
  • Pinterest
  • Twitter

Copyright © 2026 · Foodie Pro Theme by Shay Bocks · Built on the Genesis Framework · Powered by WordPress