Lovin' From the Oven

  • Home
  • About Me
  • Recipes
  • FAQ
  • My Lifestyle Blog
  • Disclaimer

Day 9: Chewy Butterfinger Cookies

December 17, 2012 by kim 1 Comment

butterfingercookies-3

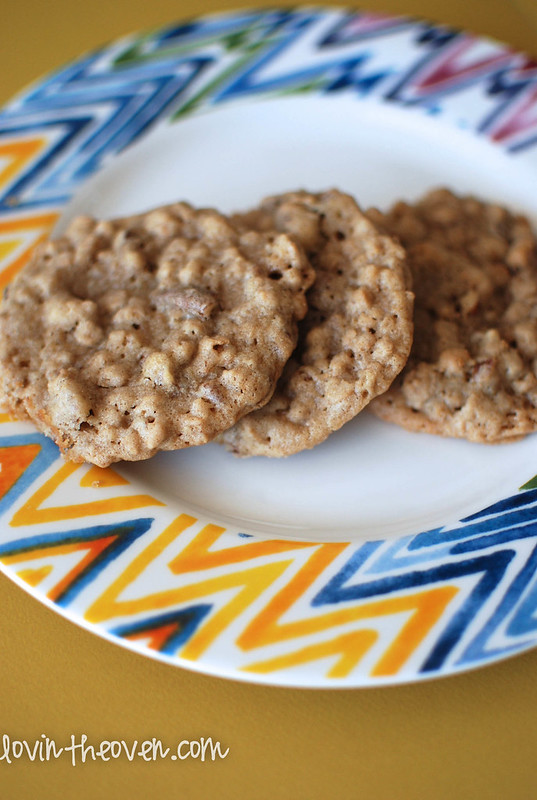
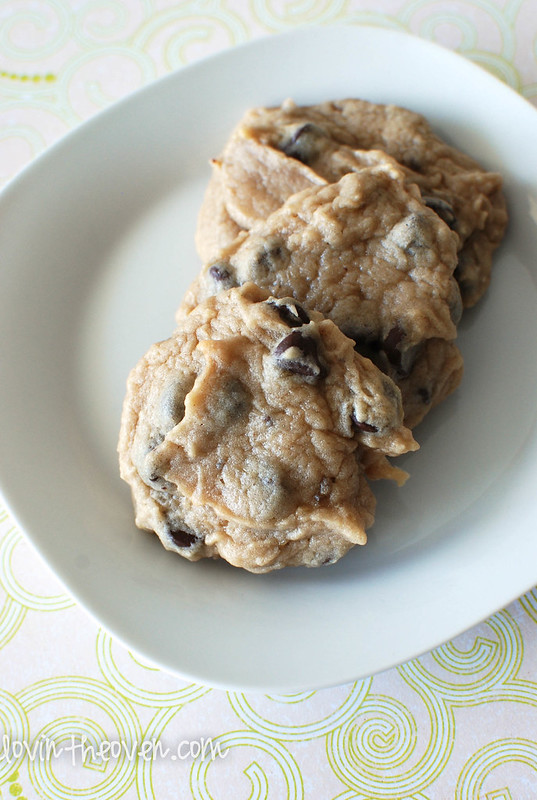
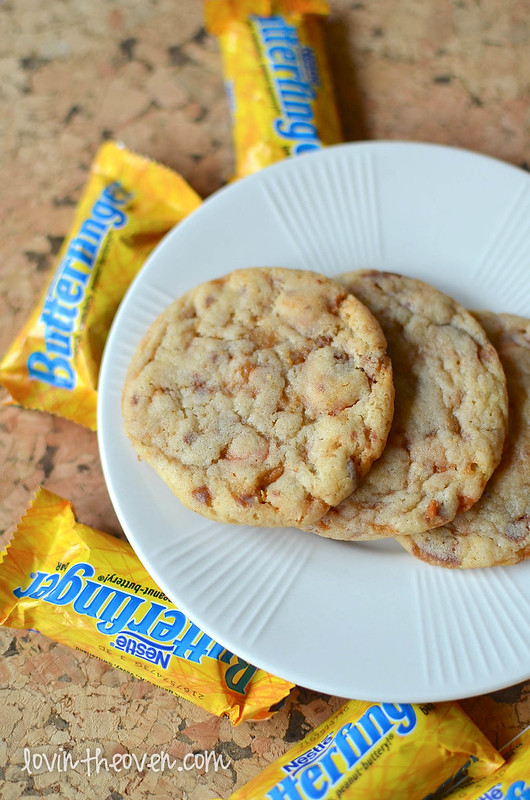
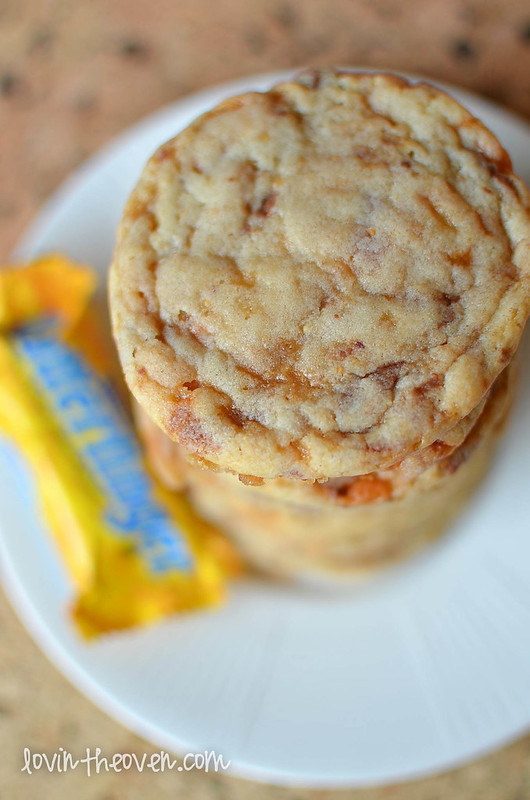
Day 9 of my 12 days of cookies: Chewy Butterfinger Cookies.  Butterfingers are a candy that I love to hate. They taste so good, but the aftermath totally sucks. They get stuck into every little crevice inside your mouth. Not only do they get stuck, they’re super glued to your teeth. Dentists love that.

butterfingercookies-4

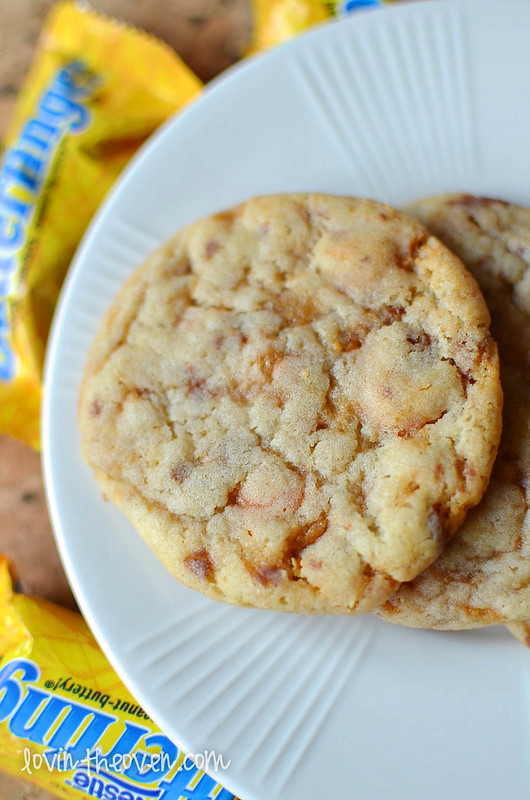
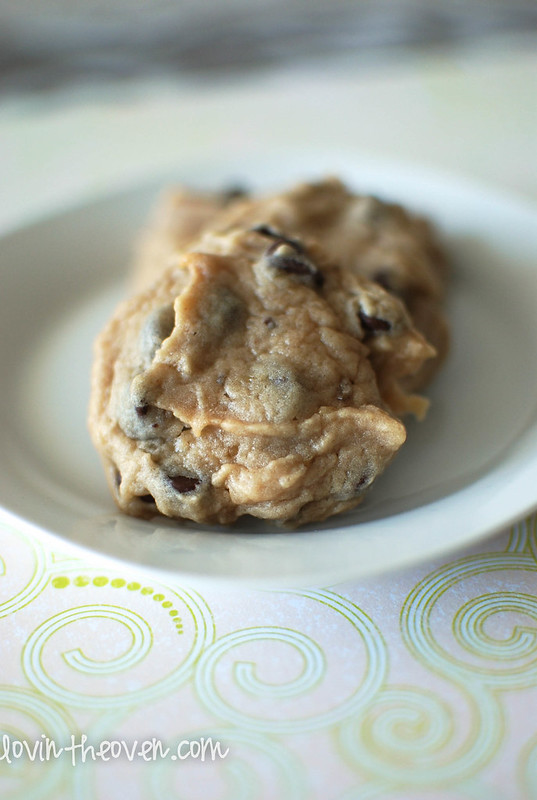
Does baking Butterfingers into a cookie make them any easier to chew? Not really… but they sure make the cookie taste good.

butterfingercookies

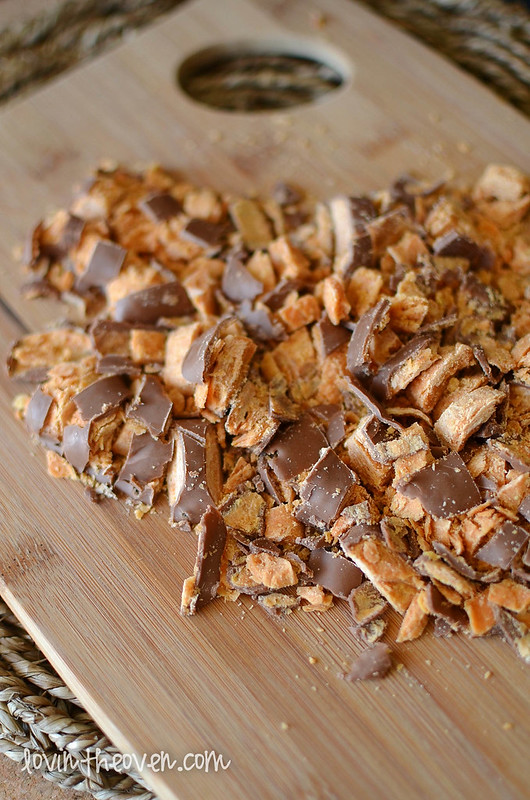
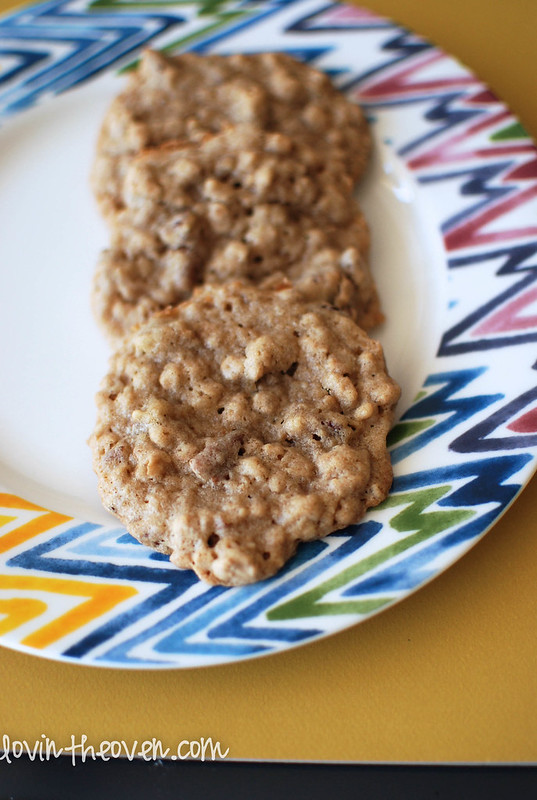
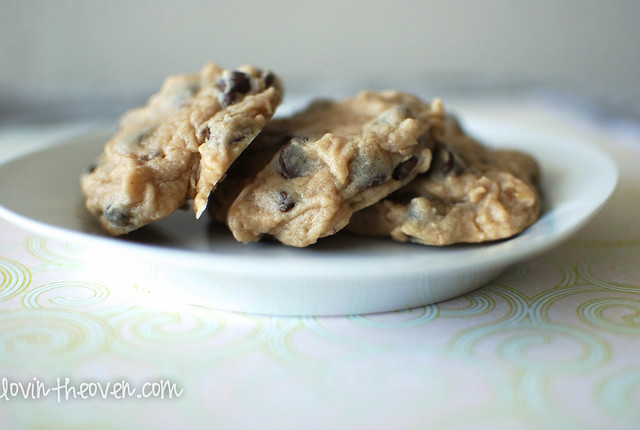
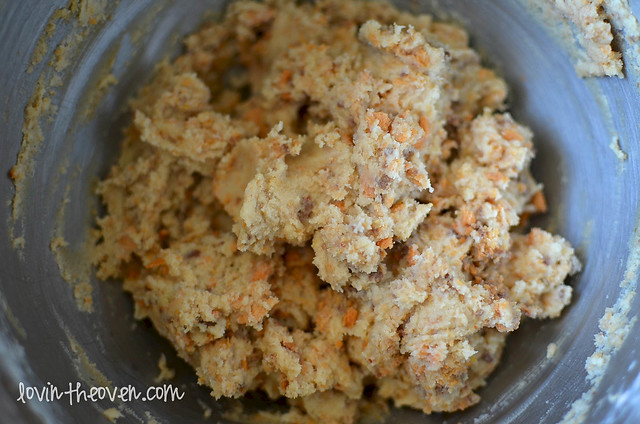
Still have some Halloween candy leftover? Throw them into a cookie. That’ll solve all your problems. Chopping candies into little pieces make them much more manageable to eat.

butterfingercookies-2

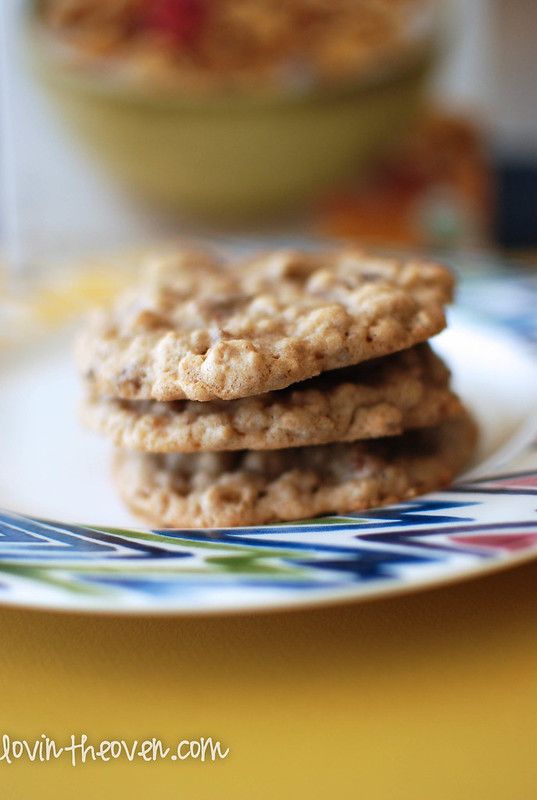
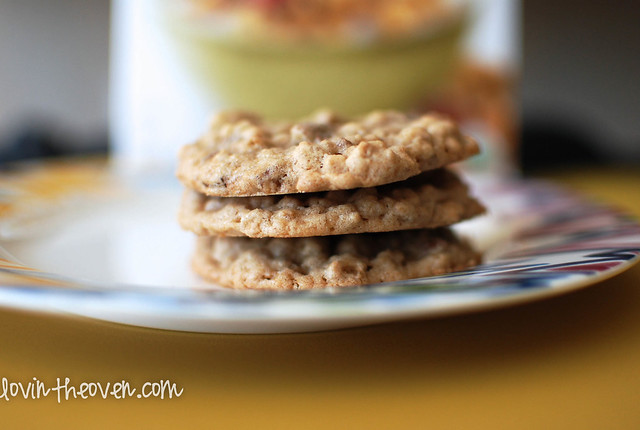
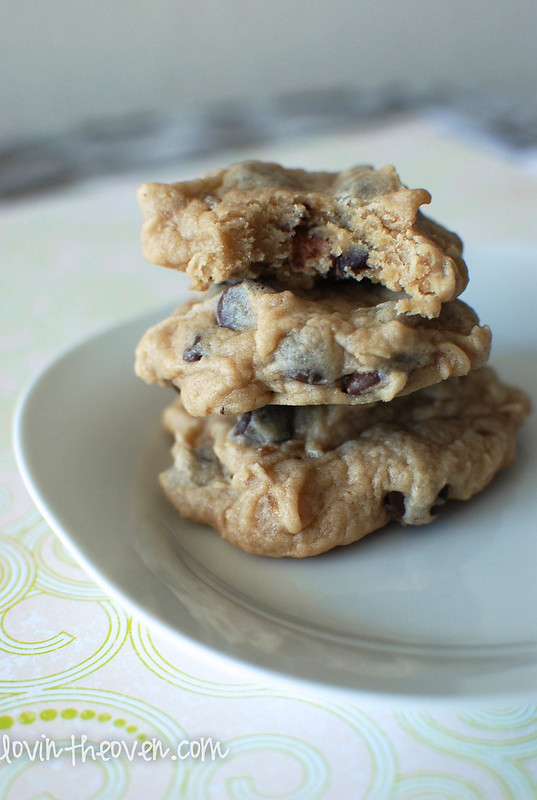
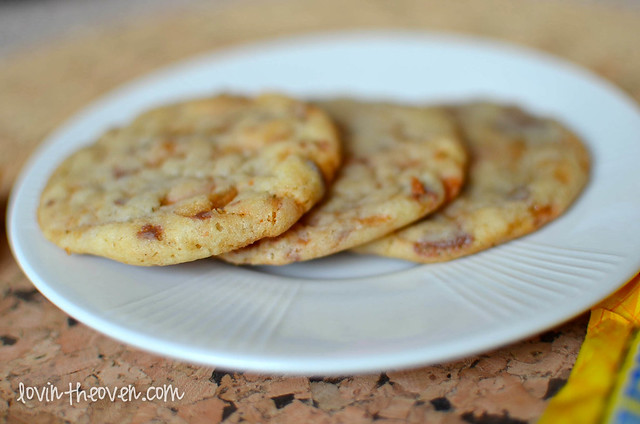
These cookies are a little flat, but that’s because they’re so chewy. YUM!

butterfingercookies-2-2

butterfingercookies-6

butterfingercookies-5

Recipe from Sally’s Baking Addiction.
Print
Day 9: Chewy Butterfinger Cookies

Yield: 2 1/2 dozen

Ingredients

  • 1 3/4 cups all-purpose flour
  • 3/4 teaspoon baking soda
  • 1/4 teaspoon salt
  • 3/4 cup granulated sugar
  • 1/2 cup (1 stick) butter, softened
  • 1 large egg
  • 8 fun sized butterfinger candy bars, chopped

Directions

  1. Preheat oven to 375F degrees.
  2. Cream together the sugar and butter. Beat in the egg.
  3. Add in the flour, baking soda, and salt. Stir in butterfinger pieces by hand.
  4. Drop by rounded tablespoons onto baking sheet. Bake for 10-12 minutes or until lightly browned.
3.1
https://lovintheoven.com/day-9-chewy-butterfinger-cookies/

Filed Under: candy, cookies, dessert

Day 8: Maple Granola Cookies

December 14, 2012 by kim Leave a Comment

DSC_2393

Day 8 of my 12 days of cookies: Maple Granola Cookies. This recipe comes from the back of the Cascadian Farm Organic granola box that I buy from the grocery store. I always buy this brand of granola to put into my vanilla yogurt because it’s favored out of the many accessible ones that I’ve tried. It’s sweet, extra crunchy, and has the perfect sized clusters. It’s the next best thing after McDonald’s fruit and yogurt parfait granola. If I could buy that stuff in bulk, I’d be all over it.

DSC_2400

One day while pouring the granola out, I noticed that there was a recipe on the back of the box for maple granola cookies. How did I miss that the last 25 times I poured granola into my yogurt? I pulled my previous box out of the recycle bin to make sure it wasn’t something new that they added. Nope, the same recipe was on that box, too.

DSC_2405

I’m a true believer that if things are on the back of boxes, cartons, or bags, then it has to be worthy. Why else would they put something on the back of thousands of their products for everyone to see? I mean, they could put whatever they wanted to: their face.. a riddle.. a cardboard cutout of a rhinoserous…

DSC_2409

….but no, they chose to put numbers and words. Boring, right? There has to be a reason for their nonsense.

DSC_2425

Sure enough, there was. These cookies are awesome. They’re sweet, but not overwhelmingly so. The granola softens just the teeniest bit after being baked in with the dough, resulting in an almost (but not quite) oatmeal cookie. You’d think you lose the maple flavor after being baked, but it shines right through in the end. Enjoy these cookies on a cold winter night!

DSC_2414

From Cascadian Farm

Print
Day 8: Maple Granola Cookies

Ingredients

  • 1 cup butter, softened
  • 3/4 cup granulated sugar
  • 3/4 cup packed brown sugar
  • 2 teaspoons vanilla
  • 2 eggs
  • 2 1/4 cups all-purpose flour
  • 1 teaspoon baking soda
  • 1/4 teaspoon salt
  • 4 cups Cascadian Farm® organic maple brown sugar granola
  • 3/4 cup raisins (I left these out)
  • 3/4 cup chopped pecans

Directions

  1. Preheat oven to 350°F.
  2. Cream together the butter, sugars, vanilla, and eggs.
  3. Stir in flour, baking soda and salt until well mixed.
  4. Add in granola, raisins and pecans.
  5. Drop by rounded tablespoons onto baking sheet.
  6. Bake for 11 to 13 minutes or until light golden brown.
3.1
https://lovintheoven.com/day-8-maple-granola-cookies/

Filed Under: cookies, dessert, nuts, oatmeal

Day 7: Peanut Butter Banana Chocolate Chip Cookies

December 12, 2012 by kim 1 Comment

DSC_1989

Day 7 of my 12 days of cookies: Peanut Butter Banana Chocolate Chip Cookies. Bananas are a great tool in baking. They hold desserts together, lock in moisture, add a touch of sweetness, and guarantee a soft and chewy texture.

DSC_2009

Last time I used bananas in a cookie, I was into making vegan desserts. I was using the banana to replace eggs in a chocolate chip cookie. Can you believe that post was five years ago?! I was taking pictures at night in my dark lit kitchen on a paper plate. Luckily, we’ve progressed a bit since then. I’ve added some real plates to my kitchen cabinets.

DSC_2011

This cookie is extremely soft. It’s also very sweet. With all the sugar, banana, and peanut butter, it’s bound to be. I would cut down on the sugar the next time I made these. Also, the more ripe the bananas are, the sweeter the cookie is going to be.

These cookies need quite a bit of time to set. Let them sit out for a while before doing anything with them, as they’re fragile when they’re warm.

DSC_2016

From How Sweet It is and makes about 18-20 cookies.

Print
Day 7: Peanut Butter Banana Chocolate Chip Cookies

Ingredients

  • 2 cups + 2 tablespoons all-purpose flour
  • 1/2 teaspoon baking soda
  • 1/4 teaspoon salt
  • 8 tablespoons of unsalted butter, melted and cooled
  • 6 tablespoons of creamy peanut butter
  • 1 cup loosely packed brown sugar
  • 1/2 cup granulated sugar
  • 1 egg yolk, at room temperature
  • 2 teaspoons vanilla extract
  • 1 1/2 ripe medium bananas, mashed
  • 1 1/4 cups milk chocolate chips

Directions

  1. Preheat oven to 325 degrees F.
  2. Cream together the peanut butter, butter, and both sugars. Mix in the egg yolk and vanilla.
  3. Mix in the mashed banana until combined. Don't worry if it's not smooth, it won't be!
  4. Slowly stir in the flour, salt and baking soda. Fold in chocolate chips.
  5. Roll the dough into balls and drop onto baking sheet.
  6. Bake for 10-12 minutes, until the edges are golden and the middles are puffy – do not overbake!
  7. Cool completely before storing or moving.
3.1
https://lovintheoven.com/day-7-peanut-butter-banana-chocolate-chip-cookies/

Filed Under: banana, chocolate chip, cookies, dessert, peanut butter/peanuts

  • « Previous Page
  • 1
  • …
  • 46
  • 47
  • 48
  • 49
  • 50
  • …
  • 105
  • Next Page »

hi! i'm kim-- a girl mom, baker, blogger, and ex-flight attendant. welcome!

Search

  • Facebook
  • Instagram
  • Pinterest
  • Twitter

Categories

RODELLE-BABadge


Categories

  • Facebook
  • Instagram
  • Pinterest
  • Twitter

Copyright © 2026 · Foodie Pro Theme by Shay Bocks · Built on the Genesis Framework · Powered by WordPress