Lovin' From the Oven

  • Home
  • About Me
  • Recipes
  • FAQ
  • My Lifestyle Blog
  • Disclaimer

Funfetti Cheesecake Cookie Cups

July 1, 2014 by kim 2 Comments

funfetticheesecake-5

My DF is sitting next to me freaking out about the current Argentina game that’s playing right now, while I decided to blog so I could keep my blood pressure down. I’m not into soccer, but the way my DF is during soccer matches would make anyone’s blood pressure rise.

Let’s focus on sprinkles instead, yeah?

funfetticheesecake

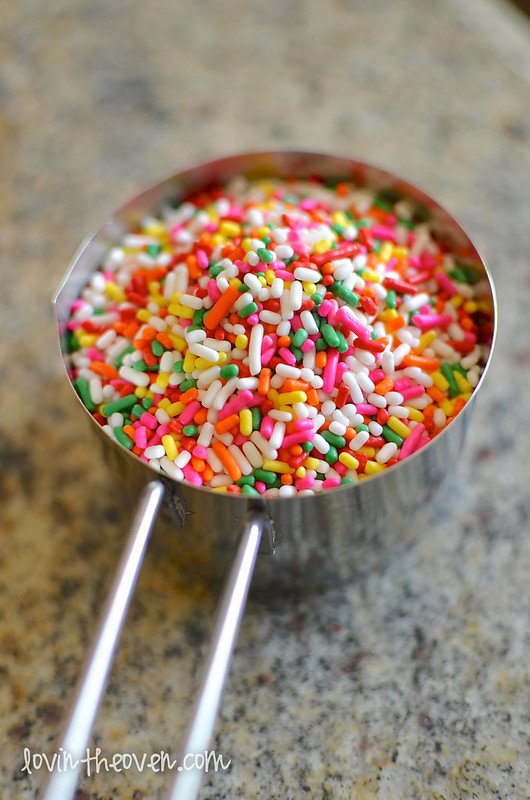
Lots and lots of sprinkles.

I was actually in my local Mexican supermarket and I realized that they sell sprinkles for dirt cheap! They sell them in bulk and in large salsa containers for less than three dollars a box. Now I know where to buy my sprinkles from now on.

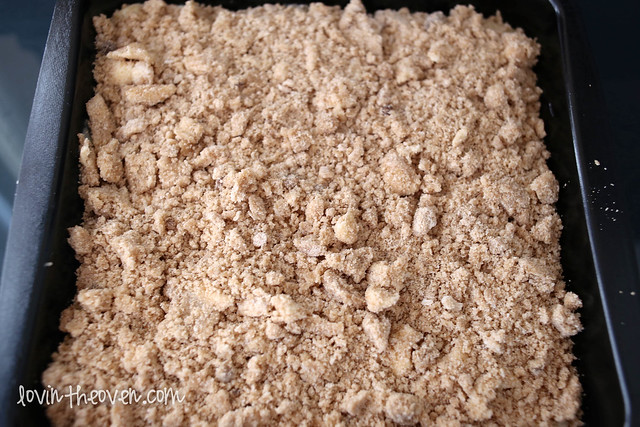
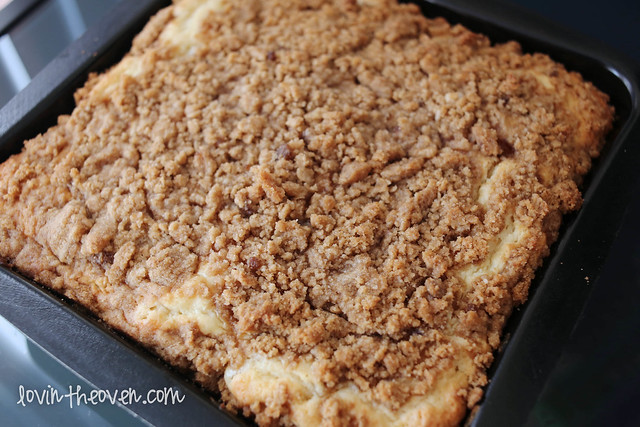
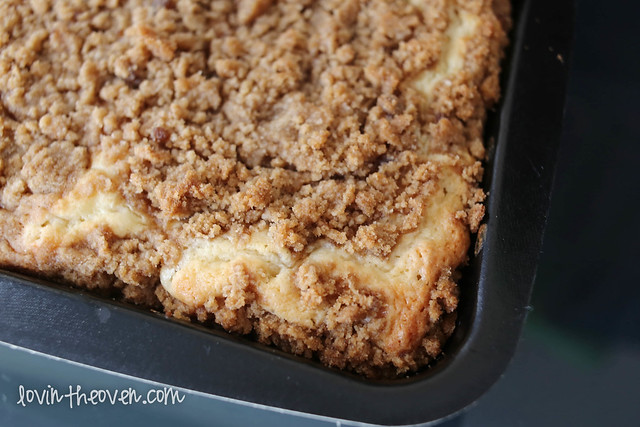
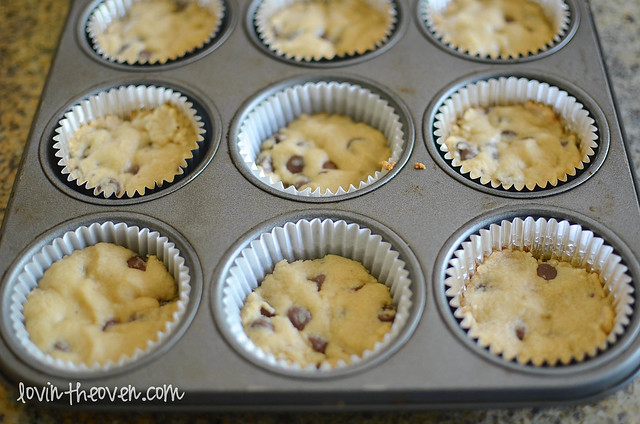
These cookie cups take a bit of time because you’re basically making two desserts and putting them together. Here’s the cookie portion fresh out of the oven.

funfetticheesecake-2

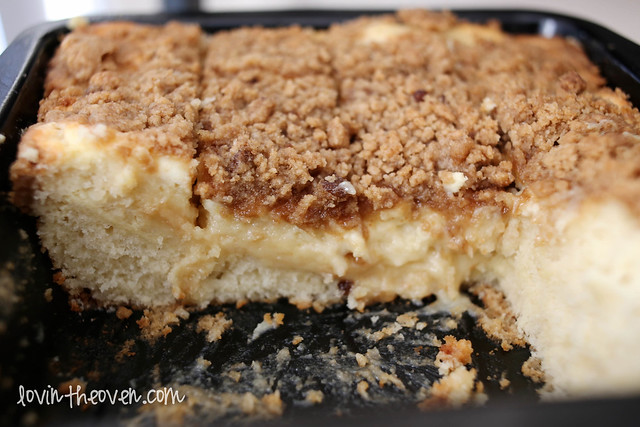
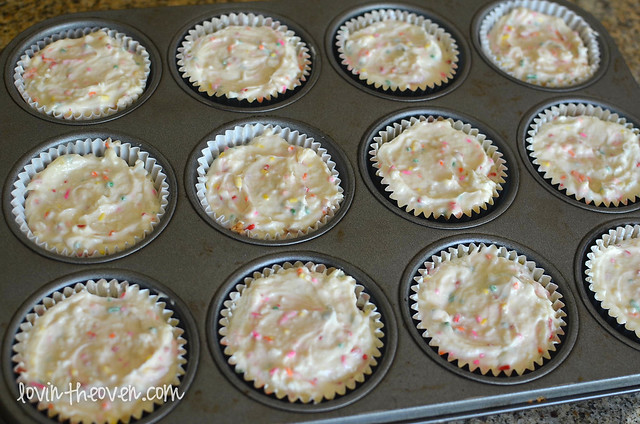
You put a dollop of cheesecake batter on top, and then right back into the oven it goes.

funfetticheesecake-3

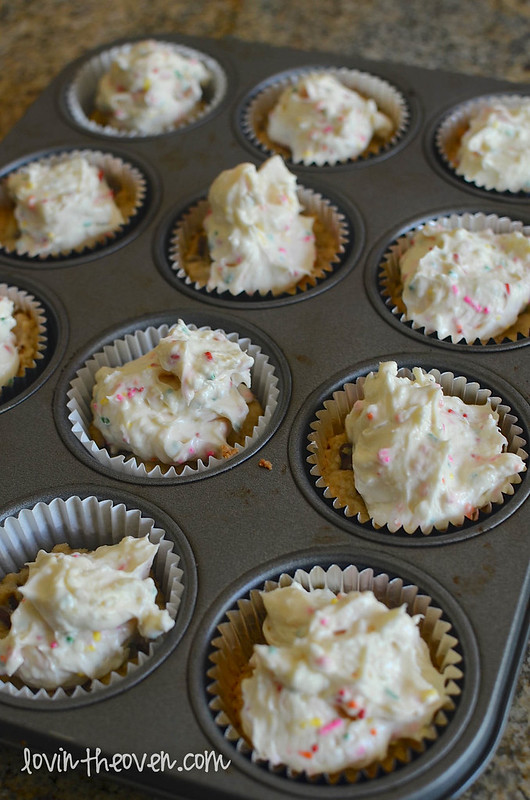
Oh, it helps if you spread it out evenly first.

funfetticheesecake-4

funfetticheesecake-6

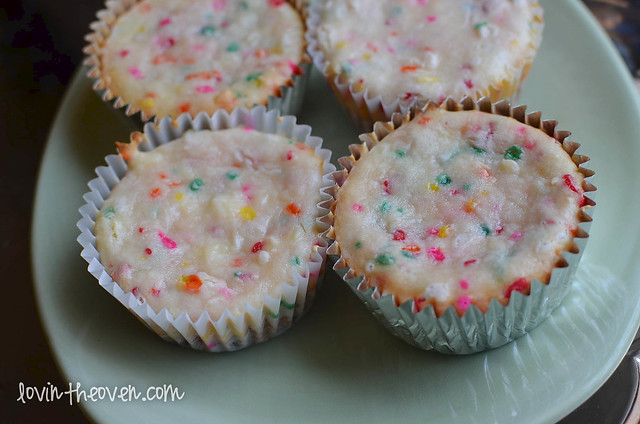
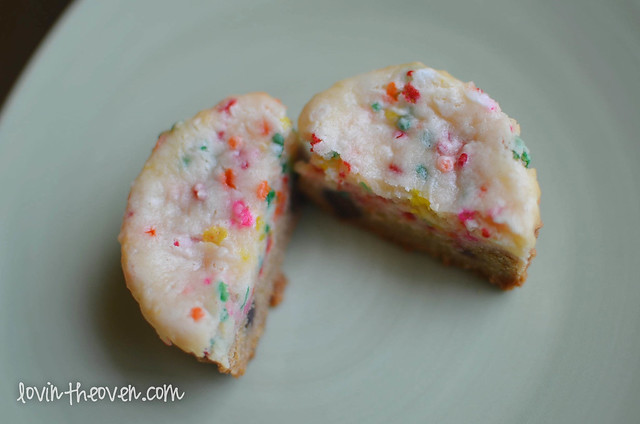
These sprinkles are vibrant!

funfetticheesecake-7

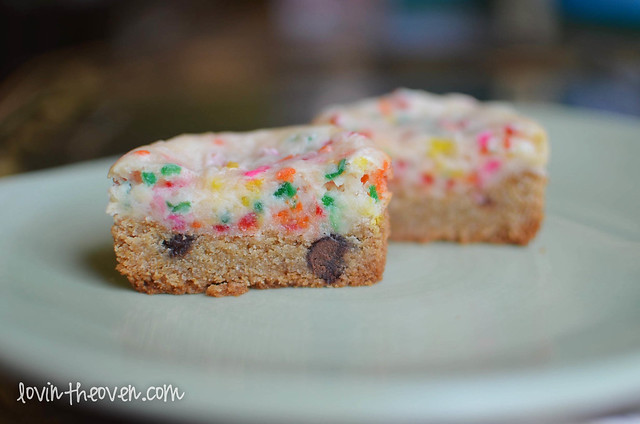
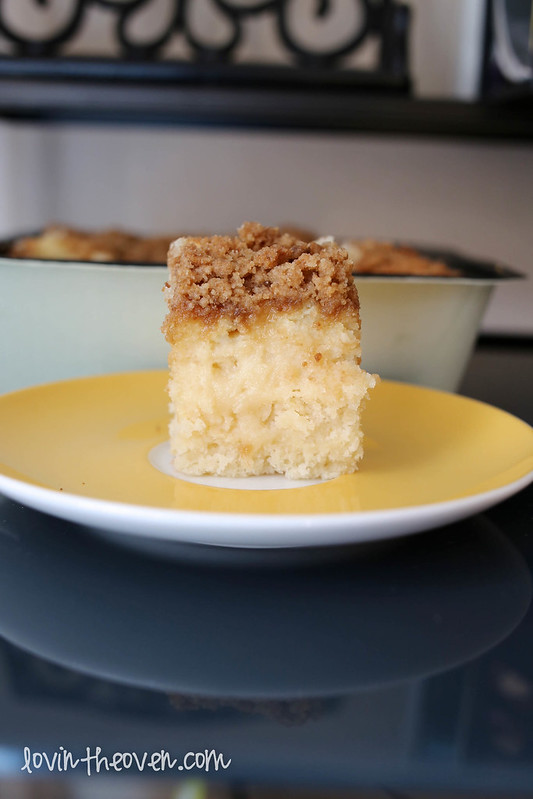
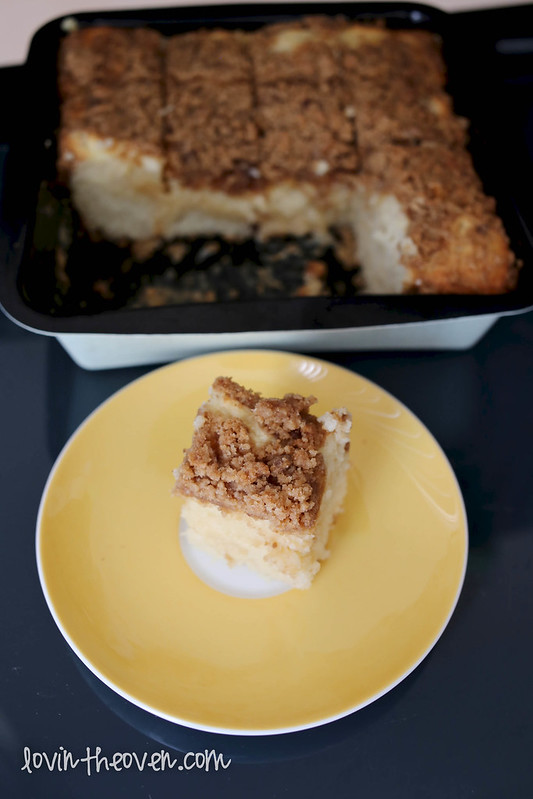
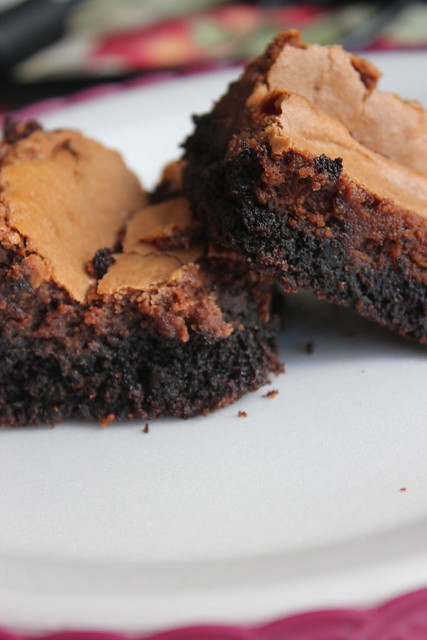
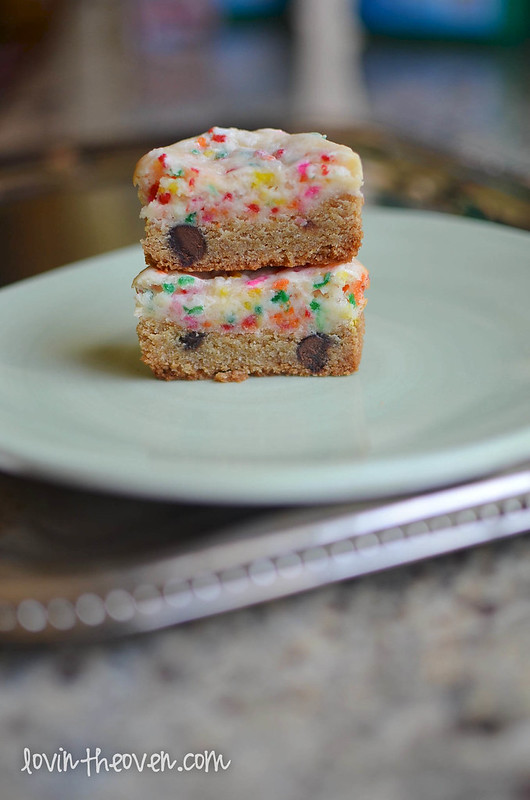
Cheesecake and cookies, now you don’t have to decide between the two. You can have both!

funfetticheesecake-8

funfetticheesecake-9

Speaking of all these sprinkles, remember my previous post from SweetXO? Well here’s the big news I wanted to share with you!

FotoFlexer_Photo2

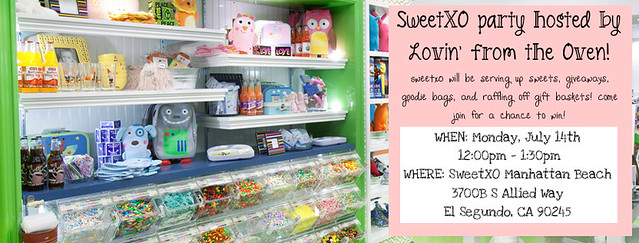
This will be my first party that I’ll be hosting, so I’d love to see and meet some readers there (even if you can only drop by)! I also made a Facebook Event if you wanted to share it or RSVP. The event is only two weeks away, so make sure to mark your calendars now! Looking forward to seeing you guys!!

Recipe from Sally’s Baking Addiction.

P.S. Oh Lordy, we’re going into overtime. Let’s cross my fingers that Argentina wins!

Print
Funfetti Cheesecake Cookie Cups

Yield: 24 cookie cups

Ingredients

    Cookie Cups
  • 3/4 cup (1.5 sticks) unsalted butter, softened to room temperature
  • 3/4 cup light brown sugar (or dark brown)
  • 1/4 cup sugar
  • 1 large egg, at room temperature preferred
  • 2 teaspoon vanilla extract
  • 2 cups all-purpose flour
  • 2 teaspoon cornstarch
  • 1 teaspoon baking soda
  • 1/2 teaspoon salt
  • 1 and 1/4 cup semi-sweet chocolate chips
  • Funfetti Cheesecake Layer
  • 16 ounces cream cheese (two 8 oz packages), softened to room temperature
  • 1/2 cup sugar
  • 1 large egg
  • 3/4 teaspoon vanilla extract
  • 1/2 heaping cup sprinkles (not the little ball sprinkles, aka nonpareils; those will bleed their color)

Directions

  1. Preheat oven to 350F degrees. Line 24 muffins with liners.
  2. First, make the bottom layer of cookie cups.
  3. Cream together the butter and both sugars. Add in the egg and vanilla.
  4. Gradually stir in the flour, cornstarch, baking soda and salt.
  5. Mix in the chocolate chips.
  6. Press about 1 1/2 tablespoons of dough into each muffin liner. Bake for only 10 minutes.
  7. Next, make the cheesecake layer while the cookie cups are baking.
  8. Beat the cream cheese, sugar, egg, and vanilla together until completely smooth. Add in the sprinkles.
  9. Drop 1 heaping tablespoon of cheesecake batter onto each cookie cup, spreading evenly.
  10. Bake for another 18 minutes, until set.

Notes

They must be refrigerated about 12 hours.

3.1
https://lovintheoven.com/funfetti-cheesecake-cookie-cups/

Filed Under: cheesecake, chocolate chip, cookies, dessert

Cheesecake Swirl Coffee Cake

November 4, 2013 by kim 5 Comments

cheesecakecoffeecake-9

This may look like a normal coffee cake, but it’s far from it. Disguised in between layers of luscious, fluffy cake are swirls of cheesecake. Perhaps I should have dyed the cheesecake a different color so you could see just how much goodness is in there.

cheesecakecoffeecake-2


It all starts with this: a magical bar of Philadelphia cream cheese. It’s the only cream cheese brand that has been in my household for as long as I’ve lived. Truly, we used to eat it for breakfast on our bagels every day before school. My aunt even swears by this brand for her frosting. Nothing but Philadelphia, she always said.

To create this dessert (or any other future cream cheese-related dessert!), Philadelphia sets the standard. That’s why I always “Bring Out the Silver” when I’m baking.

cheesecakecoffeecake-3

I wanted to do something different than plain cheesecake for the PHILADELPHIA Cheesecake Cheerprogram. I figured why not add some cheesecake to one of my favorite desserts and really make it something special? To top it all off, streusel topping is a must.

cheesecakecoffeecake-4

The lighter layer of batter in the cheesecake swirl and the darker part is the cake batter. I may have gone a little overboard with the cheesecake part, but I don’t hear anyone complaining.

cheesecakecoffeecake-5

The more streusel, the better. Before and after baking!

cheesecakecoffeecake-7

cheesecakecoffeecake-6

Now can you see the cheesecake layer?

cheesecakecoffeecake-10

A lot of it sunk into the middle of the pan, which could probably be fixed if I baked this in a bigger pan. The middle piece was my DF’s favorite part, though. Also, I’m impatient and couldn’t wait to cut into the cake so the middle was still warm. After placing the cake into the refrigerator for half an hour, the middle did firm up a bit.

Moral of the story: Be patient and wait for your cake to firm and completely cool before cutting.

cheesecakecoffeecake-12

My DF even said that this was the best thing I’ve baked in a while. I’m pretty sure he’s also my most honest critic, so that means a lot coming from him.

The taste of your dessert depends a lot on the ingredients that you use. PHILADELPHIA cream cheese has high standards that create a high quality product. I mean, their fresh milk is turned into cream cheese and refrigerated within six days! There are also never any preservatives, so you know that the fresh local milk and real wholesome cream keep their delicious taste.

cheesecakecoffeecake-8

This holiday season, PHILADELPHIA is teaming up with recipe and lifestyle experts to liven up and give you a fresh take on your holiday desserts. Check them out at CheesecakeCheer.com!

cheesecakecoffeecake-11

Print
Cheesecake Swirl Coffee Cake

Ingredients

    For the cake:
  • 3/4 stick (6 tablespoons) softened butter
  • 1 cup sugar
  • 1 tsp vanilla
  • 1/2 cup buttermilk
  • 2 eggs
  • 1 1/2 cup all purpose flour
  • 2 tsp baking powder
  • pinch of salt
  • For the cheesecake swirl:
  • 1 (8 oz) package Philadelphia cream cheese, at room temperature
  • 1/4 cup sugar
  • 1 egg
  • 1 tsp vanilla
  • For the streusel:
  • 1 cup AP flour
  • 1/4 cup plus 2 tablespoons brown sugar
  • pinch of salt
  • 4 tablespoons cold butter, cut into small pieces

Directions

  1. First make the streusel by "forking" all the ingredients together until crumbly. Put in refrigerator until ready to use.
  2. Preheat oven to 350. Lightly grease an 8x8 baking pan.
  3. In a large bowl, make the cheesecake swirl by beating together the cream cheese, sugar, egg, and vanilla until smooth. Set aside.
  4. In a large mixing bowl, cream together the butter and sugar. Add in the vanilla, buttermilk, and eggs.
  5. Gently mix in the flour, baking powder, and salt until just combined. Do not overmix.
  6. Pour half of the cake batter into the prepared pan. Pour half of the cheesecake mixture on top, using a knife to swirl. Repeat with the rest of the batters.
  7. Evenly distribute the streusel topping on top of the batter.
  8. Bake for 35-40 minutes.
3.1
https://lovintheoven.com/cheesecake-swirl-coffee-cake/

This is a sponsored post by Philadelphia, but the opinions expressed are my own.

Filed Under: cake, cheesecake, dessert

Nutella Cheesecake Gooey Cake Bars

March 7, 2011 by kim 24 Comments

IMG_1708

IMG_1681

IMG_1664

IMG_1685

Okay, I really need to discuss this with someone.. Has anyone seen the movie “Splice?” My DB and I got it on Netflix recently and watched it two days ago. Ever since then, I just can’t get it out of my head. It has to be one of the most disturbing movies that I’ve ever seen… definitely top three most disturbing, anyway. I couldn’t even watch two of the scenes. I was hiding my head in my DB’s shoulder while he was being the tough guy, telling me to just watch the dang movie. I don’t want to spoil it for anyone so I won’t say what happened, but ahhhhhhhhh! Get it out of my head. Please.
I’m thinking of doing a FAQ post this week and would love to answer any questions you may have, right here on my blog! Just leave a question in the comments on this post and let’s get the ball rolling!
I’m still working on those massive Nutella jars that I got from Costco. These definitely did the job– an easy dish with minimal ingredients and a bang of flavor. I used a dark chocolate cake mix since that’s what I had on hand, but any chocolate mix will do. To sum up the recipe, it’s a Nutella cheesecake on top of a soft, moist, & dense cake. Perfect! I especially loved the texture of the piece. The top turned out nice and crackly, while the layers just melded together. From Let’s Dish

Cake:

  • 1 package devil’s food cake mix
  • 1 egg
  • 1/2 cup butter, melted
Filling:

  • 1 (8 oz.) package cream cheese, softened
  • 1 cup Nutella
  • 3 eggs
  • 1 teaspoon vanilla
  • 1/2 cup butter, melted
  • 1 (16 oz.) box powdered sugar

Directions

  1. Preheat oven to 350 degrees.
  2. Mix together the cake mix, egg, and butter until well combined. Pat the mixture into the bottom of a lightly greased 9×13 baking pan.
  3. For the filling: Beat the cream cheese and Nutella until creamy.
  4. Stir in the eggs, vanilla, and butter. Slowly add the powdered sugar until incorporated. Spread the Nutella mixture over the pressed cake batter.
  5. Bake for 40 to 50 minutes. The center should still be a little gooey, so don’t over bake!

Filed Under: bars/brownies, cake, cheesecake, dessert, nuts

  • 1
  • 2
  • 3
  • 4
  • Next Page »

hi! i'm kim-- a girl mom, baker, blogger, and ex-flight attendant. welcome!

Search

  • Facebook
  • Instagram
  • Pinterest
  • Twitter

Categories

RODELLE-BABadge


Categories

  • Facebook
  • Instagram
  • Pinterest
  • Twitter

Copyright © 2026 · Foodie Pro Theme by Shay Bocks · Built on the Genesis Framework · Powered by WordPress