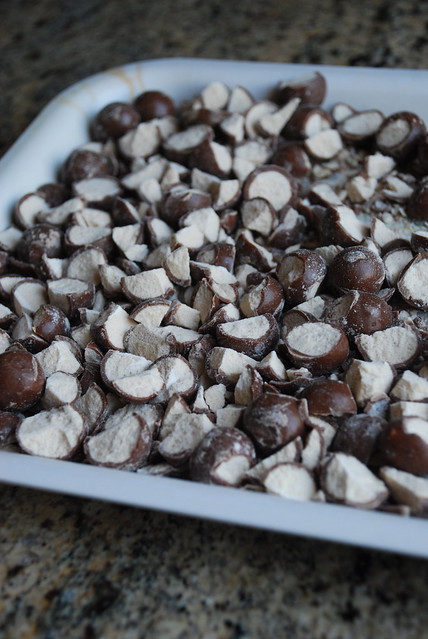
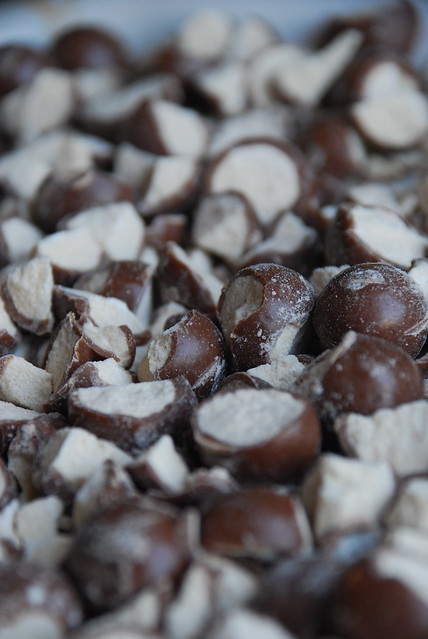
Whoppers galore! They’re not the easiest thing to chop, though.
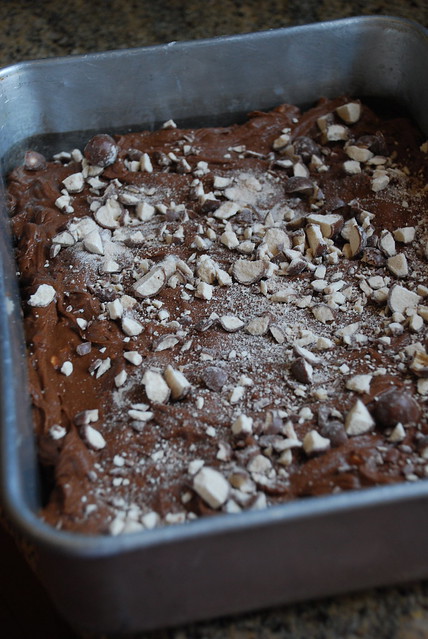
Pre-baking..
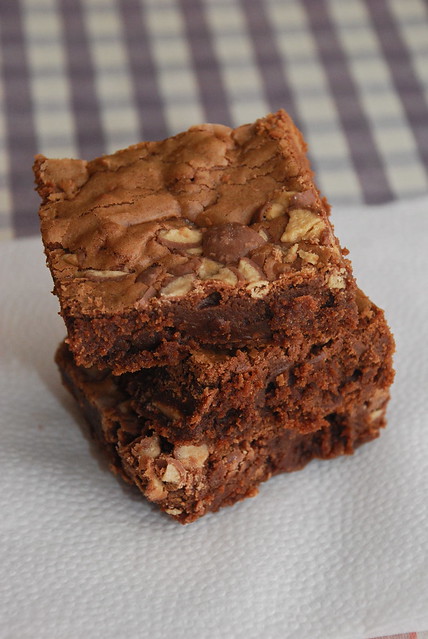
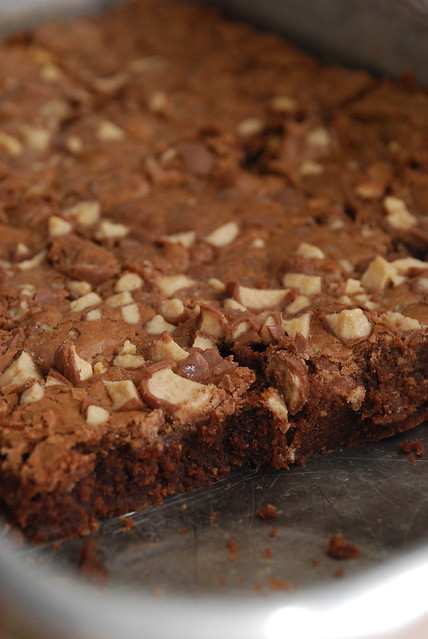
Baked!
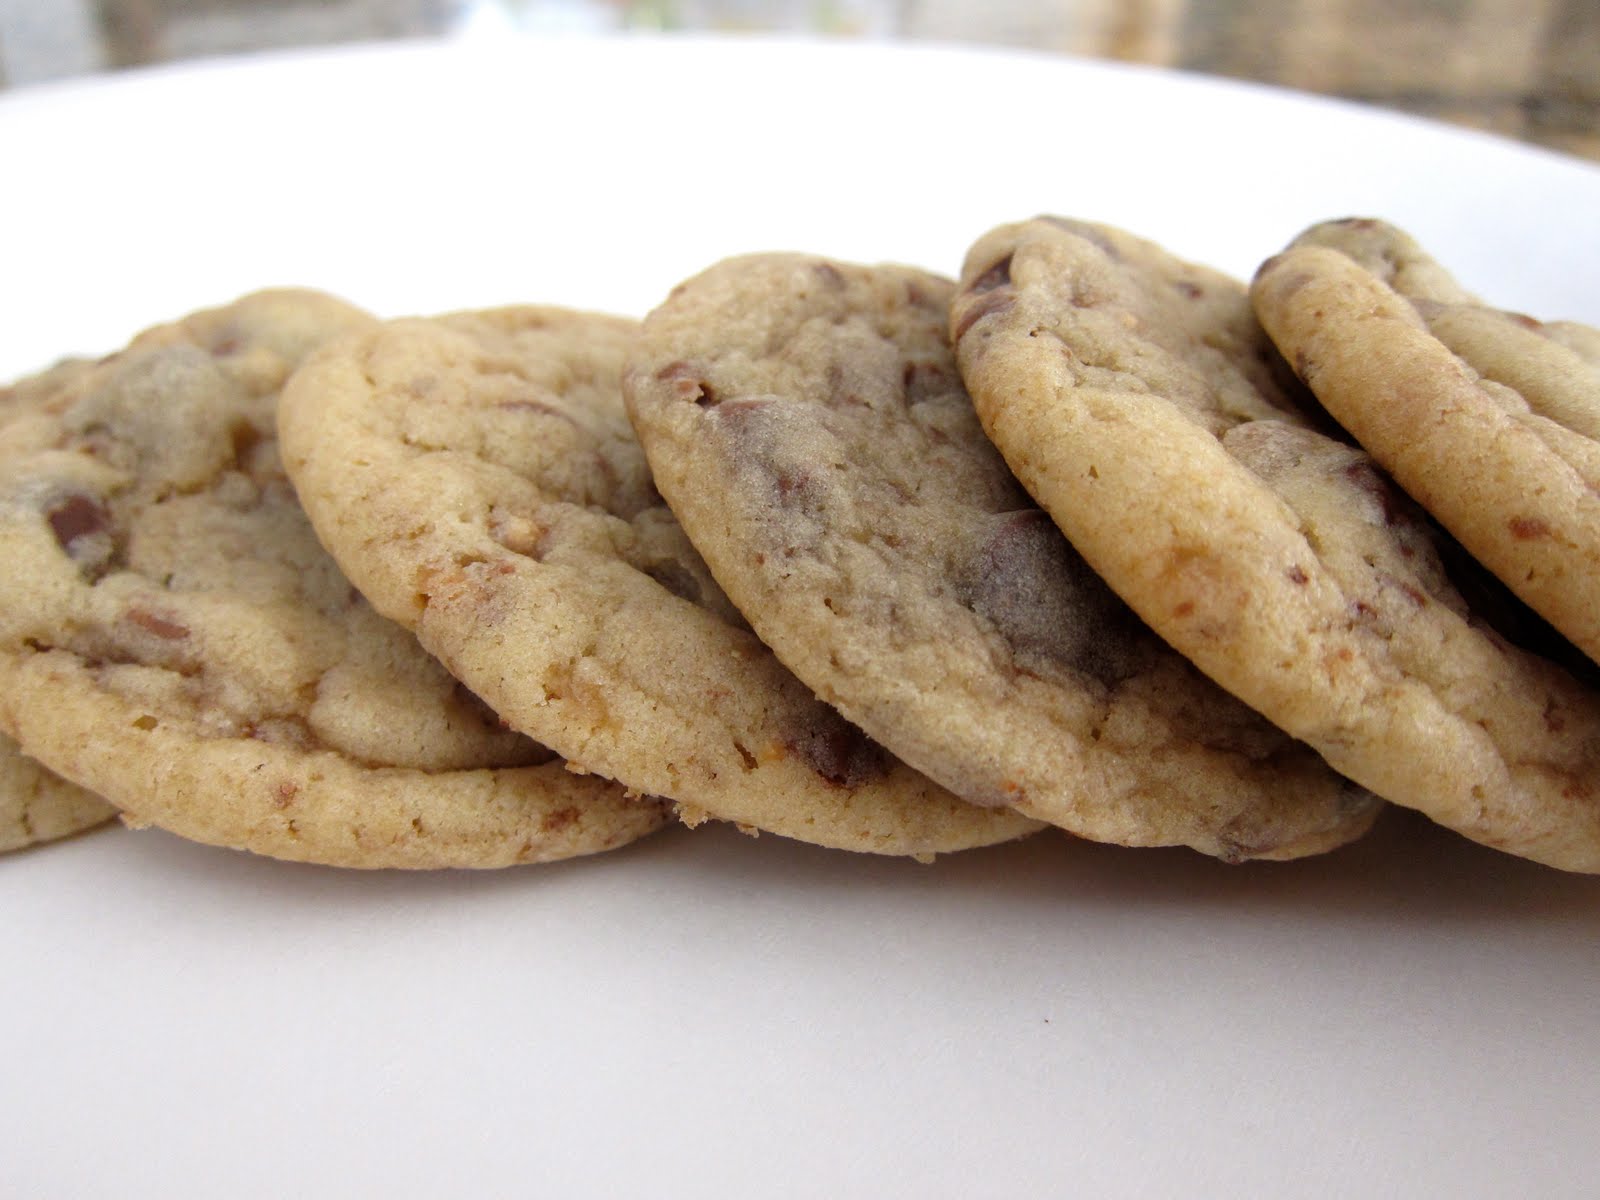
Whoppers vs. Maltesers. Who wins? I never even knew what Maltesers were until my parents’ friends brought some over from Australia. A little red bag full of malty goodness? Count me in!
Now, whenever I bring up the subject of Whoppers vs. Maltesers, most people swear by Maltesers. I was convinced they were better because so many people told me so, but I finally sat down one day and had one right after the other. The result? Well, I’m all for the American Whoppers. I feel like the malted powder is finer and melts in your mouth, whereas Maltesers have a tougher and stickier texture.
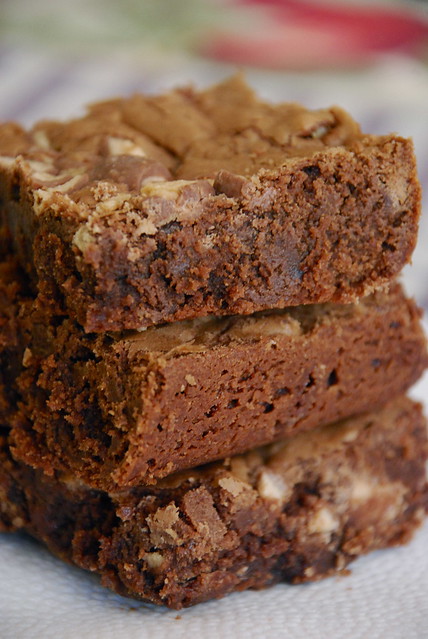
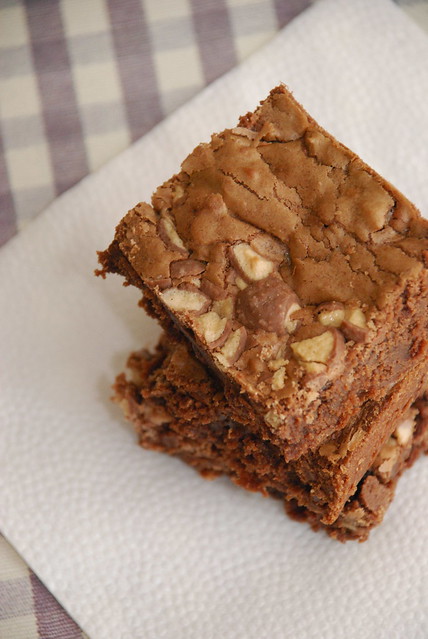
Does that sound crazy? Either way, when you bake the Whoppers (as I surely found out), they turn hard and crispy. Not necessarily bad hard.. just a little chewy, tough on your teeth, hard. The brownie itself wasn’t bad, but I prefer the fudgy type. The recipe is from How Sweet it is, who got it from Martha.
Ingredients:
- 1 cup unsalted butter, cut into small pieces
- 1 cup all-purpose flour
- 10 ounces semisweet chocolate, coarsely chopped
- 1 cup (about 4 1/2 ounces) malted-milk powder
- about 1 1/2 cups of Whoppers or Maltesers, plus some extra for the top
- 1 1/2 cups packed light-brown sugar
- 3 large eggs
- 1 tablespoon pure vanilla extract
Directions:
- Preheat oven to 350 degrees. Lightly grease a 9-by-13-inch baking pan and set aside.
- Combine chocolate and butter in a heatproof bowl set over simmering water; stir until melted and smooth. Set aside to cool slightly, about 5 minutes.
- In the bowl of an electric mixer fitted with the whisk attachment, beat sugar and eggs until thickened and fluffy, about 2 minutes. Mix in the melted chocolate mixture and vanilla. Fold in the flour, malted-milk powder, and malt balls until just combined.
- Pour batter into prepared pan, spreading it evenly. Sprinkle some chopped malt balls on top (optional). Bake until a toothpick inserted in the center comes out with just a few crumbs on it, 30 to 35 minutes. Transfer brownies to a wire rack to cool.