Lovin' From the Oven

  • Home
  • About Me
  • Recipes
  • FAQ
  • My Lifestyle Blog
  • Disclaimer

Day 3: S’mores Bar Cookies

December 8, 2011 by kim 30 Comments

smoresbars-5

smoresbars

smoresbars-2

smoresbars-3

smoresbars-4

smoresbars-2-2

smoresbars-3-2

smoresbars-4-2

I went out today and bought my Christmas cards to send out. That’s my favorite part of the holidays.. using a ton of stamps and putting old school envelopes in the mailbox! Do you send out Christmas/Hanukkah cards?

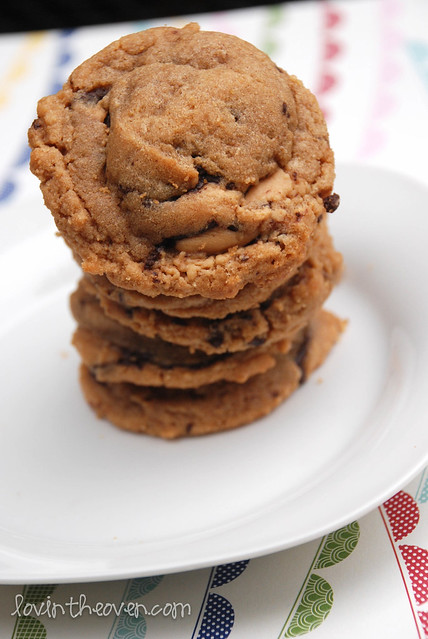
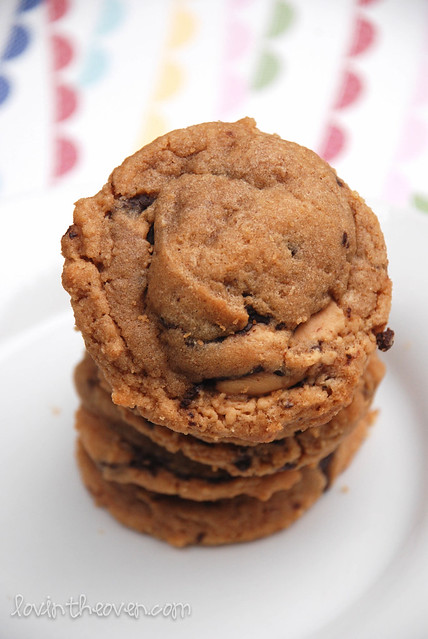
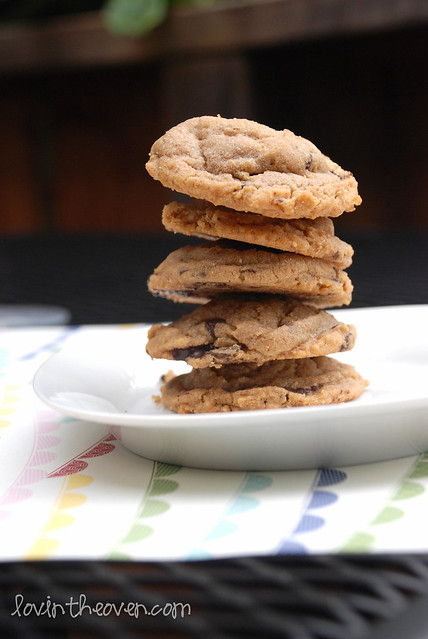
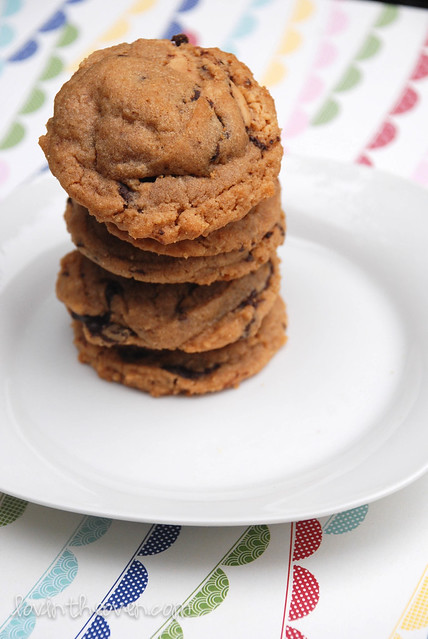
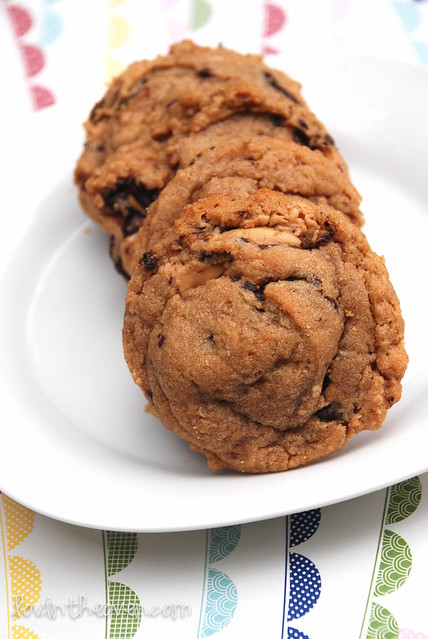
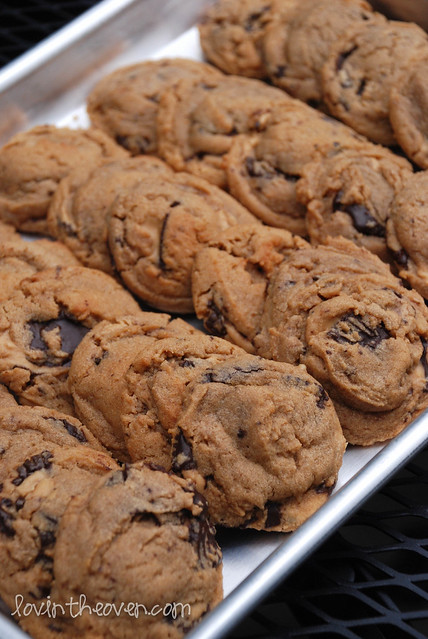
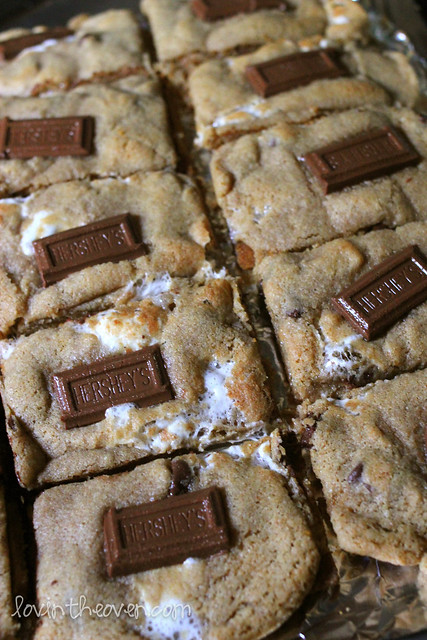
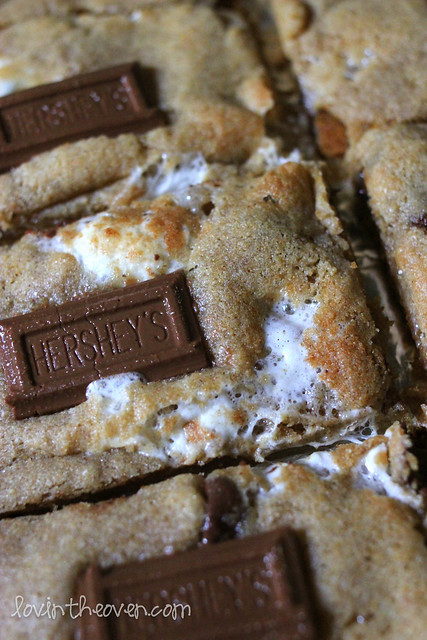
Day 3 of my 12 days of cookies: Since my last s’mores cookie bars was such a hit, here’s another variation that’s just as good. The only thing that I shouldn’t have done is use cinnamon graham crackers.. it really offsets the taste of the s’mores. Stick to the plain graham crackers no matter how much better the cinnamon one truly is.

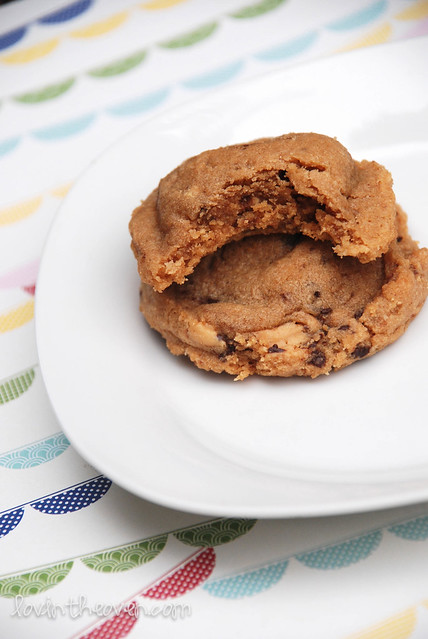
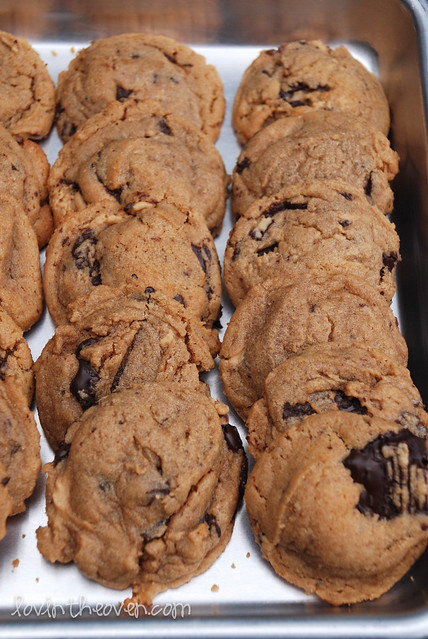
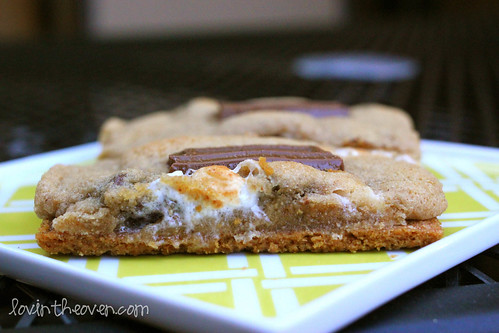
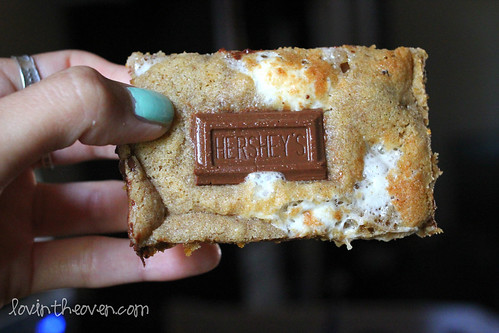
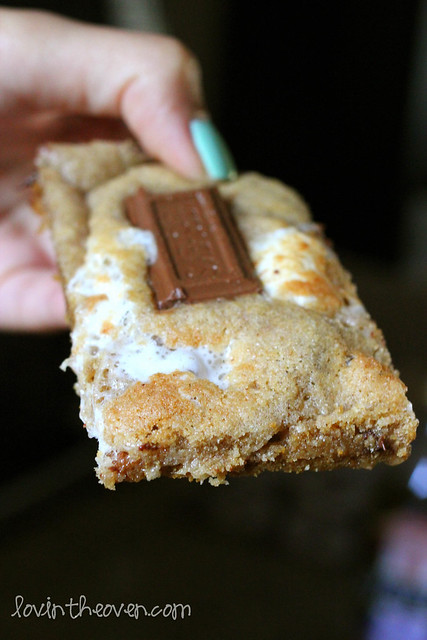
What I loved the most is that the cookie baked perfectly into the shape of the graham cracker after cutting it. The graham cracker does soften while in the oven, but it still has a bit of a crispy bite. You can add more than one chocolate piece on top of each cookie if you like your s’more chocolate ratio to outweigh the marshmallow and graham cracker. Recipe from The Girl Who Ate Everything

Print
Day 3: S’mores Bar Cookies

Ingredients

  • 11 Tablespoons unsalted butter, softened
  • 1 cup brown sugar, packed
  • ½ cup granulated sugar
  • 2 large eggs
  • 1 teaspoon vanilla
  • 1 teaspoon baking soda
  • ½ teaspoon sea salt
  • 1 teaspoon cinnamon
  • 2 ½ cups flour
  • 1/2 cup semi-sweet chocolate chips
  • 1 cup mini marshmallows
  • 3 regular sized Hershey’s bars, broken into pieces
  • 1-2 packages graham crackers, broken into squares

Directions

  1. Preheat the oven to 375 degrees. Line baking pans with parchment paper. I used one 11x17 pan and one 9x13 pan but you can really use any sized pans you want.
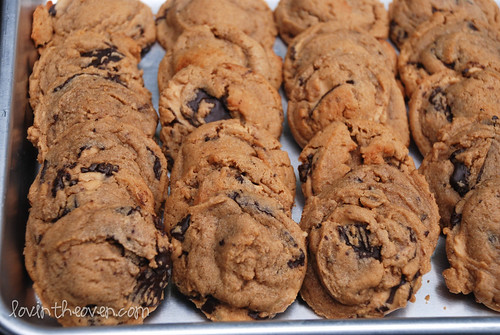
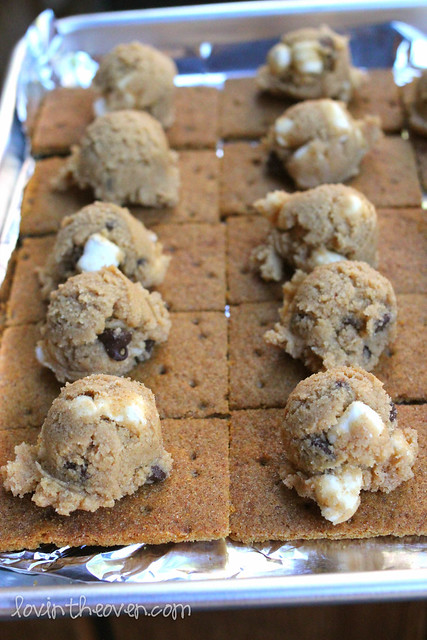
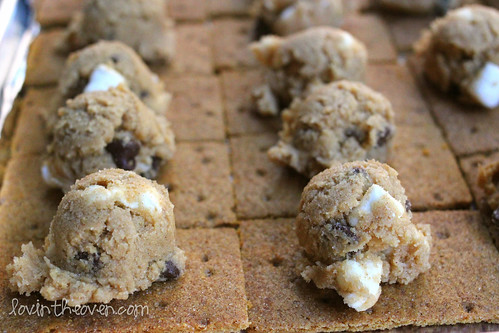
  2. Lay out graham crackers side by side on the pans as close as possible (they should be touching).For thicker cookies, use less graham crackers and more dough.
  3. Cream together the butter and both sugars. Add the eggs and vanilla.
  4. Gradually mix in the dry ingredients: flour, baking soda, sea salt and cinnamon.
  5. Fold in the chocolate chips and marshmallows. Chill dough in refrigerator for 1 hour.
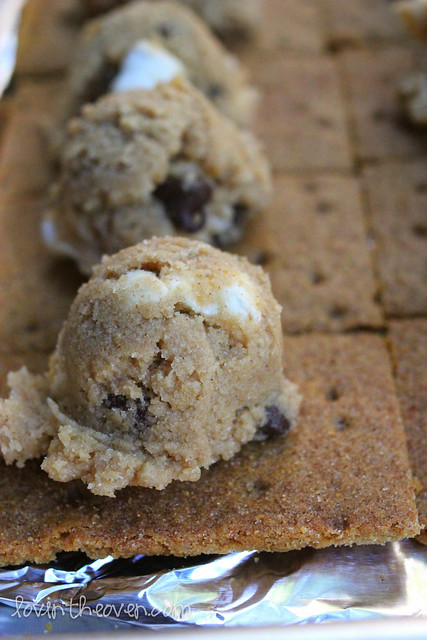
  6. Place rounded tablespoons of dough on graham crackers about 1 – 1 ½ inches apart. Use your fingertips to slightly press down.
  7. Bake for 5 minutes then remove from oven to press Hershey’s bar pieces on to the top.
  8. Bake for and additional 5 – 7 more minutes or until dough is beginning to turn golden brown at the edges. Make sure cookies are completely cool before cutting, otherwise you'll end up with a doughy mess!
3.1
https://lovintheoven.com/day-3-smores-bar-cookies/

Filed Under: bars/brownies, candy, cookies, dessert

Day 1: Dark Chocolate Peanut Butter Cup Cookies

December 4, 2011 by kim 12 Comments

pbdarkchoco

It’s that time of the year again…. My 12 days of cookies to keep you prepared for the holidays! Spread the cheer by baking something delicious for the people you live with, work with, see all the time. It’ll make a world of a difference in their day, trust me!

pbdarkchoco-2

pbdarkchoco-3

pbdarkchoco-4

pbdarkchoco-5

pbdarkchoco-6

pbdarkchoco-7

pbdarkchoco-8

pbdarkchoco-2-2

pbdarkchoco-3-2

I’m finished with training for work and am so relieved that I graduated! It was definitely a memorable experience and I already miss seeing everyone’s faces every day. It’s mind blowing how fast you can get attached to a group of people without even knowing it. Spending twelve hours a day with them for five weeks surely makes a difference!

My parents and aunt came up this weekend so not only have I been busy with work, I’ve been spending all my time with my family. I hardly ever see them since I moved up north, but I’m so thankful I’ll get to see them a lot more now. Let’s just say a weekend with my parents means good food 5 meals a day. Just what I needed!

Day 1 of my 12 days of cookies: Dark chocolate Peanut Butter Cup Cookies. These cookies were a HUGE hit. I used a cookie scoop to form my dough so they were all pretty uniformed and rose beautifully. The peanut butter I used from Trader Joe’s is so good from the jar that it had to be exceptional in a cookie. If you’re looking for a cookie to add to your baskets, look no further! Recipe from Spoonful of Sugar.

Print
Day 1: Dark Chocolate Peanut Butter Cup Cookies

Ingredients

  • 3/4 cup creamy peanut butter
  • 1/2 cup butter, softened
  • 1 cup light brown sugar
  • 1/2 tsp baking powder
  • 1/2 tsp baking soda
  • 1 egg
  • 1 1/2 tsp vanilla
  • 1 1/4 cups flour
  • 2 cups quartered mini peanut butter cups (I used the dark chocolate ones from Trader Joe's)

Directions

  1. Preheat oven to 375°F.
  2. Cream together the peanut butter and butter until well mixed.
  3. Add in the brown sugar, baking powder, and baking soda and mix until blended.
  4. Beat in the egg and vanilla. Stir in the flour just incorporated.
  5. Carefully stir in the peanut butter cups.
  6. Scoop out the batter onto the cookie sheets and bake for 6 minutes.
3.1
https://lovintheoven.com/day-1-dark-chocolate-peanut-butter-cup-cookies/

In case you needed more ideas, be sure to check out my last year’s list of 12 days of cookies (and the year before!).

Filed Under: candy, cookies, dessert, peanut butter/peanuts

Peanut Butter Blondies with Chocolate Covered Sunflower Seeds

November 27, 2011 by kim 8 Comments

pbbars-6

pbbars

pbbars-2

pbbars-3

pbbars-4

pbbars-5

pbbars-7

We survived through the first food coma of the year and are quickly rolling around to the next (and my favorite!!). Christmas is especially my favorite holiday because that means I get to bake non-stop without looking like a crazy person. I’ll just look like I’m caught up in the holiday cheer!

What’s even better is that my friends over at Oh Nuts are on top of the upcoming season and sent me some goods to get my baking started. I love that you can choose your specific color of chocolate covered sunflower seeds or go for an assortment, like I chose to. Next time, I’ll go for the holiday assortment to really kick my Christmas baking up a notch. Not only do they taste good, they make desserts look extravagant!

As for these bars, I had to bake them twice in a week since my DB devoured the first batch. I left a good chunk of the pan at home for pictures and asked my DB if he wanted me to leave any to eat. He replied, “Nope! I don’t want any. I won’t eat anything.” When I came home from work, they were all gone and I was picture-less. The first thought that came through my mind was, “My blog! I have to blog about everything I make! How am I going to blog about these?!” So there I was, making them again, two nights in a row. Ohhhh the life of a food blogger.

It’s okay, though…. the both times that I made these bars, they disappeared within 24 hours. That’s gotta mean something, right? Recipe from Lindsey Yeo.

Print
Peanut Butter Blondies with Chocolate Covered Sunflower Seeds

Ingredients

  • ¼ cup unsalted butter, melted
  • 1 cup brown sugar
  • ½ cup peanut butter
  • 2 eggs
  • 1 teaspoon vanilla extract
  • 1 cup flour
  • ½ teaspoon salt
  • ½ teaspoon baking powder
  • ¼ teaspoon baking soda
  • ½ cup toppings (I used semisweet chocolate chips and chocolate covered sunflower seeds from OhNuts!)

Directions

  1. Preheat oven to 325 degrees. Line an 8″ square pan with foil.
  2. In a mixing bowl, mix the butter, sugar, and peanut butter. Stir in the eggs and vanilla. Gradually incorporate the flour, salt, baking powder, and baking soda.
  3. Spread batter in the pan and sprinkle toppings evenly over the top and press down a bit. Bake for 20 to 25 minutes.
3.1
https://lovintheoven.com/peanut-butter-blondies-with-chocolate-covered-sunflower-seeds/

Filed Under: bars/brownies, candy, chocolate chip, dessert, nuts, peanut butter/peanuts

  • « Previous Page
  • 1
  • …
  • 17
  • 18
  • 19
  • 20
  • 21
  • …
  • 35
  • Next Page »

hi! i'm kim-- a girl mom, baker, blogger, and ex-flight attendant. welcome!

Search

  • Facebook
  • Instagram
  • Pinterest
  • Twitter

Categories

RODELLE-BABadge


Categories

  • Facebook
  • Instagram
  • Pinterest
  • Twitter

Copyright © 2026 · Foodie Pro Theme by Shay Bocks · Built on the Genesis Framework · Powered by WordPress