Lovin' From the Oven

  • Home
  • About Me
  • Recipes
  • FAQ
  • My Lifestyle Blog
  • Disclaimer

Everything Cookies

January 26, 2010 by kim 16 Comments


So I’ve definitely talked about these cookies before and previously posted them before here. However, I somehow missed posting the recipe way back then and finally decided that it was time to share this magical cookie. I got this recipe from my aunt on a little recipe card that looks like it’s been used and abused because it’s been through so much in the kitchen. It has a vanilla drop in one corner, grease from a cookie dough crumb that fell on it years ago, and smudges here and there. You can always tell the best cookie recipes just by a simple glance at the condition of the recipe card.

My aunt has been making this cookie for years. It’s my dad’s personal favorite cookie and it’s the one that he requests the most. They’re called everything cookies because it really does have everything in it. There is usually coconut included in the batter, but I couldn’t find any on hand to include with this batch so I omitted it. But of course, the moment my dad took one bite out of the cookie, he immediately noticed something was wrong– no coconut! Nothing gets by him.. especially after he’s been eating this cookie for numerous years. Shucks.

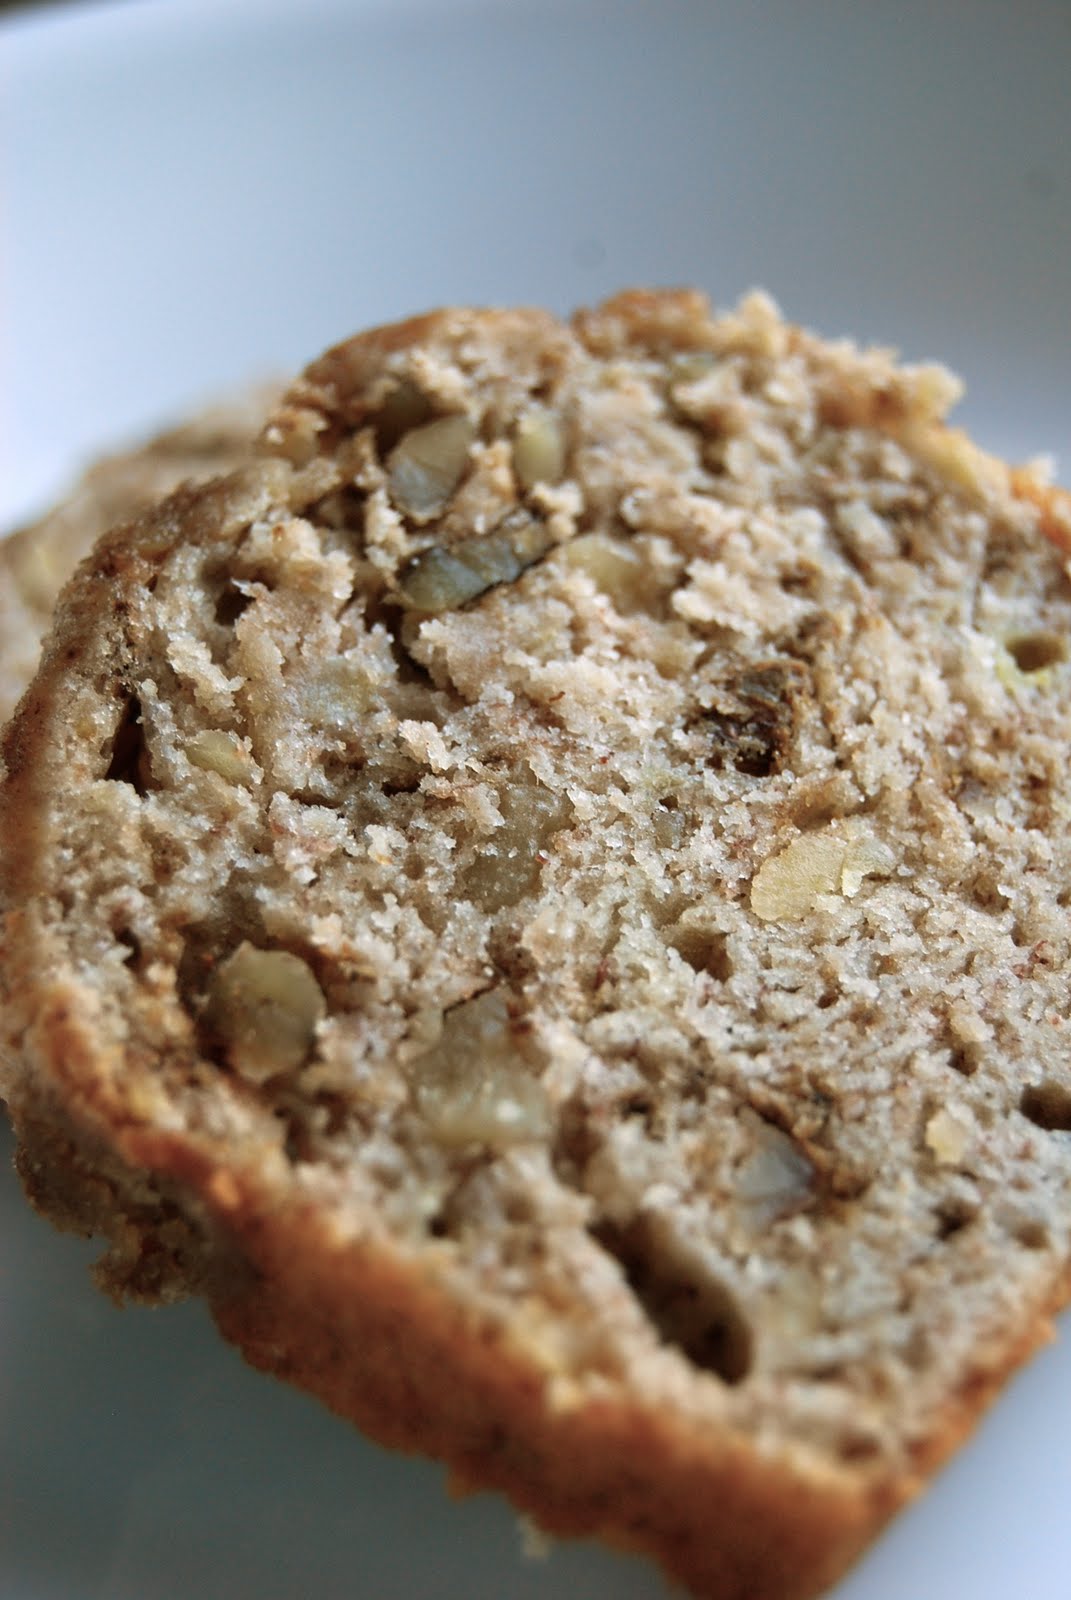
The cookie itself has a crumbly texture and tends to fall apart while melting in your mouth. Every add-in is essential for this cookie and I wouldn’t leave anything out of it. It’s different from other cookies because it involves the use of vegetable oil on top of butter. Don’t let the long list of ingredients scare you, they’re really easy and worth every minute to make!

Ingredients

  • 1 cup butter
  • 1 cup white sugar
  • 1 cup brown sugar (unpacked)
  • 3/4 cup vegetable oil
  • 1 egg
  • 1 cup quick quaker oats
  • 1 cup corn flakes
  • 1/2 cup chopped nuts
  • 1/2 cup coconut flakes
  • 3 1/2 cup all purpose flour
  • 1 tsp baking soda
  • 1 tsp cream of tartar
  • 1 tsp salt
  • 1 tsp vanilla

Directions

  1. Preheat oven to 325 degrees.
  2. Mix flour, baking soda, cream of tartar, and salt. Set aside.
  3. Cream butter and both sugars. Add oil, mix. Add egg, mix.
  4. Add oatmeal then add dry ingredients to mixture. Blend well. Add coconut flakes, nuts, corn flakes, and vanilla.
  5. Drop by spoonfuls, press slightly with a fork.
  6. Bake for 15-18 minutes or until brown.
** this recipe makes 4 dozen cookies, so feel free to cut it in half!

Filed Under: breakfast, coconut, cookies, dessert, nuts, oatmeal

Happy New Year!

January 2, 2010 by kim 31 Comments

Happy New Year! I just wanted to take the time to thank each and every one of you guys for coming by and supporting my blog all year long (even when I seemed to fall off the face of the planet at times). I would be no where without you guys and can’t believe I’m already over 300 followers!

I know, I know.. I didn’t get to finish my 12 days of cookies. 🙁 Life seemed to catch up with me in more ways than one. I’ll actually be starting school on.. MONDAY! Eek! And not at CSUN, that wretched school, but at a private school called National University! They have a better program for me that allows me to get my Masters in Education AND my teaching credential at the same time. The only downside is that it is a bit more expensive since it is a private school and I’ll be paying for half since my parents can’t pay it all.

With that being said, I’m afraid I won’t have the necessary funds to update my blog as much as I did. Baking is not a cheap hobby with all the ingredients I have to buy. Before, I didn’t have to worry about money and could spend it freely on a pound of macadamia nuts and good quality chocolate. Now, 3 out of 4 of my paychecks will be going toward school, while the other paycheck will go toward gas/food/entertainment. 🙁 I guess welcome to the real world, right? It sucks!

Anyways, I added a donation button on the left side of my blog if you guys feel so inclined to help out to keep my blog running. I promise that all the money donated will go directly to my blog and for creating new goodies for you guys to see/try out! I truly love baking and will do my best to update as much as I can.

Moving on.. I was craving something quick and easy and ended up making rice crispy treats. I spruced them up by using cookie cutters to cut out some shapes. Cookie cutters are always a good idea for just about anything. Can you guess what each one is? My boyfriend guessed 3/4. Special little surprise goes to the one who guesses all of them correctly! I’ll reveal what they really are in the next post. 🙂

Filed Under: breakfast, snack

cooks illustrated, best banana bread

November 26, 2009 by kim 4 Comments


Happy Thanksgiving everyone! I did a whole bunch of baking last night for today, and while I was at it, my mom requested that I bake some banana bread for her. My family’s very traditional and simple– it’s always the same things that they request for me to bake. My little sister always wants cupcakes, my dad always wants everything cookies, and my mom always wants banana bread.

I used the Cooks Illustrated recipe and adapted it a teeny bit (you can see my additions in green). My mom and aunt loved it, but they rarely ever hate a banana bread. To me, it was just okay. Very moist and dense, but perhaps not cinnamon-y enough for me. I actually had the best banana bread while I was in Utah and one of the girls I stayed with baked it. I’ll have to make a mental note to ask her for the recipe because seriously, it was the BEST. I inhaled it.

Side note, since it was such a success last year, I’m doing my 12 days of cookies again this year. Starting.. on my next post! 🙂

Ingredients

  • 2 cups all purpose flour (unbreached) and some for dusting
  • 1 1/4 cups walnuts coarse chop (optional)
  • 3/4 cup sugar
  • 3/4 teaspoon baking soda
  • 1/2 teaspoon salt
  • 3 very ripe bananas mashed well
  • 1/4 cup plain yogurt
  • 2 large eggs lightly beaten
  • 6 tablespoons unsalted butter melted and cool
  • 1 teaspoon vanilla extract
  • 1 teaspoon cinnamon

For the topping:

  • Mix together 1 tablespoon brown sugar, 1 tablespoon white sugar, and 1 tsp cinnamon.

Preparation

1. Adjust an oven rack to the lower-middle position and heat the oven to 350°F (175°C) degrees. Grease the bottom and sides of a 9 by 5-inch loaf pan; dust with flour, tapping out the excess.

2. Spread the walnuts on a baking sheet and toast until fragrant, 5 to 10 minutes. Set aside to cool.

3. Whisk the flour, sugar, baking soda, salt, and walnuts together in a large bowl; set aside.

4. Mix the mashed bananas, yogurt, eggs, butter, and vanilla with a wooden spoon in a medium bowl. Lightly fold the banana mixture into the dry ingredients with a rubber spatula until just combined and the batter looks thick and chunky. Scrape the batter into the prepared loaf pan. Sprinkle top with the cinnamon-sugar mixture.

5. Bake until the loaf is golden brown and a toothpick inserted in the center comes out clean, about 55 minutes. Cool in the pan for 5 minutes, then transfer to a wire rack. Serve warm or at room temperature. (The bread can be wrapped with plastic wrap and stored at room temperature for up to 3 days.)

Filed Under: banana, bread, breakfast, nuts

  • « Previous Page
  • 1
  • …
  • 33
  • 34
  • 35
  • 36
  • 37
  • …
  • 39
  • Next Page »

hi! i'm kim-- a girl mom, baker, blogger, and ex-flight attendant. welcome!

Search

  • Facebook
  • Instagram
  • Pinterest
  • Twitter

Categories

RODELLE-BABadge


Categories

  • Facebook
  • Instagram
  • Pinterest
  • Twitter

Copyright © 2026 · Foodie Pro Theme by Shay Bocks · Built on the Genesis Framework · Powered by WordPress