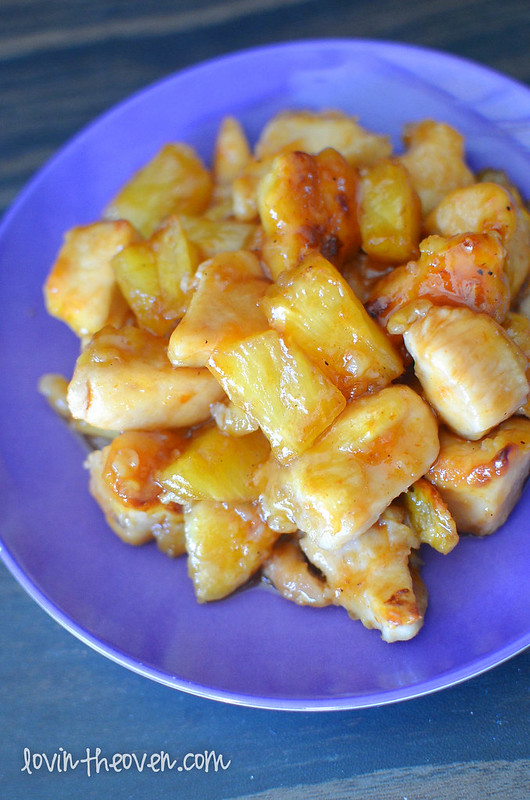
Seeing as how much I love my baked sweet and sour chicken, I thought I’d try another recipe with just a little twist– adding pineapple to the mix. I made this when pineapples were in season, so the pineapple that I used was juicy and sweet as can be.
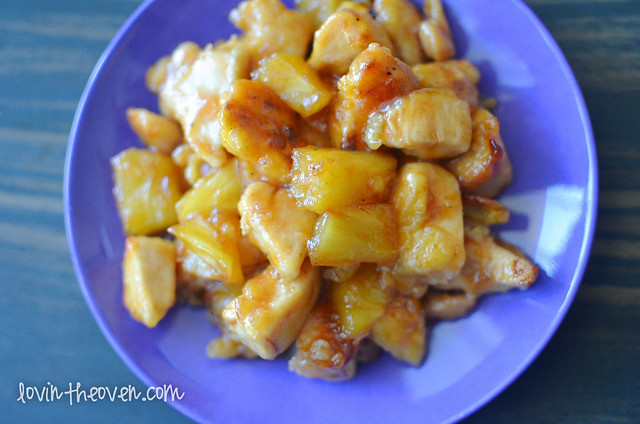
I don’t like pineapple on my pizza, so I don’t know why I thought I’d love pineapple in my food. This dish was good, but not for me. I don’t like to mix the sweet and salty when it comes to my main course.

What do you think? Do you like eating pineapples on your dishes? If so, give this pineapple sweet and sour chicken a try.
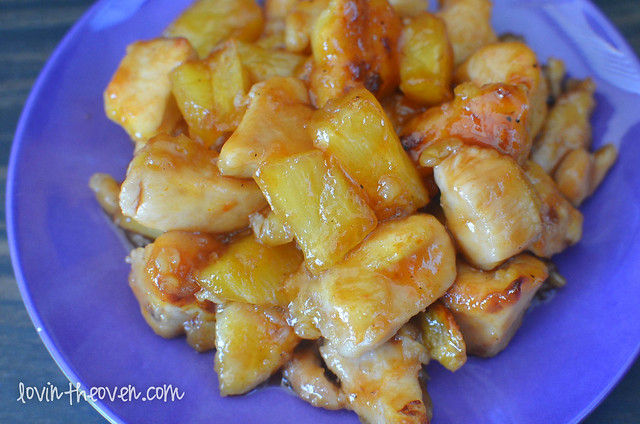
Pineapple Sweet and Sour Chicken
Ingredients
- 4 chicken breasts, cut into 1 inch pieces
- 1 cup cornstarch
- 2 eggs, lightly beaten
- 1/4 cup vegetable oil
- 1 cup fresh pineapple chunks
- 1 cup sugar
- 1/2 cup ketchup
- 3/4 cup apple cider vinegar
- 1/4 cup rice wine vinegar
- 2 tbsp Worstershire sauce
- 2 tsp garlic powder
- pinch of salt
- ground black pepper
For the sauce:
Directions
- Heat oven to 400 degrees. Dip the pieces of chicken into the egg and then into the cornstarch.
- Put the oil into a large pan and then cook the chicken pieces until browned on the outsides.
- Place the cooked chicken onto a lined baking sheet (foil works great!) and add the pineapple chunks.
- Whisk all of the ingredients for the sauce together. Pour over the chicken and pineapple.
- Bake for about 40 minutes, gently moving the pieces around halfway through.