Lovin' From the Oven

  • Home
  • About Me
  • Recipes
  • FAQ
  • My Lifestyle Blog
  • Disclaimer

A Christmas Gift Basket

December 22, 2010 by kim 13 Comments

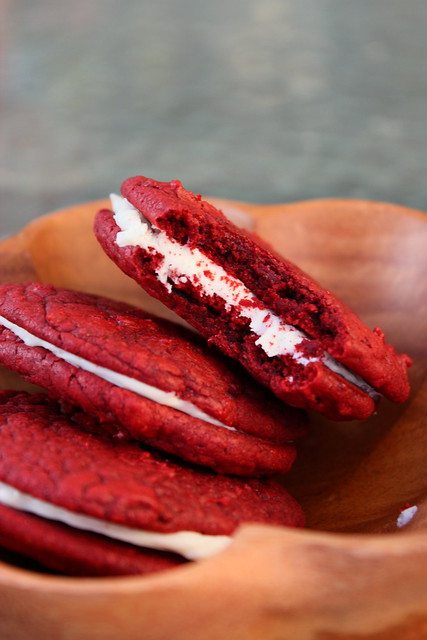
Let’s take a break from the 12 days of cookies for a second. Just one quick second, I promise!

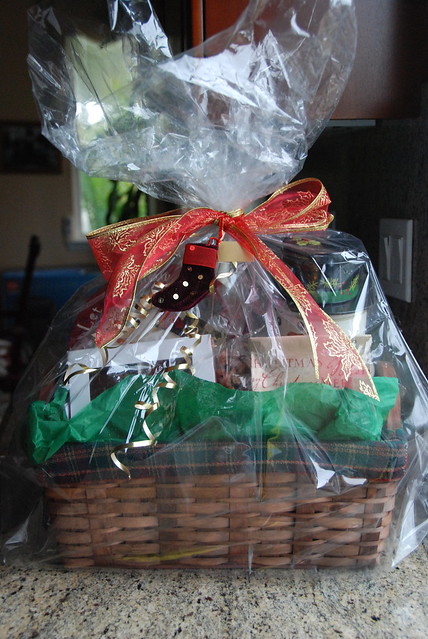
I was asked to put together a Christmas gift basket recently and had no rules. I love when I have the freedom to do as I please! A little stroll around Michael’s gave me the inspiration I needed. My theme was going to be snowmen!

DSC_1200

Let’s break it down, shall we?

DSC_1149

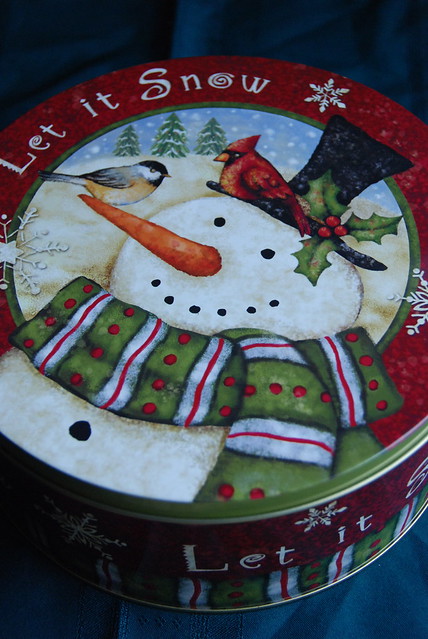
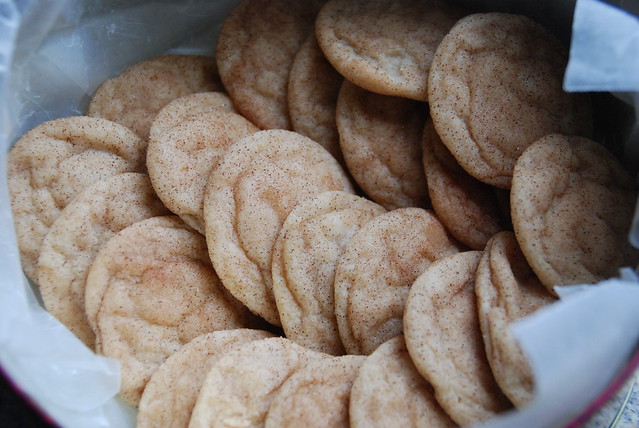
I stuffed this tin with snickerdoodles.
DSC_1143

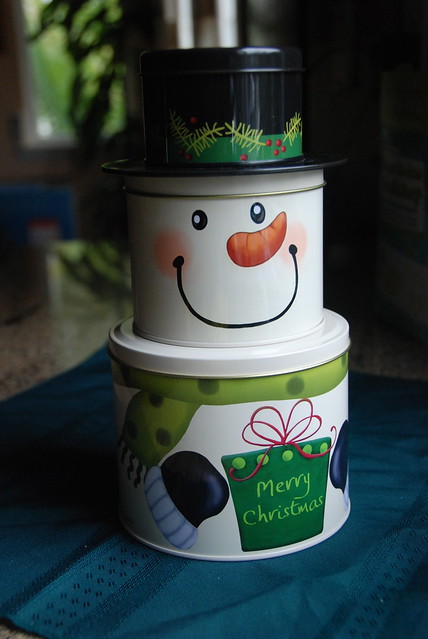
How cute is this canister? Seriously dying of cuteness.
DSC_1155

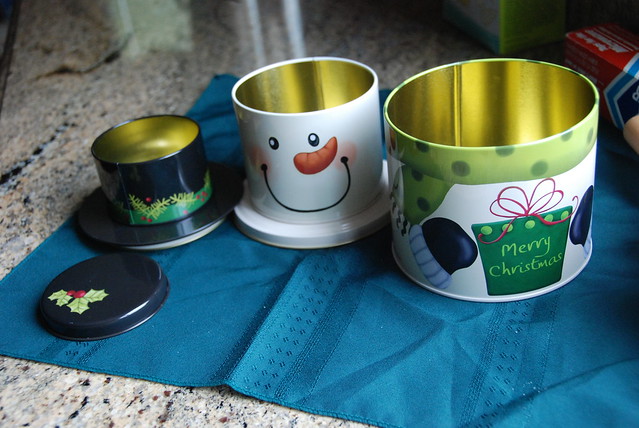
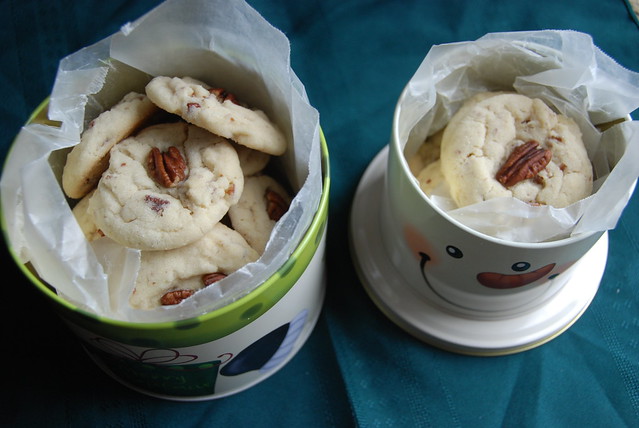
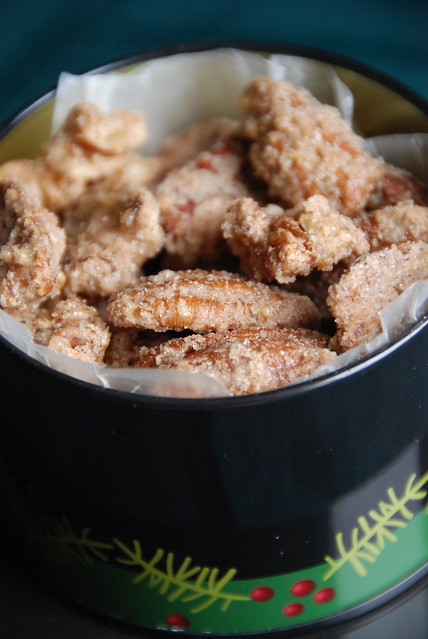
It breaks down to three separate canisters.
DSC_1156

I filled the bottom two with pecan sandies (sneak peak to the end of my 12 days of cookies!).
DSC_1167

and the top hat is filled with cinnamon sugar roasted pecans.
DSC_1178

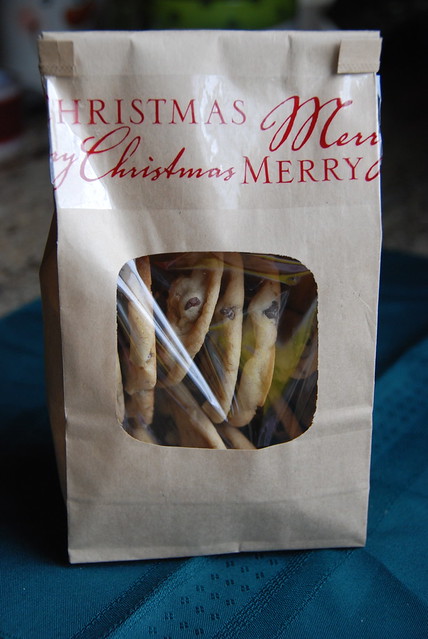
Then I decorated a bakery bag and filled it with good ol’ chocolate chip cookies.
DSC_1165

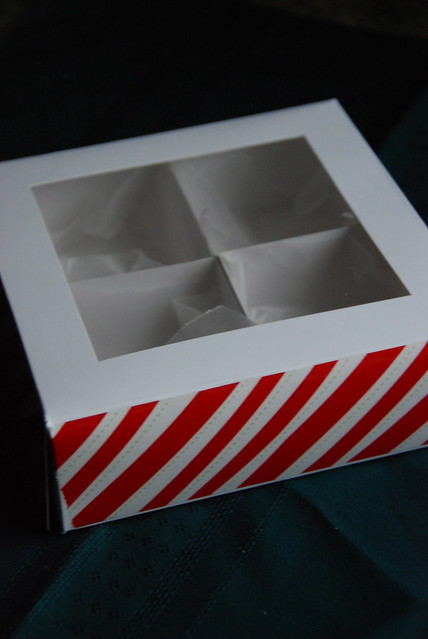
I also spiced up a regular white bakery box with decorative holiday tape on the sides. It transforms it into a completely festive box! (It’s not filled yet in the picture because I was waiting for the triple chocolate brownies to cool before cutting into them).
DSC_1185

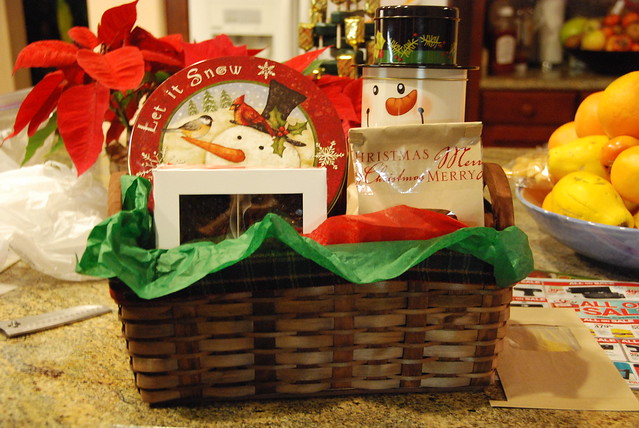
Excuse the mess in the background; I take over the kitchen when I bake. I added extra bags of roasted nuts after this picture and a mini card explaining what was included in the basket. Oh hey, the brownies are in this picture!
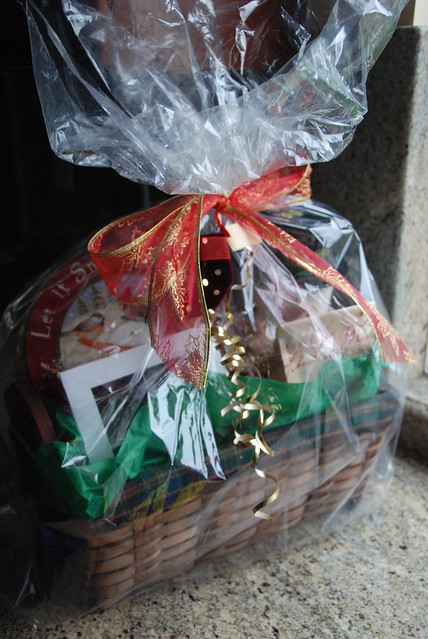
DSC_1186

Bag it up.
DSC_1203

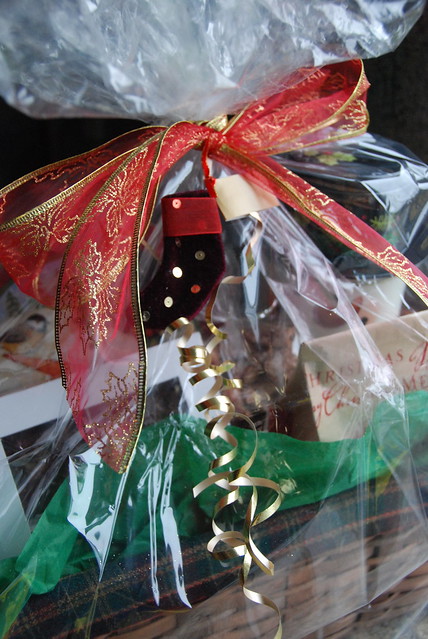
And a little itty baby stocking to top it all off.
DSC_1201

Now isn’t that just the sweetest thing you’ve ever seen? Haha. I sure hope the recipient enjoys it!

Filed Under: bars/brownies, cookies, craft, nuts

Day 10: Red Velvet Whoopie Pies

December 22, 2010 by kim 9 Comments

IMG_0340

IMG_0330

IMG_0343

IMG_0368

IMG_0356

Day 10 of my 12 days of cookies: Red Velvet Whoopie Pies. Like I mentioned in my previous post, I’m a bit exhausted so this recipe is the perfect quick fix for fast cookies. I’ve posted this recipe before, but with extra add-ins. I’ve also done a different version of cake mix cookies with oil, but I prefer the ones with butter.
I have to admit that I also cheated with the frosting and used store bought rather than making my own. I told you, I really used the fast route on these babies… but it’s okay because they’re still impressive since I love anything red velvet! You can easily whip up a batch of homemade cream cheese frosting to make them semi-homemade.
Back to my Harry Potter marathon with the DB! Eat up! Oh, stay tuned for another post later tonight. I’ll be showing you guys a gift basket I delivered earlier today!
  • 1 (18.25 ounce) package red velvet cake mix
  • 1/2 cup softened butter
  • 2 eggs
  • 2 tsp vegetable oil
  • 1 tsp vanilla extract
  1. Preheat oven to 350 degrees.
  2. Mix together the cake mix, butter, eggs, vegetable oil, and vanilla extract until well blended.
  3. Drop by spoonfuls onto ungreased baking sheets.
  4. Bake for 8 to 10 minutes. Allow cookies to cool on baking sheet for 5 minutes before removing to a wire rack to cool completely.

Filed Under: cookies, dessert, frosting

Day 9: Pumpkin Pie Snickerdoodle Bars

December 21, 2010 by kim 17 Comments

DSC_3807

DSC_3796

DSC_3802

DSC_3806

Day 9 of my 12 days of cookies: Pumpkin Pie Snickerdoodle Bars. My mouth salivates just saying the name. Snickerdoodles are just meant to be with pumpkin pie. It’s a match made in heaven. I know this isn’t a cookie, but I’ve always thrown a bar in for the past two years of my 12 days of cookies, so I had to stay true to tradition.
These bars were utterly divine. However, I do have a bone to pick; The snickerdoodle layer didn’t quite bake thoroughly in the middle of the pan even thought the edges were set. When I make them again, I’ll try baking the snickerdoodle layer alone for about 5 minutes or so before throwing on the pumpkin layer.
The white chocolate on top was totally not necessary and didn’t really add much to the bar itself, so you can feel free to omit that if you want.
I’m exhausted from baking already and it’s not even Christmas, yet! Whew! I almost forgot how much work it is to bake non stop all day. I’m spending tonight at home by the fireplace, watching Avatar with the bestie… only to start the whole baking process again in two days! This recipe is from Beantown Baker.

Snickerdoodle layer:

  • 3 cups all-purpose flour
  • 2 teaspoons baking powder
  • 1 teaspoon salt
  • 2 cups packed brown sugar
  • 1 cup butter, at room temperature
  • 2 eggs, at room temperature
  • 1 tablespoon vanilla extract
Pumpkin Pie Layer:
  • 1 cup all-purpose flour
  • 1 cup white sugar
  • 1 stick butter, at room temperature
  • 1 teaspoons baking powder
  • 1 teaspoons salt
  • 1 teaspoon pumpkin pie spice
  • 2 eggs, at room temperature
  • 1 1/2 cups canned pumpkin

Topping

  • 2 tablespoons white sugar
  • 2 teaspoons cinnamon
Drizzle
  • 1 oz white chocolate, chopped
  • 1/4 teaspoon pumpkin pie spice
  1. Preheat oven to 350F.
  2. Lightly grease a 9×13 inch pan.

To make snickerdoodle layer:

  1. Stir together flour, baking powder and salt and set aside. In a large bowl, beat together butter, sugar, egg and vanilla until smooth.
  2. Stir in the flour mixture until well blended. Spread evenly in prepared pan.

To make pumpkin pie filling:

  1. In a mixer bowl, cream together butter and sugar. Add the rest of the ingredients and mix until well combined. Pour over the snickerdoodle layer, smoothing out the top.
  2. Combine white sugar and cinnamon in a little bowl. Evenly sprinkle cinnamon sugar mixture over the top of the batter.
  3. Bake for 33-40 minutes or until a toothpick inserted into the center of the pan comes out clean. Let the bars cool completely. They will deflate a bit and remain a bit pie-like on the top layer. The bars that are closer to the edges of the pan will be more firm.
  4. After the bars are completely cool, place the chopped white chocolate into a bowl or zip-lock bag and melt on low power. When it’s completely melted, add the pumpkin pie spice and mix (or knead if using a zip lock bag). Use a spoon or cut a small corner off the bag and drizzle the melted chocolate over the top of the bars and let it cool and harden.
  5. Store in a covered container.

Filed Under: bars/brownies, dessert, pie, pumpkin, white chocolate

  • « Previous Page
  • 1
  • …
  • 210
  • 211
  • 212
  • 213
  • 214
  • …
  • 289
  • Next Page »

hi! i'm kim-- a girl mom, baker, blogger, and ex-flight attendant. welcome!

Search

  • Facebook
  • Instagram
  • Pinterest
  • Twitter

Categories

RODELLE-BABadge


Categories

  • Facebook
  • Instagram
  • Pinterest
  • Twitter

Copyright © 2026 · Foodie Pro Theme by Shay Bocks · Built on the Genesis Framework · Powered by WordPress