Lovin' From the Oven

  • Home
  • About Me
  • Recipes
  • FAQ
  • My Lifestyle Blog
  • Disclaimer

Happy 4th of July:: From Scratch Funfetti Cupcakes & Vanilla Buttercream

July 4, 2011 by kim 4 Comments

DSC_7356

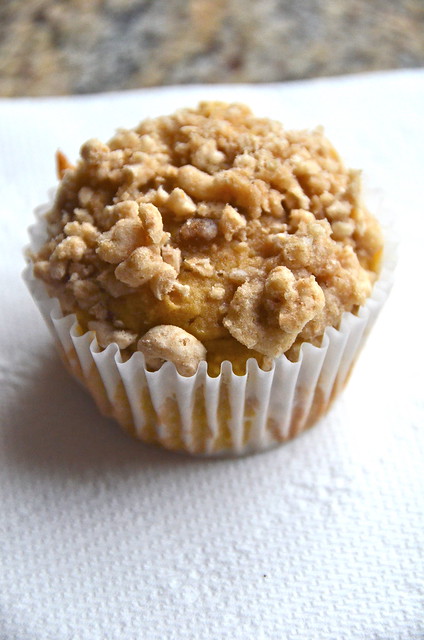
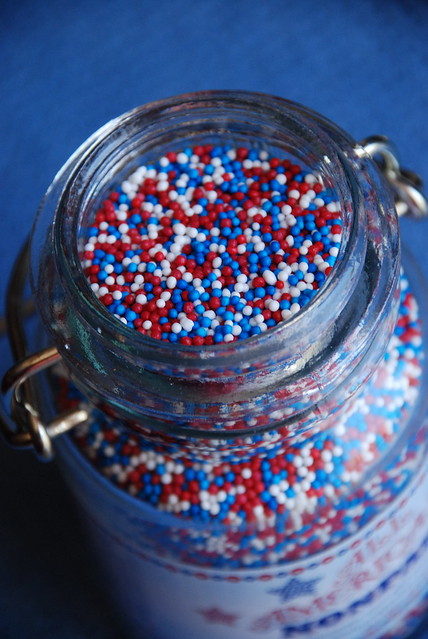
Sprinkles!! Can you guess what I did with them?

DSC_7396

DSC_7378

DSC_7420

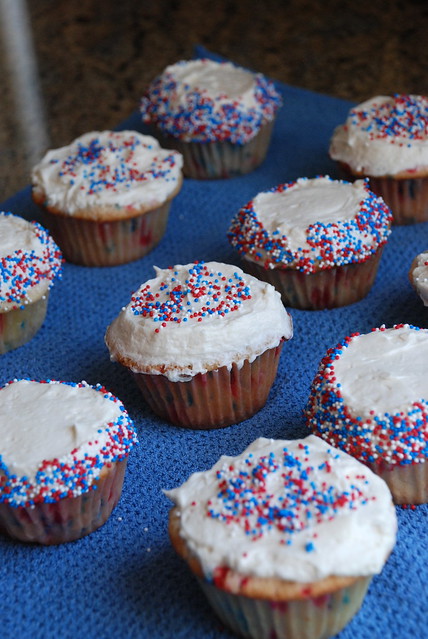
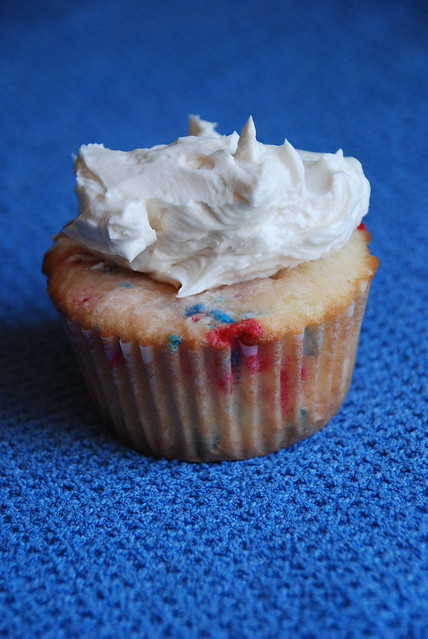
Cupcakes, of course!
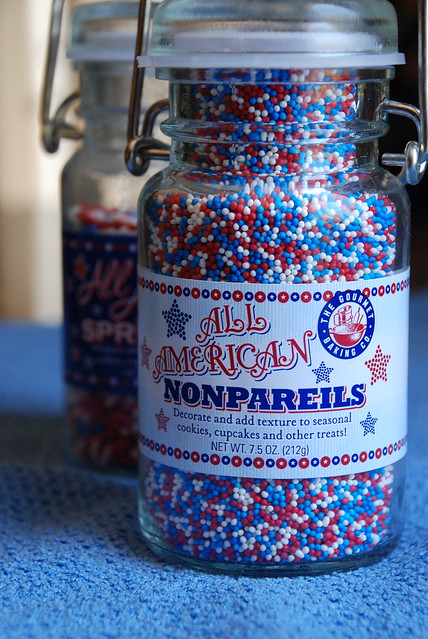
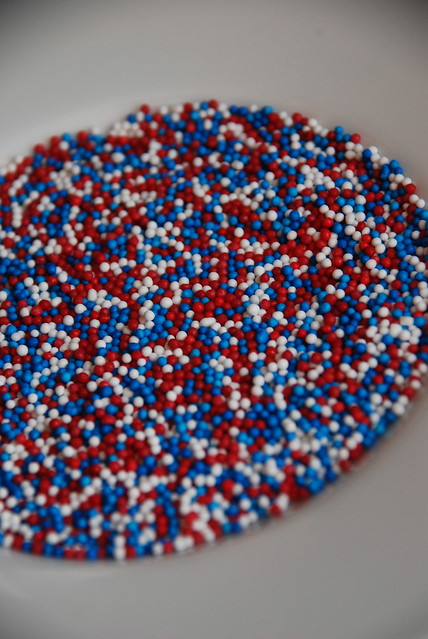
First, you have to get some festive sprinkles for the holidays (I found these at Homegoods).

DSC_7337

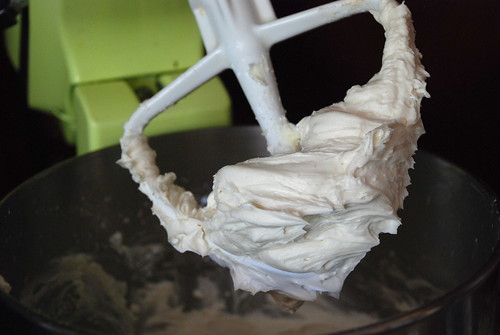
Bake your cupcakes and then whip up some frosting!

DSC_7345

DSC_7346

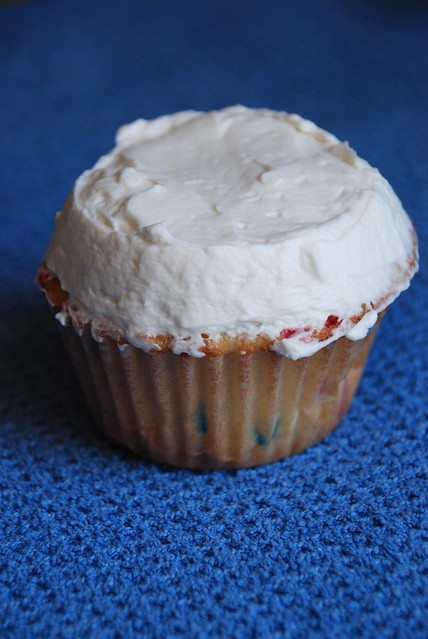
Here’s how I chose to frost mine: Using an offset spatula, throw a slab of frosting onto your cupcake.

DSC_7351

Then spread it to the rim. Don’t worry if it gets all over the place, you just need to cover your top.

DSC_7353

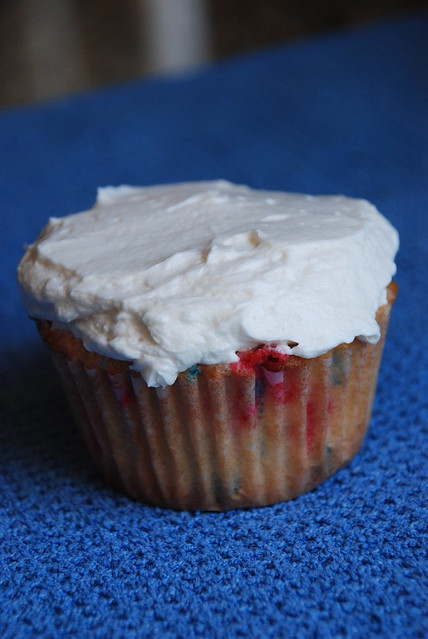
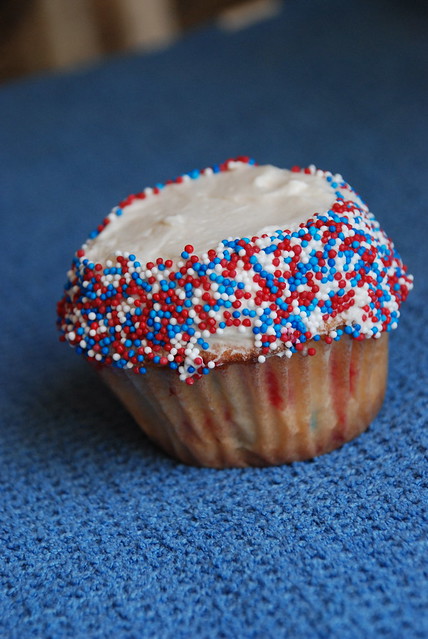
Holding your offset spatula at an angle against your frosting, spin the cupcake around so you get a slanted side, as so:

DSC_7354

Dump some sprinkles out onto a plate (make sure they don’t jump all over the place!)

DSC_7359

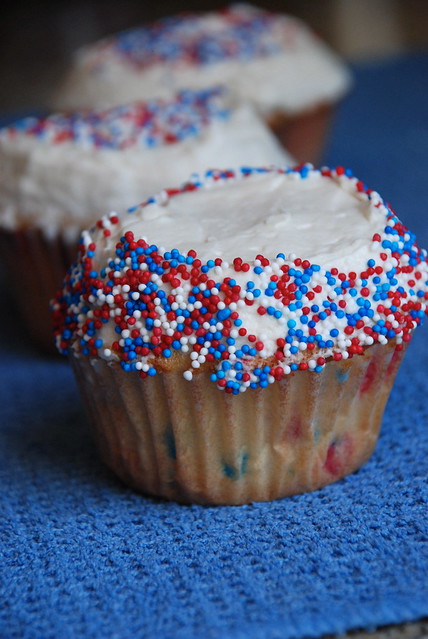
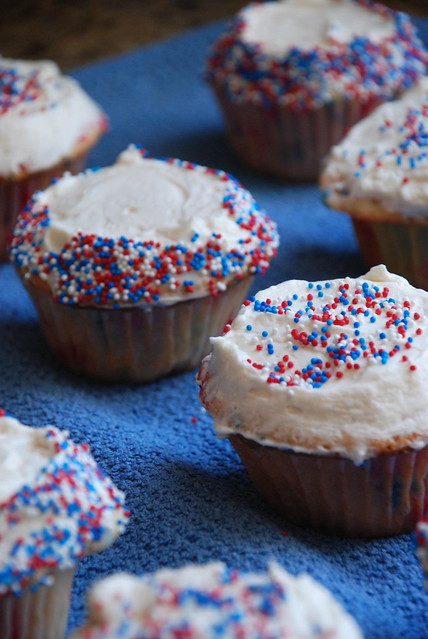
And roll the side of the cupcake in the plate:

DSC_7361

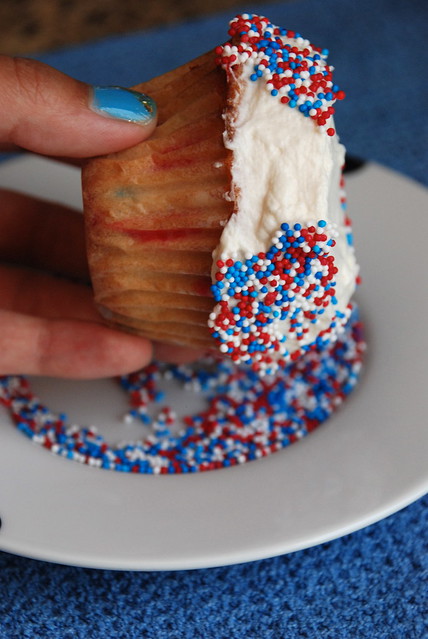
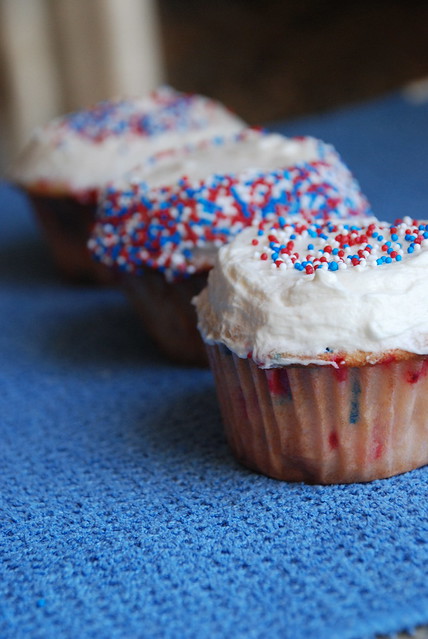
Voi-la! A much easier decorating method than piping (maybe not as pretty, but oh well, they all end up in the same place).
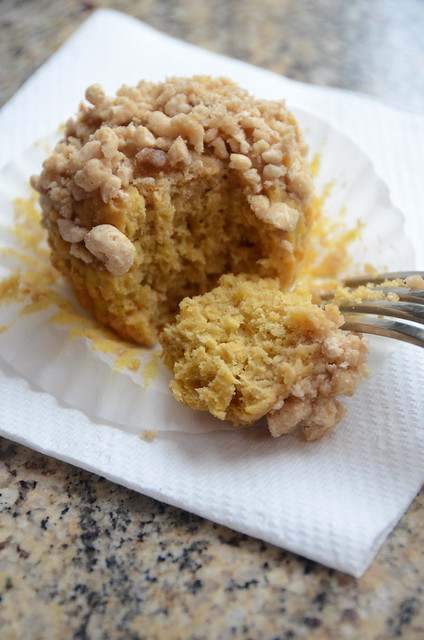
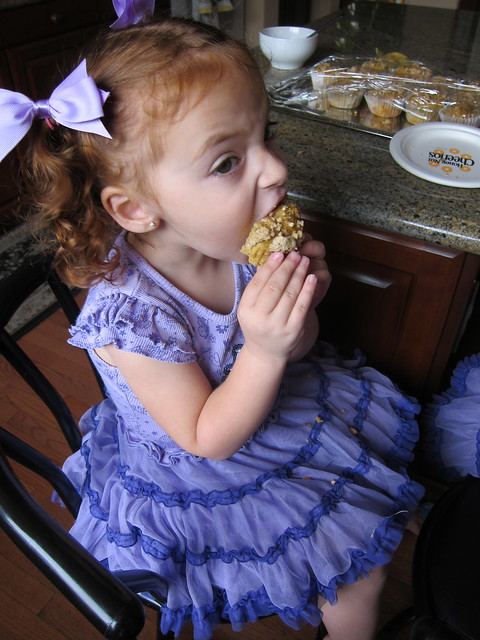
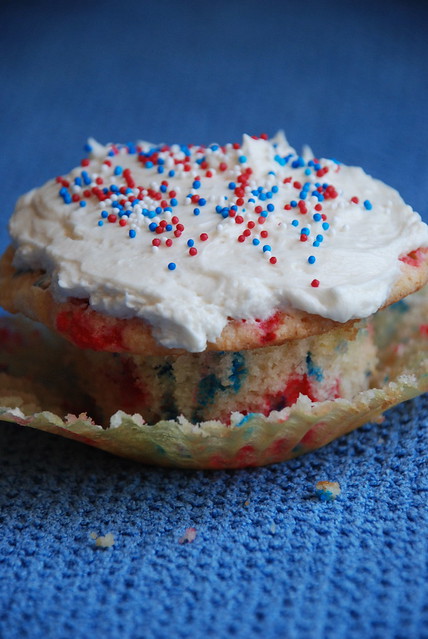
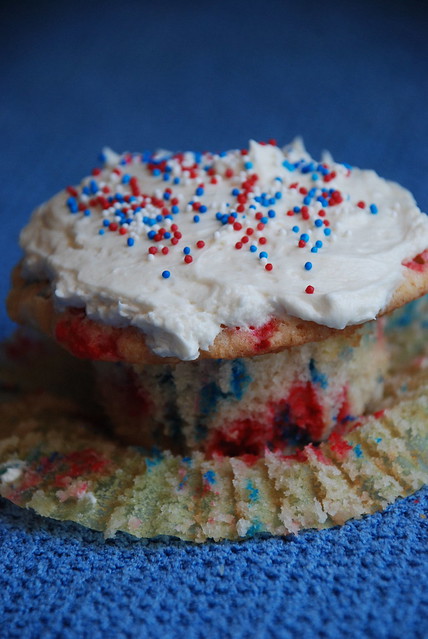
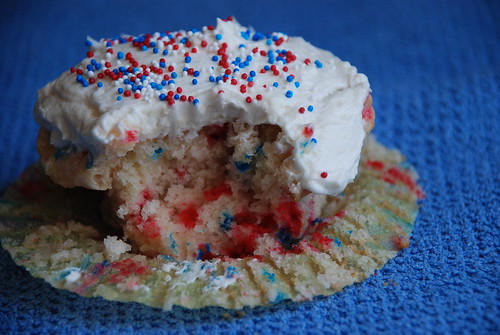
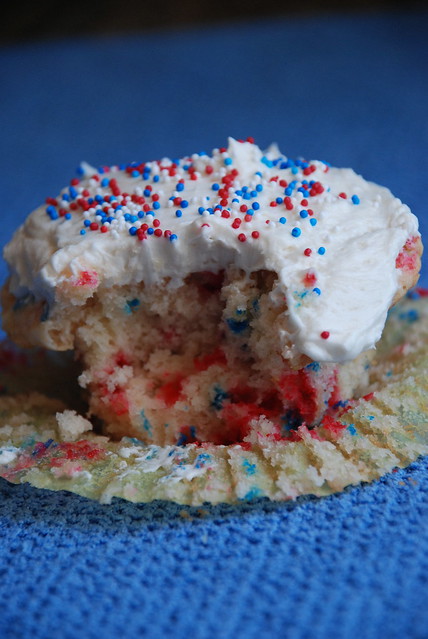
DSC_7367

Peel and eat!

DSC_7423

DSC_7432

DSC_7427

DSC_7409

DSC_7417

DSC_7370

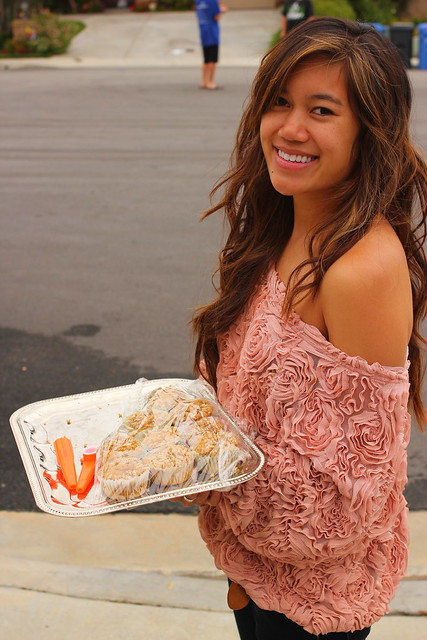
Happy 4th of July, everyone! I’ll be spending mine bbq’ing by the pool in my red, white, and blue. What do you guys have planned?

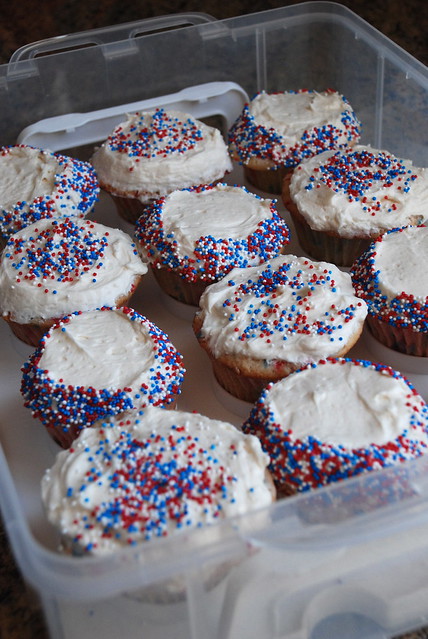
With any party/get together, I’m expected to bake something. I decided to go all out and do what I hate doing… decorate cupcakes. Plus, I saw these sprinkles at HomeGoods and needed an excuse to buy them. I used jimmies to throw into the batter and nonpareils to decorate the tops. I decorated the cupcakes the lazy way, and provided a step by step on what to do (Is that something you guys would like more of— step by step photos?). Hopefully that helps the decorator haters out there like me!

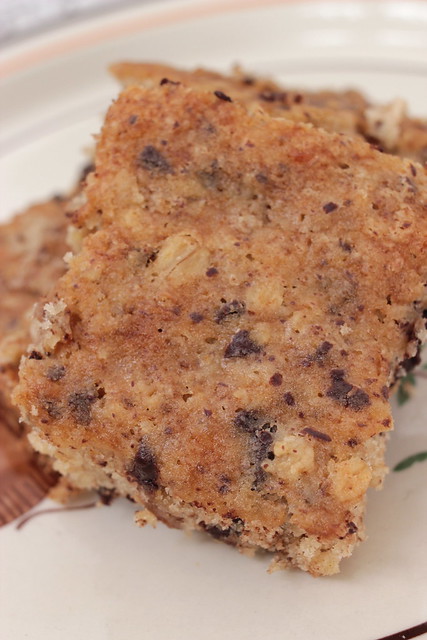
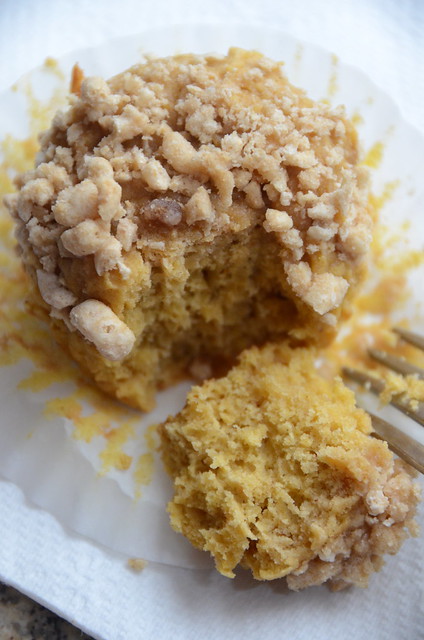
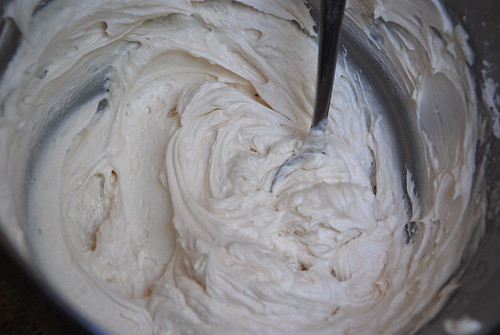
The cupcake itself was extremely moist and fluffy. It was a little on the sweet side for me, so I’d reduce the amount of sugar next time I make them. The buttercream frosting was actually good— and I don’t normally like buttercream. Though, I must admit that I added probably another 2 tablespoons of milk or so to tone down the powdered sugar taste. Frosting’s forgiving.. add a little more milk and balance out with a little more powdered sugar until you get the taste you desire.

This recipe is slightly adapted from How Sweet It Is, which makes approximately 12 cupcakes. Have a safe 4th, everyone!

  • 1/2 cup softened butter
  • 1 cup sugar
  • 2 eggs
  • 1 tablespoon vanilla extract
  • 1 1/2 cups flour
  • 1 teaspoon baking powder
  • 1/3 cup buttermilk
  • 1/3 cup assorted brightly colored sprinkles + more for top of frosting
  1. Preheat oven to 350 degrees F.
  2. Cream together the butter and sugar. Add eggs and vanilla and beat until combined.
  3. Combine dry ingredients in a bowl. Add half of the dry ingredients, mixing until just combined. Add the milk. Once mixed, add remaining dry ingredients. Fold in assorted sprinkles.
  4. Pour into cupcake tins and fill 2/3 of the way full. Bake for 18-20 minutes. Cool completely before frosting.

Vanilla Buttercream

  • 2 sticks of butter, softened
  • 2 1/2 cups powdered sugar
  • 1 tablespoon vanilla extract
  • 1 tablespoon of milk, if needed
  1. Cream butter until it is completely smooth. 
  2. With the mixer on low speed, slowly add in the powdered sugar, one cup at a time.
  3. Beat in the vanilla for 2-3 minutes.
  4. If the frosting is too thick, add milk 1 teaspoon at a time until the desired consistency is reached. If it’s too thin, add a little more sugar until it thickens.

Filed Under: cupcake, dessert, frosting

Chunky Monkey Bars & Winner

June 28, 2011 by kim 4 Comments

IMG_5744

IMG_5755

IMG_5743

IMG_5766

IMG_5749

Before we get to the bars, I’m sure you guys are all wondering who the winner of the Shabby Apple giveaway is! Well, with some help from random.org, the winner is….

Tree! Congratulations! Keep an eye out for an email from me so I can get your contact information and size for the dress. 🙂

I was craving Ben & Jerry’s “chunky monkey” one night and didn’t want to drive all the way to the grocery store at one o’clock in the morning. Since I had the three main ingredients on hand, I decided to whip something up (not to mention my family somehow has a never ending amount of ripe bananas). Of course these aren’t as good as the real thing, but paired with vanilla ice cream, they’d give them a run for their money. This recipe does make quite a bit, so cut it in half if you’re not feeding a family of twenty.

These bars are very light– they’d make a great breakfast or brunch snack to take on the go. The walnuts can be omitted, and the chocolate can be changed to white or milk… whatever floats your boat.

  • 2 cups AP flour
  • 1 cup oats
  • 1 tablespoon baking powder
  • 1 teaspoon baking soda
  • pinch of salt
  • 1 cup softened butter
  • 1 cups granulated sugar
  • 1 1/2 cups packed light brown sugar
  • 2 eggs
  • 4 very ripe, mashed bananas
  • 2 teaspoons pure vanilla extract
  • 8 oz chopped dark chocolate
  • 1 cup chopped walnuts
  1. Preheat oven to 350 degrees. 
  2. Grease a rimmed cookie sheet with butter or oil.
  3. Cream together the butter and both sugars. 
  4. Mix in the eggs, bananas, and vanilla until well blended.
  5. Mix in the flour, oats, baking powder, baking soda, and salt until incorporated.
  6. Stir in chocolate and walnuts. Spread into prepared cookie sheet and bake for 35-40 minutes, or until toothpick comes out clean.

Filed Under: banana, bars/brownies, chocolate chip, dessert, giveaway, nuts, oatmeal

Pumpkin Doughnut Muffins with a Cheerios Streusel for a Cheerios Breakfast Bash!

June 22, 2011 by kim 12 Comments

Remember the Cheerio Snickerdoodles I made a while back? Well, Cheerios caught wind and liked them so much that they asked me if I wanted to have my very own Cheerios breakfast bash, on them. That wasn’t very hard to answer… A week and 8 HUGE packages later, this was what my kitchen looked like (with lots of help from my dad and BYU buddies that came to visit me this past weekend):

IMG_3188

Can you believe that the boys actually twirled the streamers?

DSC_7002

IMG_5791

Everyone that came got to keep a Honey Nut Cheerios bowl, kazoo, recipe flip deck, bee antennas, and a t-shirt!

IMG_5774

DSC_6921

IMG_3192
As for me, I got a sweet robe!

DSC_6998

Then, all the cuties came and fell in love with BuzzBee.

IMG_5805

DSC_7058

IMG_5826

Did you know that it would take 3,168,000,000 Honey Nut Cheerios to wrap all the way around the earth? Me either.

IMG_5802

IMG_5786

And we ate our hearts away…

DSC_7107

BuzzBee wasn’t the only charming fella…

IMG_5846

DSC_7081

DSC_7073

IMG_5864

DSC_7088

DSC_7037

DSC_6946

It was so cute how into it my dad got. He really went all out and helped so much with the picture taking.

DSC_7032

DSC_7035

DSC_7017

Also, special thanks to my DB for taking pictures as well!

DSC_7099

Being a recent (errrrr maybe not so recent) college grad, I lived off this stuff. Cereal and milk.. perfect for any time of the day! I enjoy Honey Nut Cheerios so much because it’s the perfect amount of sweet. When I was little, I used to add sugar to all my cereals (go figure). This is the only one I didn’t touch!

Do like them on Facebook and check out their website… it has a lot of great ideas, including a recipe section which I recently just discovered. Did someone say more Cheerios desserts?

And of course, how can we have a Cheerios party without having a Cheerios baked good? I thought the Cheerios flavor would go well with pumpkin, so here’s what I came up with:

DSC_6967

DSC_6952

DSC_6966

DSC_6975

They were a hit with the little ones!

IMG_3223

I even took them outside and gave them to all my little neighbor kids (along with some kazoos).

IMG_5877

The doughnut muffin recipes comes slightly adapted from the Food Librarian, while the streusel recipe was mine. I didn’t completely crush the Cheerios in the topping, but I would recommend doing so next time. They became chewy if they weren’t crushed all the way. Makes 24 muffins.

Muffins

  • 1 1/4 sticks unsalted butter, room temperature
  • 3 cups all-purpose flour
  • 2 1/2 teaspoons baking powder
  • 1/4 teaspoon baking soda
  • 1 teaspoon salt
  • 1 1/2 teaspoon pumpkin pie spice 
  • 1/3 cup buttermilk (I used regular milk)
  • splash of vanilla
  • 1 1/4 cups pure pumpkin puree
  • 3/4 cup light brown sugar
  • 2 large eggs

Cheerio Streusel

  • 1 cup crushed Honey Nut Cheerios cereal
  • 1/2 cup flour
  • 1/2 cup light brown sugar
  • 1/3 cup butter, softened
  1. Preheat oven to 350 degrees.
  2. Line a muffin pan.
  3. In a bowl, whisk together the dry ingredients: flour, baking powder, baking soda, salt, and spices. Set aside.
  4. Whisk together the buttermilk and pumpkin puree. Set aside.
  5. Using your mixer, cream butter and brown sugar until light and fluffy. Slowly add in the eggs and vanilla until mixed.
  6. Stir in the flour mixture to the butter mixture in three additions, alternating with the pumpkin puree mixture. Do not overmix.
  7. Spoon the batter into the liners until they are about 3/4 full.
  8. For the topping, mix all ingredients together in a bowl with a fork until it comes together. Evenly distribute the topping onto each individual muffin.
  9. Bake for about 15 minutes, until a toothpick comes out clean.
It was fun being able to act like a kid again for a morning. Thanks Cheerios for helping me do so! 

Filed Under: breakfast, comfort food, food porn, muffins, personal, pumpkin

  • « Previous Page
  • 1
  • …
  • 197
  • 198
  • 199
  • 200
  • 201
  • …
  • 289
  • Next Page »

hi! i'm kim-- a girl mom, baker, blogger, and ex-flight attendant. welcome!

Search

  • Facebook
  • Instagram
  • Pinterest
  • Twitter

Categories

RODELLE-BABadge


Categories

  • Facebook
  • Instagram
  • Pinterest
  • Twitter

Copyright © 2026 · Foodie Pro Theme by Shay Bocks · Built on the Genesis Framework · Powered by WordPress