Lovin' From the Oven

  • Home
  • About Me
  • Recipes
  • FAQ
  • My Lifestyle Blog
  • Disclaimer

Baked Sweet and Sour Chicken

January 12, 2013 by kim 7 Comments

sweetsourchicken-8

Hey look, this isn’t a crockpot recipe. Hooray! Honestly, this is probably my best meal (aside from my chicken carbonara). I haven’t had too many successes in the cooking department, so when this came out tasting better than okay, I was ecstatic!

sweetsourchicken-9

The prep was a bit tedious, but I guess I’m just not used to using more than one mixing bowl and a pan to make something. So you have to dirty your kitchen a bit more for cooking… that’s not something I’m fond of.

sweetsourchicken

But I guess having dinner is a tad more important than having dessert. People say it’s more nutritious or something. Or something.

sweetsourchicken-2

The ingredients are fairly standard and you probably have most of it your pantry waiting to be used up. I’ve made this recipe multiple times since my DB loves it. No veggies, no crazy ingredients, just straight up chicken– A real man’s meal.

sweetsourchicken-3

The only downside to this dish is that you have to let it bake in the oven for an hour. That’s not necessarily a downside if you like getting your dinner started so you can do something else. You’ll have time to focus on making a side dish, watching a TV show, or prepping yourself to look fancy for your dinner date that’s coming over.

sweetsourchicken-4

sweetsourchicken-5

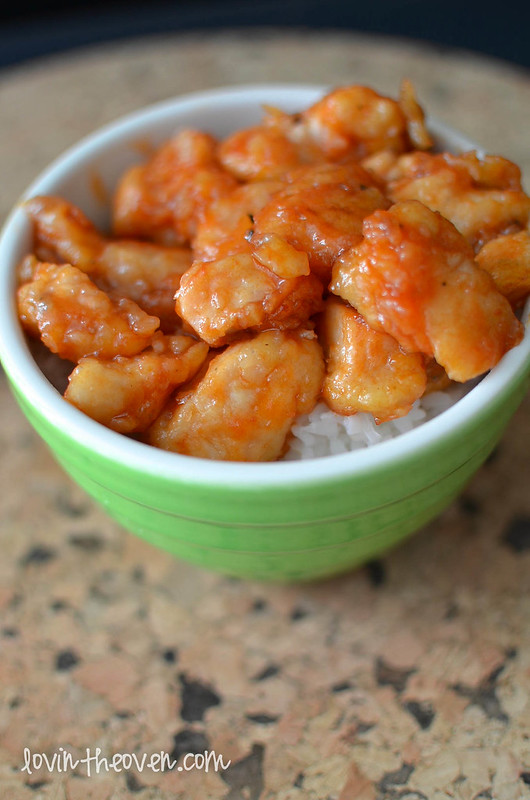
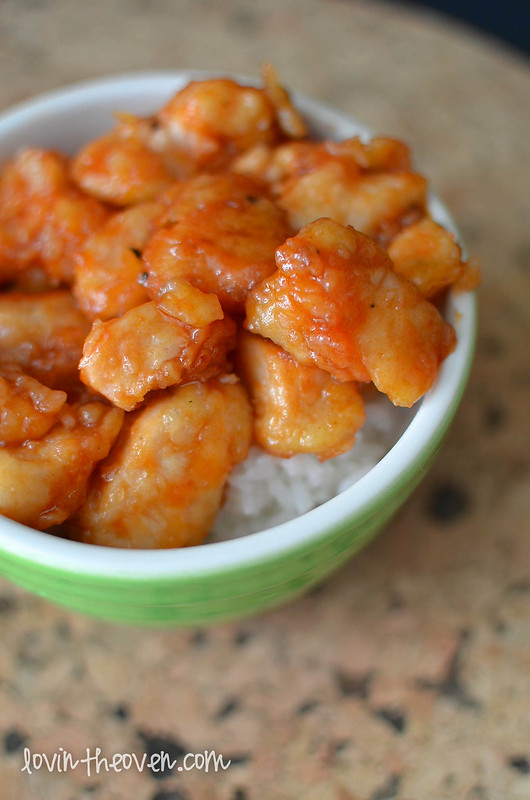
I served this with plain ol’ white rice, which can do no wrong. A side of veggies would have been nice, though.

sweetsourchicken-7

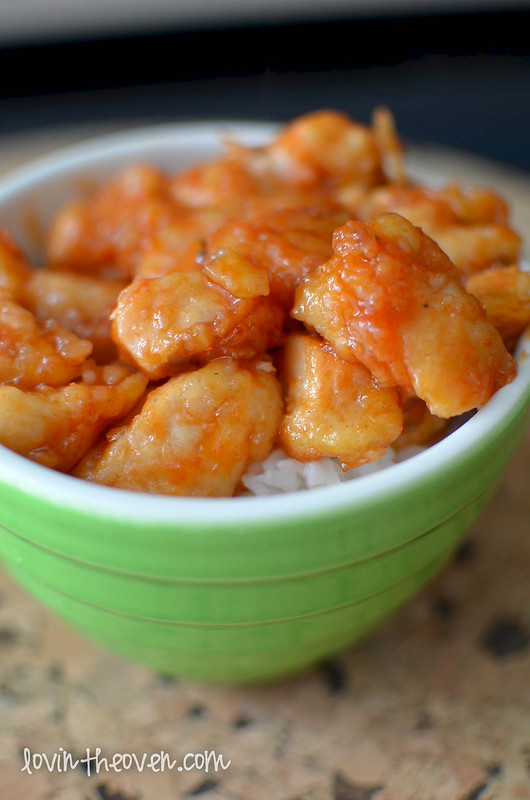
Here’s a couple more pictures just to test your hunger. Seriously guy, baked sweet and sour chicken. No deep frying necessary.

sweetsourchicken-6

sweetsourchicken-10

Recipe from Life as a Lofthouse.

Print
Baked Sweet and Sour Chicken

Ingredients

    The chicken coating:
  • 3-4 boneless chicken breasts
  • salt + pepper
  • 1 cup cornstarch
  • 2 eggs, beaten
  • 1/4 cup canola oil
  • The sweet and sour sauce:
  • 3/4 cup sugar
  • 4 tbs ketchup
  • 1/2 cup distilled white vinegar
  • 1 tbs soy sauce
  • 1 tsp garlic salt

Directions

  1. Preheat your oven to 325 degrees.
  2. Rinse your chicken breasts in water and then cut into cubes. Season with desired amount of salt and pepper.
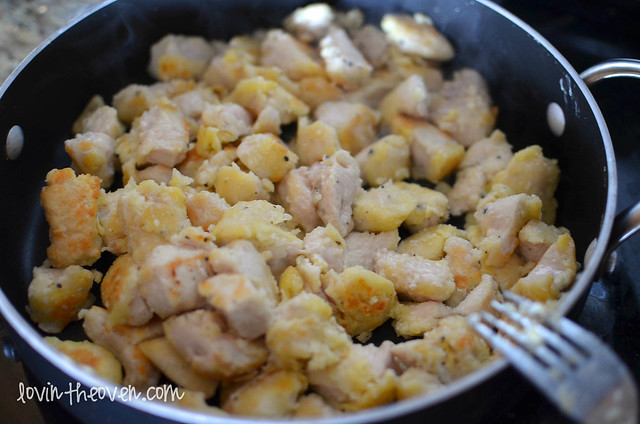
  3. Dip chicken into the cornstarch to coat then dip into the eggs.
  4. In a large skillet over medium high heat, cook the 1/4 cup of oil and brown all the chicken. Don't cook it all the way through.
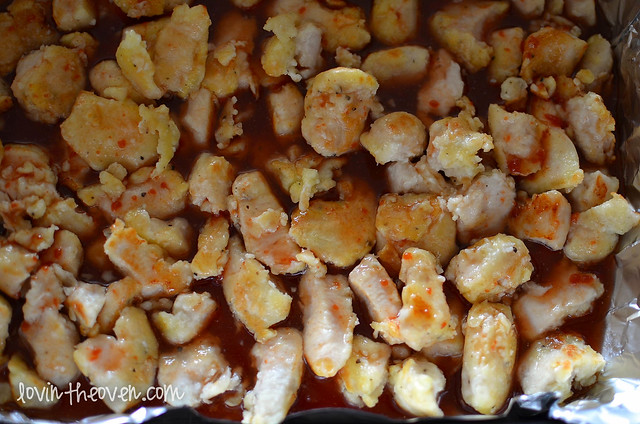
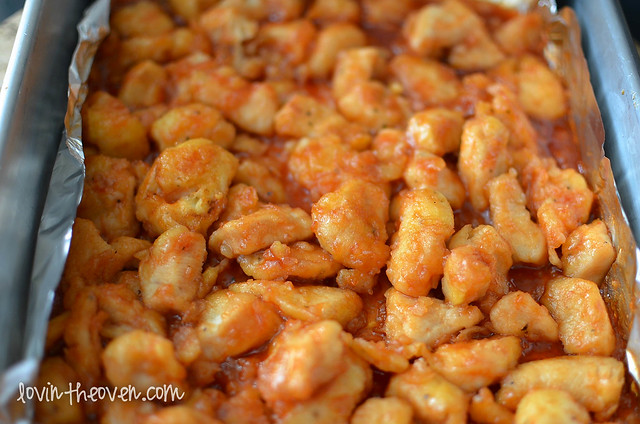
  5. Place the chicken in a lined 9x13 pan. Stir all of your sweet and sour sauce ingredients in a bowl until evenly mixed and pour evenly over the chicken.
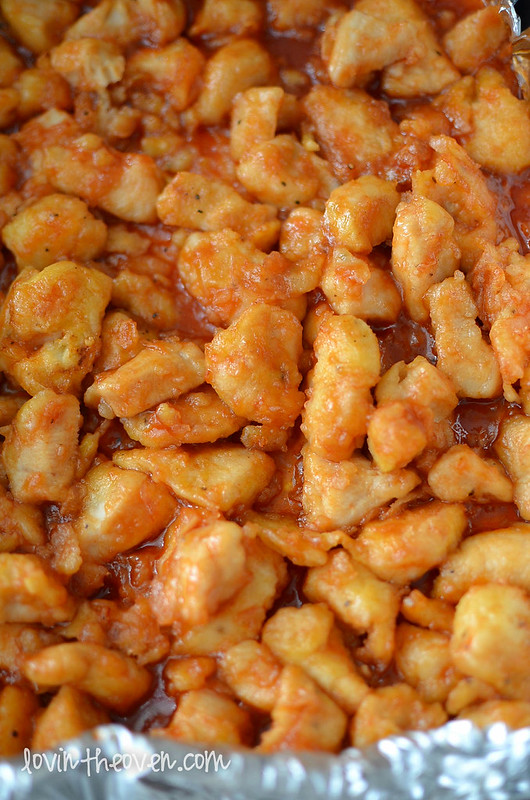
  6. Bake for one hour, turning the chicken pieces every 15 minutes.
3.1
https://lovintheoven.com/baked-sweet-and-sour-chicken/

PS. I’m totally doing good so far on my New Years resolution because I just updated A Pile of Style.

Filed Under: chicken, dinner

Mom’s Zucchini Bread

January 11, 2013 by kim 1 Comment

zucchinibread-8


Orange is the New Black Season 2 is up on Netflix and I can’t get enough of that show. If it wasn’t for work for me and bar studying for my DF, we would have finished the entire season in a day. Seriously, that show is brilliant.

zucchinibread-6


Zucchini bread’s a weird thing. That’s a whole lot of greens going into baked goods, but it works. The moisture from the zucchini keeps the bread nice and soft.

zucchinibread

The batter even looks a bit strange. It slightly resembles tempura batter that has broccoli flakes and carrot trimmings that got stuck to the dough and left behind.

zucchinibread-2

Once you bake it, though, it turns into pure delightfulness.

zucchinibread-4

It’s so eye appealing that kids might even eat their greens. It’s a shame that it didn’t work for my DF, though. I’m still working on that.

zucchinibread-5

zucchinibread-7

Let’s see what it looks like on the inside, shall we?

zucchinibread-9

zucchinibread-10

Side note, I feel overwhelmed with my to-do list recently. Pay a million bills, get a shirt and tie for my DF for the wedding, get a visa, apply for a marriage certificate, grocery lists, blog posts, empty all of our moving boxes… The list goes on and on.

At least I did one thing; The wedding invitations have been sent out! That’s a huge weight off of my shoulders.

zucchinibread-11

zucchinibread-12

Recipe is adapted from AllRecipes

Print
Mom’s Zucchini Bread

Ingredients

  • 3 cups all-purpose flour
  • 1 teaspoon salt
  • 1 teaspoon baking soda
  • 1 teaspoon baking powder
  • 3 teaspoons ground cinnamon
  • 3 eggs
  • 1 cup applesauce
  • 1 3/4 cups white sugar
  • 3 teaspoons vanilla extract
  • 2 cups grated zucchini
  • 1 cup chopped walnuts

Directions

  1. Grease two 8 x 4 inch pans.
  2. Preheat oven to 325 degrees F.
  3. Beat together the eggs, oil, vanilla, and sugar. Add in the flour, salt, baking powder, soda, and cinnamon.
  4. Stir in zucchini and nuts.
  5. Evenly pour batter into prepared pans and bake for 40 to 60 minutes, until toothpick comes out clean. Cool in pan on rack for 20 minutes. Remove bread from pan, and completely cool.
3.1
https://lovintheoven.com/moms-zucchini-bread/

Filed Under: bread, breakfast, nuts, vegetables

Puppy Chow Brownies

January 10, 2013 by kim 4 Comments

DSC_2664

I was just at Lake Tahoe this past weekend with my family and DB, and it’s crazy to think how much of a different lifestyle it is. I only live about three hours away from Tahoe, but the amount of snow they get is incredible.

I’ve lived in Southern California for 24 years of my life, so I have no idea what it means to wake up early to de-ice your windshield, shovel the driveway, or put on chains.

DSC_2660

The closest experience in SoCal that I ever got to snow was hail. Let me tell you, those things are definitely not the same. Instead of little snow flurries nestling upon your nose, you get mini cue balls aiming for your eyeballs and denting your cars.

DSC_2668

I used to think that I’d love to retire to Lake Tahoe when I’m older, but this past weekend made me change my mind. I’m terrified of driving on a road where one side says “Caution for falling rocks” and the other side says “Caution for 4000 feet cliff.” That’s pretty much the only way to get in and out of Tahoe, too.

DSC_2673

Not only that, but snow makes everything so dang dirty. Sure, it looks pretty when it’s freshly fallen, but after a couple of days with no snow, everything turns black and runny.

DSC_2678

Snow gets everywhere— your house, your car, your shoes. Once it melts, you’ve got water everywhere. It’s truly a pain to deal with.

All in all, I still love going to Tahoe for a week or two out of the year. Nothing beats the view, the people, and the experience. Just as long as I’m not stuck there, I’m a happy camper.

DSC_2683

The best part about snow is having lots of desserts to enjoy the serenity. These brownies would go great with a cup of hot cocoa, cause you know, you can never have enough chocolate.

I thought the cereal would get soggy from baking, but the puppy chow pretty much kept its consistency. The brownies have a nice fudgy texture and create a wonderful base for the puppy chow. Don’t skimp on the powdered sugar; it completes the look and the taste. These brownies are another winner in my book and I’ll be making them again throughout the year.

Recipe From Sugar Plum and makes about 16 brownies.

Print
Puppy Chow Brownies

Yield: 16 brownies

Ingredients

  • 1/2 cup unsalted butter
  • 1 1/4 cups granulated sugar
  • 1 3/4 cups semisweet chocolate chips, divided use
  • 3 large eggs
  • 1/2 teaspoon baking soda
  • 1/4 teaspoon baking powder
  • 1/2 teaspoon salt
  • 3 tablespoons unsweetened cocoa powder
  • 3/4 cup all purpose flour
  • 3 tablespoons creamy peanut butter + 2 tablespoons
  • 2 cups rice chex cereal
  • Confectioners' sugar

Directions

  1. Preheat oven to 350 degrees F. Grease a 8x8 pan.
  2. In a small saucepan over medium heat, completely melt the butter. Add in the sugar, stirring constantly, and bring to a boil.
  3. Remove pan from heat and stir in 1 cup chocolate chips until melted and smooth. Let cool for 5 minutes.
  4. Beat together eggs and chocolate-butter mixture for 8 minutes, or until well combined and doubled in volume.
  5. Turn the mixer speed to low and carefully mix in baking soda, baking powder, salt and cocoa powder.
  6. Add in flour and 1/2 cup chocolate chips until just combined. Evenly spread batter in pan.
  7. Using a butter knife, swirl 3 tablespoons peanut butter through batter. Bake 10 minutes.
  8. Meanwhile, prepare the puppy chow: Melt together the remaining 1/3 cup chocolate chips and 2 tablespoons peanut butter in a saucepan over low heat.
  9. Once that is completely melted and smooth, carefully fold in cereal until well coated.
  10. Place cereal on top of brownies. Lightly cover pan with foil.
  11. Put the pan back into the oven for an additional 20 minutes, or until well risen and set. Cool completely on a wire rack. Dust with confectioners' sugar.
3.1
https://lovintheoven.com/puppy-chow-brownies/

Filed Under: bars/brownies, chocolate chip, cocoa, dessert, peanut butter/peanuts

  • « Previous Page
  • 1
  • …
  • 141
  • 142
  • 143
  • 144
  • 145
  • …
  • 289
  • Next Page »

hi! i'm kim-- a girl mom, baker, blogger, and ex-flight attendant. welcome!

Search

  • Facebook
  • Instagram
  • Pinterest
  • Twitter

Categories

RODELLE-BABadge


Categories

  • Facebook
  • Instagram
  • Pinterest
  • Twitter

Copyright © 2026 · Foodie Pro Theme by Shay Bocks · Built on the Genesis Framework · Powered by WordPress