Lovin' From the Oven

  • Home
  • About Me
  • Recipes
  • FAQ
  • My Lifestyle Blog
  • Disclaimer

Cheesecake Swirl Coffee Cake

November 4, 2013 by kim 5 Comments

cheesecakecoffeecake-9

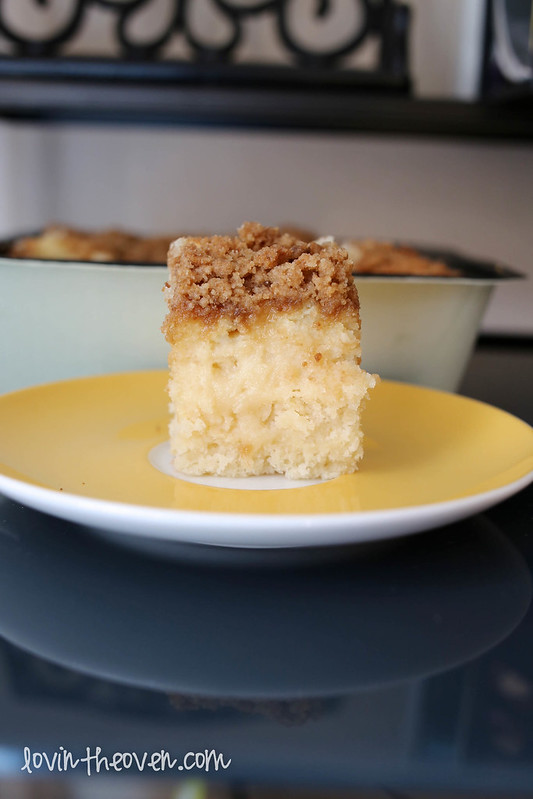
This may look like a normal coffee cake, but it’s far from it. Disguised in between layers of luscious, fluffy cake are swirls of cheesecake. Perhaps I should have dyed the cheesecake a different color so you could see just how much goodness is in there.

cheesecakecoffeecake-2


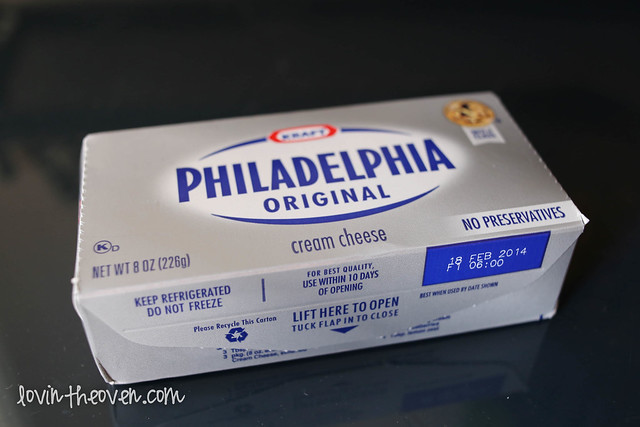
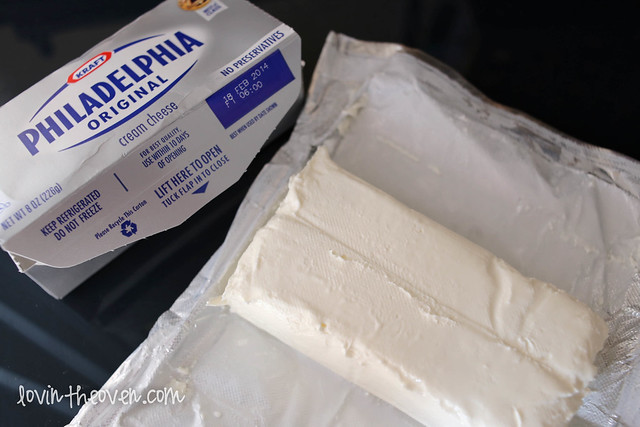
It all starts with this: a magical bar of Philadelphia cream cheese. It’s the only cream cheese brand that has been in my household for as long as I’ve lived. Truly, we used to eat it for breakfast on our bagels every day before school. My aunt even swears by this brand for her frosting. Nothing but Philadelphia, she always said.

To create this dessert (or any other future cream cheese-related dessert!), Philadelphia sets the standard. That’s why I always “Bring Out the Silver” when I’m baking.

cheesecakecoffeecake-3

I wanted to do something different than plain cheesecake for the PHILADELPHIA Cheesecake Cheerprogram. I figured why not add some cheesecake to one of my favorite desserts and really make it something special? To top it all off, streusel topping is a must.

cheesecakecoffeecake-4

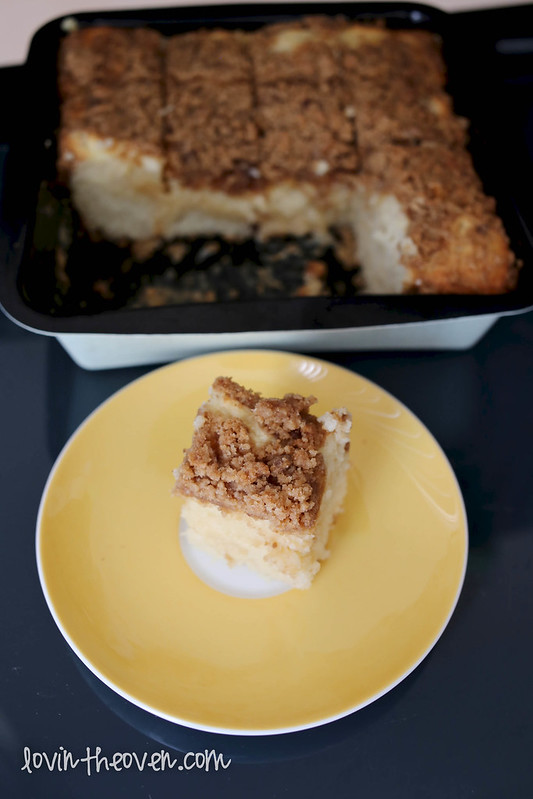
The lighter layer of batter in the cheesecake swirl and the darker part is the cake batter. I may have gone a little overboard with the cheesecake part, but I don’t hear anyone complaining.

cheesecakecoffeecake-5

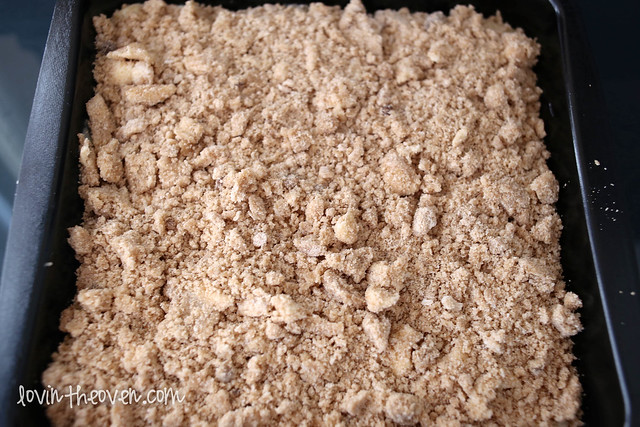
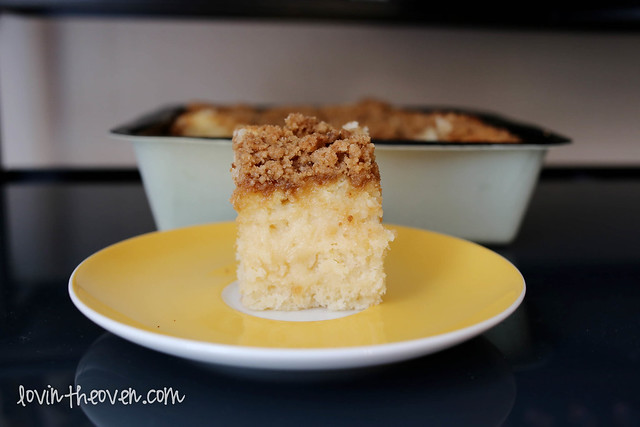
The more streusel, the better. Before and after baking!

cheesecakecoffeecake-7

cheesecakecoffeecake-6

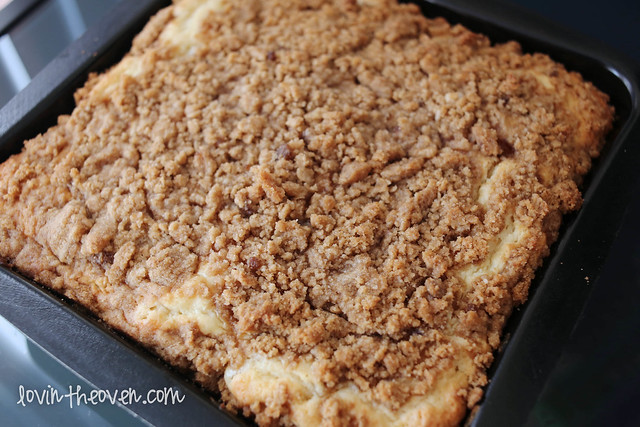
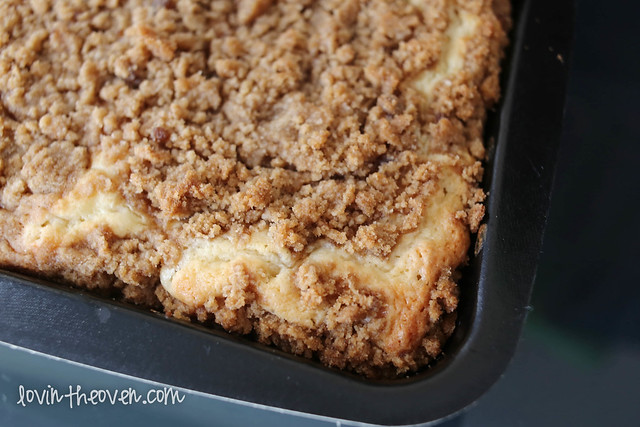
Now can you see the cheesecake layer?

cheesecakecoffeecake-10

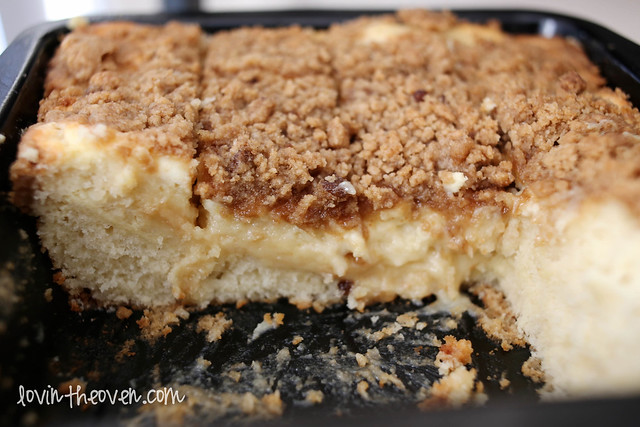
A lot of it sunk into the middle of the pan, which could probably be fixed if I baked this in a bigger pan. The middle piece was my DF’s favorite part, though. Also, I’m impatient and couldn’t wait to cut into the cake so the middle was still warm. After placing the cake into the refrigerator for half an hour, the middle did firm up a bit.

Moral of the story: Be patient and wait for your cake to firm and completely cool before cutting.

cheesecakecoffeecake-12

My DF even said that this was the best thing I’ve baked in a while. I’m pretty sure he’s also my most honest critic, so that means a lot coming from him.

The taste of your dessert depends a lot on the ingredients that you use. PHILADELPHIA cream cheese has high standards that create a high quality product. I mean, their fresh milk is turned into cream cheese and refrigerated within six days! There are also never any preservatives, so you know that the fresh local milk and real wholesome cream keep their delicious taste.

cheesecakecoffeecake-8

This holiday season, PHILADELPHIA is teaming up with recipe and lifestyle experts to liven up and give you a fresh take on your holiday desserts. Check them out at CheesecakeCheer.com!

cheesecakecoffeecake-11

Print
Cheesecake Swirl Coffee Cake

Ingredients

    For the cake:
  • 3/4 stick (6 tablespoons) softened butter
  • 1 cup sugar
  • 1 tsp vanilla
  • 1/2 cup buttermilk
  • 2 eggs
  • 1 1/2 cup all purpose flour
  • 2 tsp baking powder
  • pinch of salt
  • For the cheesecake swirl:
  • 1 (8 oz) package Philadelphia cream cheese, at room temperature
  • 1/4 cup sugar
  • 1 egg
  • 1 tsp vanilla
  • For the streusel:
  • 1 cup AP flour
  • 1/4 cup plus 2 tablespoons brown sugar
  • pinch of salt
  • 4 tablespoons cold butter, cut into small pieces

Directions

  1. First make the streusel by "forking" all the ingredients together until crumbly. Put in refrigerator until ready to use.
  2. Preheat oven to 350. Lightly grease an 8x8 baking pan.
  3. In a large bowl, make the cheesecake swirl by beating together the cream cheese, sugar, egg, and vanilla until smooth. Set aside.
  4. In a large mixing bowl, cream together the butter and sugar. Add in the vanilla, buttermilk, and eggs.
  5. Gently mix in the flour, baking powder, and salt until just combined. Do not overmix.
  6. Pour half of the cake batter into the prepared pan. Pour half of the cheesecake mixture on top, using a knife to swirl. Repeat with the rest of the batters.
  7. Evenly distribute the streusel topping on top of the batter.
  8. Bake for 35-40 minutes.
3.1
https://lovintheoven.com/cheesecake-swirl-coffee-cake/

This is a sponsored post by Philadelphia, but the opinions expressed are my own.

Filed Under: cake, cheesecake, dessert

Korean Sizzling Beef made with Flank Steak

November 2, 2013 by kim 3 Comments

koreansteak-3

One thing that I’ve learned while cooking with meat is that I have no idea which direction to cut it. All these recipes tell you to cut against or with the grain is gibberish to me. So, I kind of just cut wherever I feel like it. It’s probably not the best thing to do, but it’s the only thing I know how to do. I’m pretty sure that also plays a big part into if you have tender or chewy meat. It’s about 50/50 for me.

brownieicecream-14

Either way, my DF will happily eat it since he’s just glad that I made dinner. Does that make me a bad fiancé? Maybe I should take some cooking classes and learn a little more since cooking is still so foreign to me. I’d be more than happy to do that sometime.. I just have to find a way to fit that into my schedule.

koreansteak

Grill pans are the best. They give you the impression of having a little barbecue inside of your 550 square feet apartment. I got ours from my grandma, but you can easily get one online. They’re a great investment to have in your kitchen.

koreansteak-4

I’m blogging on a three hour sit in Las Vegas right now, but I’m just happy to be up and moving. After yesterday’s incident at LAX, it really puts life into perspective. I was supposed to be flying into LAX after the shooting, but all my flights into and out of LAX were cancelled yesterday. Three of my family members were at LAX the day before. I can’t even imagine if one of us were there when it happened.
koreansteak-5

In case you have no idea what I’m talking about, you can read about the LAX incident here. My heart goes out to all those involved and those who knew the TSA agent.

koreansteak-2

Recipe from Food & Wine

Print
Korean Sizzling Beef made with Flank Steak

Ingredients

  • 1/4 cup soy sauce
  • 2 tablespoons sugar
  • 2 tablespoons dry white wine
  • 2 large garlic cloves, very finely chopped
  • 1 tablespoon toasted sesame oil
  • 2 teaspoons crushed red pepper
  • One 2 1/2-pound beef flank steak, cut across the grain into twenty 1/4-inch-thick slices

Directions

  1. In a large, shallow dish, whisk together the soy sauce with the sugar, white wine, chopped garlic, toasted sesame oil and crushed red pepper until sugar is dissolved.
  2. Add the sliced flank steak and coat thoroughly in the marinade. Cover and refrigerate overnight.
  3. Light a grill or heat a griddle. Cook the steak over high heat until the slices are richly browned and medium-rare, about 30 seconds per side.
3.1
https://lovintheoven.com/korean-sizzling-beef-made-with-flank-steak/

Filed Under: beef, dinner

Mini Apple Pies

October 31, 2013 by kim 1 Comment

baking-31

Normally, I’m not much of a pie maker because of all the time it takes to make one. Not only that, but it’s such a hassle to eat one. You need a knife, forks, plates, plenty of napkins, and lots of patience to not make a huge mess. That’s why when Chef’s Choice asked if I’d like to try their PetitePie™ Maker Model 860 by EdgeCraft, I was more than thrilled to give it a shot. It makes four 4″ individual pies with “Baking” and “Ready” LED lights to let you know what’s going on inside.

baking-21

Baking individual pies would be a lot easier than making one huge one. They’re also a lot easier to eat; People can just pick up one and put it on their plate. There’s no portioning or cutting involved.

baking-23

baking-22

Each pie mold has a built in crimper that will seal your pie together, making your job a lot easier. It’s all about efficiency, folks.

Since I had plenty of Honeycrisp apples to use, I decided to go with a classic and make mini apple pies.

baking-24

The machine is kind of brilliant. It comes with a multi-use pie cutter that will cut both the bottom and top shapes of the pie crust for you. There’s no guessing involved. Then, this other gadget presses your pastry into the mold so you get the perfect fit without burning your fingers.

baking-25

baking-26

This was my first time ever using a machine like this, so I tried to follow the directions in their little booklet as much as possible.

baking-27

baking-28

On my first run, I burnt the edges of the pies a little bit. I think I filled them with too much apple mixture liquid and baked them for too long. The instructions said to bake the pie per the directions on the recipe, but the machine cooks it a lot faster. It makes sense… I mean, would you bake mini loaves for as long as you would a big loaf? Absolutely not. The little ones always cook faster.

Even though I hardly make pies, every baker knows to score the top of a pie crust! Actually, looking back on it, maybe  I shouldn’t have done that in the machine. That was where apple liquid came out of and burnt on the sides.

baking-29

Despite the mess, it was a charm cleaning up. Everything slid right off of the non-stick surface, including the burnt pieces. I was amazed at how easy it was to wipe up.

I loved how simple the interface of the PetitePie maker is. There are only three buttons: two to adjust the cooking time and the third to start/pause. That’s it.

baking-30

I will definitely be taking all my notes and using them again on my next round. Perhaps I’ll try making a pie without a top crust and see how that goes. You could even use it to make savory pies instead of sweet. The possibilities are endless!

You can find the new Chef’sChoice® PetitePie™ Maker Model 860 at major department stores, mail-order catalogs, and specialty stores for $79.99.

As for this apple pie recipe, it’s simple. Toss some apples with sugar and cinnamon, throw them in a pie crust, and let it bake.

Print
Mini Apple Pies

Ingredients

  • 1 package pie crust dough
  • 4 small apples (I used honeycrisp), thinly sliced
  • 1/4 cup brown sugar
  • 1/4 cup white sugar
  • 2 tsp cinnamon

Directions

  1. Preheat your PetitePie Maker as directed.
  2. In a mixing bowl, toss the apples with the sugars and cinnamon. Set aside.
  3. Cut out the bottom piece of the pie dough and gently press it into the pan. Cut out the tops as well.
  4. Fill each mold with about 1/2 cup apples mixture. Cover with the remaining pie dough. Score the top.
  5. Tightly close the PetitePie Maker and set the timer for 30 minutes.
3.1
https://lovintheoven.com/mini-apple-pies/

I was sent product to review, but the opinions expressed are my own.

Filed Under: apple, dessert, pie

  • « Previous Page
  • 1
  • …
  • 108
  • 109
  • 110
  • 111
  • 112
  • …
  • 289
  • Next Page »

hi! i'm kim-- a girl mom, baker, blogger, and ex-flight attendant. welcome!

Search

  • Facebook
  • Instagram
  • Pinterest
  • Twitter

Categories

RODELLE-BABadge


Categories

  • Facebook
  • Instagram
  • Pinterest
  • Twitter

Copyright © 2026 · Foodie Pro Theme by Shay Bocks · Built on the Genesis Framework · Powered by WordPress