Lovin' From the Oven

  • Home
  • About Me
  • Recipes
  • FAQ
  • My Lifestyle Blog
  • Disclaimer

Archives for March 2013

Oven Baked Fries

March 24, 2013 by kim Leave a Comment

bakedfries-4

If you were to ask any of my friends from when I was 5-25 years old what they remember the most about my dad, they’ll tell you his french fries. My dad was (and still is) notorious for making french fries whenever any of us had friends over. He’d peel ’em, chop ’em, and fry ’em all by himself. He’d keep making batches of food until our stomachs couldn’t stretch out anymore.

French fries went hand in hand with swimming in the summers. Since my house had a pool, everyone would come over to swim when it was hot out. Whenever that happened, you guessed it… my dad would come out with a platter of golden, crispy fries seasoned with Lawry’s seasoning salt.

bakedfries-6

They’re dangerously delicious. Even after eating them for twenty five years, I continue to devour them when they’re in front of me.

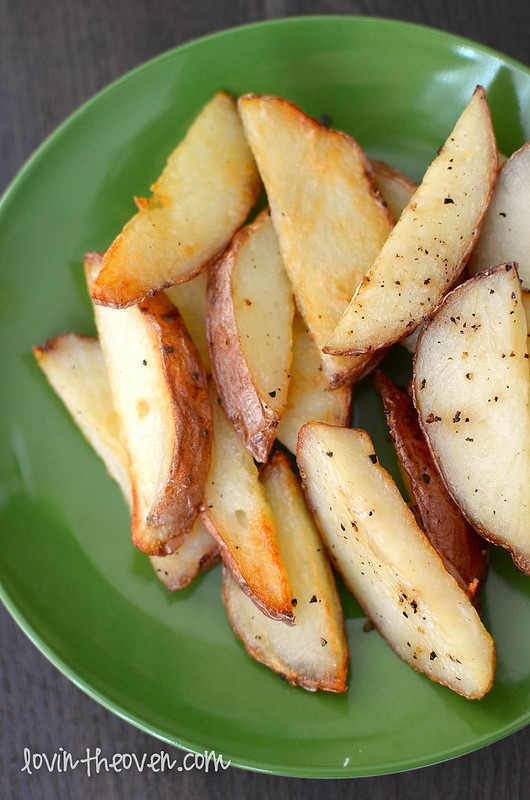
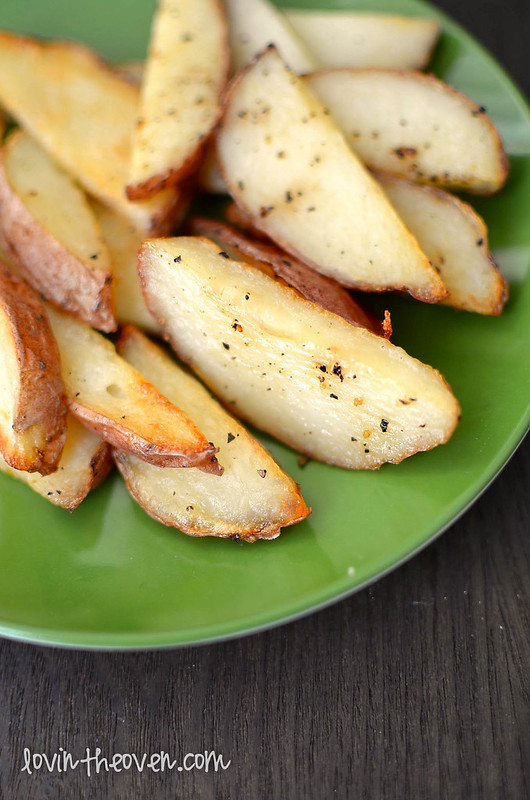
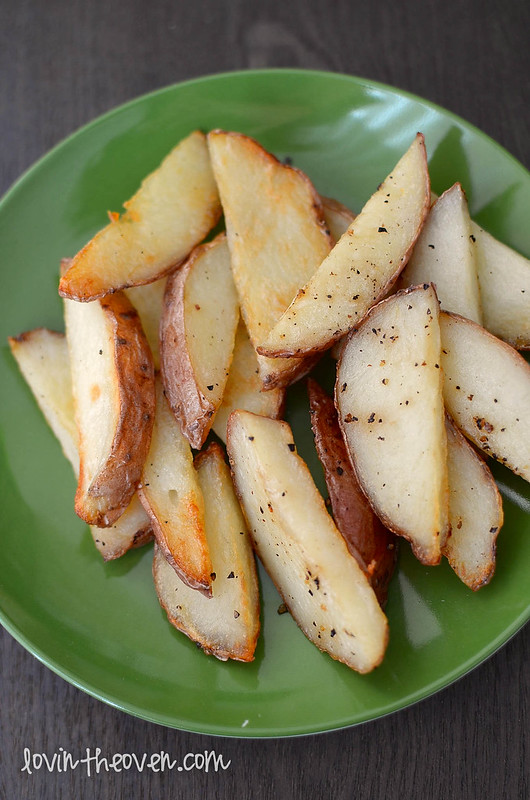
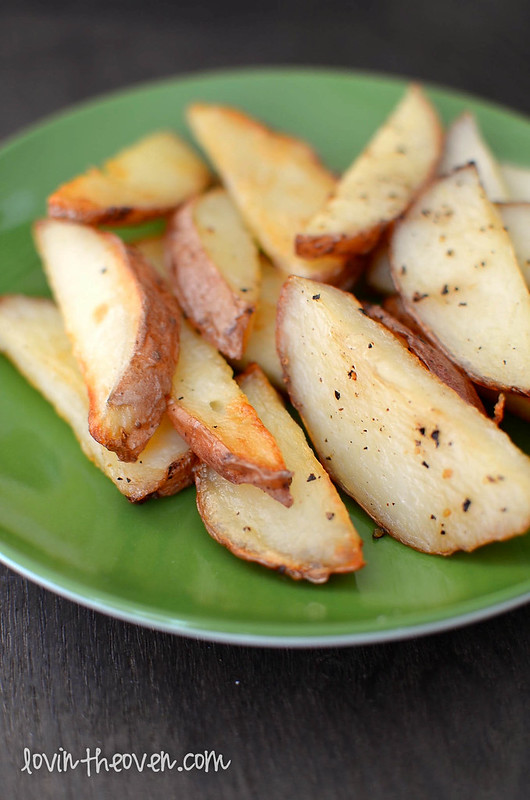
Although these french fries don’t come anywhere close to my dads, they’re still pretty tasty. They’re just different since they’re baked and not fried. I also cut them into thicker wedges rather than skinny strings, so they taste more like roasted potatoes than anything else.

bakedfries-2

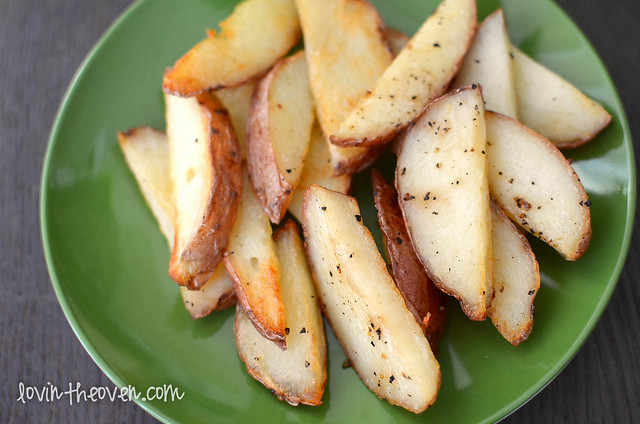
I felt less guilty than normal for eating them nonstop since they’re baked. That makes sense, right? My DB loved these fries. I wish they were a bit crispier on the outside, though.

bakedfries

I’m also a lot more comfortable making things in the oven rather than scalding hot oil. Have you noticed I’ve never fried anything on my blog? That’s because I’m afraid I’ll burn the house down. That, and get burned everywhere from my waist up. Heck, I’d get my whole body burned throwing something in oil.

bakedfries-3

Maybe one day, I’ll get the courage to fry something. After all, I do love my churros.

Recipe from Annie Eats

Print
Oven Baked Fries

Ingredients

  • 3 russet potatoes (about 24 oz. total), peeled and cut lengthwise into even sized wedges
  • 5 tbsp. vegetable, canola or peanut oil, divided
  • ¾ tsp. kosher salt, plus more to taste
  • ¼ tsp. freshly ground black pepper, plus more to taste

Directions

  1. Preheat the oven to 475˚ F. Soak the potato wedges in hot water for 10-30 minutes.
  2. Put 4 tablespoons of the oil onto a heavy, rimmed baking sheet and spread evenly. Sprinkle the pan evenly with the salt and pepper. Set aside.
  3. Drain the potatoes and pat dry with towels. Return the potatoes to the empty bowl and toss with the remaining 1 tablespoon of oil.
  4. Arrange the potato wedges on the prepared baking sheet in a single layer. Cover tightly with foil and bake for 5 minutes.
  5. Remove the foil and continue to bake until the bottoms of the potatoes are spotty golden brown, 15-20 minutes, rotating the baking sheet after 10 minutes.
  6. Using a metal spatula and tongs, flip each potato wedge keeping them in a single layer. Continue baking until the fries are golden and crisp, 5 -15 minutes. Rotate the pan as needed to ensure even browning.
3.1
https://lovintheoven.com/oven-baked-fries/

Filed Under: dinner sides, potatoes, snack

Save and Print Recipes, thanks to Ziplist!

March 22, 2013 by kim Leave a Comment

I don’t know if you guys have noticed, but when I switched over to WordPress, I also teamed up with Ziplist to create that user friendly recipe box at the bottom of all my posts. They’ve helped make it easier to save recipes and print ingredient lists straight from my blog, which in turn helps you stay on top of the recipes that you want to try.

I’m still slowly converting all of my recipes over to having that box at the bottom, but please be patient with me. There are a lot of recipes to go through!

Curious as to how it all works? Well, click on the “recipe box” in the navigation bar on my homepage:

wand


That’ll take you to this:

Screen Shot 2013-03-22 at 11.49.36 AM

There, you can manage recipes, create grocery lists, and find grocery deals all in one place. How easy is that? To save a recipe on my blog (we’ll be using the last post for microwave brownie in a cup), simply click on the blue button that says “save recipe.” Once you log into your ziplist account, the recipe will be saved in your file.

wand2

You can also “print” recipes with the button right next to the “save recipe” button. Obvious, I know… but sometimes you miss what’s right in front of you. I know I do that all the time.

The best part is that your Ziplist account will connect the recipes from other blogs and websites that offer Ziplist as well. All of your favorite recipes from blogs like Martha Stewart, Woman’s Day, Simply Recipes, and Recipe Girl will be saved in one spot.

I hope this helps some of you out (or at least makes organizing recipes a little bit easier)!


Filed Under: FAQ's

Microwave Brownie in a Cup

March 20, 2013 by kim 6 Comments

microwavecake-6

Lately, I’ve been lazy.

Too lazy to make meals, too lazy to go grocery shopping, too lazy to spend more than five minutes making lunch. It’s because I returned to work this month and it’s taking me a while to get back into the groove of things. I also had a wedding to go to, which means a lot of traveling back and forth when I’m not already traveling for work.

microwavecake-2


When I’m not in the air and spending time celebrating babies, engagements, birthdays, and weddings, the last thing I want to do is clean the kitchen. There are other household tasks that I have to do that are more important than cooking. What, you ask? Well, laundry’s one. I have to make sure that the DB has clean underwear (because God forbid he has to wear underwear two days in a row… gross!) and I need to have my uniform ready to wear for both workplaces.

microwavecake-4

But still, a girl’s gotta eat dessert. Even the lazy ones.

What do you do when you don’t want to wash a mixing bowl, measuring cups, whisks, and spoons? Use a microwaveable cup. It’s that easy. You mix a couple of ingredients into a mug, give it a little swirl, and throw it into the microwave to cook.

microwavecake-5

You get a fudgy chocolate dessert that’s ready to eat in a little over a minute.

microwavecake-8

Dump it out onto a plate, sprinkle some powdered sugar all over, scoop ice cream on top, and you’ve got yourself a gourmet sweet.

microwavecake-7

Isn’t that a thing of beauty?

microwavecake-9

I was actually quite impressed with the brownie overall. It was a bit rubbery (what do you expect from a 70 second nuke?), but the taste was all there.

microwavecake-10

I topped mine with coffee bean ice cream from Trader Joe’s, getting the best of both worlds: coffee and chocolate. The next time you’re in a rush for something sweet, pull out your coffee mug and give this recipe from here a try.

Print
Microwave Brownie in a Cup

Ingredients

  • 2 tbsp Vegetable oil
  • 2 tbsp Water
  • 1/4 tsp Vanilla extract
  • dash salt
  • 2 tbsp dark cocoa powder
  • 4 tbsp Granulated sugar
  • 4 tbsp Flour

Directions

  1. Mix together all of the ingredients in a microwavable mug.
  2. Microwave for 70 seconds.
3.1
https://lovintheoven.com/microwave-brownie-in-a-cup/

Filed Under: bars/brownies, cocoa, dessert

  • « Previous Page
  • 1
  • 2
  • 3
  • 4
  • 5
  • Next Page »

hi! i'm kim-- a girl mom, baker, blogger, and ex-flight attendant. welcome!

Search

  • Facebook
  • Instagram
  • Pinterest
  • Twitter

Categories

RODELLE-BABadge


Categories

  • Facebook
  • Instagram
  • Pinterest
  • Twitter

Copyright © 2026 · Foodie Pro Theme by Shay Bocks · Built on the Genesis Framework · Powered by WordPress