I’ve been slacking on the wedding posts. I sent my save the dates out months ago and I still haven’t shared them on my blog with you guys!
Generally, you send out save the dates if you’re having a lot of people come from far away or if you’re having a destination wedding. This was not the case for us since most of our family are local and we’re getting married a short drive away from our hometown. I chose to send them out anyways because A: I love sending and receiving snail mail, B: We’re getting married on a holiday weekend, and C: It’s a great excuse for an arts and crafts project!
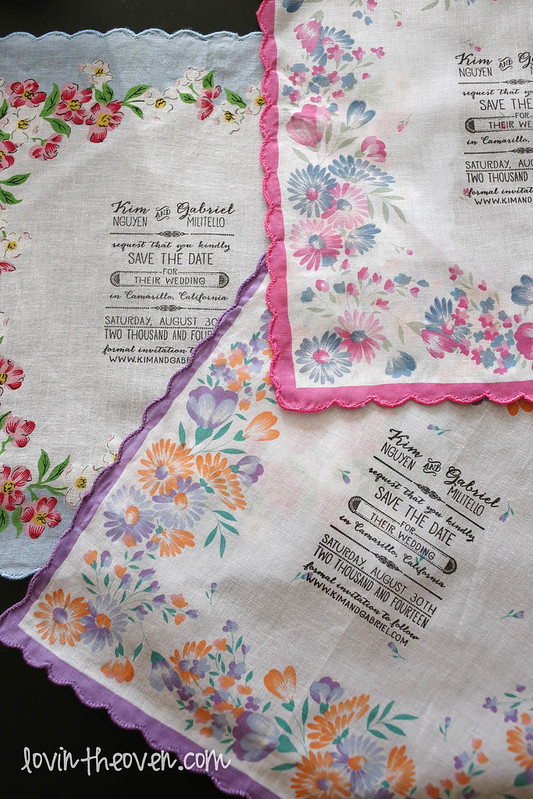
They turned out to be exactly what I was envisioning in my head. That’s a huge accomplishment because that never happens! I’ll show you exactly how I made mine.
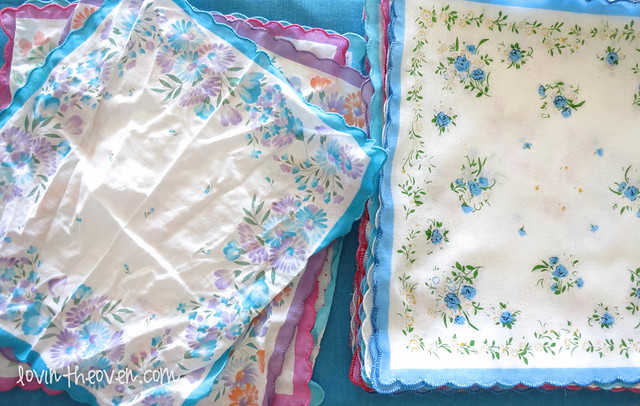
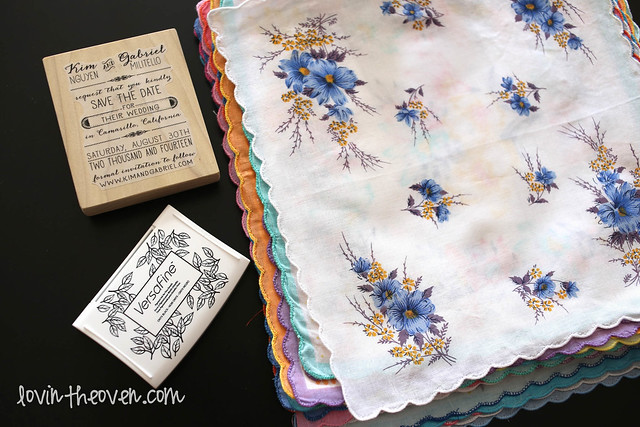
First, you have to start and get your handkerchiefs. You can go to estate sales and find them one by one (which is a pain in the butt, but some people love the hunt), buy new ones in the store (places like Dollar Tree or the 99 Cent Store even have them! Of course, they’re very limited in the design), or buy them online. Since I wanted a more vintage feel, I bought mine online from eBay (don’t worry, they’re still brand new!). You can also find some on Amazon.
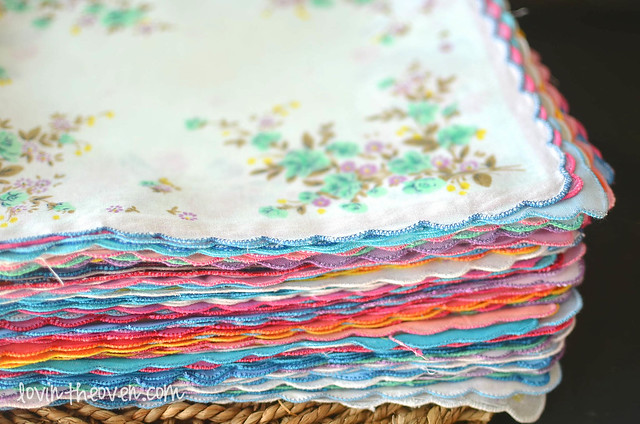
Once I received them in the mail, I washed, dried, and ironed each one.
Ah, is there a better sight than a pile of freshly pressed hankies? Probably.
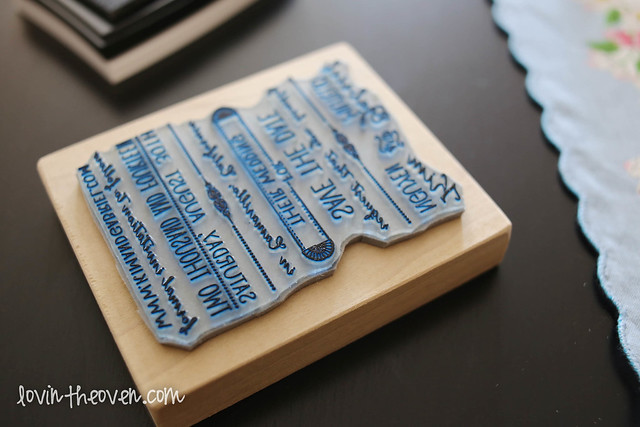
Now for the stamp… I worked with an Etsy seller, TheRUBBERPress, to design a stamp that I loved since nothing that I found jumped out to me. After a couple of revisions, I had my stamp. In fact, we both loved it so much that TheRUBBERPress made it a staple in the store! You’re welcome, guys. 🙂
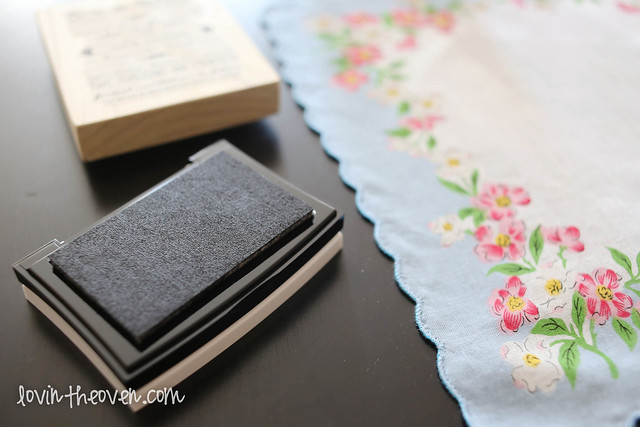
Etsy truly has some amazing, creative people on there. Now for the stamp pad. I took a lot of time researching the best stamp pads for fabric. I needed a stamp pad that wouldn’t bleed or fade, had a strong pigment, and must be great with fine lines.
I ended up getting Tsukineko’s unique pigment called Versafine in Onyx Black. Yes, just yes. This stamp pad made my life so much easier. It’s a miracle worker.
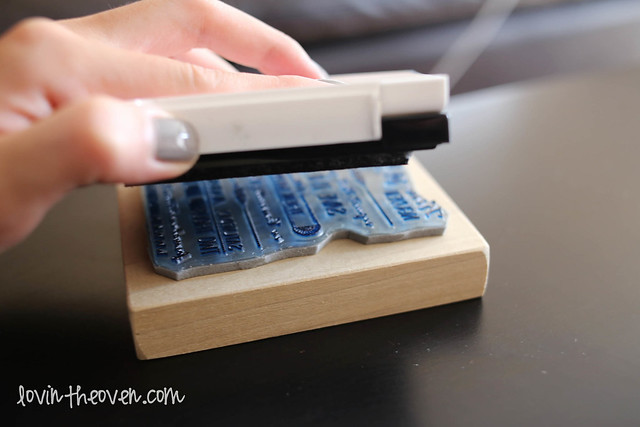
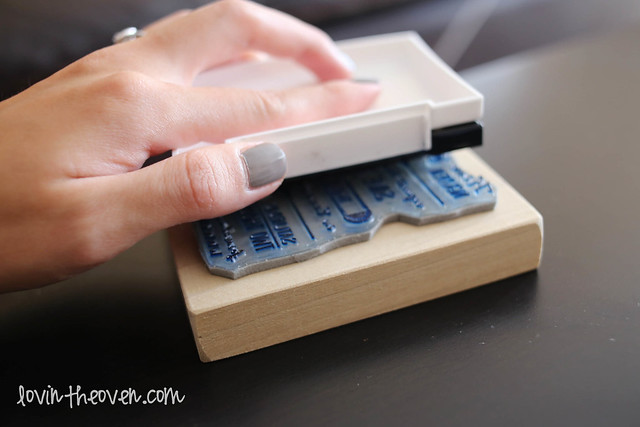
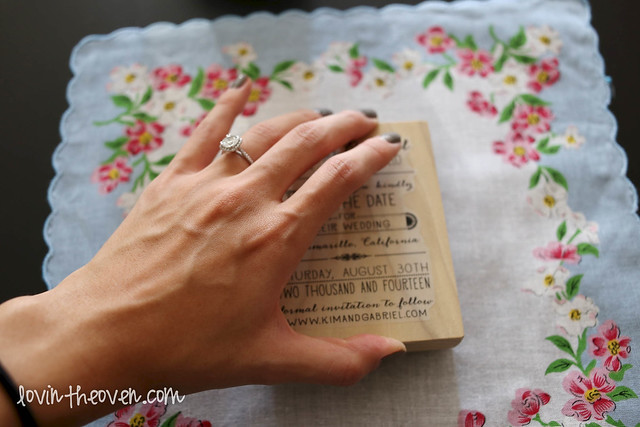
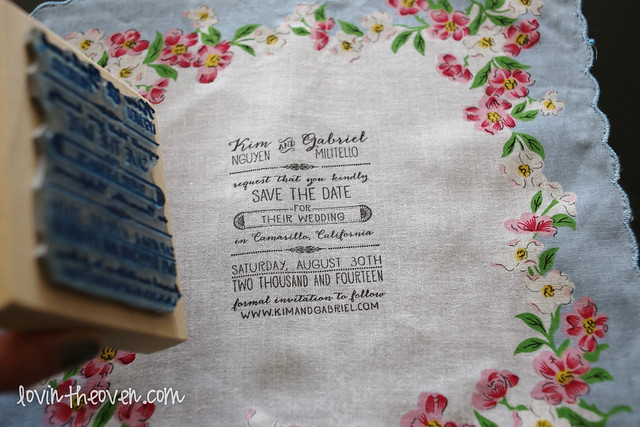
I laid my stamp down with the rubber facing up and gently patted the ink pad across the surface.
Cover every centimeter!
Carefully place the stamp where you want it to be.
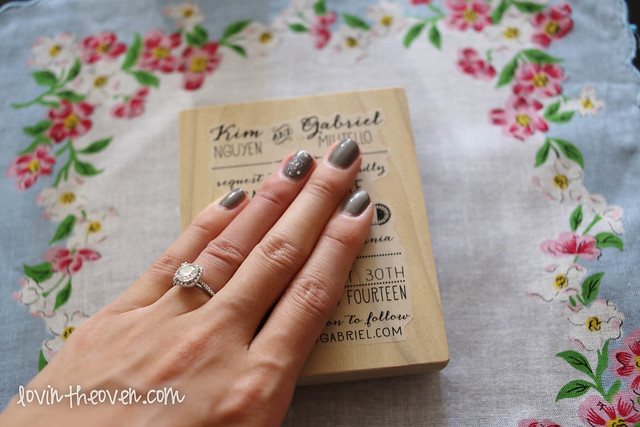
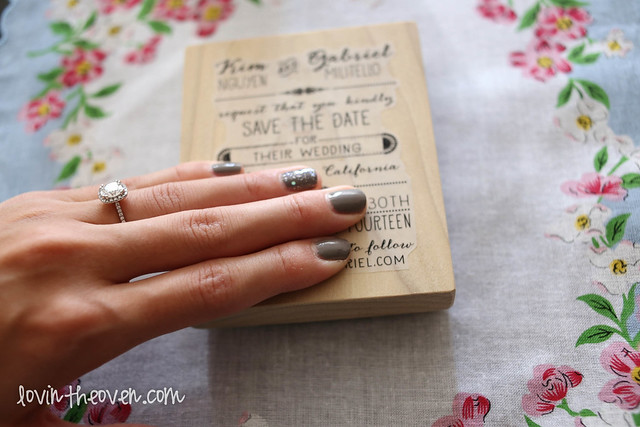
Apply pressure.
Make sure to press down on all the edges! You don’t want any missed spots or illegible writing.
Voi-la! That’s one done. Now you have 150 more to go.
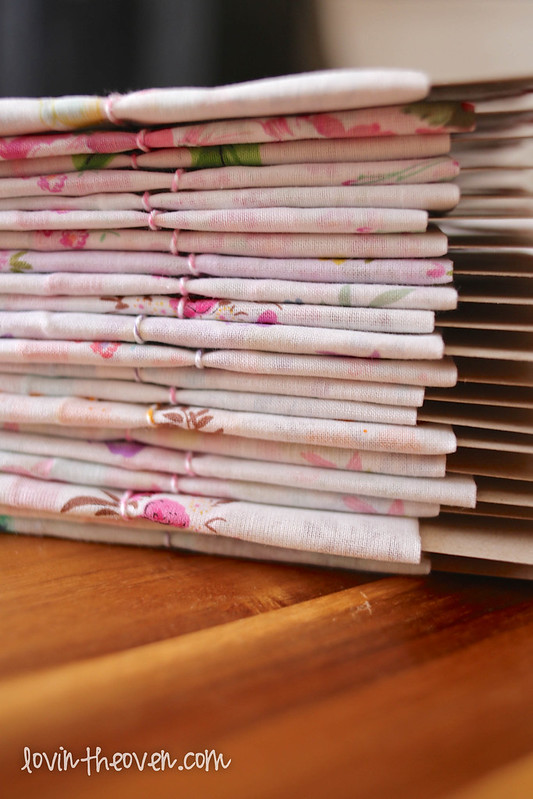
Think you’re done? Not even close. After letting them dry overnight (you definitely didn’t need to, the ink was dry almost instantaneously, but I just wanted to be safe and I was tired!), it’s time to assemble them to fit nicely into an envelope.
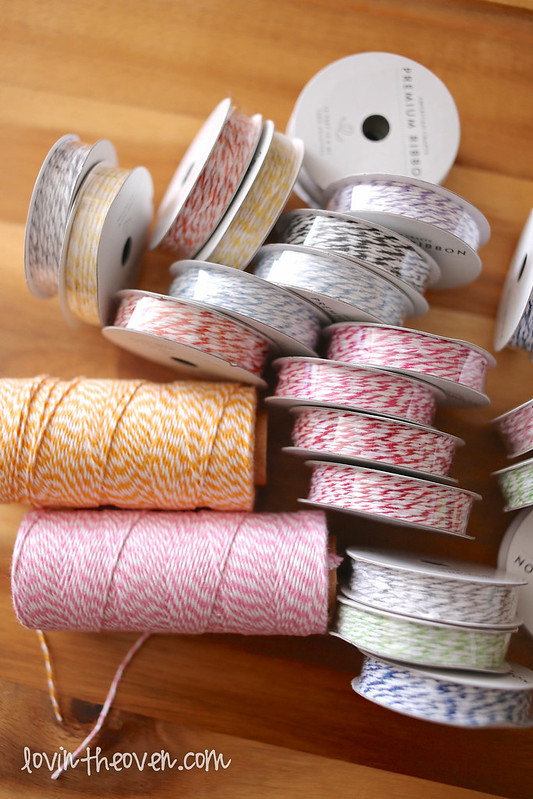
Get out your twine. I have this pack and I love it! So many colors to choose from.
It’s nicer to buy in bulk if you have a lot of hankies to wrap. Here are some other great twine buys:
one.
two.
three – as pictured.
four – I own this twine too and it’s never ending! Great for wrapping gifts and cookies.
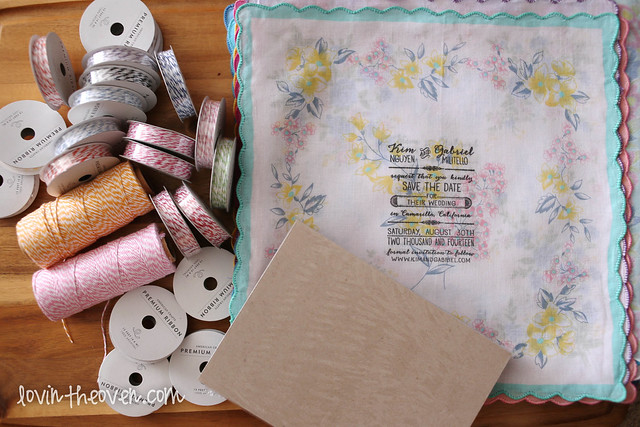
I bought 5″x7″ cardstock online as well from Paper and More. I found that they had the best price for the quantity that I needed. If you don’t need that many, it’s probably better to walk into your local crafts store with their 40% off coupon and get it there.
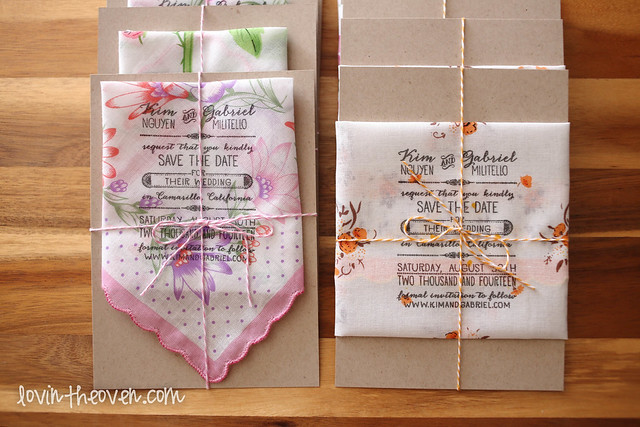
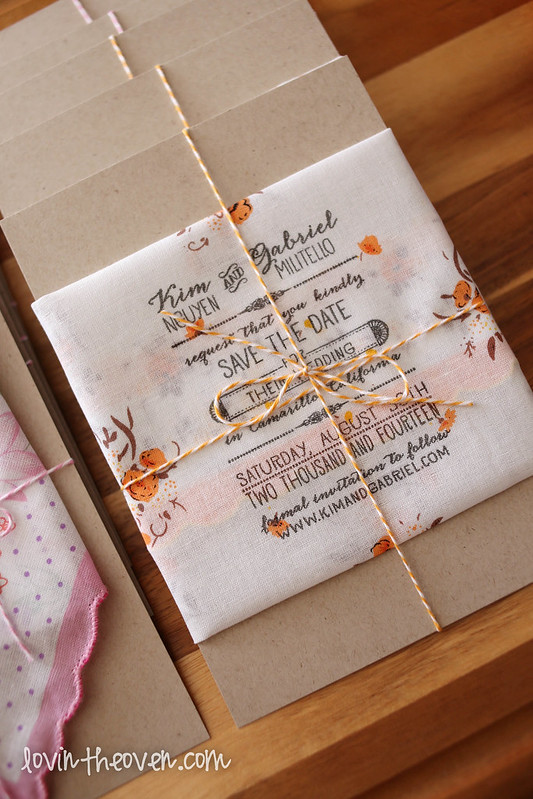
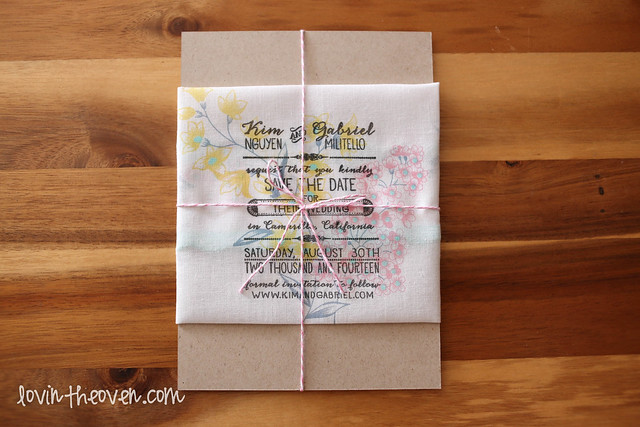
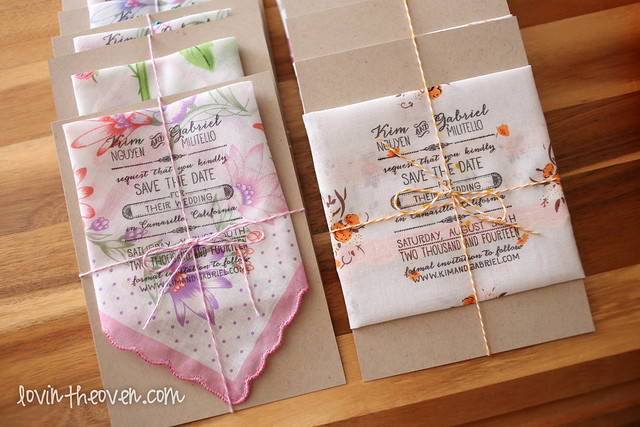
Here’s how I chose to wrap mine with a centered stamp:
Easy peasy! Some of my hankies had designs in the middle, so I stamped them in one corner. I couldn’t fold them the same way, so they ended up looking like the ones on the left:
It was a wonderful project and I’d highly recommend making your own save the dates at home! With some smart shopping, these didn’t break the bank and didn’t go over the weight for a regular postage when mailing. Score!
Oh, I used these envelopes for mailing. They safely packaged my precious hankies all the way to the recipient!
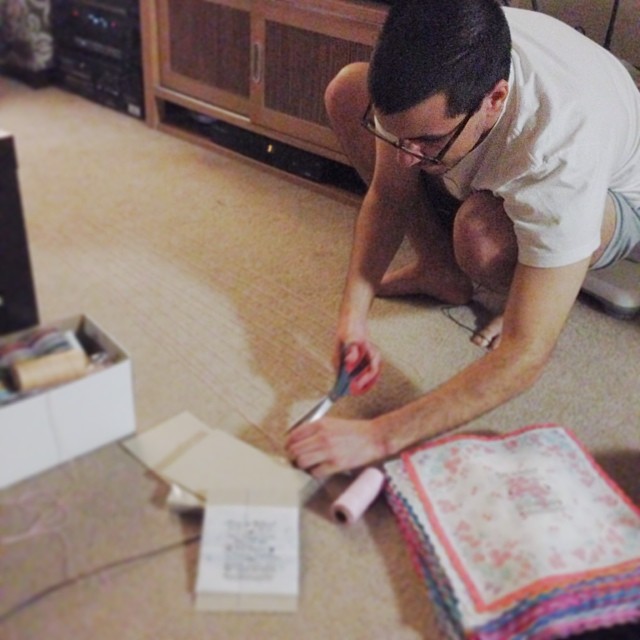
As for the groom’s tasks during this project? He cut twine for me. I love that man.


so pretty!!! best wishes to you and Gabe.
thanks!! 🙂
i loved this! probably the most unique save the date I have ever seen.
thanks caroline!
such an interesting and unique idea! I have never seen this before and absolutely love it – so gorgeous!
thank you! 🙂
Hi kim, i’ve been getting your email updates recently and just wanted to say that your handkerchiefs are adorable! It’s such a great idea and I bet they will amaze and delight all of the recipients! Looking forward to getting more of your email updtes. Thanks!
hi joanne! thanks so much for subscribing and for saying hello! glad to have you here! 🙂
HI KIM,
I LOVE YOUR SAVE THE DATES! SUPER CUTE. IS IT POSSIBLE FOR YOU TO PUT A LINK WHERE YOU FOUND YOUR HANDKERCHIEFS?
thanks christine! i think it was this seller from ebay:
http://www.ebay.com/itm/130-X-WHOLESALE-LOT-WOMEN-VINTAGE-COTTON-HANDKERCHIEF-HANKY-FLORAL-ASSORTED-/110909779067?pt=US_Handkerchiefs&hash=item19d2bcec7b
but you can always search and get a lot more options!:
http://www.ebay.com/sch/i.html?_odkw=vintage+handkerchief+lot&_osacat=0&_from=R40&_trksid=p2045573.m570.l1313&_nkw=vintage+handkerchief+lot+new&_sacat=0
These save the dates are stunning! Could you share how much the postage was for each?
Thanks!!
thank you! they actually took one first class stamp, no extra postage required. that’s definitely a plus when budgeting for a wedding!
I love this idea!! I am getting married in May and just bought the hankerchiefs off Ebay to start!! How big is your stamp? I was looking on Etsy but couldnt tell if they would be big enough.
congrats!! the stamp that i used was 2.5″ x 3.4″. happy crafting!