Lovin' From the Oven

  • Home
  • About Me
  • Recipes
  • FAQ
  • My Lifestyle Blog
  • Disclaimer

Tate’s Bake Shop: Chubby Tates

November 12, 2012 by kim 1 Comment

chubbytates-7

chubbytates-9

chubbytates-13

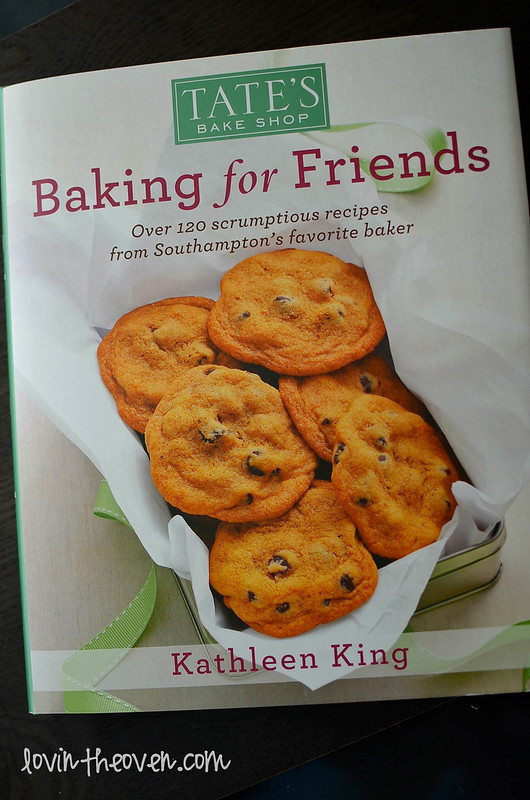
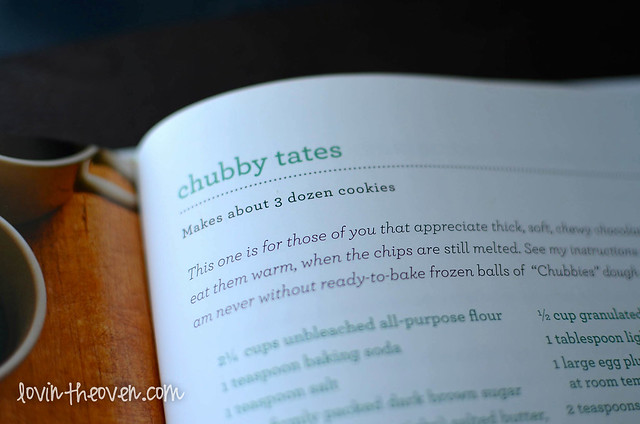
Tate’s Bake Shop was lovely enough to send me a copy of Kathleen King’s new book, Baking for Friends. The book is nice and solid– not too thick and not too thin. It’s very similar to her first cookbook, except with brand new recipes.

chubbytates-14

A quick browse through and I know right away I’m going to get along just dandy with this book. All desserts, nothing too crazy. All the ingredients are ones that I’m most likely able to find in my pantry. I decided to give the cookie on the cover a try. After all, wouldn’t you put your best item on the front page?

chubbytates-2

chubbytates-5

chubbytates-10

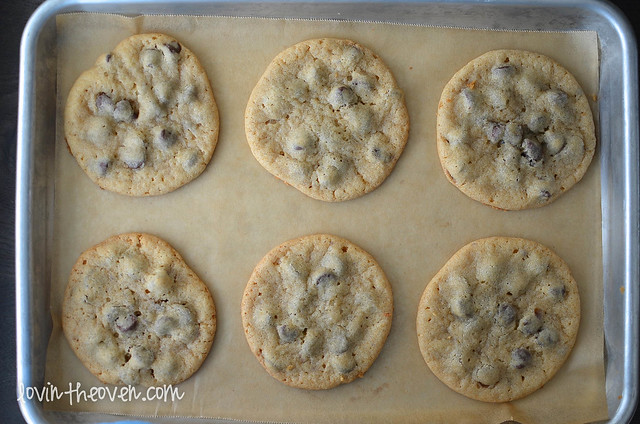
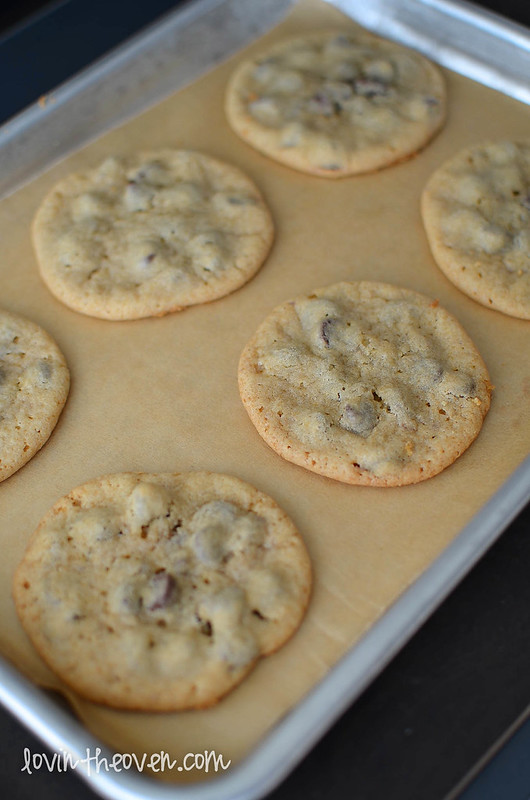
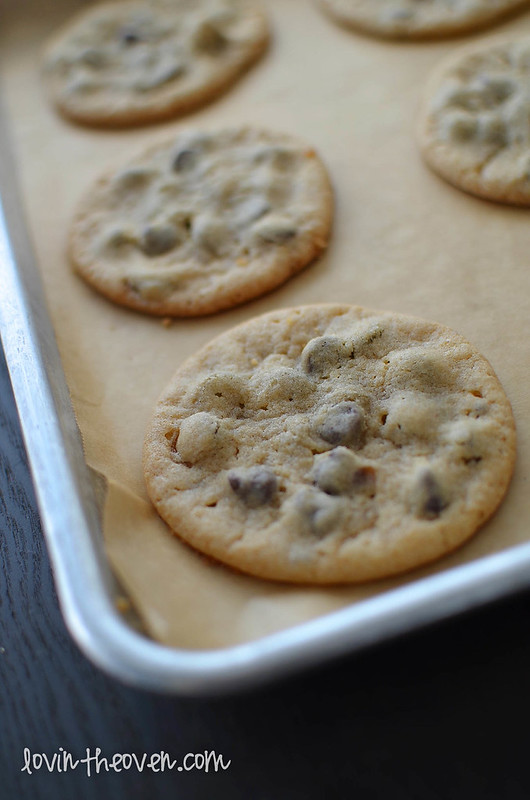
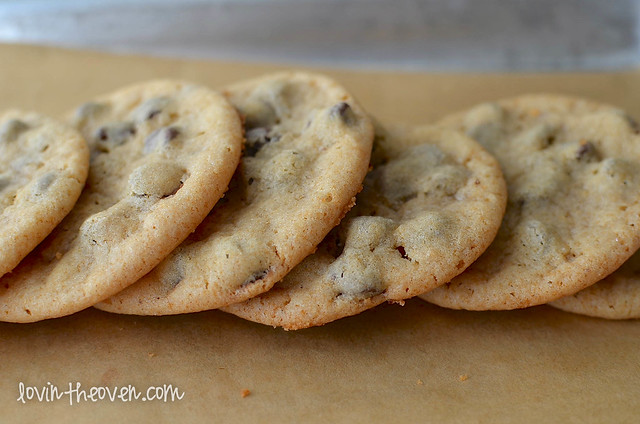
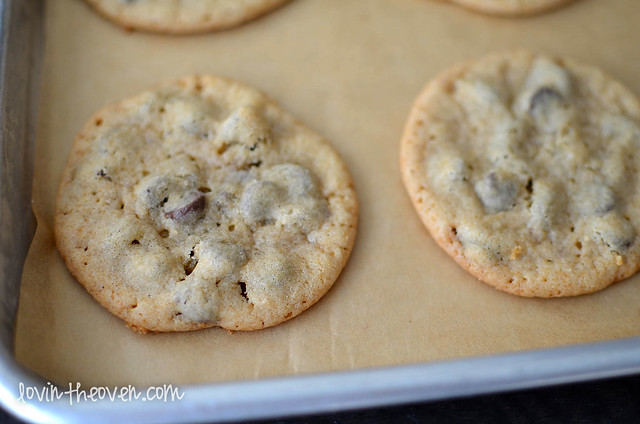
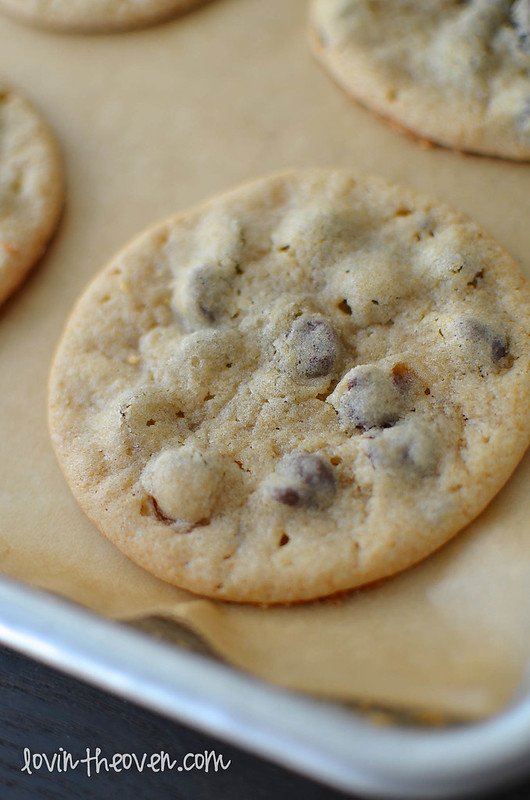
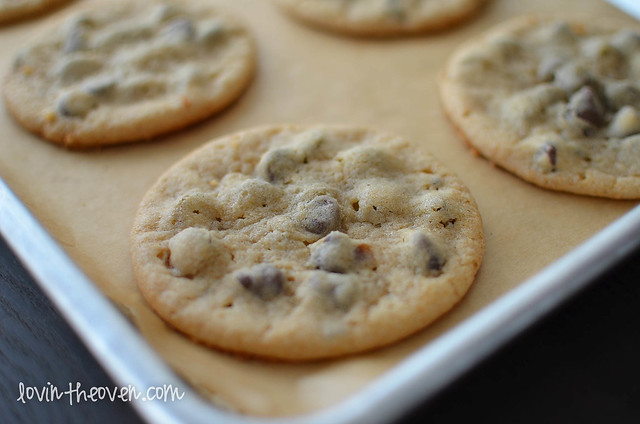
Chubby tates are, in other words, chocolate chip cookies. What made this recipe interesting was that it had corn syrup in the mixture. It didn’t make a difference in the cookie dough itself, but it did make a difference in the baked cookie. It had a more caramelized taste in the end, creating one heck of a chocolate chip cookie.

chubbytates-6

chubbytates-8

Head on over to Tate’s website and get King’s latest cookbook. Don’t forget to use the discount code: BAKEOFF for $5 off an autographed copy!

Chubby Tates
from Kathleen King’s Baking for Friends, page 111.

chubbytates-11
chubbytates-12


Print
Tate’s Bake Shop: Chubby Tates

Ingredients

  • 2 1/2 cups unbleached all-purpose flour
  • 1 teaspoon baking soda
  • 1 teaspoons alt
  • 1 cup firmly packed dark brown sugar
  • 1 1/2 sticks salted butter, at room temperature
  • 1/2 cup granulated sugar
  • 1 tablespoon light corn syrup
  • 1 large egg plus 1 large egg yolk, at room temperature
  • 2 teaspoons pure vanilla extract
  • 2 cups (12 ounces) semisweet chocolate chips

Directions

  1. Position the oven racks in the top third and center of the oven and preheat the oven to 325 degrees. Line 2 large rimmed baking sheets with parchment paper or silicone baking mats.
  2. In a medium bowl, whisk together the flour, baking soda, and salt. In a large bowl, beat the brown sugar, butter, granulated sugar, and corn syrup with an electric mixer set on high speed until combined, about 1 minute. Beat in the egg, egg yolk, and vanilla. With the mixer on low speed, mix in the flour mixture, just until combined. Mix in the chocolate chips.
  3. Using 2 tablespoons per cookie, drop the dough about 3 inches apart onto the prepared baking sheets. (Or use a 1-ounce food portions coop to scoop the dough onto the baking sheets.) The mounds of dough can be frozen on the baking sheets until hard, then transferred to a zip-tight plastic bag and frozen for up to 1 month. Bake without thawing.
  4. Bake, rotating the positions of the sheets from top to bottom and front to bak halfway through baking, until the cookies are lightly browned on the edges, about 18 minutes. (If using frozen cookies, bake for about 20 minutes.) Let cool on the baking sheets for 5 minutes. Transfer to a wire cooling rack and let cool completely. Repeat with the remaining dough, on cool baking sheets.
3.1
https://lovintheoven.com/tates-bake-shop-chubby-tates/


chubbytates-16

chubbytates

Filed Under: chocolate chip, cookies, dessert, review

Fresh Kitchen Featuring GE

August 27, 2012 by kim 2 Comments

Having lived in two apartments over the past couple of years, I’ve come to realize the importance of appliances. Refrigerators, to be exact. In my old Berkeley apartment, the refrigerator was crammed into the narrow kitchen — meaning you couldn’t swing the doors open all the way because they were blocked by the wall and the counter. Can you imagine my frustration when I tried to put pizza boxes inside? Did I notice this when looking at the apartment? Nope. I was too busy being fascinated with the brand new carpet, granite countertops and great location. Bottom line? You use your refrigerator everyday: Indulge in one you love!

GE Appliances has a style for everyone, whether it be side-by-side refrigerator/freezer or refrigerator on top and freezer on bottom. My current combination is a side-by-side door refrigerator on top and pull-out freezer on the bottom.
You hardly ever think about the refrigerator even though it’s being opened all day long. I pretty much grew up with my fridge, noting my height with which shelf I could see over. I even remember when we got our first fridge that dispensed water. I thought it was the coolest thing in the world.
When I think of technology, I think of cell phones, computers and media players. But GE Appliances has advanced along with the rest of technology by stepping it up with kitchen appliances. Their refrigerators have LED lighting for greater visibility, an advanced filtration system for the water and even a space-saving icemaker. Here’s a little peek at what I’m talking about:

Living in the Bay Area, specifically being so close to Berkeley, I have access to multiple farmers’ markets and locally grown food. I’m constantly searching for ways to make fruit and vegetables last longer in the fridge, since it’s just my boyfriend and me in the house, and we can go through only so much food at a time. From vinegar washes to freezing fruit, I’ve tried quite a few methods. The GE Frech door fridge has a dual evaporator system for longer food life, which is great plus for foodies like me!

Another feature that I admire is the full-width deli drawer. Normally the drawers are so narrow and deep that I end up having to dig through all the items in order to find cheese or fruit. Having wide drawers allows me to see exactly what’s inside the drawer without making a mess.

Still have doubts about the fridge? Check out GE’s Freshpedition, where they drag a French door refrigerator 2000 miles to bring a fresh-cooked meal to a homesick man!

Be sure to visit the GE Appliances brand page on BlogHer.com where you can read other bloggers posts!

Filed Under: review

Review: Norton’s Identity Safe

July 28, 2012 by kim 26 Comments

I was asked to review Norton’s Identity Safe program on my Mac and can finally do so after using it for about a week.
First of all, what exactly does the program do? Well, it saves passwords, autofills out forms and cards so you don’t repeatedly have to, stores notes, and it alerts you when it finds an unsafe website. It’s a fairly simple idea with a very small and easily accessible interface.
I was excited to give it a try because I have about a million different passwords to a million different websites. I find myself pressing the “Forget password?” button more times than I seem to care for. Even the answers to my security questions sometimes slipped my mind. I’d have to write my passwords down on pieces of paper, but how safe is that when you have your information laying out for everyone to see?
The downloading process was easy. I installed it from the app store and it downloaded within a matter of seconds. The setup was simple as well; a couple of clicks and it’s set up on your desktop. After tweaking with my computer settings, Norton’s Identity Safe was up and running.
It did it’s job and remembered passwords from websites I logged into, but I found the program to have more cons than pros. Sure, it has a lot of potential, but the pop-ups asking for your login information (username and password) after I logged in soon started to annoy me. Not only that, but I could only get the program to work with Safari, when I normally use Chrome. I did hear, however, that Norton plans to release versions for other browsers in the future. I look forward to trying that out when the time comes. It also didn’t remember every login password and didn’t fill in 100% of my forms.
One of the things I did like about the program was that it made browsing more secure. I knew when to avoid websites and when to refrain from putting any personal information in if the credentials weren’t verified. Norton’s Identity Safe also can sync with all your devices (PC, laptop, and mobile phone) so that you can access your information whenever and wherever you need to.
It made my life a lot easier by storing all my passwords in one place. I didn’t have to keep scattered post-it notes of my accounts all over my desk. It cleaned up the clutter and managed my information with a little button at the top of my screen. I felt that it was also secure because you couldn’t look at the passwords stored without putting in your “vault” password. Ironic, isn’t it? There’s no way of recovering that password if you forget it, so make sure you write that one down somewhere. The only way they have of reminding yourself of your password is a “password hint.” It doesn’t directly tell you your password, you just create a phrase that will help jog your memory of what you made your original password.

Want to give it a try? Head over to their website and download it for free today!
Have you ever forgotten or lost your password? Share a story about a time you forgot, or lost your password, in the comments below. Each response will garner automatic entry into a sweepstakes to win one of five Android Tables (Samsung Galaxy Tab 2 – 10.1-Inch, Wi-Fi) with Norton Mobile Security and Identity Safe installed on the device!

Visit BlogHer.com to find other reviews of Norton Identity Safe.

Sweepstakes Rules:
No duplicate comments.
You may receive (2) total entries by selecting from the following entry methods:
a) Leave a comment in response to the sweepstakes prompt on this post
b) Tweet about this promotion and leave the URL to that tweet in a comment on this post
c) Blog about this promotion and leave the URL to that post in a comment on this post
d) For those with no Twitter or blog, read the official rules to learn about an alternate form of entry.
This giveaway is open to US Residents age 18 or older. Winners will be selected via random draw from all participating blogs, and will be notified by e-mail. You have 72 hours to get back to me, otherwise a new winner will be selected.
The Official Rules are available here.
This sweepstakes runs from 6/21 – 7/31.

Filed Under: review

  • « Previous Page
  • 1
  • …
  • 3
  • 4
  • 5
  • 6
  • 7
  • …
  • 12
  • Next Page »

hi! i'm kim-- a girl mom, baker, blogger, and ex-flight attendant. welcome!

Search

  • Facebook
  • Instagram
  • Pinterest
  • Twitter

Categories

RODELLE-BABadge


Categories

  • Facebook
  • Instagram
  • Pinterest
  • Twitter

Copyright © 2026 · Foodie Pro Theme by Shay Bocks · Built on the Genesis Framework · Powered by WordPress