Lovin' From the Oven

  • Home
  • About Me
  • Recipes
  • FAQ
  • My Lifestyle Blog
  • Disclaimer

No Bake Energy Date Bars

October 30, 2014 by kim 2 Comments

datebars-11

Have you ever tried to make bars at home? It’s a cinch! All you need is a good food processor and some delectable ingredients.
datebars-13

It all starts with these wonderful Medjool Dates. I have such a soft spot in my heart for this big ol’ red box ever since my trip to Yuma last year. Honestly, those were some of the most giving and loving people I have ever met. I constantly reminisce about those days!

datebars

To my surprise, I received a special delivery on my doorstep for our Yuma trip anniversary (I told you they were awesome)! The dates were freshly picked and wonderfully juicy. I’ve been eating a date a day ever since.

datebars-2

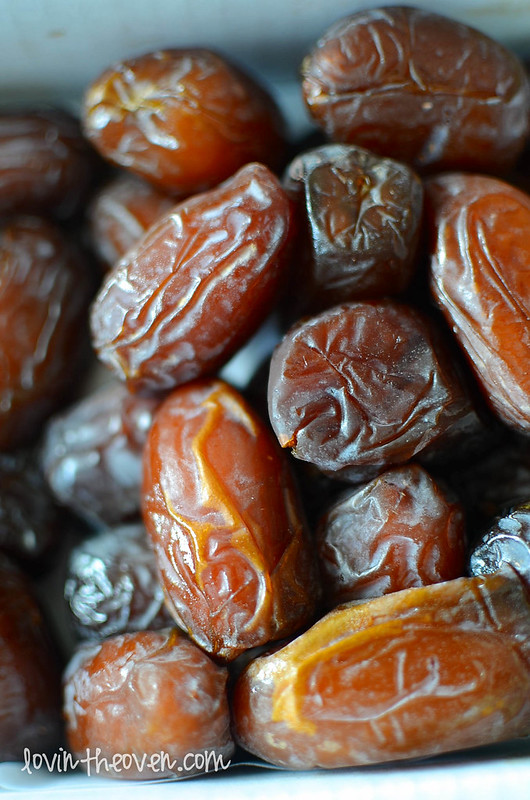
Dates are key when it comes to making bars because of their nutritional benefits, taste, and texture. They’re sweet without adding any sugar and turn into a paste that can hold all of your ingredients together.
datebars-3

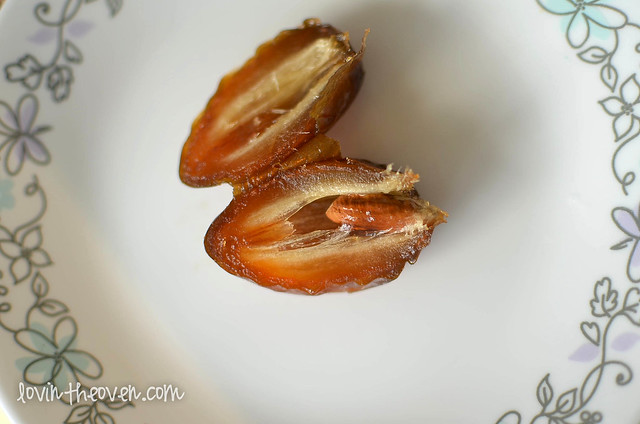
Just make sure to take out all of the pits before you eat them!
datebars-4

datebars-5

datebars-6

datebars-7

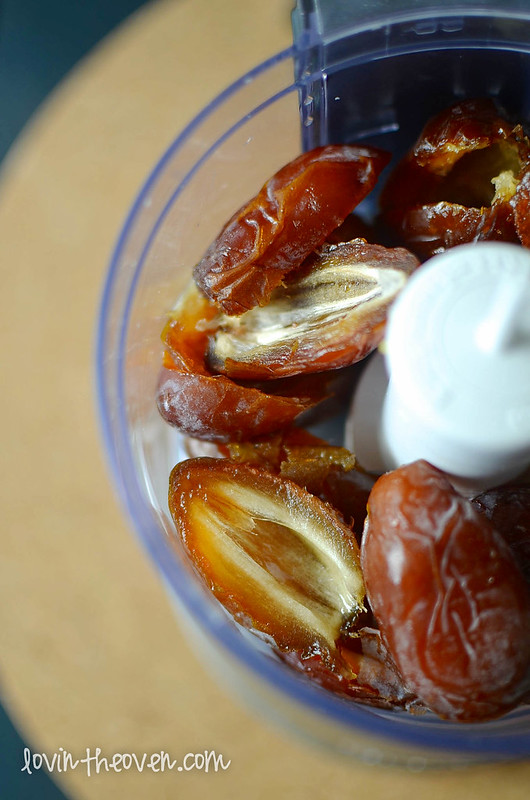
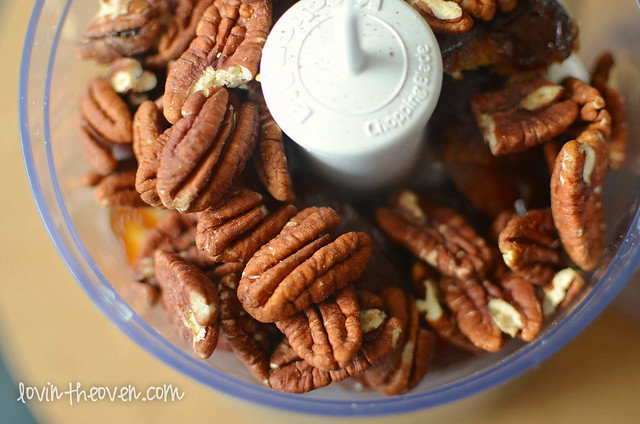
This is my food processor, by the way. It’s a little small, which is why I mix in the remaining ingredients by hand, but it’s perfect for now because of my apartment living.
datebars-8

datebars-9

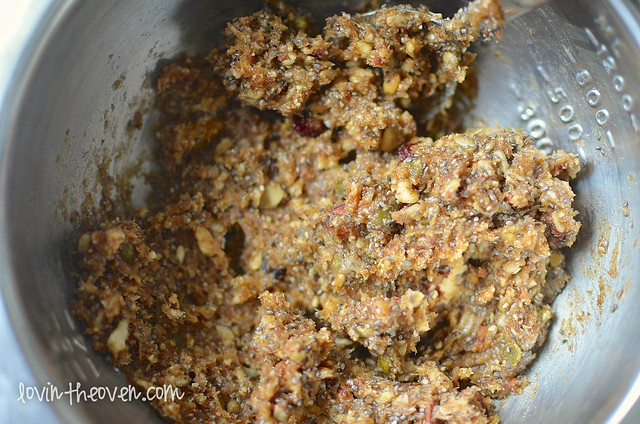
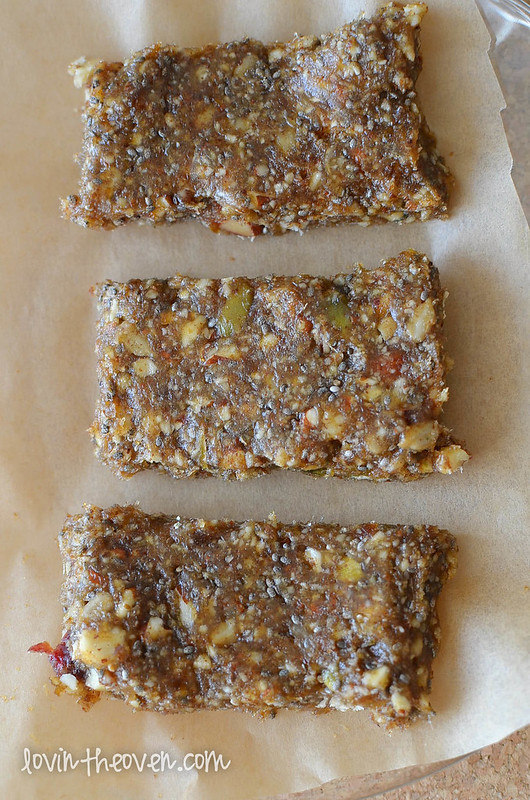
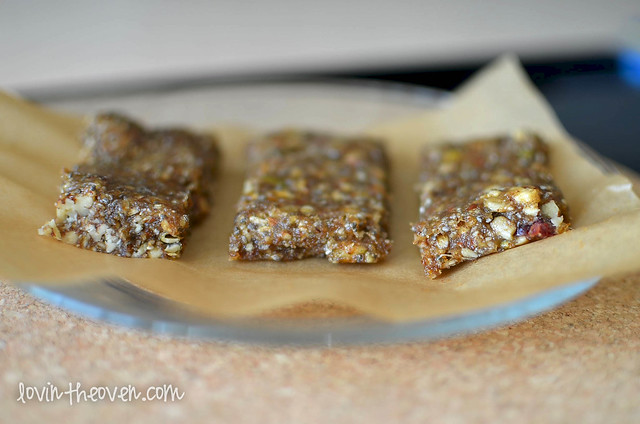
It make not look very pretty, but I promise it tastes delicious.
datebars-10

datebars-12

This recipe is also easy to adjust to your tastes or whatever ingredients that you have on hand. You can replace pecans with walnuts or cashews, add in some peanut butter, or sub in different dried fruits. It’s up to you to create your dream bar!

Print
No Bake Energy Date Bars

Ingredients

  • 1 1/2 cups pitted medjool dates
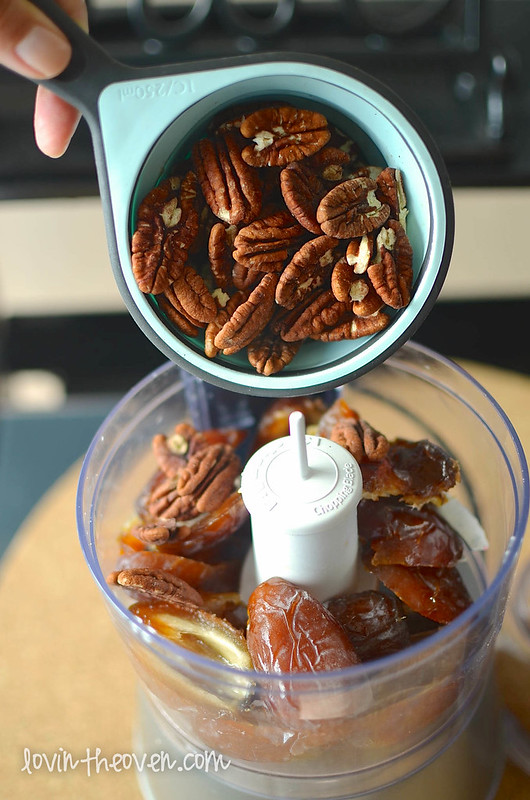
  • 1 cup pecans
  • 1/2 cup trail mix (any kind will do. make sure to use one that you like! mine had cranberries, pepitas, and sunflower seeds)
  • 1/4 cup chia seeds
  • 1 tsp cinnamon
  • pinch of salt

Directions

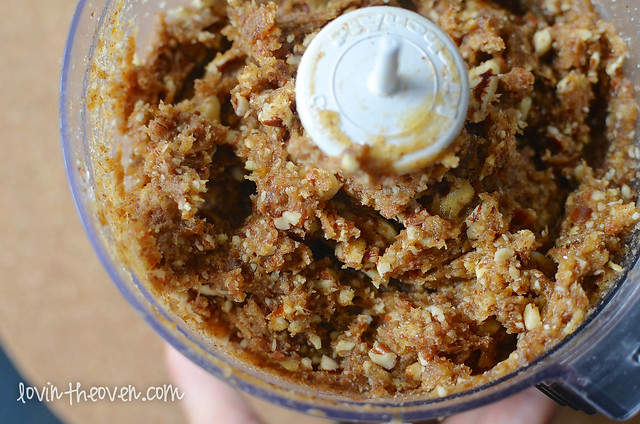
  1. Pulse the dates and pecans in a food processor until combined.
  2. Move the mixture to a mixing bowl and stir in the remaining ingredients by hand.
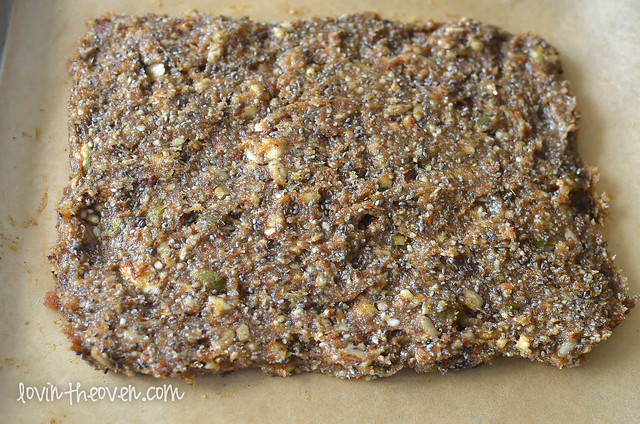
  3. Spread the mixture in between two pieces of wax or parchment paper until they're 1/2 inch thick. Cut into rectangles and enjoy! Keep the remaining bars in the refrigerator until ready to eat.
3.1
https://lovintheoven.com/bake-energy-date-bars/

Filed Under: bars/brownies, fruit, nuts, snack

Chicken Avocado Lime Soup

September 4, 2014 by kim 5 Comments

IMG_9903

I’ve never tried making soup on the stove before. I know, I know… it’s so simple. It’s just that I’m not that much of a cook. The Pampered Chef® sent over some of their Nourish bowls and the moment that I saw them, I knew soup was meant for the middle. 

IMG_9911

The Pampered Chef has teamed up with Feeding America® through The Pampered Chef’s Round-Up From the Heart® campaign. Did you know that 1 in 6 Americans face hunger? It’s an issue that is easily looked over, yet affects so many of us today.

According to Google, nourish means to “provide with the food or other substances necessary for growth, health, and good condition.” The word “nourish” is fitting for these bowls because $2 from every bowl bought goes to Feeding America, which provides 18 meals for those in need. The thing that I love most about Round-Up From the Heart is that the funds collected are used in the community where the donations came from. You get to support your local community through this campaign by buying your own Nourish bowl here (I have four!).

IMG_9882

This soup is easily made in half an hour. I had no idea that this much flavor could come from so few ingredients. I was afraid that the soup would be bland, but the jalapenos and lime came together beautifully. I liked the level of spiciness from adding the whole jalapeno, seeds and all.

I used Pampered Chef’s 1 cup prep bowls to place all of my chopped cilantro, tomatoes, green onions, jalapenos, and lime juice. It made cooking a breeze. Everything was prepared ahead of time and all I had to do was toss them in at the right time. Make sure your pot is big enough to hold all of that liquid. I’d recommend using the Rockcrok Dutch Oven since it has a lid as well.

IMG_9914

I chopped up my chicken prior to throwing them in the pot to cook, but I think shredding them would have been better. Either way, it doesn’t matter. Recipe from Cooking Classy.

Print
Chicken Avocado Lime Soup

Ingredients

  • 1 1/2 lbs boneless skinless chicken breasts (I used 4)
  • 1 Tbsp olive oil
  • 1 cup chopped green onions, including the whites
  • 2 jalapeños, minced (leave seeds if you want soup spicy, omit if you don't like heat)
  • 2 cloves garlic, minced
  • 4 (14.5 oz) cans low-sodium chicken broth
  • 2 Roma tomatoes, diced
  • 1 tsp ground cumin
  • Salt and freshly ground black pepper
  • 1/3 cup chopped cilantro
  • 3 Tbsp fresh lime juice (I used one whole lime)
  • 3 medium avocados, peeled, cored and diced
  • Tortilla chips, shredded cheese, sour cream for serving (optional)

Directions

  1. In a large pot heat 1 Tbsp olive oil over medium heat. Once hot, add green onions and jalapenos and saute until tender, about 2 minutes, adding garlic during last 30 seconds of sauteing.
  2. Add chicken broth, tomatoes, cumin, season with salt and pepper to taste and add chicken breasts.
  3. Bring mixture to a boil over medium-high heat. Then reduce heat to medium, cover with lid and allow to cook, stirring occasionally, until chicken has cooked through 10 - 15 minutes (cook time will vary based on thickness of chicken breasts).
  4. Reduce burner to warm heat, remove chicken from pan and let rest on a cutting board 5 minutes, then shred chicken and return to soup. Stir in cilantro and lime juice.
  5. Add avocados to soup just before serving (if you don't plan on serving the soup right away, I would recommend adding the avocados to each bowl individually, about 1/2 an avocado per serving).
  6. Serve with tortilla chips, cheese and sour cream if desired.
3.1
https://lovintheoven.com/chicken-avocado-lime-soup/

  This is a sponsored post, but the opinions expressed are my own.

Filed Under: chicken, fruit, lunch Tagged With: soup

Banana Waffles with Caramelized Bananas

July 21, 2014 by kim 3 Comments

dolw-8

Bananas are a no brainer for breakfast items. There are banana muffins, banana pancakes, sliced bananas on oatmeal, banana bread, bananas on yogurt, and banana french toast. Well, I took it a step further and made bananas waffles with caramelized bananas so you can add another goodie to that breakfast list.

dolw

Don’t forget that you can always eat them as is. That’s usually how my DF prefers them.

As for me, I’ll take them caramelized or flambéed any day.

dolw-7

This dish is definitely restaurant worthy. If I ever open my own breakfast spot, these waffles would be on the menu.

dolw-5‘

Instead of using whipped cream on top, Cool Whip would make it even better since it could stand up to the heat of the waffle without melting. I had to take these pictures quickly before I had a puddle of whipped cream dripping down the sides of the waffles.

dolw-6

The caramelized bananas were sweet enough on their own, so you don’t need to add any maple syrup. A little sprinkling of powdered sugar would be sufficient if you really needed that something extra. I chose to use cinnamon.

dolw-11

Another tip when it comes to making waffles is that when you remove the waffle from the waffle maker, don’t put it on a plate immediately after. Place it on a cooling rack so that the bottom can cool a little and crisp up. If you place the waffle on a plate straight from the grill, the bottom will get soggy from the heat having no where to escape.

You can also place them in the oven to keep them warm while you’re making another batch.

dolw-10

dolw-9

As for the caramelizing part, it’s a beautiful sight.

dolw-2

Yes, just yes. Give me a spoonful of that, please!

dolw-4

Peel_the_Love

Thank you, Dole® Bananas, for making my day so delectable. They actually have a Peel the Love “Banana Cabana” Tour that’s making its way across the US right now. It’s coming through the LA area from July 31-August 3, but you can find specific dates for other cities here.

Print
Banana Waffles with Caramelized Bananas

Ingredients

  • 1 1/4 cups all-purpose flour
  • 3 teaspoons baking powder
  • 1 teaspoon ground cinnamon
  • pinch of salt
  • 1/2 cup milk
  • 1/2 cup vanilla greek yogurt
  • 1 egg
  • 1 teaspoon vanilla extract
  • 1 bananas, mashed
  • For the topping:
  • 1 banana, sliced
  • 1 tablespoon butter
  • 1 tablespoon honey
  • 1 tablespoon sugar
  • 1 teaspoon cinnamon
  • sprinkle of sea salt

Directions

  1. Mix together the flour, baking powder, cinnamon, salt, milk, yogurt, egg, vanilla, and banana until smooth. Make sure not to over mix.
  2. Pour 1/2 cup of the batter into your waffle maker and cook as instructed.
  3. Meanwhile, to make the topping, place the butter, honey, sugar, cinnamon, and salt in a small saucepan over medium heat while continually whisking.
  4. Once the mixture bubbles, turn the heat down to low-medium and add the sliced bananas. Cook on each side for 3-4 minutes, until lightly browned. Immediately pour over waffles and serve.
3.1
https://lovintheoven.com/banana-waffles-caramelized-bananas/

This is a sponsored post, but the opinions expressed are my own.

Filed Under: banana, breakfast, fruit

  • « Previous Page
  • 1
  • 2
  • 3
  • 4
  • 5
  • 6
  • …
  • 21
  • Next Page »

hi! i'm kim-- a girl mom, baker, blogger, and ex-flight attendant. welcome!

Search

  • Facebook
  • Instagram
  • Pinterest
  • Twitter

Categories

RODELLE-BABadge


Categories

  • Facebook
  • Instagram
  • Pinterest
  • Twitter

Copyright © 2026 · Foodie Pro Theme by Shay Bocks · Built on the Genesis Framework · Powered by WordPress