Lovin' From the Oven

  • Home
  • About Me
  • Recipes
  • FAQ
  • My Lifestyle Blog
  • Disclaimer

Slow Cooker Balsamic Roast Beef

January 11, 2018 by kim 1 Comment

Happy New Year! Since it’s actually a bit cooler now in Southern California, here’s a nice roast recipe to warm you up.

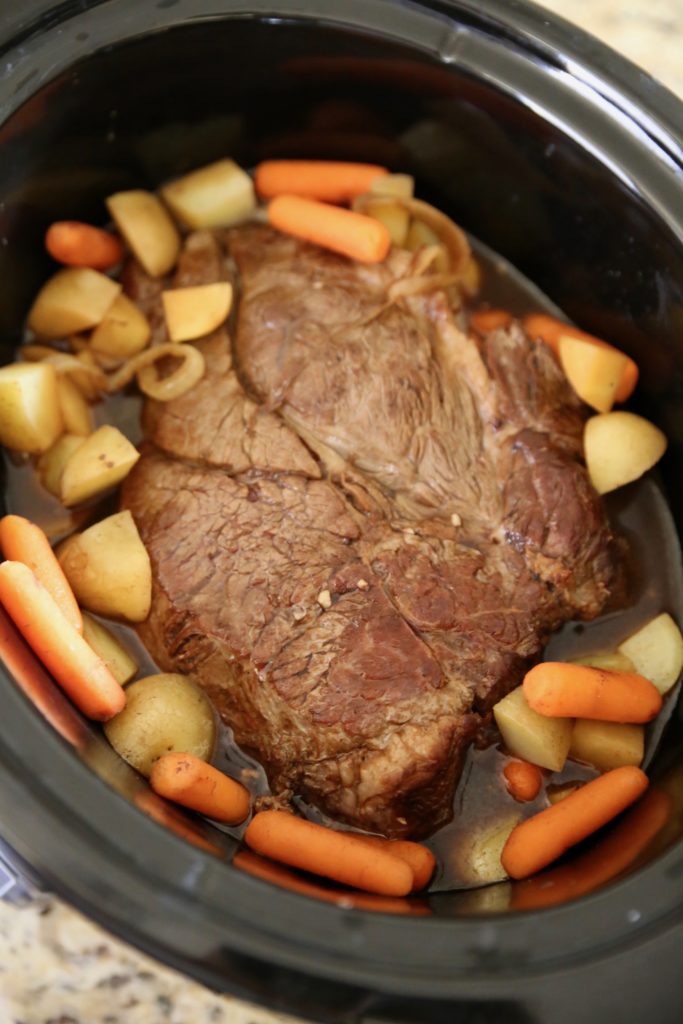
Crockpot recipes are super easy, and this one is no different. I hardly use mine anymore now that I have the Instant Pot (it truly does it all!), but it’s nice when you need a bigger pot for your meat or have to serve more people.

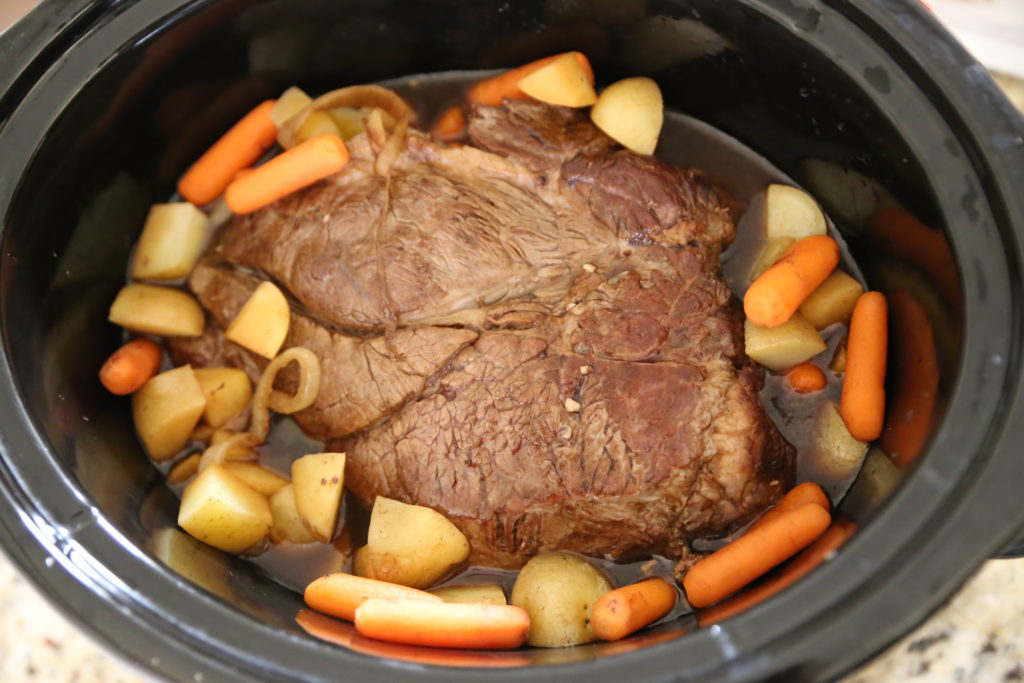
The meat practically fell apart with the touch of a fork after it was done cooking– just the way meat should be.

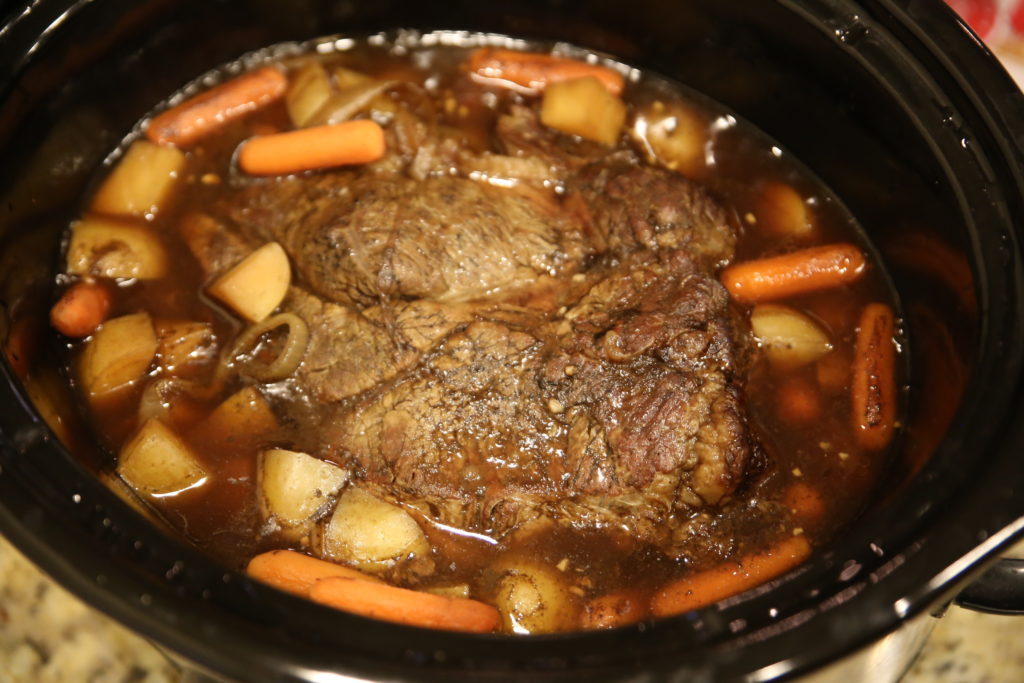
You can serve this recipe with some rice, a salad, or some roasted greens. That’s dinner done in no time!
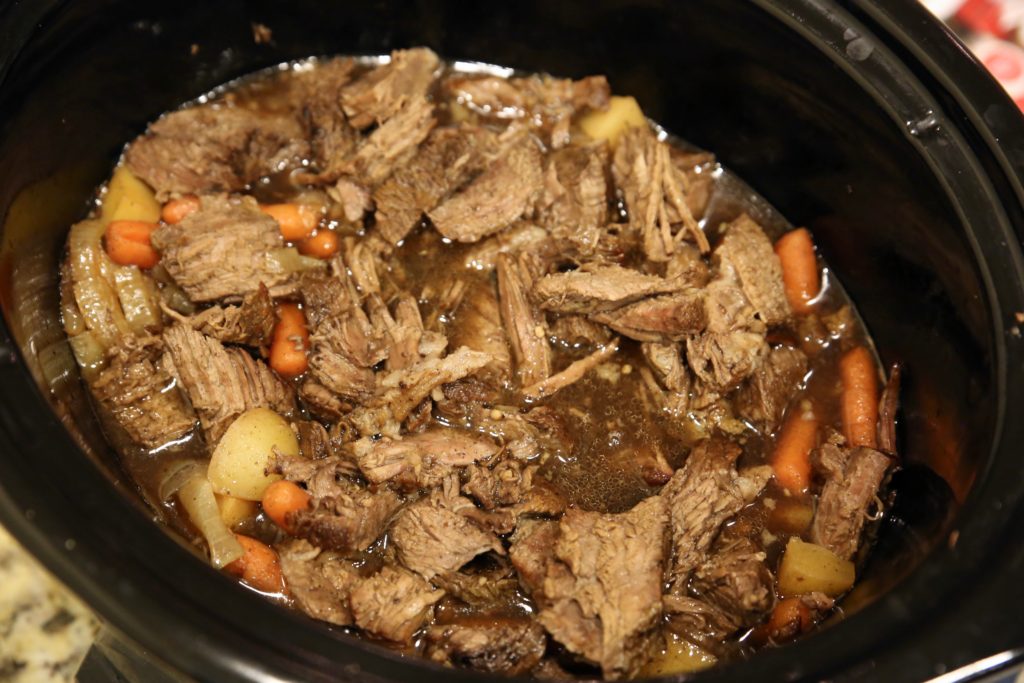
Recipe from Closet Cooking.

Print
Slow Cooker Balsamic Roast Beef

Ingredients

  • 1 tablespoon oil
  • 3 pounds Ontario Corn Fed Beef roast such as chuck, round, brisket
  • 1 large onion, sliced
  • 4 cloves garlic, chopped
  • 1/2 teaspoon red pepper flakes
  • 1 cup beef broth
  • 1/2 cup balsamic vinegar
  • 2 tablespoons soy sauce
  • 2 tablespoons brown sugar
  • 1 tablespoon Worcestershire sauce
  • 1 pound baby carrots
  • 1 pound diced potatoes

Directions

  1. Heat the oil in a large pan over medium-high heat, add the beef and brown on all sides.
  2. Add the onions and cook for about 2-3 minutes.
  3. Add the garlic and red pepper flakes. Cook for another minute.
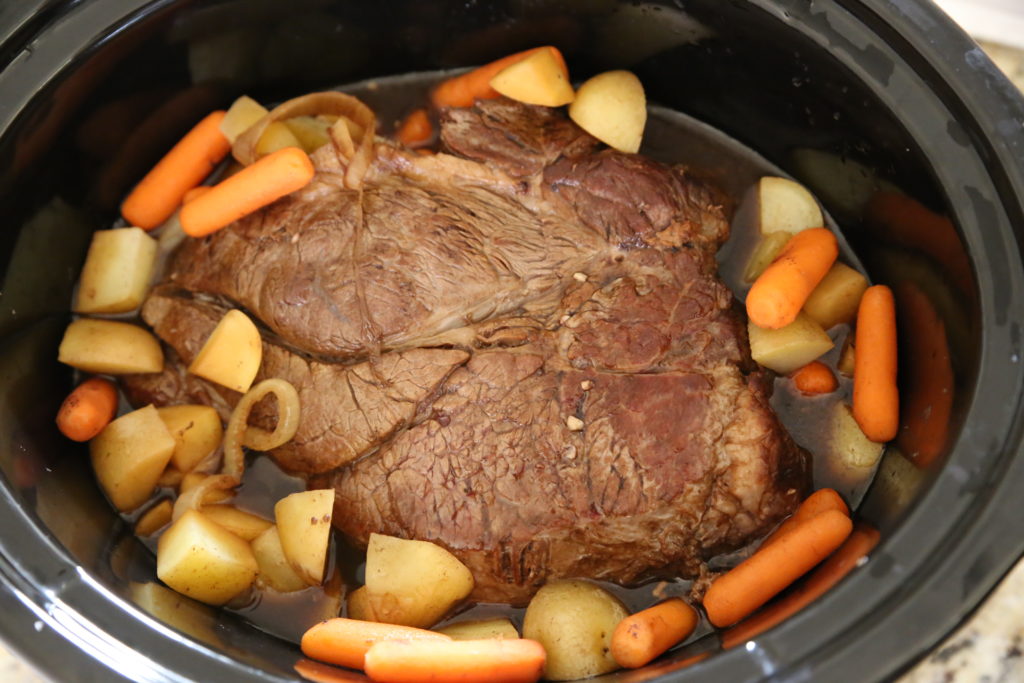
  4. Place the beef, onions, broth, balsamic vinegar, soy sauce, brown sugar, Worcestershire sauce, carrots and potatoes in a slow cooker, cover and cook on low for 8-10 hours or on high for 3-5 hours.
3.1
https://lovintheoven.com/slow-cooker-balsamic-roast-beef/

SaveSave

Filed Under: beef, carrot, crockpot, dinner, potatoes

Pesto Chicken Veggie Meatballs

July 31, 2017 by kim Leave a Comment

Here’s another kid-friendly and freezer-friendly recipe for you! Meatballs are so easy to make and are pretty versatile in different dishes. You can eat them as is (as pictured), throw them in marinara, or mash them up into rice. I served mine with butter cheese pasta, Ellie’s favorite.

I liked that these meatballs were loaded with veggies. It’s almost as if you’re hiding them. I was worried Ellie wouldn’t eat them, but the veggies didn’t bother her one bit.

You can change the veggies up to include carrots, corn, asparagus… anything, really. I just used what I had on hand.

I used another batch of meatballs and mashed them into marinara sauce later that week to top off some quinoa pasta. Ellie devoured that as well.  She’s such a good eater. I can’t wait to make more recipes for her! This one comes from Super Healthy Kids.

Print
Pesto Chicken Veggie Meatballs

Ingredients

  • 1 pound ground chicken breast
  • 1/2 medium red bell pepper
  • 1 cup zucchini, shredded
  • 1/2 cup yellow squash, shredded
  • 3 tablespoons pesto
  • 1/2 teaspoon salt
  • 1 tablespoon olive oil

Directions

  1. Preheat oven to 375 degrees..
  2. Pat the zucchini and squash dry with a paper towel.
  3. In a large mixing bowl, stir together the zucchini, squash, bell pepper, pesto, and salt.
  4. Gently fold in the ground chicken breast until well combined.
  5. Line a baking sheet with foil or a slipat and drizzle with oil.
  6. Using a 1" scoop, make small meatballs and place them on the baking sheet.
  7. Bake at 375 degrees for 10 minutes. For a bit of browning, broil the meatballs an additional 1-3 minutes. If browning isn't important, continue baking meatballs another 2-3 minutes, or till cooked through.
3.1
https://lovintheoven.com/pesto-chicken-veggie-meatballs/

Filed Under: chicken, dinner, lunch, vegetables

Baked Hoisin Chicken with Garlic Noodles

June 28, 2017 by kim Leave a Comment

Growing up, my parents always had a bottle of Lee Kum Kee‘s Hoisin Sauce and Lee Kum Kee’s Panda Brand™ Oyster Flavored Sauce in our refrigerator. The hoisin sauce is a must for pho, but did you know you can use it for so many other things? It makes a wonderful dip for spring rolls when mixed with some peanut butter. In this case, I’ve used the hoisin sauce to marinate my chicken and the oyster flavored sauce to sweeten my noodles! With the Fourth of July holiday coming up, this is the perfect time to try out some of Lee Kum Kee’s sauces, whether it’s marinating your own meats or trying out this “Baked Hoisin Chicken with Garlic Noodles” recipe.

Lee Kum Kee was established in China in 1888, and is dedicated to promoting Chinese culinary culture throughout the U.S. and around the world. They make a wide range of great-tasting authentic Asian-style sauces and condiments, which make it easy for people to enjoy restaurant-quality Asian tastes and flavors in the comfort of their own home. They offer over 200 authentic Asian sauces and condiments that use only premium-quality, non-GMO ingredients. In addition, the brand offers several gluten-free sauce options to help address the needs of individuals that crave Asian tastes but also have special dietary concerns or restrictions.

If you’ve ever wondered what exactly Hoisin Sauce is, it’s an irresistibly delicious sweet sauce made from selected spices, soybeans and sweet potatoes! It goes well as a topping for pho or marinade for any meat to give it a slightly sweet flavor. The Panda Brand™ Oyster Flavored Sauce  has a robust flavor and a rich color which makes it an ideal all-purpose Asian sauce, which is great for stir-frying, braising or cooking.

These two dishes go perfectly together. The noodles are a little sweet, so I’ve reduced the amount of sugar in the recipe.  You can always add more after you taste it and decide you like a sweeter dish. 

The chicken was easy as can be. You can prep this meal in the morning in five minutes and then throw them on the baking sheet when you’re ready to eat. There’s no sitting around and waiting for sauces to come together. Five minutes prep, half an hour to cook, and voi-la! Dinner is served. You can easily transport this dish to a party or BBQ by using a disposable baking sheet and covering it with foil. Clean up is a cinch, too. Just throw away the baking dish and/or foil!

I don’t bake with chicken drumsticks enough. I don’t know why. They’re cheap, become so juicy when baked, and marinate beautifully.

If you’re too nervous about making recipes from scratch, check out Lee Kum Kee Panda Brand™ Ready Sauces. With these sauces, you can make restaurant-quality Chinese meals quickly and easily just by adding your own ingredients. You’ll love how simple it is to prepare, and your family will love the taste! Some of the flavors include: Honey Sesame Chicken, Korean BBQ Stir-Fry, Lettuce Wraps, Broccoli Beef, Kung Pao Chicken, Mongolian Beef and Orange Chicken (a couple of them are pictured above).

If you want to try out this recipe (and you totally should!), here it is! It comes slightly adapted from Rasa Malaysia (here’s the link to garlic noodles).

Print
Baked Hoisin Chicken with Garlic Noodles

Ingredients

    For the Chicken:
  • 1 1/2 lbs chicken drumsticks
  • 2 heaping tablespoons Lee Kum Kee Hoisin Sauce
  • 1 tablespoon soy sauce
  • 1 teaspoon sesame oil
  • 3 heavy dashes ground white pepper
  • For the Garlic Noodles
  • 16 oz spaghetti
  • 1/2 cup unsalted butter
  • 2 heaping tablespoons minced garlic
  • 1 tablespoon soy sauce
  • 1 tablespoon Lee Kum Kee Panda Brand™ Oyster Flavored Sauce
  • 2 teaspoons fish sauce
  • pinch of sugar
  • 1 tsp garlic salt
  • 2 tablespoons parmesan cheese

Directions

  1. For the chicken, mix all of the ingredients except for the chicken together in a bowl. Pour the mixture into a large ziploc bag with the drumstricks and let marinate for 2-3 hours.
  2. When ready to cook, preheat the oven to 400 degrees.
  3. Line a baking sheet with foil and place the marinated chicken on top. Bake for 30-35 minutes.
  4. For the garlic noodles, cook the spaghetti using the directions on the box. Drain and set aside.
  5. In a small saucepan, melt the butter.
  6. Add the minced garlic and cook on medium heat for about 2-3 minutes. Mix in the soy sauce, oyster sauce, fish sauce, sugar, and garlic salt until all is dissolved.
  7. Toss the pasta with the sauce until evenly coated.
  8. Sprinkle the parmesan cheese on top and mix again.
3.1
https://lovintheoven.com/baked-hoisin-chicken-garlic-noodles/

This is a sponsored post, but the opinions expressed are my own.

Filed Under: chicken, dinner, dinner sides, pasta

  • « Previous Page
  • 1
  • 2
  • 3
  • 4
  • 5
  • …
  • 32
  • Next Page »

hi! i'm kim-- a girl mom, baker, blogger, and ex-flight attendant. welcome!

Search

  • Facebook
  • Instagram
  • Pinterest
  • Twitter

Categories

RODELLE-BABadge


Categories

  • Facebook
  • Instagram
  • Pinterest
  • Twitter

Copyright © 2026 · Foodie Pro Theme by Shay Bocks · Built on the Genesis Framework · Powered by WordPress