Lovin' From the Oven

  • Home
  • About Me
  • Recipes
  • FAQ
  • My Lifestyle Blog
  • Disclaimer

Baked Hoisin Chicken with Garlic Noodles

June 28, 2017 by kim Leave a Comment

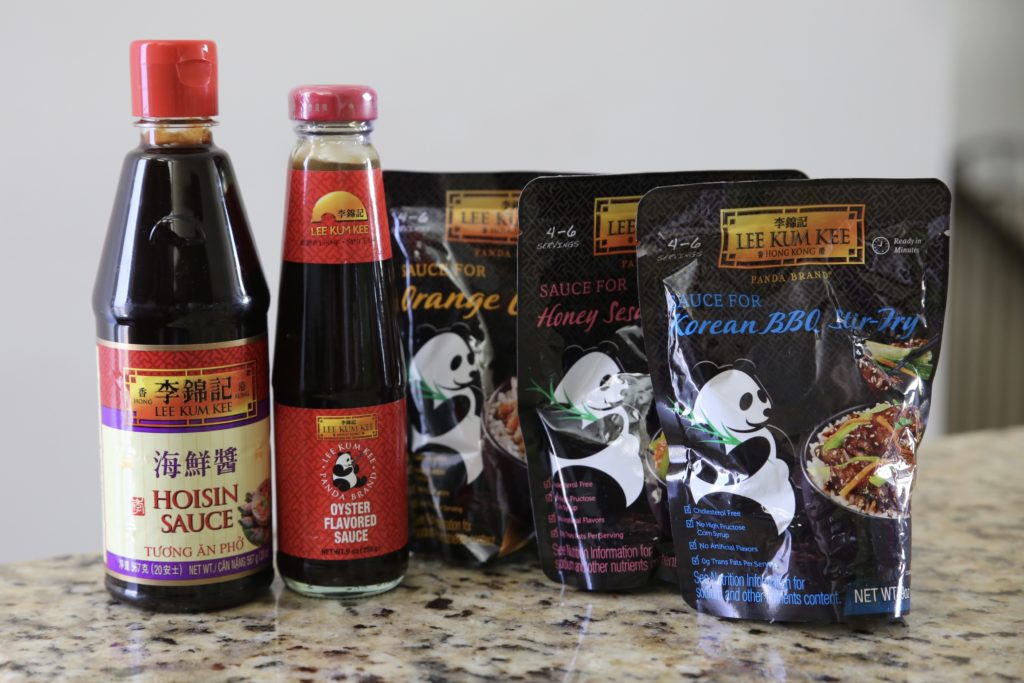
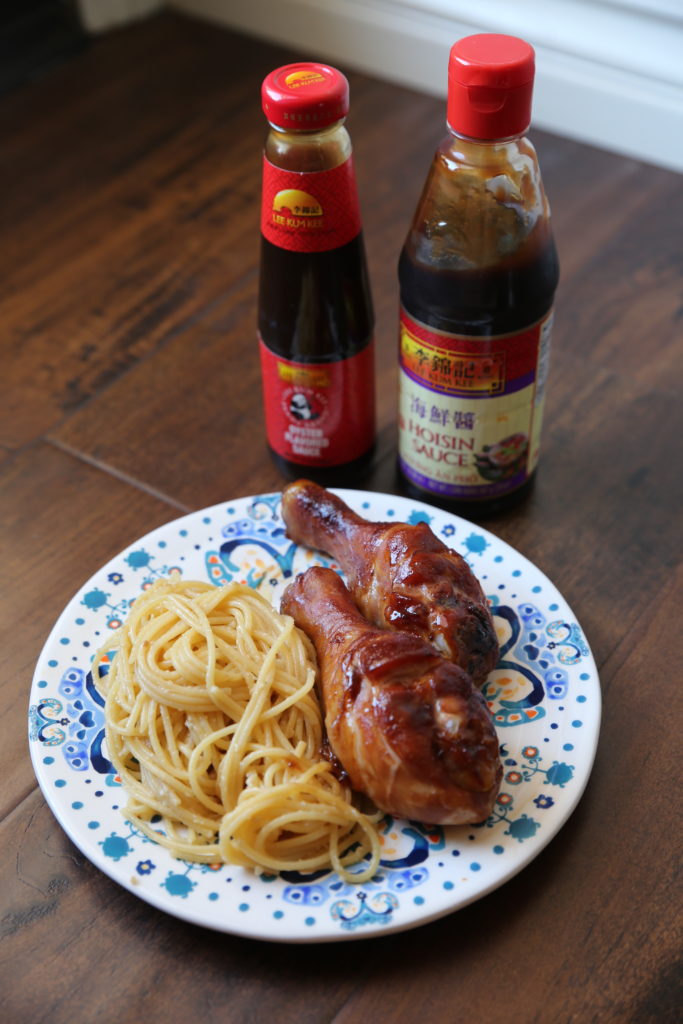
Growing up, my parents always had a bottle of Lee Kum Kee‘s Hoisin Sauce and Lee Kum Kee’s Panda Brand™ Oyster Flavored Sauce in our refrigerator. The hoisin sauce is a must for pho, but did you know you can use it for so many other things? It makes a wonderful dip for spring rolls when mixed with some peanut butter. In this case, I’ve used the hoisin sauce to marinate my chicken and the oyster flavored sauce to sweeten my noodles! With the Fourth of July holiday coming up, this is the perfect time to try out some of Lee Kum Kee’s sauces, whether it’s marinating your own meats or trying out this “Baked Hoisin Chicken with Garlic Noodles” recipe.

Lee Kum Kee was established in China in 1888, and is dedicated to promoting Chinese culinary culture throughout the U.S. and around the world. They make a wide range of great-tasting authentic Asian-style sauces and condiments, which make it easy for people to enjoy restaurant-quality Asian tastes and flavors in the comfort of their own home. They offer over 200 authentic Asian sauces and condiments that use only premium-quality, non-GMO ingredients. In addition, the brand offers several gluten-free sauce options to help address the needs of individuals that crave Asian tastes but also have special dietary concerns or restrictions.

If you’ve ever wondered what exactly Hoisin Sauce is, it’s an irresistibly delicious sweet sauce made from selected spices, soybeans and sweet potatoes! It goes well as a topping for pho or marinade for any meat to give it a slightly sweet flavor. The Panda Brand™ Oyster Flavored Sauce  has a robust flavor and a rich color which makes it an ideal all-purpose Asian sauce, which is great for stir-frying, braising or cooking.

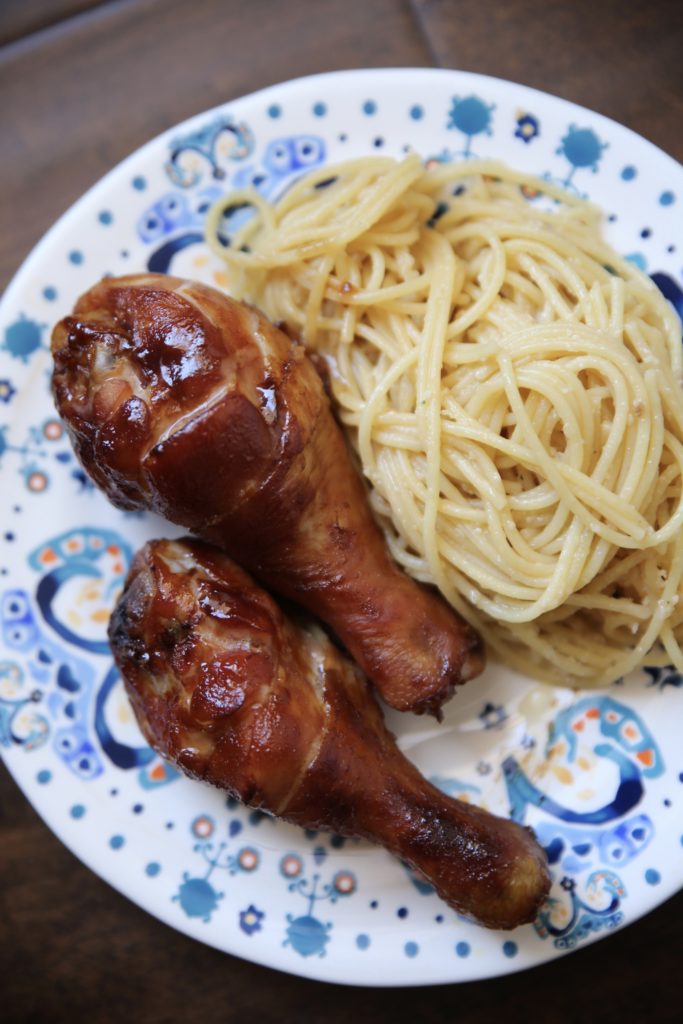
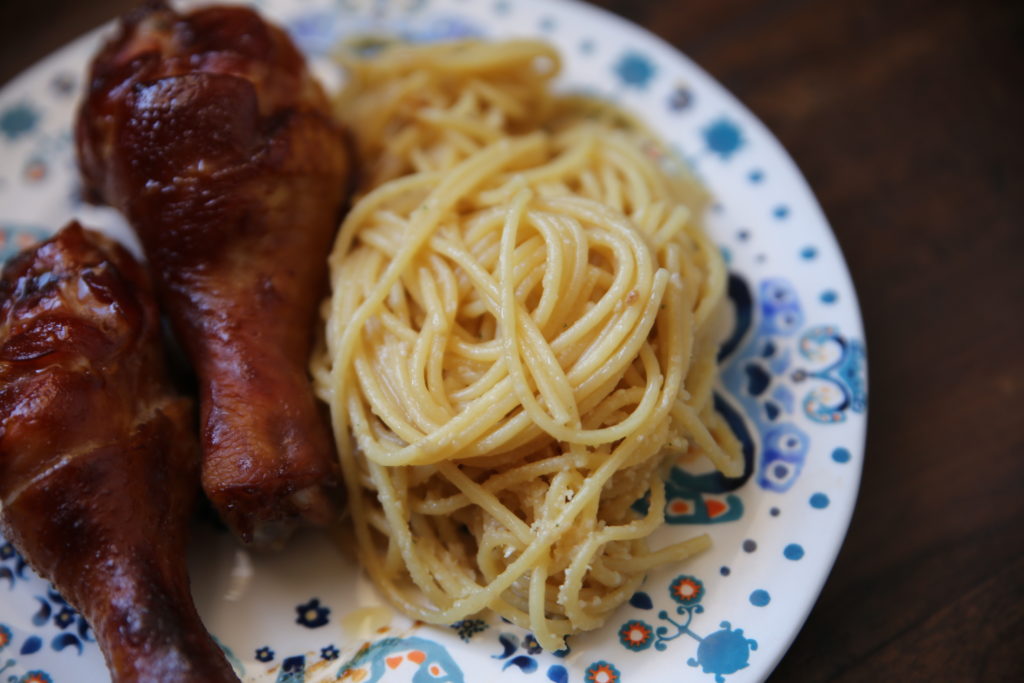
These two dishes go perfectly together. The noodles are a little sweet, so I’ve reduced the amount of sugar in the recipe.  You can always add more after you taste it and decide you like a sweeter dish. 

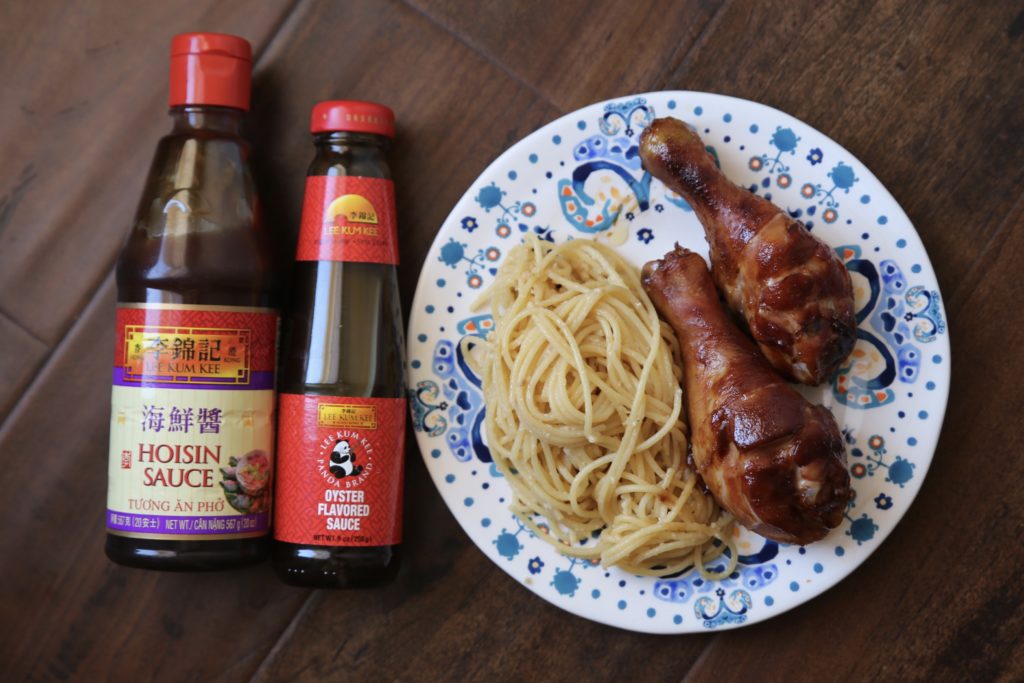
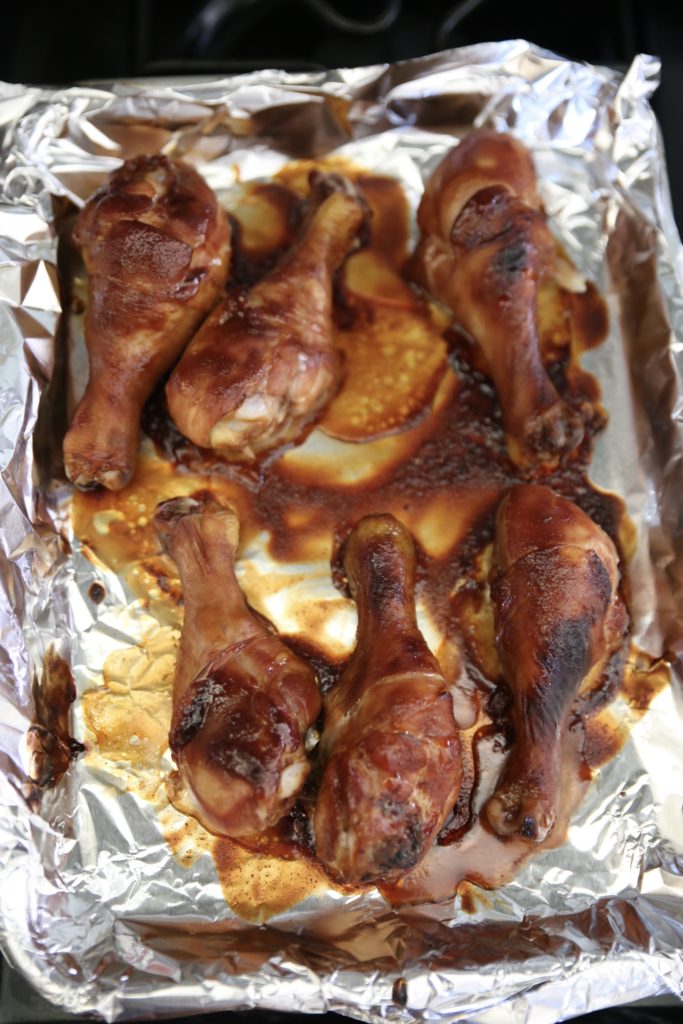
The chicken was easy as can be. You can prep this meal in the morning in five minutes and then throw them on the baking sheet when you’re ready to eat. There’s no sitting around and waiting for sauces to come together. Five minutes prep, half an hour to cook, and voi-la! Dinner is served. You can easily transport this dish to a party or BBQ by using a disposable baking sheet and covering it with foil. Clean up is a cinch, too. Just throw away the baking dish and/or foil!

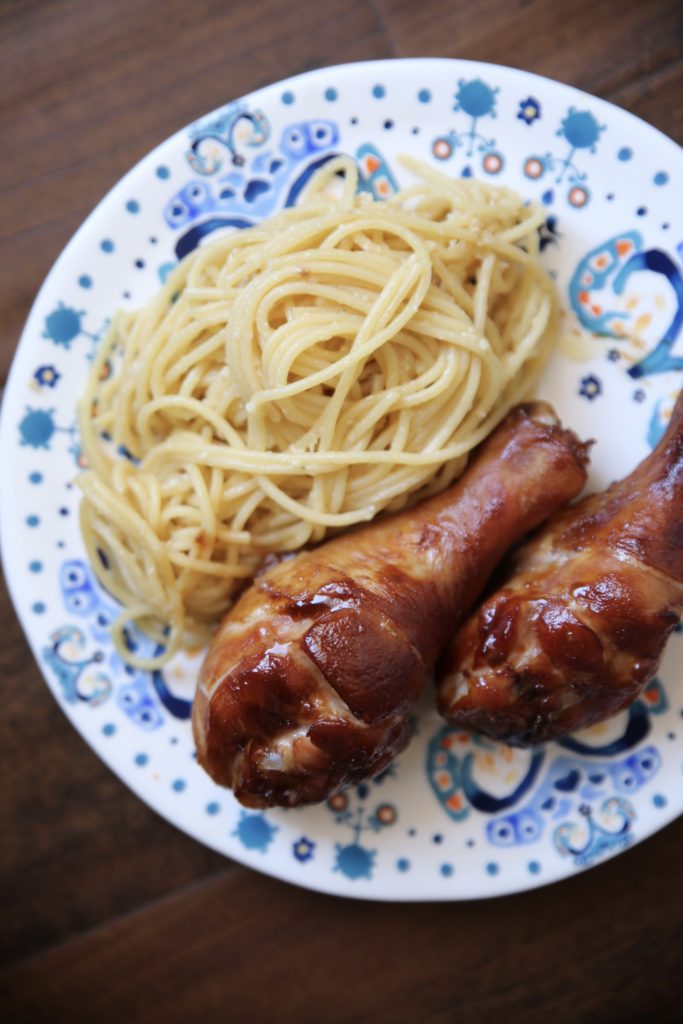
I don’t bake with chicken drumsticks enough. I don’t know why. They’re cheap, become so juicy when baked, and marinate beautifully.

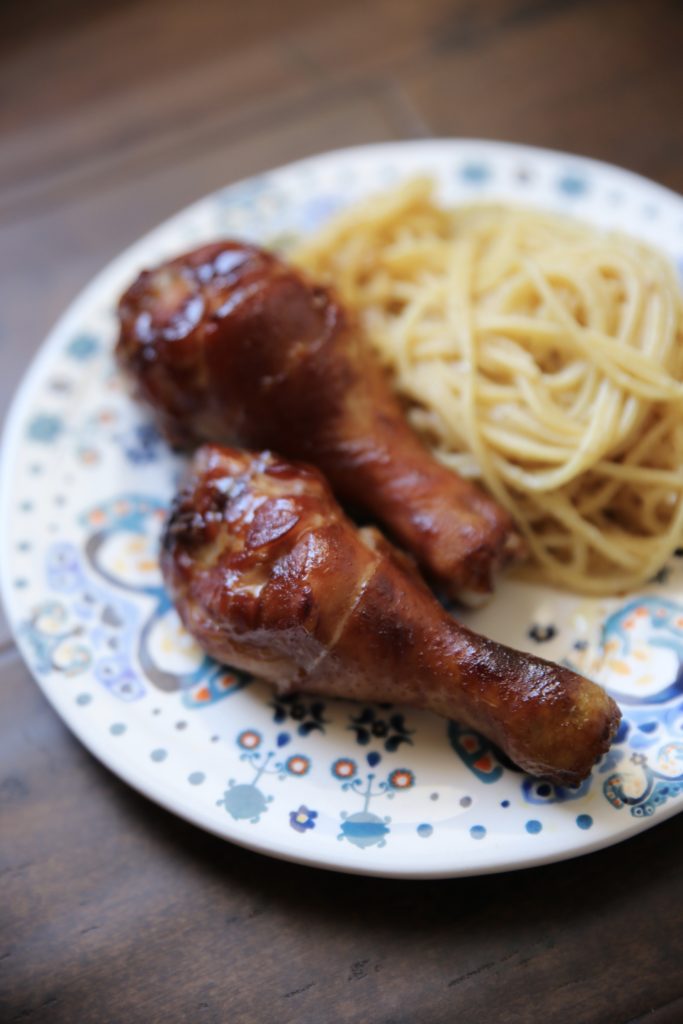
If you’re too nervous about making recipes from scratch, check out Lee Kum Kee Panda Brand™ Ready Sauces. With these sauces, you can make restaurant-quality Chinese meals quickly and easily just by adding your own ingredients. You’ll love how simple it is to prepare, and your family will love the taste! Some of the flavors include: Honey Sesame Chicken, Korean BBQ Stir-Fry, Lettuce Wraps, Broccoli Beef, Kung Pao Chicken, Mongolian Beef and Orange Chicken (a couple of them are pictured above).

If you want to try out this recipe (and you totally should!), here it is! It comes slightly adapted from Rasa Malaysia (here’s the link to garlic noodles).

Print
Baked Hoisin Chicken with Garlic Noodles

Ingredients

    For the Chicken:
  • 1 1/2 lbs chicken drumsticks
  • 2 heaping tablespoons Lee Kum Kee Hoisin Sauce
  • 1 tablespoon soy sauce
  • 1 teaspoon sesame oil
  • 3 heavy dashes ground white pepper
  • For the Garlic Noodles
  • 16 oz spaghetti
  • 1/2 cup unsalted butter
  • 2 heaping tablespoons minced garlic
  • 1 tablespoon soy sauce
  • 1 tablespoon Lee Kum Kee Panda Brand™ Oyster Flavored Sauce
  • 2 teaspoons fish sauce
  • pinch of sugar
  • 1 tsp garlic salt
  • 2 tablespoons parmesan cheese

Directions

  1. For the chicken, mix all of the ingredients except for the chicken together in a bowl. Pour the mixture into a large ziploc bag with the drumstricks and let marinate for 2-3 hours.
  2. When ready to cook, preheat the oven to 400 degrees.
  3. Line a baking sheet with foil and place the marinated chicken on top. Bake for 30-35 minutes.
  4. For the garlic noodles, cook the spaghetti using the directions on the box. Drain and set aside.
  5. In a small saucepan, melt the butter.
  6. Add the minced garlic and cook on medium heat for about 2-3 minutes. Mix in the soy sauce, oyster sauce, fish sauce, sugar, and garlic salt until all is dissolved.
  7. Toss the pasta with the sauce until evenly coated.
  8. Sprinkle the parmesan cheese on top and mix again.
3.1
https://lovintheoven.com/baked-hoisin-chicken-garlic-noodles/

This is a sponsored post, but the opinions expressed are my own.

Filed Under: chicken, dinner, dinner sides, pasta

Mashed Potato Puffs

January 22, 2016 by kim 2 Comments

IMG_0153
Potatoes are probably the only thing I’ll have on hand at any time. Why? Well, they last a lot longer than other vegetables, are versatile in many dishes, and my DH actually eats them (he’s a picky eater)! You can cook them, bake them, or fry them. Either way, it always turns out delicious.

IMG_0163

As for nutritional value, potatoes are packed with fiber and are naturally gluten-free. They also have more potassium than a banana and vitamin C than one medium sized tomato. Who would have thought that the potato was so mighty?

IMG_0156

I’ve been packing my DH’s lunches for the past couple of months now. This would be a wonderful addition to his lunchbox. They’re already the right size, fit right into the tupperware compartment, and are great reheated. You can also eat them with your hands– no utensils needed! If your New Year’s Resolution is to pack your lunch to save money in 2016, then this is the way to do it.

IMG_0168

As for the flavor, they’re certainly hearty. There’s no bland flavor here. The garlic, the chives, and the sour cream create a match made in heaven with the potatoes and eggs. You could even add some chopped bacon or ham if your heart desires. Either way, this will keep you full throughout your work day.

IMG_0178

I used red potatoes for this recipe, but any potato will do. Use whatever you have on hand or your favorite potato! Recipe adapted from The Kitchn.

Print
Mashed Potato Puffs

Ingredients

  • 2 1/2 cups mashed potatoes
  • 2 eggs
  • 1/3 cup sour cream
  • 2 tbsp heavy cream
  • 1 tsp garlic powder
  • 1/2 tsp garlic salt
  • 1/2 tsp pepper
  • 1 cup shredded sharp cheddar cheese
  • 2 tbsp chopped chives

Directions

  1. Preheat oven to 400 degrees F. Spray 6 cupcake cavities in a pan with nonstick spray.
  2. Mix together the mashed potatoes, eggs, sour cream, heavy cream, garlic powder, garlic salt, and pepper. Stir in cheese and chives.
  3. Spoon the batter into the pan filling the cups just to the top.
  4. Bake 20-25 minutes.
  5. Remove from oven and let them cool 5 minutes in pan before turning them out and letting them cool completely on a wire rack.
3.1
https://lovintheoven.com/mashed-potato-puffs/


Filed Under: dinner sides, lunch, potatoes

Rosemary Cornbread

September 22, 2015 by kim 2 Comments

IMG_6968

I’ve been on vacation for the past week, so apologies for not updating! It was so nice to take a break and spend every day by the pool soaking in time with my cousin and her kiddos. Hanging out with her two girls makes me even more excited to be having one myself!

IMG_6971

Now, it’s back to reality… work, cleaning, and cooking. Ah, the glamorous life of the real world. I had a box of cornmeal that needed to be used up, so I tried to make my own cornbread from scratch.

To be honest, nothing beats Jiffy’s cornbread muffin mix. AND it’s only 99 cents a box, so why even bother trying to make something better? This bread wasn’t as flavorful as I would have liked. The texture was great, though.

IMG_6986

My loaves rose all the way to the top. Look at how tall they are!

Oh, did I tell you guys about the black widow in the back of my car? Well, when my DH dropped me off for the airport, I noticed a spiderweb in my backseat. I asked my DH to vacuum it up before I came home from my trip. My DH then texts while I’m gone to let me know that when he went to vacuum up the spiderweb, there was a fat ol’ lady black widow right smack dab in the middle of the web! When he tried to get near it or even vacuum it at all, she scurried underneath my seat.

UHHHHHHH….. I’m never driving my car again until he gets the confirmed kill! When I came home from my trip, my DH was determined to get that bugger. When he got close, the dang spider moved swiftly underneath the seat. We left my door open and waited for the spider to come back out. When she didn’t, my DH went on his forums to search for ideas.

IMG_6997

In the end, he used a blade of grass to create vibrations in the web to lure the spider out. Sure enough, she came out to see what all the commotion was. When she did, my DH sprayed her with Raid, which stunned her and caused her to fall. One more smash with a boot and she was dead. I did a thorough cleaning of all of her leftover webs.

Don’t ever leave your windows open, guys. You don’t want to risk the same thing that happened to me.

Recipe from Very Best Baking

Print
Rosemary Corn Bread

Ingredients

  • 3/4 cup yellow corn meal
  • 1 cup all-purpose flour
  • 1 tablespoon sugar
  • 1 tablespoon baking powder
  • 1/2 teaspoon salt
  • 1 tablespoon rosemary
  • 1 cup NESTLÉ® CARNATION® Evaporated Milk
  • 1 large egg
  • 2 tablespoons olive oil
  • 1 tablespoon unsalted butter, melted

Directions

  1. Preheat oven to 425° F. Grease 8 x 4-inch loaf pan.
  2. Mix together the evaporated milk, egg, olive oil, and butter. Gradually stir in the corn meal, flour, sugar, baking powder, salt and rosemary until just moistened.
  3. Pour batter into prepared loaf pan.
  4. Bake for 25 minutes, or until toothpick comes out clean.
3.1
https://lovintheoven.com/rosemary-cornbread/

Filed Under: bread, dinner sides

  • « Previous Page
  • 1
  • 2
  • 3
  • 4
  • …
  • 11
  • Next Page »

hi! i'm kim-- a girl mom, baker, blogger, and ex-flight attendant. welcome!

Search

  • Facebook
  • Instagram
  • Pinterest
  • Twitter

Categories

RODELLE-BABadge


Categories

  • Facebook
  • Instagram
  • Pinterest
  • Twitter

Copyright © 2026 · Foodie Pro Theme by Shay Bocks · Built on the Genesis Framework · Powered by WordPress