Lovin' From the Oven

  • Home
  • About Me
  • Recipes
  • FAQ
  • My Lifestyle Blog
  • Disclaimer

Day 10: Red Velvet Whoopie Pies

December 22, 2010 by kim 9 Comments

IMG_0340

IMG_0330

IMG_0343

IMG_0368

IMG_0356

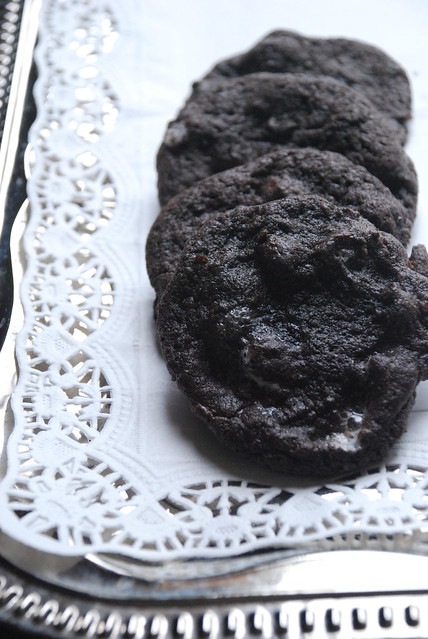
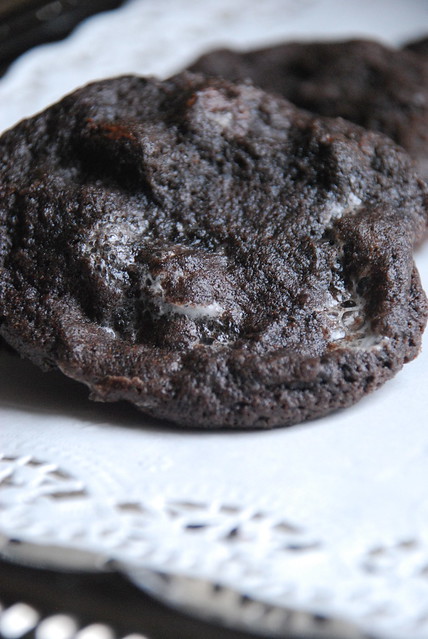
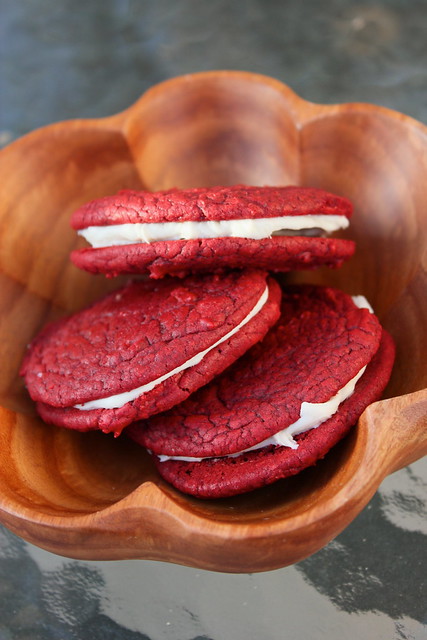
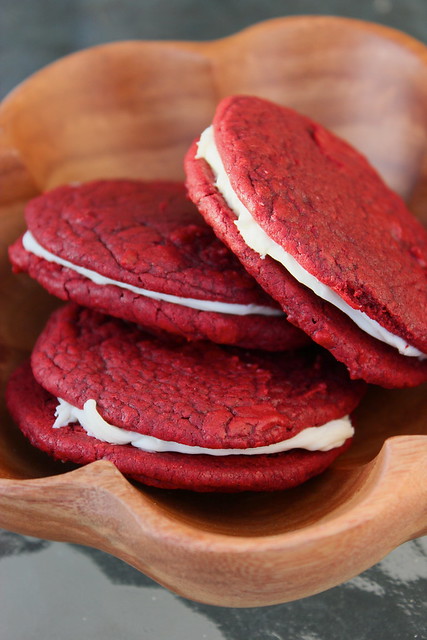
Day 10 of my 12 days of cookies: Red Velvet Whoopie Pies. Like I mentioned in my previous post, I’m a bit exhausted so this recipe is the perfect quick fix for fast cookies. I’ve posted this recipe before, but with extra add-ins. I’ve also done a different version of cake mix cookies with oil, but I prefer the ones with butter.
I have to admit that I also cheated with the frosting and used store bought rather than making my own. I told you, I really used the fast route on these babies… but it’s okay because they’re still impressive since I love anything red velvet! You can easily whip up a batch of homemade cream cheese frosting to make them semi-homemade.
Back to my Harry Potter marathon with the DB! Eat up! Oh, stay tuned for another post later tonight. I’ll be showing you guys a gift basket I delivered earlier today!
  • 1 (18.25 ounce) package red velvet cake mix
  • 1/2 cup softened butter
  • 2 eggs
  • 2 tsp vegetable oil
  • 1 tsp vanilla extract
  1. Preheat oven to 350 degrees.
  2. Mix together the cake mix, butter, eggs, vegetable oil, and vanilla extract until well blended.
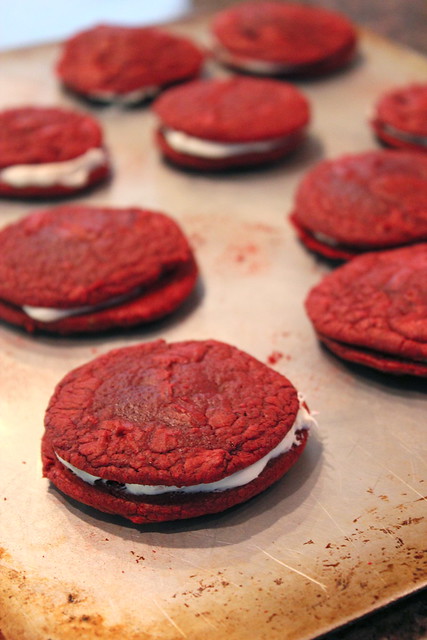
  3. Drop by spoonfuls onto ungreased baking sheets.
  4. Bake for 8 to 10 minutes. Allow cookies to cool on baking sheet for 5 minutes before removing to a wire rack to cool completely.

Filed Under: cookies, dessert, frosting

Day 9: Pumpkin Pie Snickerdoodle Bars

December 21, 2010 by kim 17 Comments

DSC_3807

DSC_3796

DSC_3802

DSC_3806

Day 9 of my 12 days of cookies: Pumpkin Pie Snickerdoodle Bars. My mouth salivates just saying the name. Snickerdoodles are just meant to be with pumpkin pie. It’s a match made in heaven. I know this isn’t a cookie, but I’ve always thrown a bar in for the past two years of my 12 days of cookies, so I had to stay true to tradition.
These bars were utterly divine. However, I do have a bone to pick; The snickerdoodle layer didn’t quite bake thoroughly in the middle of the pan even thought the edges were set. When I make them again, I’ll try baking the snickerdoodle layer alone for about 5 minutes or so before throwing on the pumpkin layer.
The white chocolate on top was totally not necessary and didn’t really add much to the bar itself, so you can feel free to omit that if you want.
I’m exhausted from baking already and it’s not even Christmas, yet! Whew! I almost forgot how much work it is to bake non stop all day. I’m spending tonight at home by the fireplace, watching Avatar with the bestie… only to start the whole baking process again in two days! This recipe is from Beantown Baker.

Snickerdoodle layer:

  • 3 cups all-purpose flour
  • 2 teaspoons baking powder
  • 1 teaspoon salt
  • 2 cups packed brown sugar
  • 1 cup butter, at room temperature
  • 2 eggs, at room temperature
  • 1 tablespoon vanilla extract
Pumpkin Pie Layer:
  • 1 cup all-purpose flour
  • 1 cup white sugar
  • 1 stick butter, at room temperature
  • 1 teaspoons baking powder
  • 1 teaspoons salt
  • 1 teaspoon pumpkin pie spice
  • 2 eggs, at room temperature
  • 1 1/2 cups canned pumpkin

Topping

  • 2 tablespoons white sugar
  • 2 teaspoons cinnamon
Drizzle
  • 1 oz white chocolate, chopped
  • 1/4 teaspoon pumpkin pie spice
  1. Preheat oven to 350F.
  2. Lightly grease a 9×13 inch pan.

To make snickerdoodle layer:

  1. Stir together flour, baking powder and salt and set aside. In a large bowl, beat together butter, sugar, egg and vanilla until smooth.
  2. Stir in the flour mixture until well blended. Spread evenly in prepared pan.

To make pumpkin pie filling:

  1. In a mixer bowl, cream together butter and sugar. Add the rest of the ingredients and mix until well combined. Pour over the snickerdoodle layer, smoothing out the top.
  2. Combine white sugar and cinnamon in a little bowl. Evenly sprinkle cinnamon sugar mixture over the top of the batter.
  3. Bake for 33-40 minutes or until a toothpick inserted into the center of the pan comes out clean. Let the bars cool completely. They will deflate a bit and remain a bit pie-like on the top layer. The bars that are closer to the edges of the pan will be more firm.
  4. After the bars are completely cool, place the chopped white chocolate into a bowl or zip-lock bag and melt on low power. When it’s completely melted, add the pumpkin pie spice and mix (or knead if using a zip lock bag). Use a spoon or cut a small corner off the bag and drizzle the melted chocolate over the top of the bars and let it cool and harden.
  5. Store in a covered container.

Filed Under: bars/brownies, dessert, pie, pumpkin, white chocolate

Day 8: Hot Cocoa Cookies

December 19, 2010 by kim 7 Comments

DSC_3694

DSC_3709

DSC_3684

DSC_3703

Day 8 of my 12 days of cookies: Hot cocoa cookies! Yes, the exclamation point is completely necessary. My DB claims that these are the best cookies that I’ve made so far, but I’m convinced he’s just as in love with Hershey’s special dark cocoa powder as I am. They can make any cookie taste good. To me, they didn’t really taste like hot cocoa; they tasted more like a normal chocolate cookie, but no complaints here.
I cooked them for a bit longer than the recipe called for because mine didn’t look at all done at the 12 minute mark, which resulted in extra melted marshmallows. Oops. These were a pain to take off of the baking sheet once done, so I’d recommend using a Silpat or some parchment paper prior to tossing in the oven. I wish my cookies came out thicker and fluffier, but these will do for now.
Recently, I’ve been getting a ton of questions about the cameras I use, so here’s a little sneak peek for you. Plus, you’ll get to see how I shoot all of my food pictures! Nothing fancy… just a little bit of natural light and a stool to limit my shaky hands. I’m using a Nikon D40x and my DB took this picture using a Canon Rebel t2i.
IMG_0679

IMG_0684

I also use a Nikon D80 and for my food review shots, I use my Canon S90, which comes with me everywhere I go. When I’m in the kitchen, you’ll always find me in an oversized sweater and sweats. Comfy bakers make the best desserts, don’t cha know.

This recipe comes from How Sweet It Is, which makes approximately 24 cookies.

  • 1 cup butter, at room temperature
  • 1 1/2 cups sugar
  • 2 eggs
  • 1 teaspoon vanilla
  • 2 cups flour
  • 1/2 cup cocoa powder
  • 1 teaspoon baking soda
  • 1/4 teaspoon salt
  • 1/4 cup marshmallow fluff
  • 1 cup chocolate chips
  • 1 cup mini marshmallows

  1. Cream butter, sugar, eggs and vanilla until fluffy. Add flour, cocoa powder, baking soda and salt and mix until combined. Stir in marshmallow fluff.
  2. Fold in chocolate chips and marshmallows. Cover dough with plastic wrap and refrigerate for 30 minutes to 1 hour. Remove, and roll into 1 1/2-inch balls.
  3. Preheat oven to 350 degrees.
  4. Bake for 10-12 minutes. Allow cookies to completely cool before removing. Patience! These cookies are very sticky!

Filed Under: chocolate chip, cocoa, cookies, dessert, personal

  • « Previous Page
  • 1
  • …
  • 95
  • 96
  • 97
  • 98
  • 99
  • …
  • 159
  • Next Page »

hi! i'm kim-- a girl mom, baker, blogger, and ex-flight attendant. welcome!

Search

  • Facebook
  • Instagram
  • Pinterest
  • Twitter

Categories

RODELLE-BABadge


Categories

  • Facebook
  • Instagram
  • Pinterest
  • Twitter

Copyright © 2026 · Foodie Pro Theme by Shay Bocks · Built on the Genesis Framework · Powered by WordPress