Lovin' From the Oven

  • Home
  • About Me
  • Recipes
  • FAQ
  • My Lifestyle Blog
  • Disclaimer

Chocolate Mint Oreo Cookies

October 4, 2017 by kim Leave a Comment

This is the first recipe that Ellie helped me with. She helped me by crushing the Oreos in a ziplock bag and it was just about the cutest thing I’ve ever seen. I can’t wait until she’s old enough to do more! Mix the dough, scoop out balls, taste more… 

I haven’t posted cookies in a while. Actually, I haven’t baked cookies in a while. With a kid, I have to focus more on making real food rather than simply dessert. It’s not a bad thing, I’m learning so much! I’m learning that I’m actually capable of putting together a meal. I can actually make food to feed a family. There’s a big learning curve, but I’m up for it!

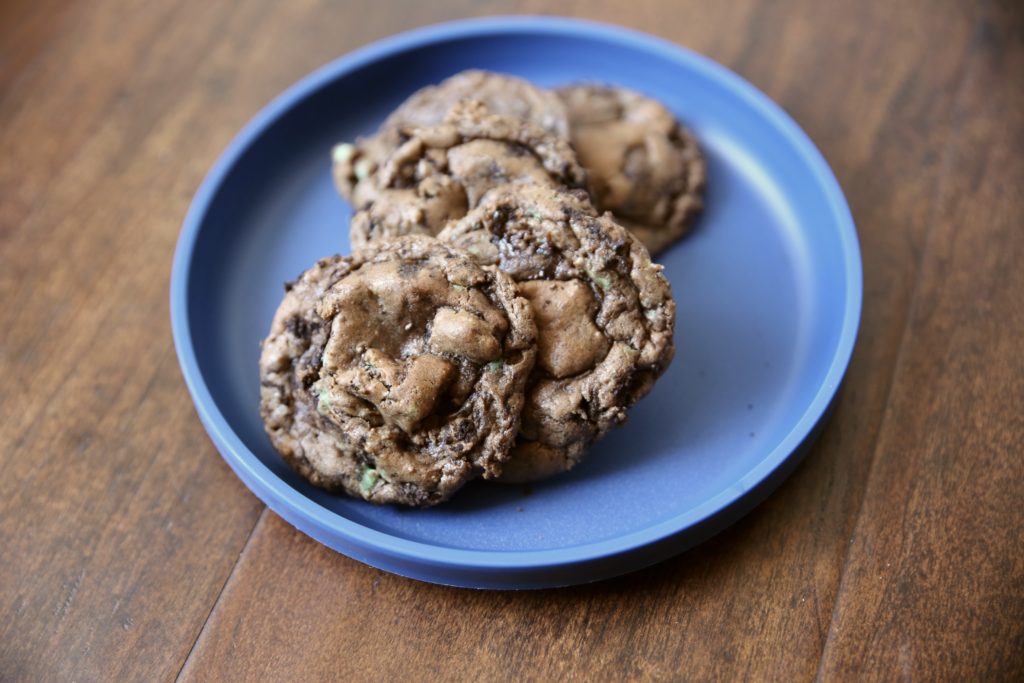
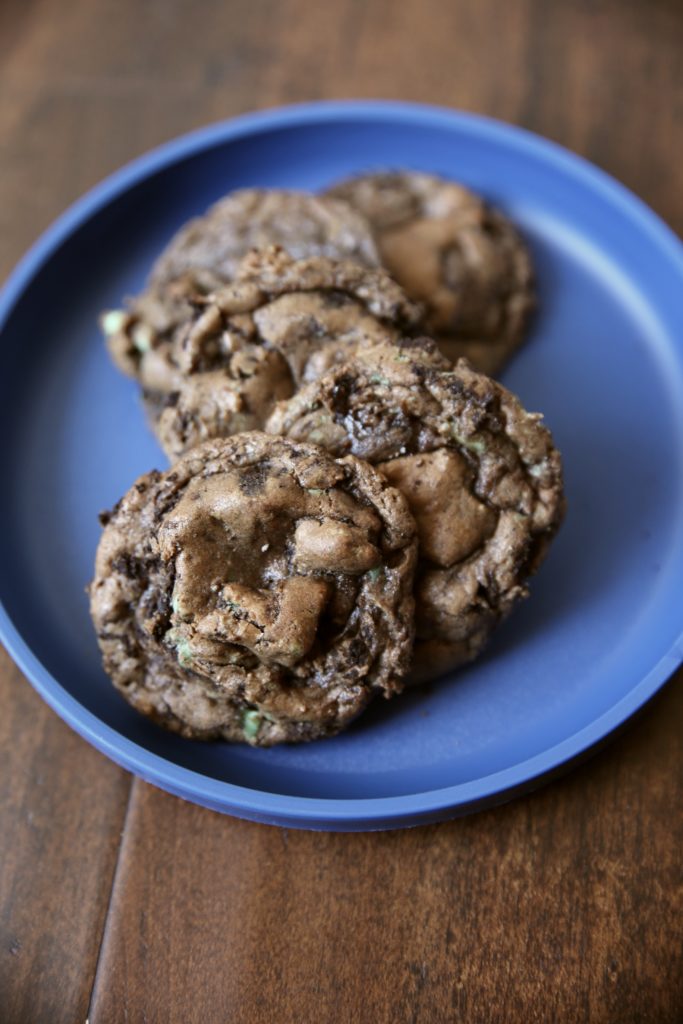
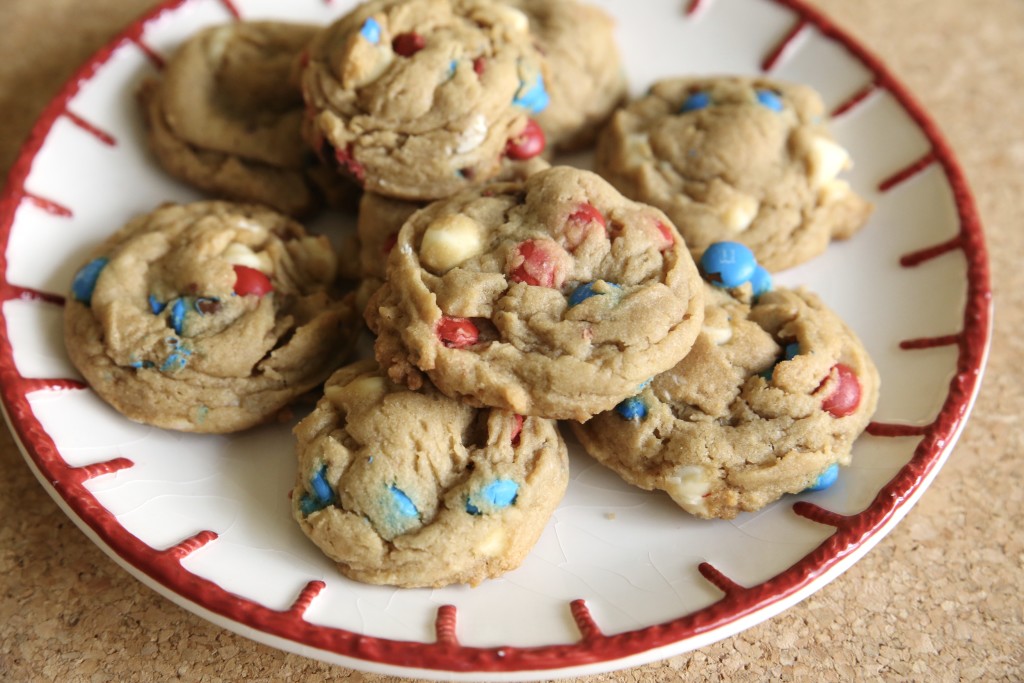
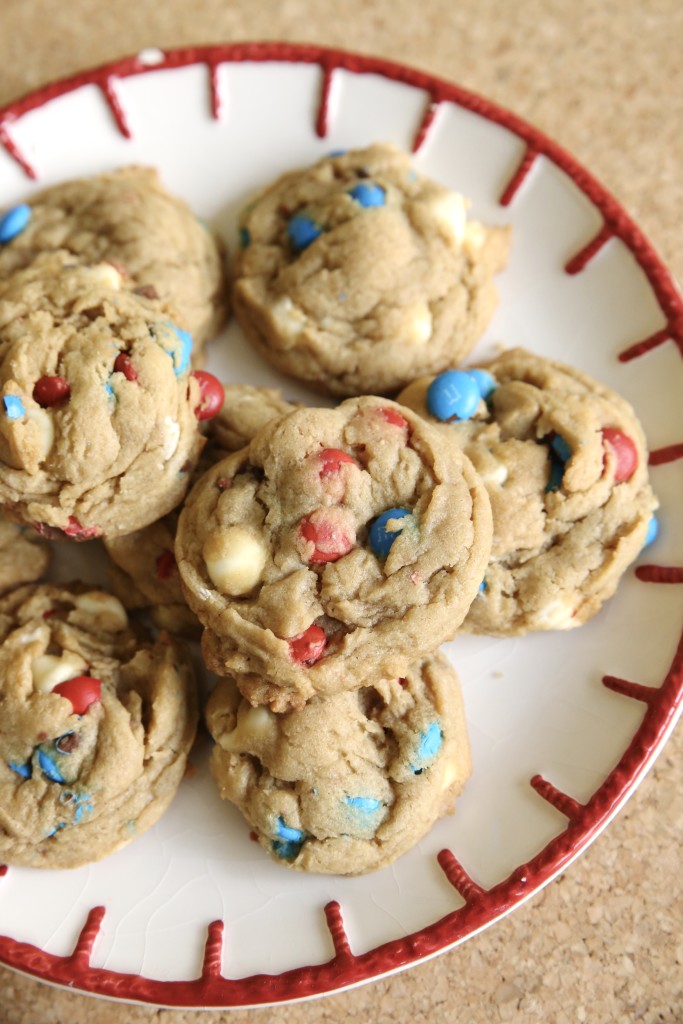
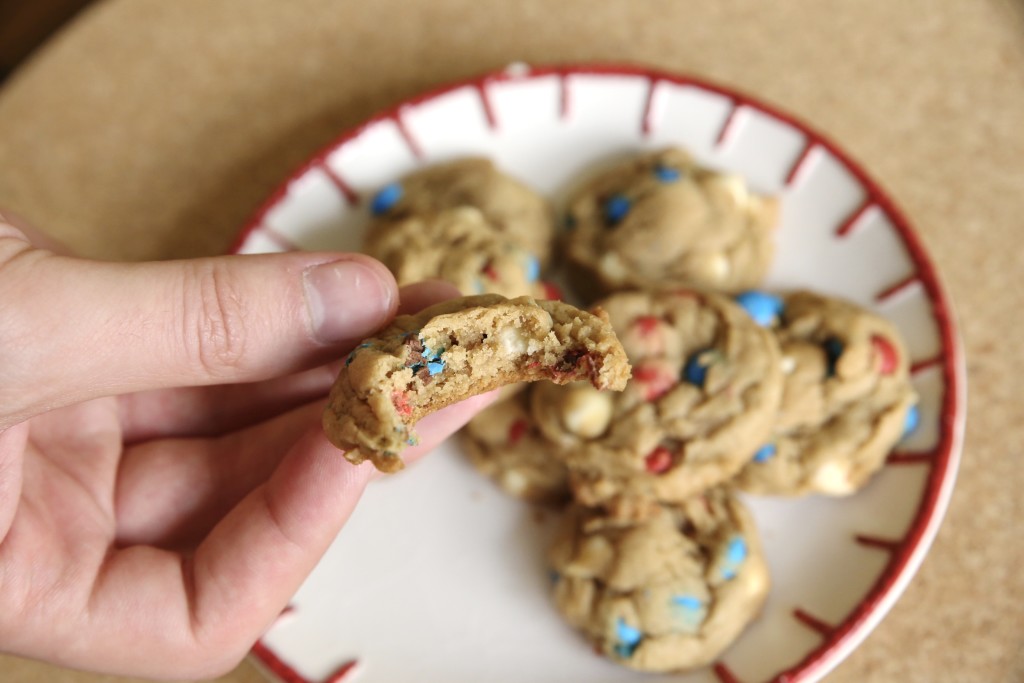
Mint Oreo cookies have to be my favorite kind of Oreos. There may be a ton of seasonal ones, but nothing beats mint chocolate. These cookies are simple– crunchy on the ends and chewy on the inside. 

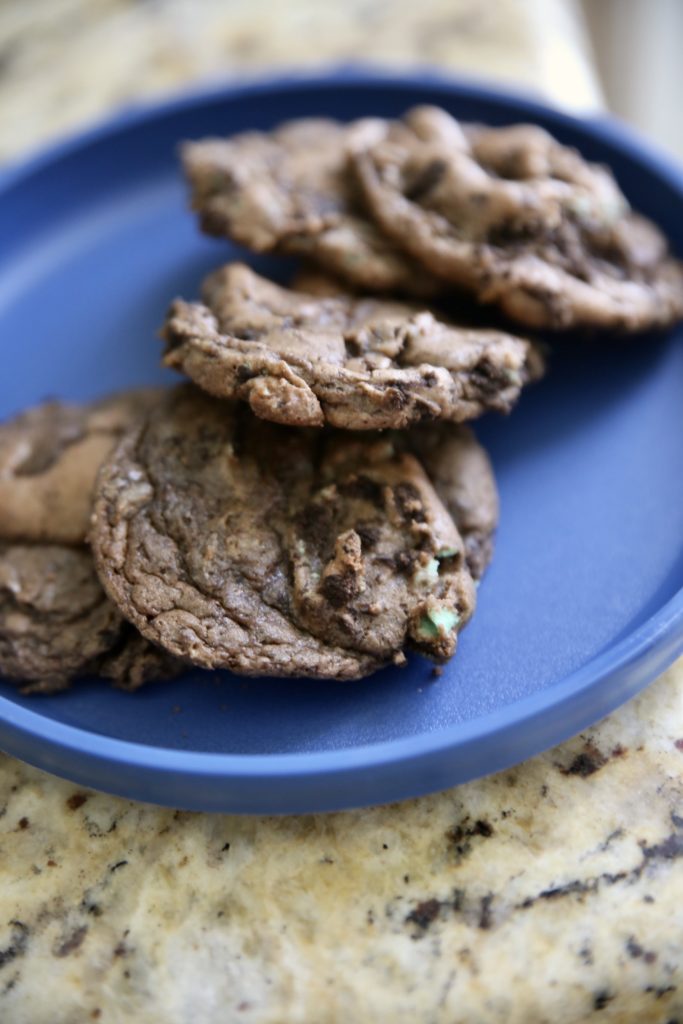
This recipe comes from SugarSpunRun.

Print
Chocolate Mint Oreo Cookies

Ingredients

  • 1/2 cup unsalted butter cut into 8 pieces
  • 6 ounces semisweet chocolate chopped
  • 1 cup light brown sugar tightly packed
  • 2 eggs + 2 egg yolks
  • 3/4 teaspoon vanilla extract
  • 1/4 teaspoon mint extract
  • 1 1/4 cups all-purpose flour
  • 1 teaspoon baking powder
  • 1/2 teaspoon salt
  • 1/4 teaspoon baking soda
  • 15 mint oreos -- broken into pieces

Directions

  1. Combine butter and chopped semisweet chocolate in a large microwave-safe bowl and microwave for 30 seconds. Stir well, return to microwave and heat again for 15 seconds. Repeat until completely melted. Set aside to cool for at least ten minutes.
  2. Once chocolate is no longer very hot, stir in brown sugar.
  3. Add eggs and egg yolks, stirring very well after each addition.
  4. Stir in both extracts.
  5. Gradually stir in the flour, baking powder, salt, and baking soda.
  6. Gently fold in Oreo pieces. Chill dough for at least two hours.
  7. Once dough has finished chilling, preheat oven to 350 degrees.
  8. Scoop dough into 1 1/2 Tablespoon-sized balls and drop on lined baking sheet.
  9. Bake for 12 minutes.
3.1
https://lovintheoven.com/chocolate-mint-oreo-cookies-2/

SaveSave

Filed Under: chocolate chip, cookies, dessert

4th of July Pudding Cookies

July 3, 2017 by kim Leave a Comment

IMG_7513

Have you ever seen a cookie more festive? I love the pop of colors from the themed M&M’s. Obviously, you can use normal M&M’s just fine for any other day.IMG_7518

These cookies also have a package of pudding to make sure they stay soft for your celebrations.IMG_7527

Sorry things are slow around here– I’m working on pushing more posts out soon! Meanwhile, I hope everyone has a wonderful 4th of July! We’re going to try and keep Ellie up to watch fireworks for the first time. IMG_7529

Recipe from Crazy for Crust

Print
4th of July Pudding Cookies

Ingredients

  • 1/2 cup unsalted butter, softened
  • 3/4 cup brown sugar, packed
  • 1 teaspoon vanilla extract
  • 1 egg
  • 1 box (3.4 ounces) INSTANT Vanilla Pudding Mix
  • 1/2 teaspoon baking soda
  • 1/4 teaspoon salt
  • 1 1/4 cups all purpose flour
  • 3/4 cup 4th of July M&Ms
  • 1/4 cup white chocolate chips

Directions

  1. Cream together the butter and sugar. Add in the vanilla and egg.
  2. Gradually mix in the pudding mix, baking soda, salt, and flour until just combined.
  3. Stir in the M&M's and white chocolate chips by hand.
  4. Cover and refrigerate dough for at least an hour.
  5. Preheat oven to 350 degrees.
  6. Placed rounded tablespoon sized balls of dough onto lined baking sheet and bake for 9-11 minutes.
3.1
https://lovintheoven.com/4th-july-pudding-cookies/

Filed Under: candy, cookies, dessert, white chocolate

Cake Mix Whoopie Pies

January 24, 2017 by kim 1 Comment

Have you guys ever had the problem of deciding between a cookie and a cake? Well, why not have both? Whoopie pies are like a cake-cookie-sandwich. It’s made with cake batter, but in a form of a sandwich that’s easy to hold and eat. There are no forks, knives, or plates needed. Just pick up with your hands and chomp away!

Whoopie pies are even easier to make at home, thanks to Pillsbury’s Purely Simple line. I used their chocolate cake mix and buttercream frosting mix to make these delectable treats. Since I currently have birthdays on my brain (Ellie’s turning one in less than a month!! How is that possible?! I’m going to have a toddler in three weeks. WHAT.), I busted out some confetti sprinkles to decorate the edge of the frosting with.

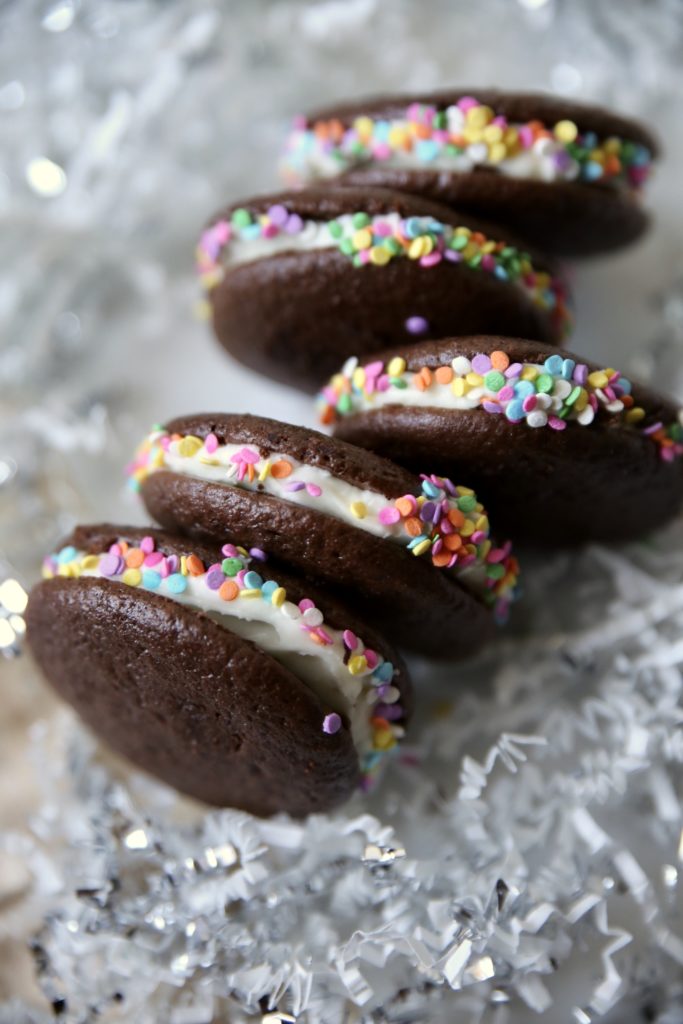
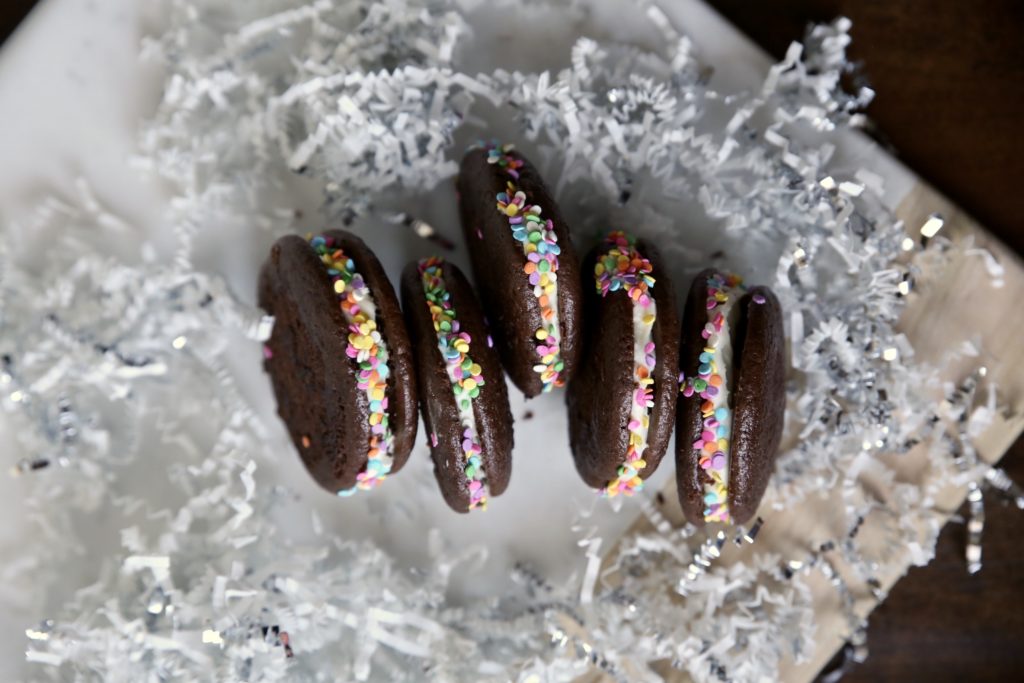
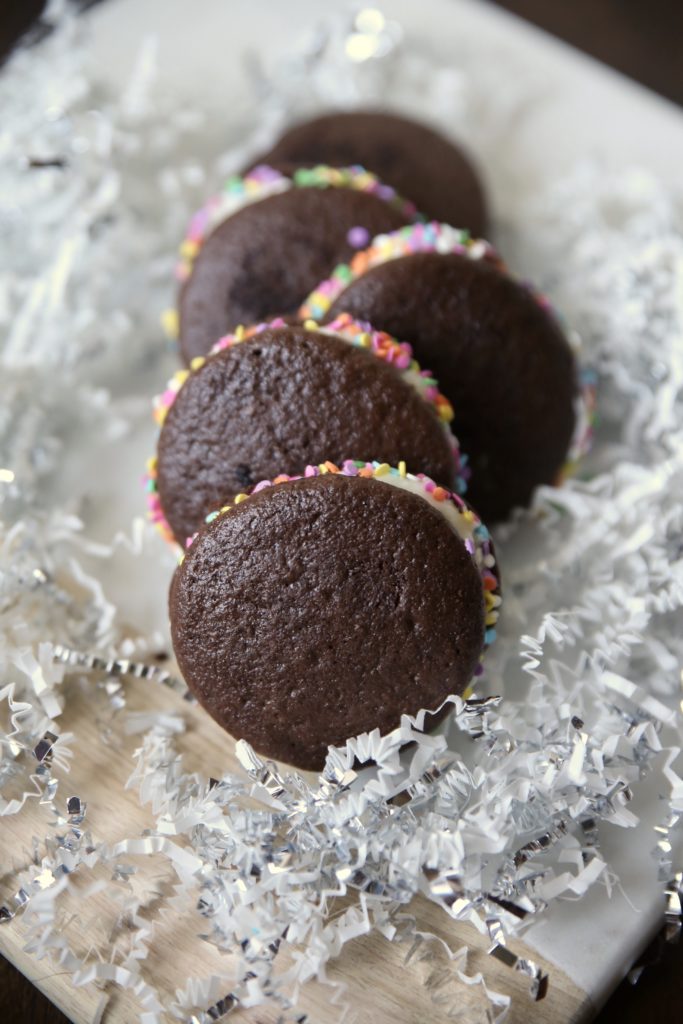
These cake mix whoopie pies are fun to work with because you can easily change of the flavors, frosting, and decorations. You can make them themed for a sports game by simply adding some food coloring to the frosting to change the color. You can add the sprinkles on top of the whoopie pie prior to baking if you want the decorations on top of the pie instead of the side. You can try different cake mixes and even do dual combination whoopie pies, like half red velvet and half funfetti!

I love baking with Pillsbury’s Purely Simple line because there are no colors, preservatives, or artificial flavors. Even though Ellie is not quite a year old yet, I always let her taste a little bit of what I’m baking. To know that I’m not putting those preservatives or artificial flavors into her body makes me feel like I’m doing a little better as a mom. I’m doing one step at a time to help her make great choices when she grows up! I hope she’ll learn to love Pillsbury just as much as I do. Who knows, maybe this baking and tasting all of these wonderful desserts will become a tradition that Ellie will remember forever.

Print
Cake Mix Whoopie Pies

Ingredients

  • 1 box of Pillsbury™ Purely Simple® Chocolate Cake & Cupcake Mix
  • 3 eggs
  • 1/2 cup of water
  • 1/2 cup of vegetable oil
  • 1 package Pillsbury™ Purely Simple® Buttercream Frosting Mix (plus the ingredients on the package needed to make it)

Directions

  1. Preheat oven to 400 degrees. Line your baking sheets with silicone mats.
  2. In a large bowl, beat together the cake mix, eggs, water, and vegetable oil for three minutes.
  3. Use a small cookie scoop to drop batter onto the baking sheets. Leave at least an inch in between each scoop.
  4. Bake for 9 minutes. Let cool.
  5. Make the buttercream frosting mix as directed on the package.
  6. Turn a chocolate cake piece over, evenly spread the frosting on the bottom, and then put another cake piece on top (flat side down so both flat sides should be touching the frosting).
  7. Roll the sides in sprinkles, if desired. That's it!
3.1
https://lovintheoven.com/cake-mix-whoopie-pies/

This is a sponsored post, but the opinions expressed are my own.

Filed Under: cake, dessert

  • « Previous Page
  • 1
  • …
  • 6
  • 7
  • 8
  • 9
  • 10
  • …
  • 159
  • Next Page »

hi! i'm kim-- a girl mom, baker, blogger, and ex-flight attendant. welcome!

Search

  • Facebook
  • Instagram
  • Pinterest
  • Twitter

Categories

RODELLE-BABadge


Categories

  • Facebook
  • Instagram
  • Pinterest
  • Twitter

Copyright © 2026 · Foodie Pro Theme by Shay Bocks · Built on the Genesis Framework · Powered by WordPress