Lovin' From the Oven

  • Home
  • About Me
  • Recipes
  • FAQ
  • My Lifestyle Blog
  • Disclaimer

Day 1: Chewy Flourless Chocolate Cookies

December 2, 2010 by kim 16 Comments

… and my 12 days of cookies start now! Be excited, cause I sure am! 🙂

DSC_3292

DSC_3286

DSC_3284

If you’ve been following my blog for a while, you know that I do a twelve days of cookies every December to celebrate the holidays. This year is no different. Since it’s December 1st, it’s time for the cookie posts to begin! Hurrah!

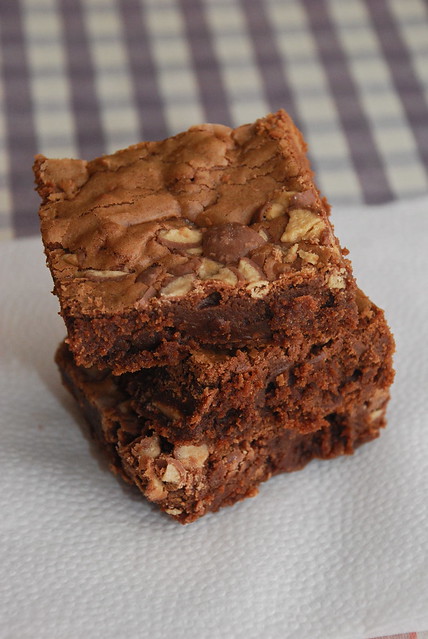
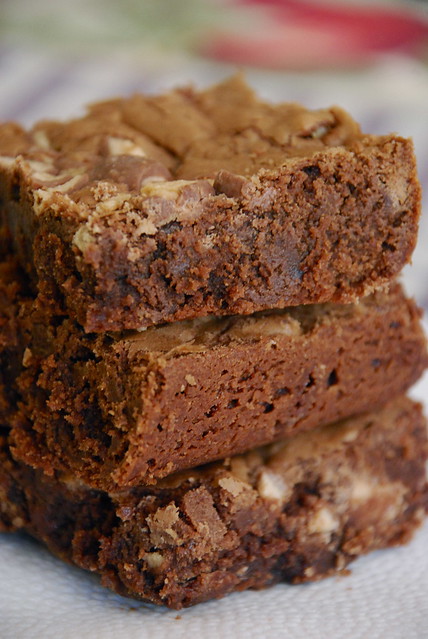
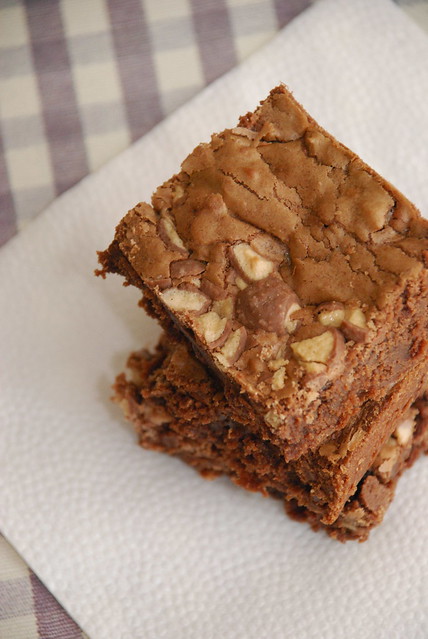
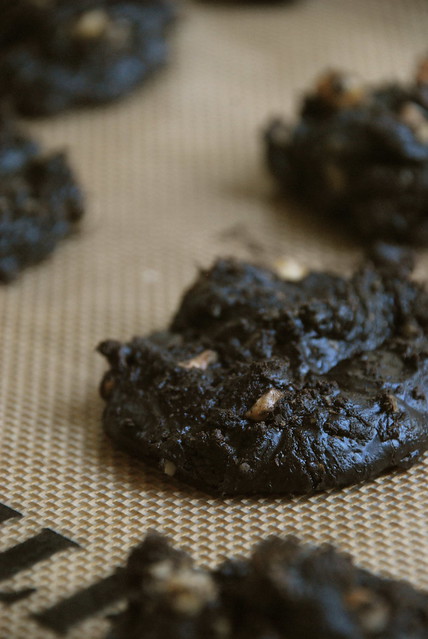
Day 1 of my 12 Days of Cookies: Chewy Flourless Chocolate Cookies. One of my friend’s moms used to always have these flourless chocolate cookies from the local grocery store on the counter when I came over. They were crunchy on the outside, soft and chewy on the inside, and chock full of walnuts. I felt guilty because I ate so many of them every time I came over, but she really is one of the nicest moms I’ve ever met and made sure we were always well fed, even it meant being full with dessert.
I read through the ingredient list numerous times, trying to figure out how I could remake this cookie at home. Too bad I couldn’t even pronounce half of the ingredients used. No bueno. So when I saw this recipe on Relish, I gave it a shot with very high expectations.
Perfect. That’s how I would describe these cookies. They were spot on to those grocery store cookies without all the added preservatives. This recipe doesn’t make that many, so double it if you wish. I ate six the first day. No joke. I usually don’t even eat my cookies– I normally give them all away! But these babies didn’t go anywhere but my belly. Hey, a girl is allowed to be selfish sometimes.

  • 1¾ cups powdered sugar
  • ½ cup Dutch process cocoa (made with alkali)
  • 2 teaspoons cornstarch
  • ¼ teaspoon salt
  • 2 egg whites
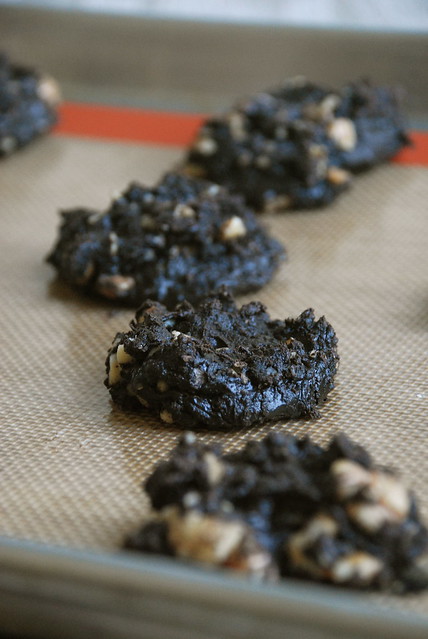
  • 1 cup coarsely chopped pecans or walnuts, toasted

1. Preheat oven to 300F.
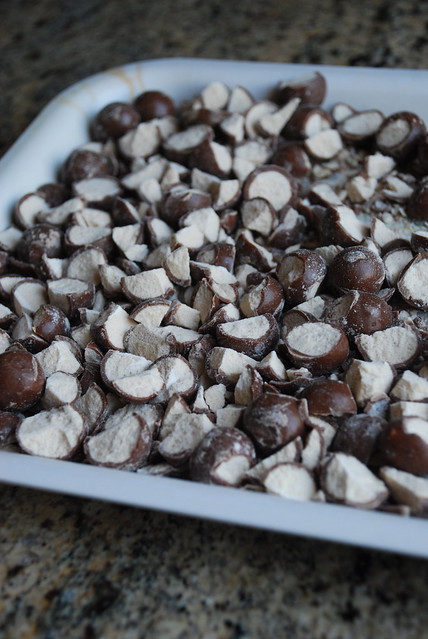
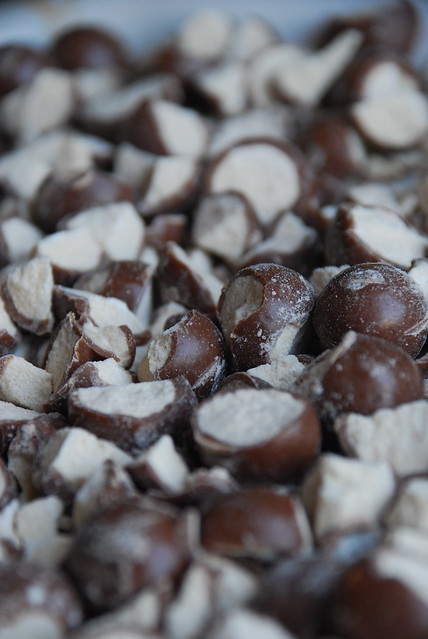
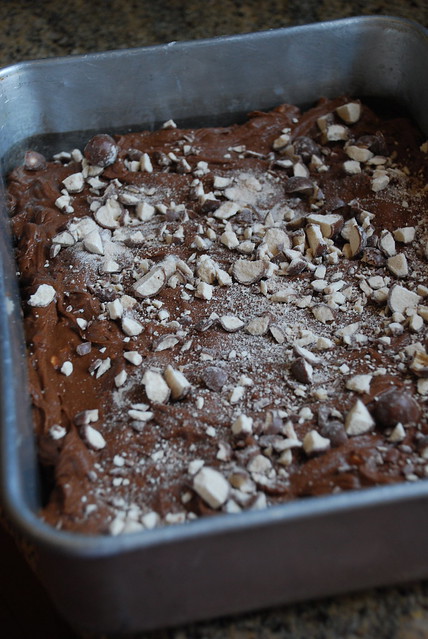
2. Mix together sugar, cocoa, cornstarch and salt. Gradually add the egg whites, stirring with a spoon until mixture forms a dough. Add nuts; mix well.
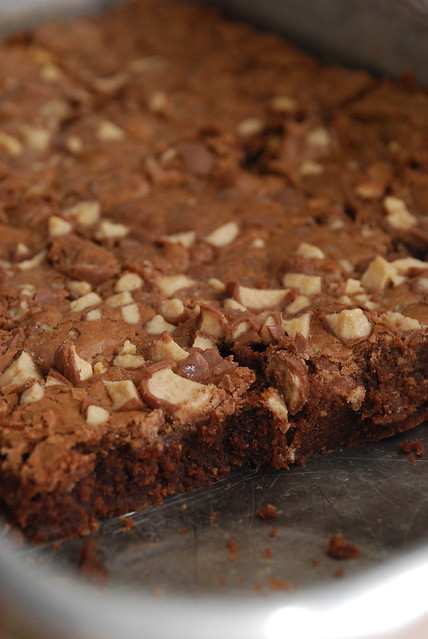
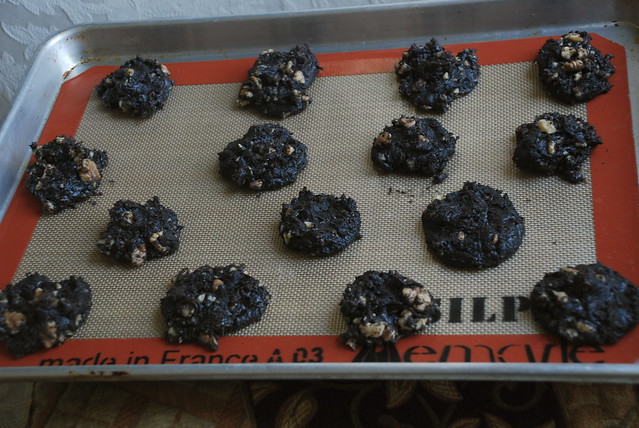
3. Form dough into 15 balls. Place on a parchment-lined (or silpat) cookie sheet. Bake 16 to 19 minutes, until glossy and crackled. Place cookies on a wire rack and cool completely.

Filed Under: cocoa, cookies, dessert, nuts

Apple Cinnamon Monkey Bread

November 29, 2010 by kim 14 Comments

DSC_3076

Looks good, doesn’t it? Too bad it was kind of a fail on my part. But as always, we must trek on.
I’ve always been intrigued by monkey bread and have had it bookmarked for for-ev-er. Why didn’t I ever get around to making it? Well, to be honest, refrigerated biscuits kind of freak me out. What person would create such a gut wrenching pop in order to simply open a can? I used to be scared of cracking eggs when I was little, for goodness sakes! This girl is not good with surprises.
My DB and I were invited to our friends’ new place for dinner. I figured that it was the perfect time to give monkey bread a try. If only I knew what I was getting myself into…
This is my favorite part of it all.. chopping up the apples and snacking away at them while I prepared the rest of the recipe.

DSC_2933
Covering the dough piece in cinnamon sugar:
DSC_2936

Place apples inside..
DSC_2937

and pinch it up!
DSC_2938

Everything started off well; The cans opened up with ease, the dough balls remained closed, and before I knew it, everything was layered up in the pan, ready for the oven.
DSC_2960

The sweet cinnamon sugar aroma filled the kitchen as I became a bit anxious. I baked it for the allotted 30 minute baking time, but after taking a peek at it, I wasn’t quite sure if it was done or not. When in doubt, leave it in for a little bit longer. So that’s exactly what I did– I left it in for another ten minutes before pulling the bread out.
DSC_2964

The hardest part of the whole thing? Flipping it over in one piece. I definitely did not succeed.
DSC_3093

Even though the top wasn’t that pretty, I was hoping it tasted as good as it smelled. The thing with bread is that you can’t taste it to make sure everything is okay. With cookies, you can try them before bringing them somewhere so you know how they taste. With cakes and bread, it’s like jumping in the pool head first.
I wrapped up the cooled monkey bread and took it with me to Sam and Adam’s place while hoping for the best. Sam made us baked brie and bruschetta with bread for appetizers. I’m pretty sure I ate an entire loaf before dinner. All throughout the main meal, all I could think was, “What if the bread is not throughly cooked? I’m done for!!” and “Gosh, this is one good burger!” Adam barbecued bison burgers with caramelized onions for dinner that were delicious! I devoured half of it before I even thought about taking a picture to share with you guys.
IMG_1046

We finished our meal and it was time for dessert. Cutting through the bread, I found out that it was not cooked all the way. Eeeeep, a baker’s worst nightmare! We nibbled around the baked edges and I ate all the apples inside. I was so embarrassed, but good thing I brought cookies and brownies to accompany the uncooked bread. Never again, I told myself. I’ll only bake things that are foreign to me when I’m baking for myself. I’ll leave cookies and familiar desserts for dinner parties.
This baking disaster kept me up all night. Not really, but I did think a lot about it. I think the reason why it didn’t cook all the way was because my biscuits were too thick. The original recipe calls for 3 12 oz cans and I used 2 16 oz cans instead, so each biscuit had less dough in the original recipe. I should have split each biscuit in half and make smaller balls. Lesson learned.
One day, I’ll tackle monkey bread again. Slightly adapted from Joelen’s Culinary Adventures.
  • 1/4 cup sugar
  • 3 teaspoons cinnamon
  • 1/2 cup (1 stick) butter
  • 1 cup packed brown sugar
  • 2 (16-ounce) cans refrigerated biscuits
  • 3 small apples, peeled and finely chopped
  • 1 1/2 cups coarsely chopped pecans
  1. Preheat the oven to 350 degrees F.
  2. Spray or grease a bundt pan with nonstick cooking spray. Mix the sugar and cinnamon, set aside.
  3. In a small bowl, stir together the melted butter and brown sugar; set aside.
  4. Press the individual biscuits out and flatten with your fingers; dredge each side of the flattened biscuit in the cinnamon sugar.
  5. Place about a teaspoon of chopped apples in the center of each biscuit, wrapping and sealing the dough around the apples; set aside. Repeat with all the remaining biscuits.
  6. Sprinkle 1/2 cup of the nuts into the bottom of the bundt pan. Place half of the prepared biscuits in the pan. Sprinkle with cinnamon sugar, pour half of the melted butter mixture over the biscuits, and sprinkle on 1/2 cup of nuts.
  7. Layer the remaining biscuits on top, sprinkle with the remaining cinnamon sugar, pour the remaining butter mixture over the biscuits, and sprinkle with the remaining 1/2 cup of nuts.
  8. Bake for 30-40 minutes. Remove from the oven and cool for 5 minutes. Place a plate on top and invert.

Filed Under: apple, bread, breakfast, dessert, nuts

Whopper Brownies

November 23, 2010 by kim 12 Comments

DSC_2887

DSC_2864

Whoppers galore! They’re not the easiest thing to chop, though.
DSC_2871

Pre-baking..
DSC_2877

Baked!
DSC_2901

DSC_2915

DSC_2925

Whoppers vs. Maltesers. Who wins? I never even knew what Maltesers were until my parents’ friends brought some over from Australia. A little red bag full of malty goodness? Count me in!
Now, whenever I bring up the subject of Whoppers vs. Maltesers, most people swear by Maltesers. I was convinced they were better because so many people told me so, but I finally sat down one day and had one right after the other. The result? Well, I’m all for the American Whoppers. I feel like the malted powder is finer and melts in your mouth, whereas Maltesers have a tougher and stickier texture.

Does that sound crazy? Either way, when you bake the Whoppers (as I surely found out), they turn hard and crispy. Not necessarily bad hard.. just a little chewy, tough on your teeth, hard. The brownie itself wasn’t bad, but I prefer the fudgy type. The recipe is from How Sweet it is, who got it from Martha.

Ingredients:

  • 1 cup unsalted butter, cut into small pieces
  • 1 cup all-purpose flour
  • 10 ounces semisweet chocolate, coarsely chopped
  • 1 cup (about 4 1/2 ounces) malted-milk powder
  • about 1 1/2 cups of Whoppers or Maltesers, plus some extra for the top
  • 1 1/2 cups packed light-brown sugar
  • 3 large eggs
  • 1 tablespoon pure vanilla extract

Directions:

  1. Preheat oven to 350 degrees. Lightly grease a 9-by-13-inch baking pan and set aside.
  2. Combine chocolate and butter in a heatproof bowl set over simmering water; stir until melted and smooth. Set aside to cool slightly, about 5 minutes.
  3. In the bowl of an electric mixer fitted with the whisk attachment, beat sugar and eggs until thickened and fluffy, about 2 minutes. Mix in the melted chocolate mixture and vanilla. Fold in the flour, malted-milk powder, and malt balls until just combined.
  4. Pour batter into prepared pan, spreading it evenly. Sprinkle some chopped malt balls on top (optional). Bake until a toothpick inserted in the center comes out with just a few crumbs on it, 30 to 35 minutes. Transfer brownies to a wire rack to cool.

Filed Under: bars/brownies, candy, chocolate chip, dessert

  • « Previous Page
  • 1
  • …
  • 98
  • 99
  • 100
  • 101
  • 102
  • …
  • 159
  • Next Page »

hi! i'm kim-- a girl mom, baker, blogger, and ex-flight attendant. welcome!

Search

  • Facebook
  • Instagram
  • Pinterest
  • Twitter

Categories

RODELLE-BABadge


Categories

  • Facebook
  • Instagram
  • Pinterest
  • Twitter

Copyright © 2026 · Foodie Pro Theme by Shay Bocks · Built on the Genesis Framework · Powered by WordPress