Lovin' From the Oven

  • Home
  • About Me
  • Recipes
  • FAQ
  • My Lifestyle Blog
  • Disclaimer

Pillsbury Bold Cupcakes and Frosting

April 12, 2014 by kim 7 Comments

gobold-17

I’m always thrilled when I receive packages in the mail. However, when I get a Pillsbury® package, I’m extra giddy. Maybe it has something do that with that little Pillsbury Doughboy that I grew up with… or maybe it’s because they’re always coming out with new flavors and colors to celebrate with. Either way, this package did not disappoint.

gobold-11

Pillsbury has a new Funfetti® Bold Cupcakes and Frosting line and they want you to join in on the fun! All you have to do is show how you GO BOLD by uploading your baked goods/desserts via the Pillsbury Baking Facebook Page or Instagram using the hash tag #GoBold and tagging @PillsburyBaking between March 24-April 28th, 2014 for a chance to win some of the Pillsbury Funfetti and BOLD cake mixes and frostings prize packs. Eight winners are announced weekly, so get baking!

gobold-2

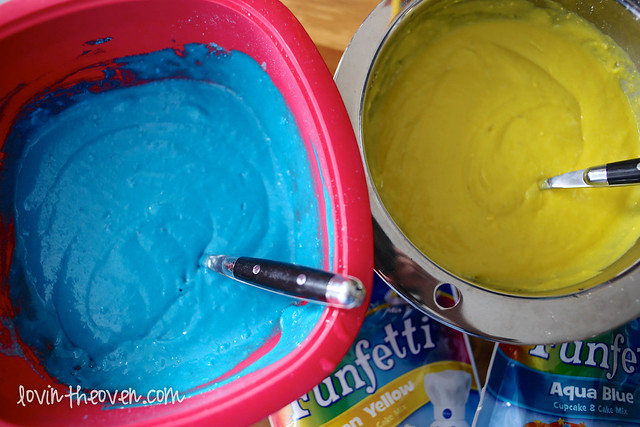
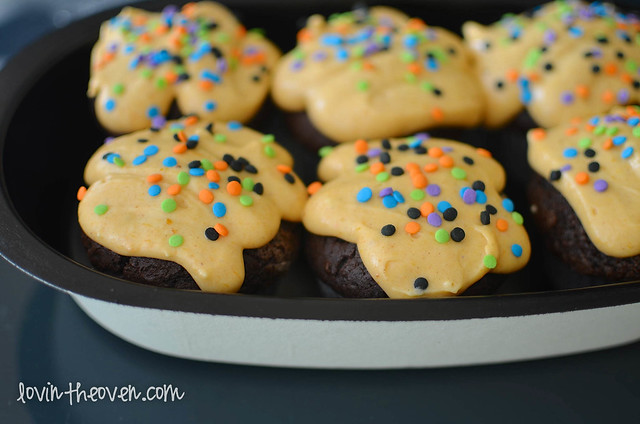
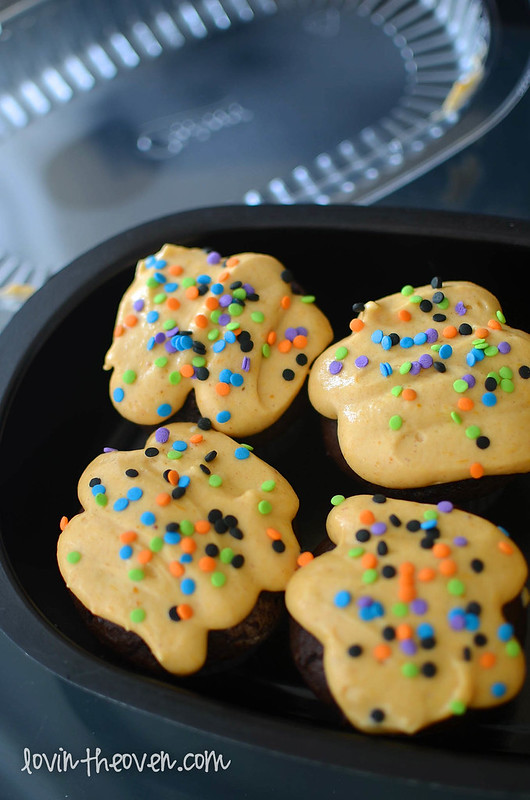
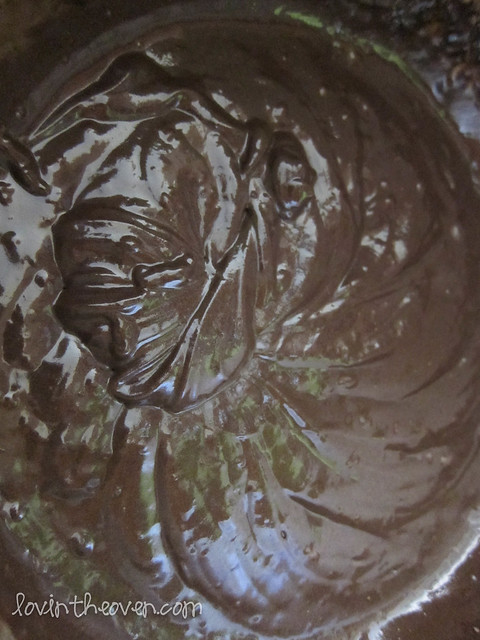
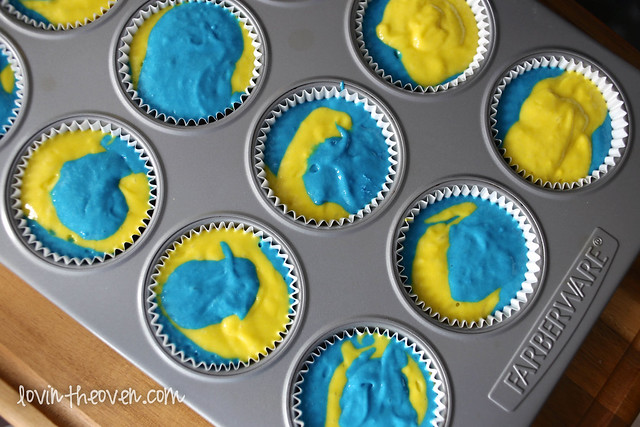
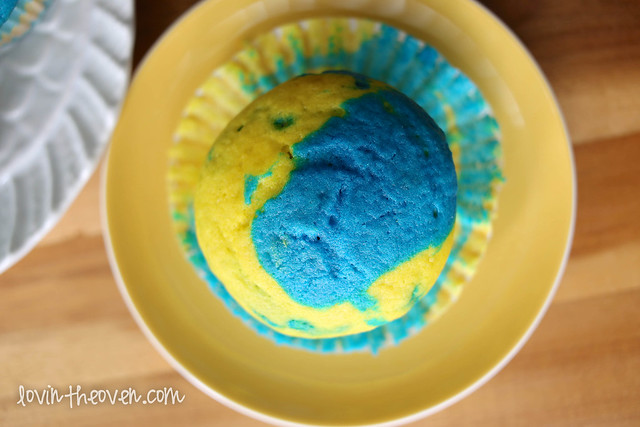
I chose to use the Funfetti Aqua Blue and Neon Yellow to make swirled cupcakes. Just look at how bright the batter is! I also chose not to use my mixer because it wasn’t necessary. A little manual labor works just fine.

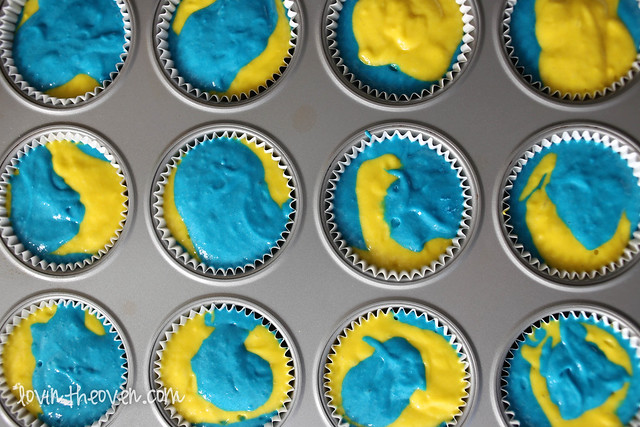
I posted a sneak peak of them baking in the oven, and someone suggested that they were minion cupcakes. They could definitely be turned into minion cupcakes for a Despicable Me party!

gobold-4

I actually used these colors because I was brainstorming possible graduation goodies for my DF next month. We’ll definitely be celebrating his graduation then, but that doesn’t mean we have to wait that long to celebrate in general. These swirled cupcakes could be made for anything– celebrating a day at a UC school (go Bruins!), getting a good grade, or simply doing well on a presentation.

gobold-3

You could work celebrations into your every day life. There’s always something to celebrate, you just have to open your eyes and notice it.

gobold-8

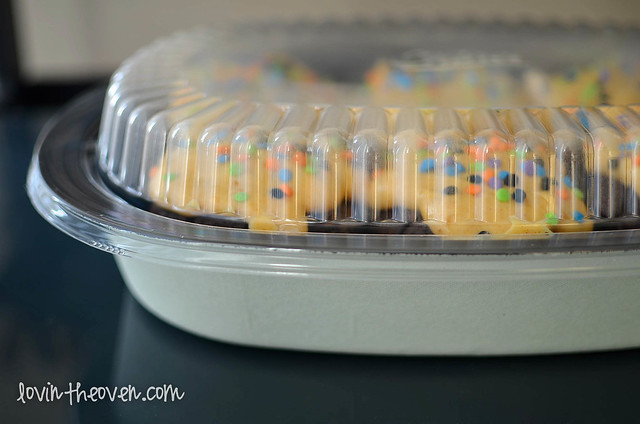
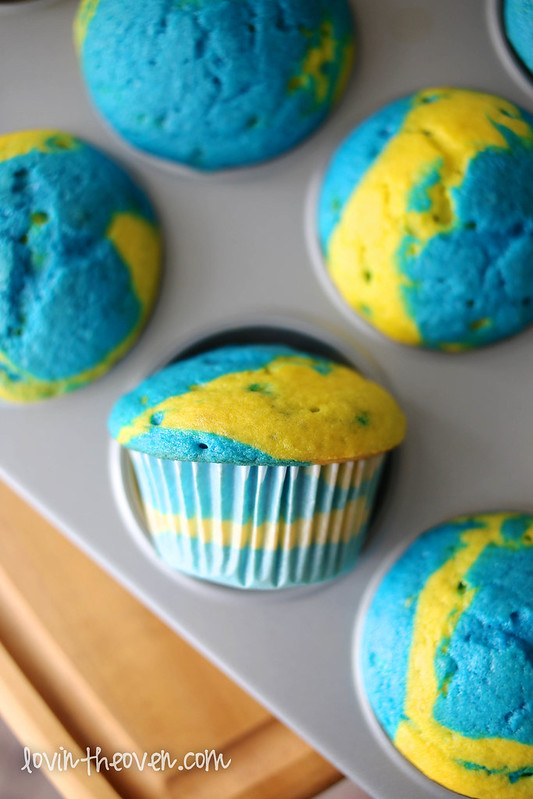
These Pillsbury pouches are great for smaller amounts of guests since one bag makes 12 cupcakes instead of the usual 24, which is the standard for a boxed cake mix. It’ll also make one layer of cake rather than two. The pouches are made smaller so that you can get creative while baking. Make a rainbow cake or colorful cupcakes like I did here.

gobold-7

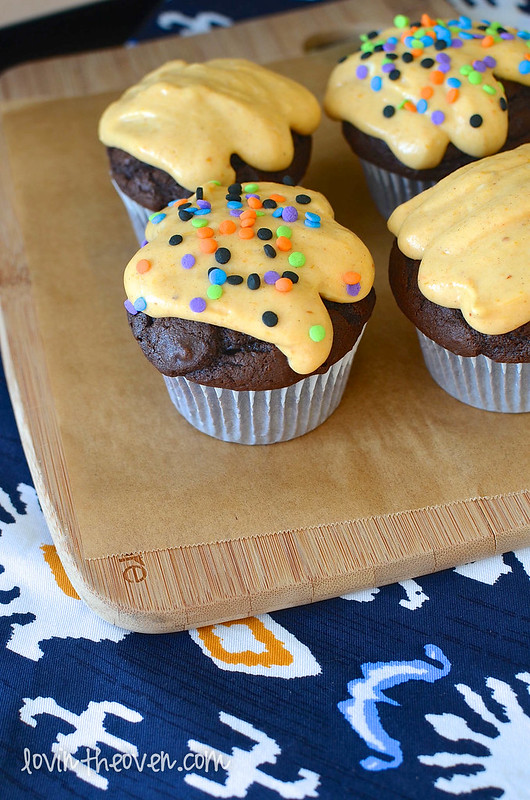
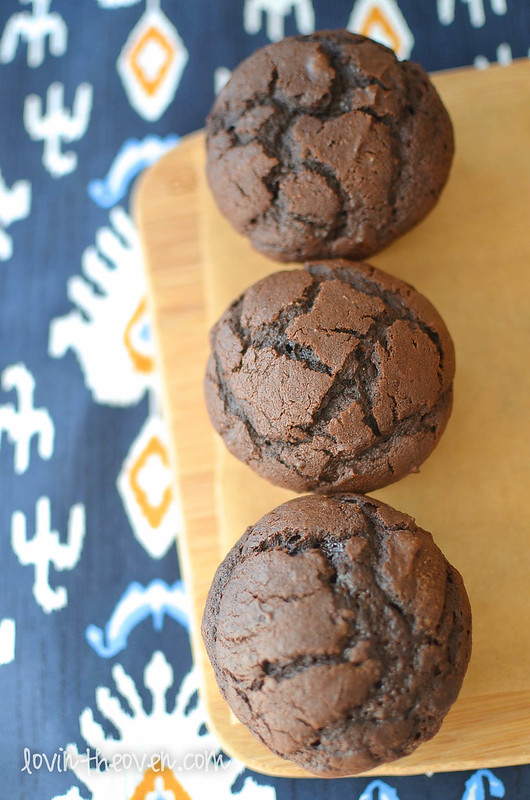
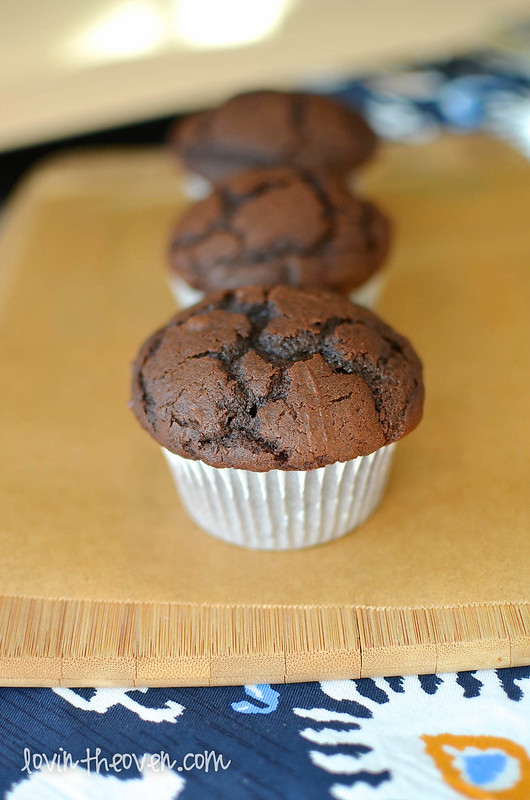
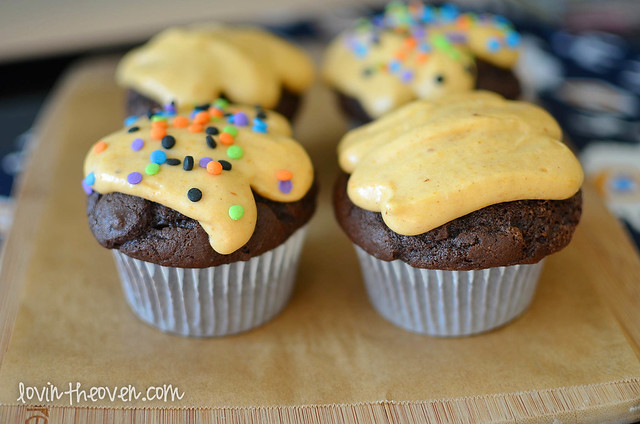
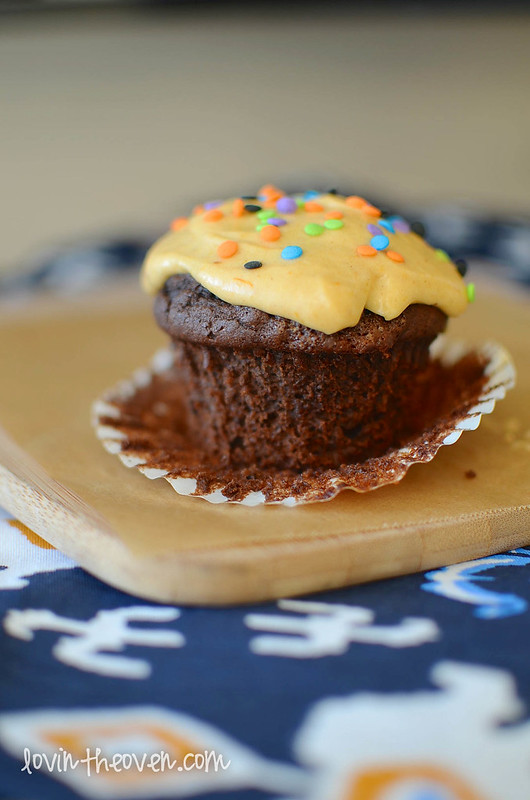
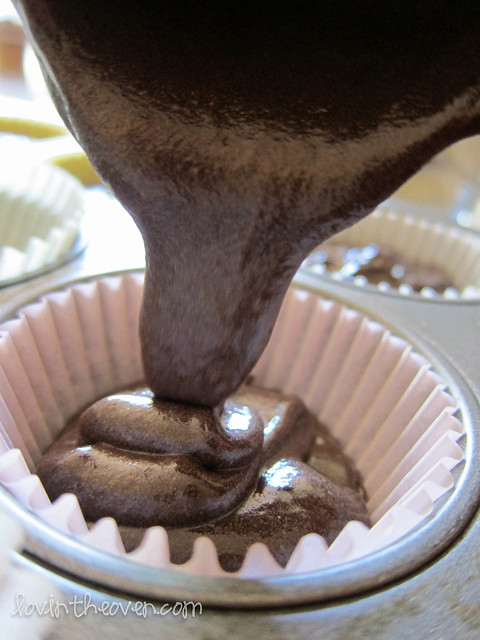
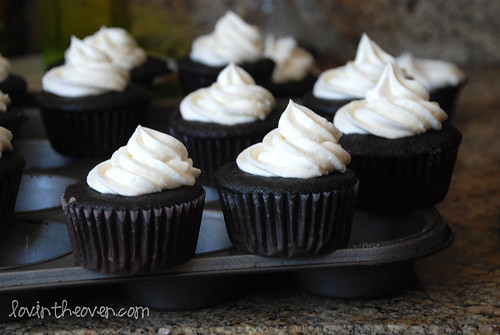
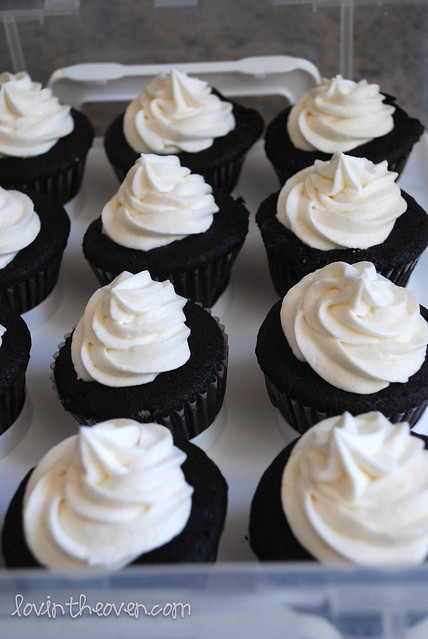
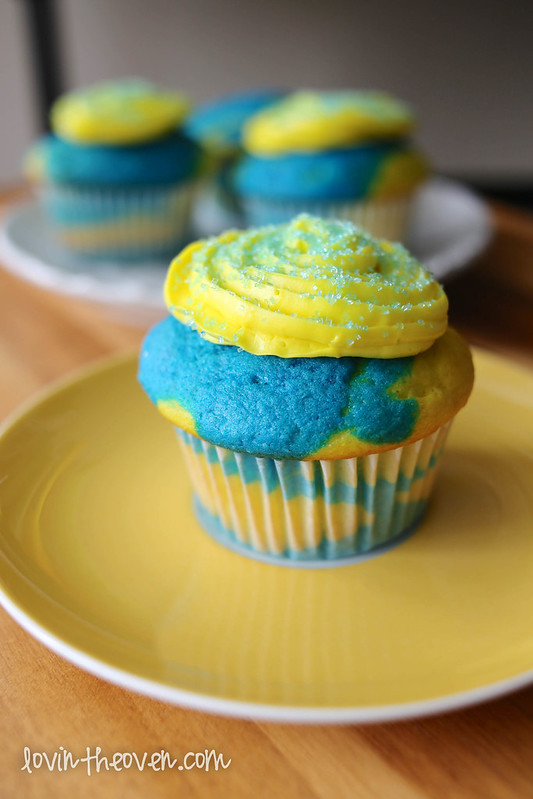
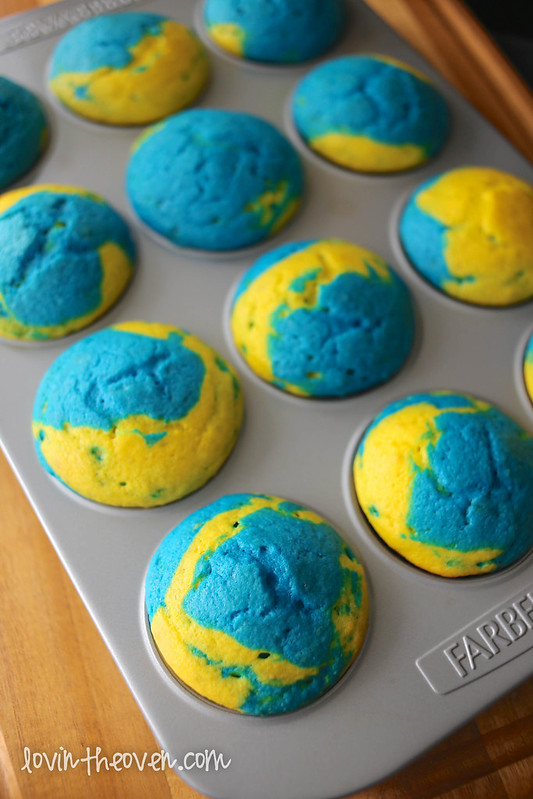
The directions say to fill each cupcake liner halfway with batter, but I like to live life on the dangerous side and fill them *almost* to the top. That way, I get a beautiful, tall, and rounded cupcake. The prettier the top is, the less frosting I have to use to cover it up. 🙂 This tip works great on muffins!

gobold-10

gobold-13

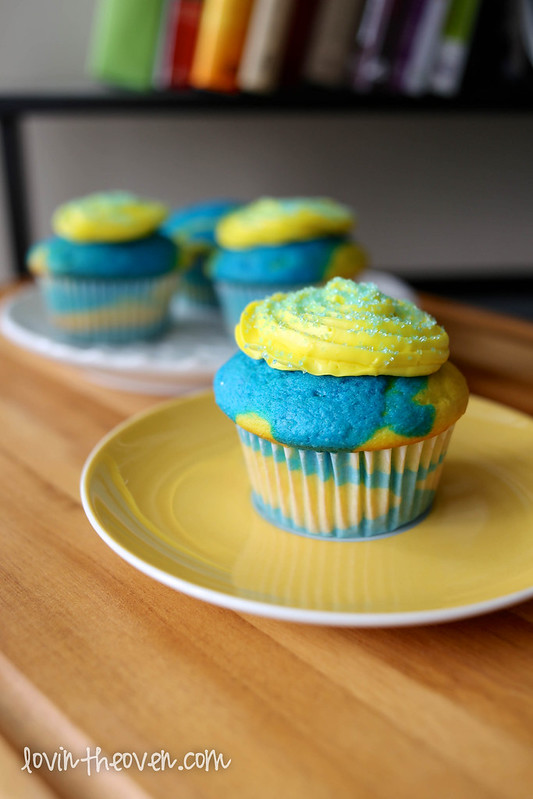
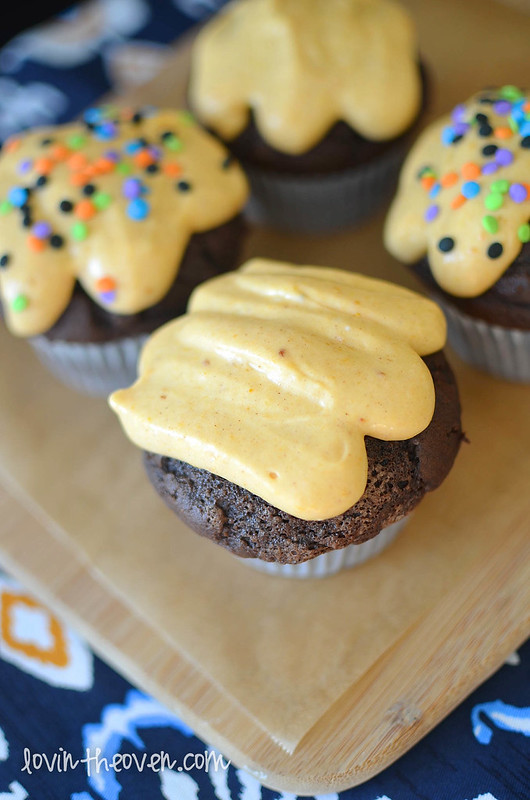
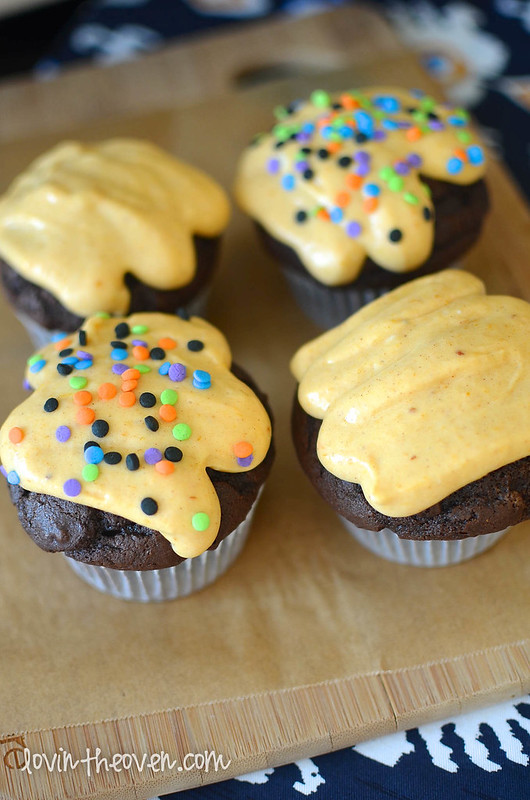
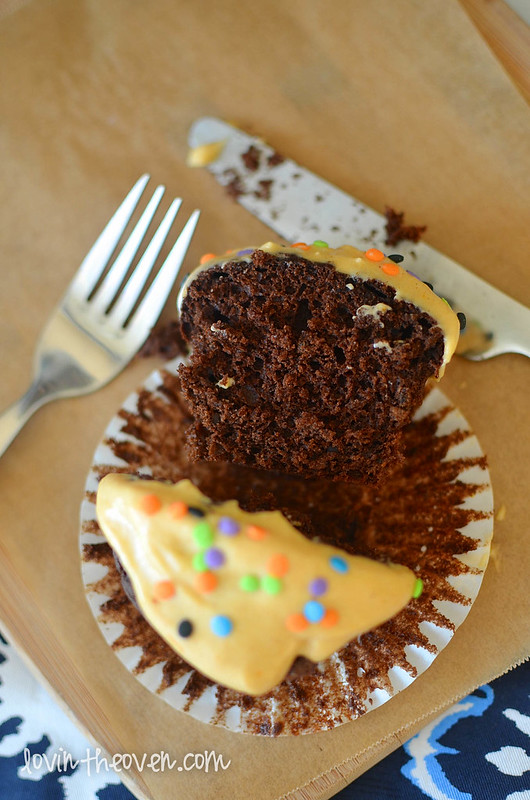
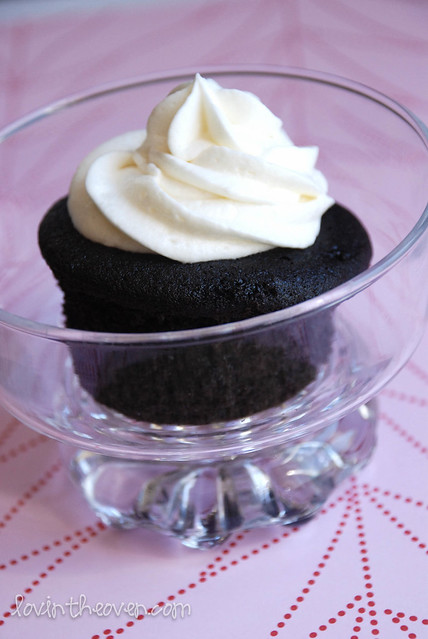
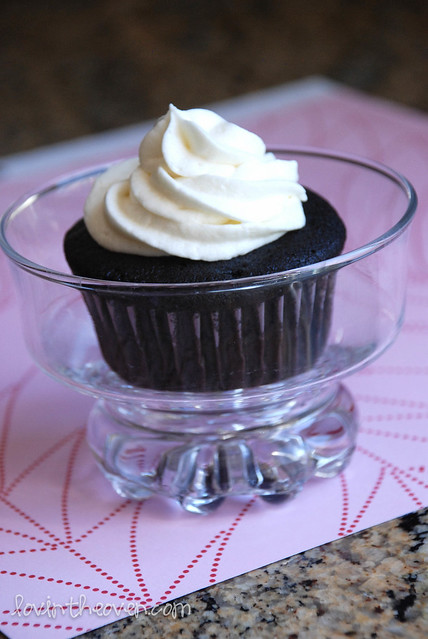
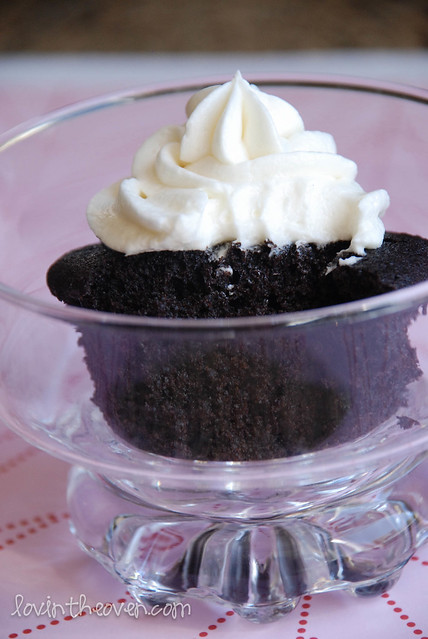
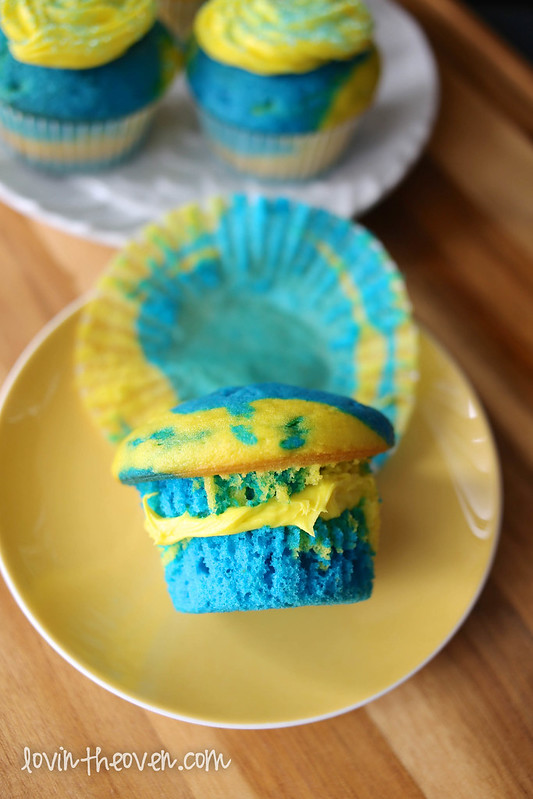
I also frosted them differently. One, I did the traditional way with frosting swirled on the top. The other, I cut in half and slathered frosting across the middle, like a sandwich. There’s no mess involved with your hands when you’re trying to eat it. It works great with the kiddos!

gobold-16

Print
Pillsbury Bold Cupcakes and Frosting

Ingredients

  • 1 pouch Pillsbury® Funfetti® Neon Yellow Cupcake & Cake Mix
  • 1 pouch Pillsbury® Funfetti® Aqua Blue Cupcake & Cake Mix
  • 1 1/3 cups water, divided
  • 1/4 cup Crisco® Pure Vegetable Oil, divided
  • 4 large egg whites, divided
  • 1 container Funfetti Neon Yellow Vanilla Flavored Frosting with Multi-Colored Candy Bits

Directions

  1. Preheat oven to 350°F.
  2. Line a muffin tin with 18 cupcake liners.
  3. Prepare each cake mix separately according to package directions using 2/3 cup water, 1/4 cup oil and 2 egg whites for each.
  4. Alternating between the two colors, drop 1 tablespoon of batter into each liner until they are 3/4 full.
  5. Bake 20-22 minutes or until toothpick inserted in center comes out clean. Remove to wire rack to cool completely.
  6. Frost as desired.
3.1
https://lovintheoven.com/pillsbury-bold-cupcakes-frosting/

This is a sponsored post, but the opinions expressed are my own.

©/® The J.M. Smucker Company. Pillsbury is a trademark of The Pillsbury Company, LLC, used under license. 

Filed Under: cupcake, review

Chocolate Pumpkin Cupcakes

October 26, 2013 by kim 1 Comment

chocolatepumpkin-4

Confession: I have been watching this YouTube video on repeat with tears streaming down my face. It’s a Crest commercial for Halloween treats gone wrong and it’s the reason why I love kids so much. They have nothing to hide and will tell you exactly how it is.

chocolatepumpkin-2

I’m sure the kids would enjoy these cupcakes much more than the vegetable treats in the video.

This recipe came from Panera‘s chefs and is inspired by their fall menu. Pumpkin and chocolate— what’s more Halloween than that?

chocolatepumpkin

Have you ever seen a more beautiful naked cupcake than this? They rose so high that I almost felt bad covering up the perfect dome. The higher the cupcake, the less frosting that you have to use. That makes it a little healthier, right?

chocolatepumpkin-3

I kept it simple and frosted the cupcakes with a ziploc bag. It was convenient since the frosting had to sit in the refrigerator for a couple of hours prior to decorating.

chocolatepumpkin-5

Did I mention that this is pumpkin cheesecake frosting? Why didn’t I think of that?

chocolatepumpkin-6

chocolatepumpkin-7

chocolatepumpkin-8

chocolatepumpkin-9

chocolatepumpkin-10

These pictures don’t do the cupcakes justice. I wish you could reach through the screen and feel how moist the cake is. Alright I take that back… that sounds a little weird. There may be a bit of pumpkin in the cake batter, but you don’t really taste it. The dark cocoa that I used was more overpowering. The pumpkin flavor definitely comes through in the frosting, though.

chocolatepumpkin-11

I brought the cupcakes to work with me using a Chinet pan. Their pans always come in handy for me since I deliver baked goods a lot to my friends and coworkers. You can bring food with you anywhere (In my case, it was in the car, walking with luggage, through security, and on an airplane) and not have to worry about bringing the carrier back home.

chocolatepumpkin-12

I was able to celebrate fall and share the cupcakes with my crew. The first officer even said that it was one of the best cupcakes that she had ever tried! Who says you can’t have cupcakes for breakfast on an airplane?

I also used the pan to store the cupcakes in the refrigerator overnight and the pan kept it’s shape and didn’t sag. Sometimes, when you expose carriers to different temperatures, they begin to sag in the middle and lose its shape. This was not the case.

chocolatepumpkin-13

The lids latch on, so I didn’t have to worry about cupcakes flying out through the security line. It makes my life a whole lot easier when I’m not looking like a hot mess running through the airport.

Print
Chocolate Pumpkin Cupcakes

Prep Time: 30 minutes

Cook Time: 25 minutes

Total Time: 3 hours, 55 minutes

Yield: a dozen cupcakes

Serving Size: 12

443

16 g

Having a Halloween party? With real pumpkin in both the chocolate cake and the orange-colored cream cheese frosting, these lightened-up treats will steal the show.

Ingredients

    Frosting:
  • ¼ cup butter, softened
  • 8 ounces (1 cup) reduced-fat cream cheese
  • 3½ cups confectioners’ sugar
  • ¼ cup canned pumpkin puree (not pie filling)
  • ½ teaspoon pumpkin-pie spice
  • 1½ teaspoons vanilla extract
  • Cupcakes:
  • 3 tablespoons butter, softened
  • 1¼ cups sugar
  • 2 eggs, at room temperature
  • ½ cup canned pumpkin puree (not pie filling)
  • 1 teaspoon vanilla extract
  • 1½ cups all-purpose flour
  • ⅔ cup unsweetened cocoa powder
  • 1½ teaspoons pumpkin-pie spice
  • 1½ teaspoons baking powder
  • ¾ teaspoon baking soda
  • ¼ teaspoon salt
  • ⅓ cup low-fat buttermilk
  • 3 tablespoons canola oil

Directions

  1. For the frosting, beat the butter and cream cheese in a large bowl with an electric mixer on medium-low speed until blended, 1 to 2 minutes. Add the confectioners’ sugar and beat until blended, 1 to 2 minutes. Scrape down the inside of the bowl; then add the pumpkin, pumpkin-pie spice, and vanilla extract and beat until blended, 2 minutes more. Spoon the frosting into a pastry bag or zip-top bag, seal the bag, and refrigerate the frosting until it is cold, at least 3 hours or up to 2 days. Makes about 3½ cups.
  2. For the cupcakes, heat the oven to 350°F. Line a 12-cup muffin pan with cupcake papers.
  3. In a large bowl, beat the butter and sugar with an electric mixer on medium speed until sandy in texture, 2 to 3 minutes. Add the eggs, one at a time, beating well after each addition. Beat in the pumpkin puree and vanilla extract.
  4. In a medium bowl, whisk together the flour, cocoa powder, pumpkin-pie spice, baking powder, baking soda, and salt. Add the dry ingredients to the egg mixture alternately with the buttermilk and oil in three additions, beating on low speed after each addition.
  5. Fill the muffin cups with batter and bake until a toothpick inserted in the center of one cupcake comes out clean, 20 to 25 minutes. Cool the cupcakes in the pan on a rack for 10 minutes. Remove them from the pan to cool completely on the rack.
  6. Attach a tip to the pastry bag or snip off a corner from the zip-top bag, and squeeze the frosting onto the cupcakes.

Notes

Recipe from www.panerabread.com

3.1
https://lovintheoven.com/chocolate-pumpkin-cupcakes/

This is a sponsored post, but the opinions expressed are my own.

Filed Under: cocoa, cupcake, dessert, frosting, pumpkin

Junior Mint Cupcakes

October 15, 2011 by kim 3 Comments

mint-3

mint-7

mint-2-2

mint-3-2

mint-5

mint

mint-2

mint-4

mint-6

I was playing the game “never have I ever” with a couple of friends the other night and was intrigued by all the information I learned about others. Here’s a couple of facts that you may not know about me:

  1. I’ve never had a manicure or pedicure.
  2. I’ve never broken a bone.
  3. I’ve never been skiing.
Have you ever done any of those? As for breaking a bone, it’s definitely a boy thing. Most girls haven’t done it and most boys have. What’s something you’ve never done?
These cupcakes come from Domestic Fits and turned out beautifully. The cupcake rose with ease and the frosting was the perfect consistency for piping. The cupcakes were a little lighter than I’d hoped, but the taste was spot on. I used dark cocoa instead of regular cocoa, which explains the darkish color.


Print
Junior Mint Cupcakes

Ingredients

    Chocolate cake:
  • 2 2/3 cup flour
  • 1 1/4 cup unsweetened cocoa powder (I used hershey's special dark cocoa)
  • 2 tsp baking powder
  • 1 tsp baking soda
  • 1 tsp salt
  • 1 cup buttermilk
  • 1 1/4 cup of brewed coffee, cooled
  • 1/4 cup vegetable oil
  • 2 sticks of unsalted butter
  • 2 1/2 cups of sugar
  • 1 tsp vanilla extract
  • 2 eggs
  • Mint Buttercream:
  • 2 sticks of unsalted butter, softened
  • 5 cups powdered sugar, sifted
  • 1/3 cup milk
  • 1/4 tsp natural mint extract

Directions

  1. Preheat the oven to 350. Line 24 muffin tins.
  2. In your stand mixer, cream together the butter and sugar. Add in the vanilla, eggs, buttermilk, coffee, and vegetable oil. Gradually mix in the dry ingredients: flour, cocoa powder, baking powder, baking soda, and salt until well combined.
  3. Fill each cupcake liner 2/3 of the way full. Bake for 20-25 minutes, until a toothpick comes out clean.
  4. Mint Buttercream
  5. In a stand mixer, cream the butter until light and fluffy.
  6. Mix in the powdered sugar, one cup at a time. Slowly beat in the milk and mint until you get a smooth consistency. You can add more powdered sugar or milk depending on your taste.
3.1
https://lovintheoven.com/junior-mint-cupcakes/

Filed Under: cocoa, cupcake, dessert, frosting

  • « Previous Page
  • 1
  • 2
  • 3
  • 4
  • …
  • 14
  • Next Page »

hi! i'm kim-- a girl mom, baker, blogger, and ex-flight attendant. welcome!

Search

  • Facebook
  • Instagram
  • Pinterest
  • Twitter

Categories

RODELLE-BABadge


Categories

  • Facebook
  • Instagram
  • Pinterest
  • Twitter

Copyright © 2026 · Foodie Pro Theme by Shay Bocks · Built on the Genesis Framework · Powered by WordPress