Lovin' From the Oven

  • Home
  • About Me
  • Recipes
  • FAQ
  • My Lifestyle Blog
  • Disclaimer

Day 6: Chocolate Sno-Cap Cookies

December 11, 2017 by kim Leave a Comment

Day 6 of my 12 days of cookies is a special one since it’s part of Rodelle’s “Cookies with Rodelle!” They’re featuring lots of other cookie recipes this month, so make sure to check them out with the badge/link at the end of this post. These chocolate sno-cap cookies are made with Rodelle’s vanilla extract (as with all of the recipes on my blog) and their baking cocoa powder.

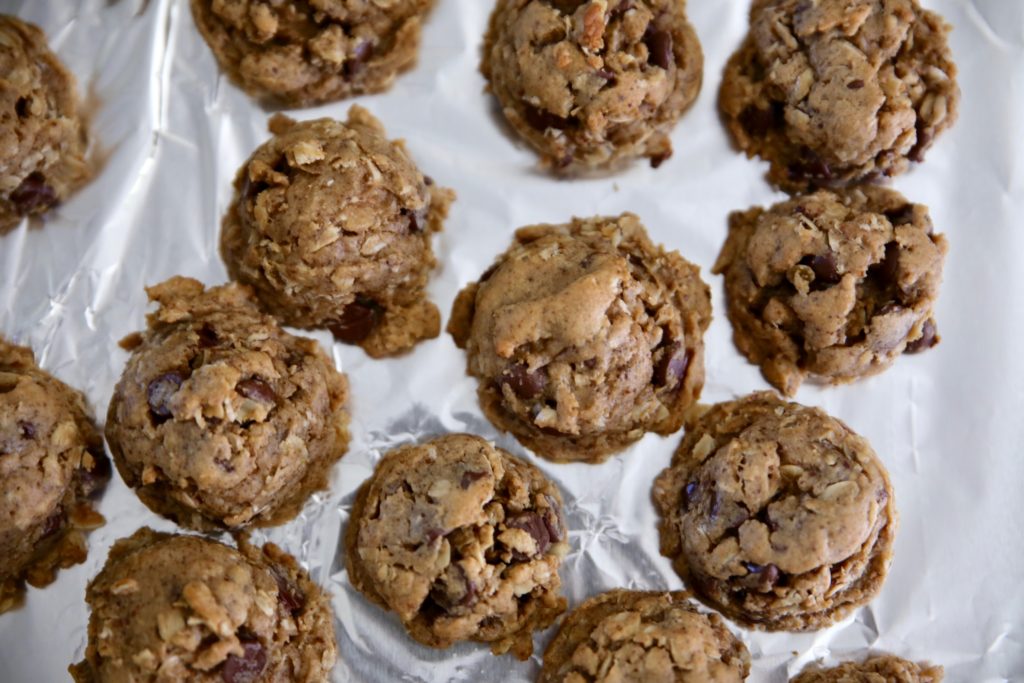
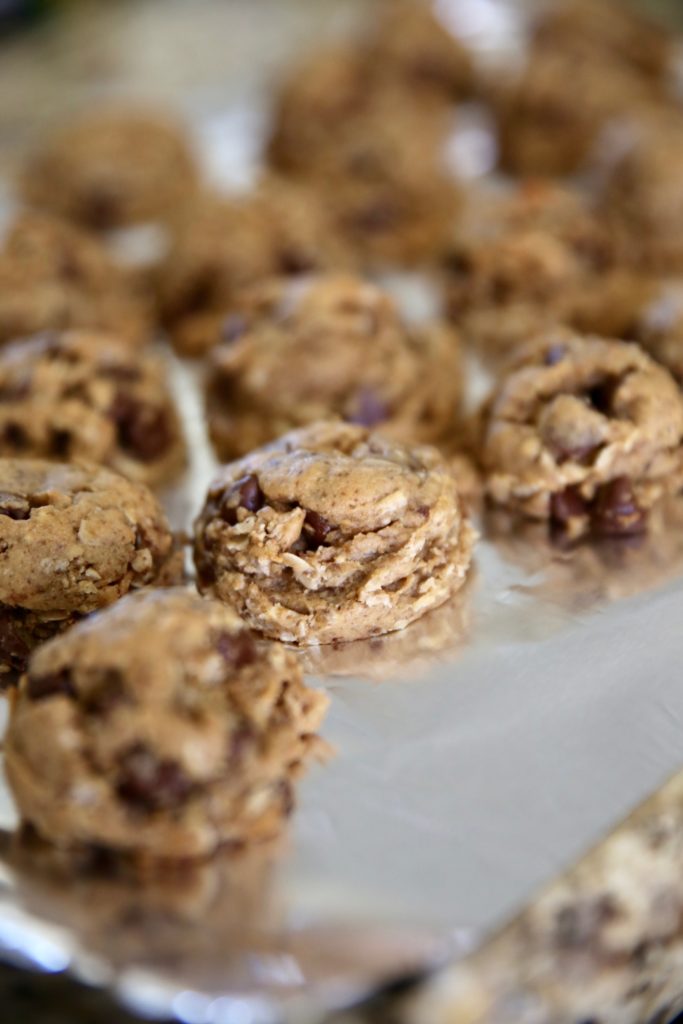
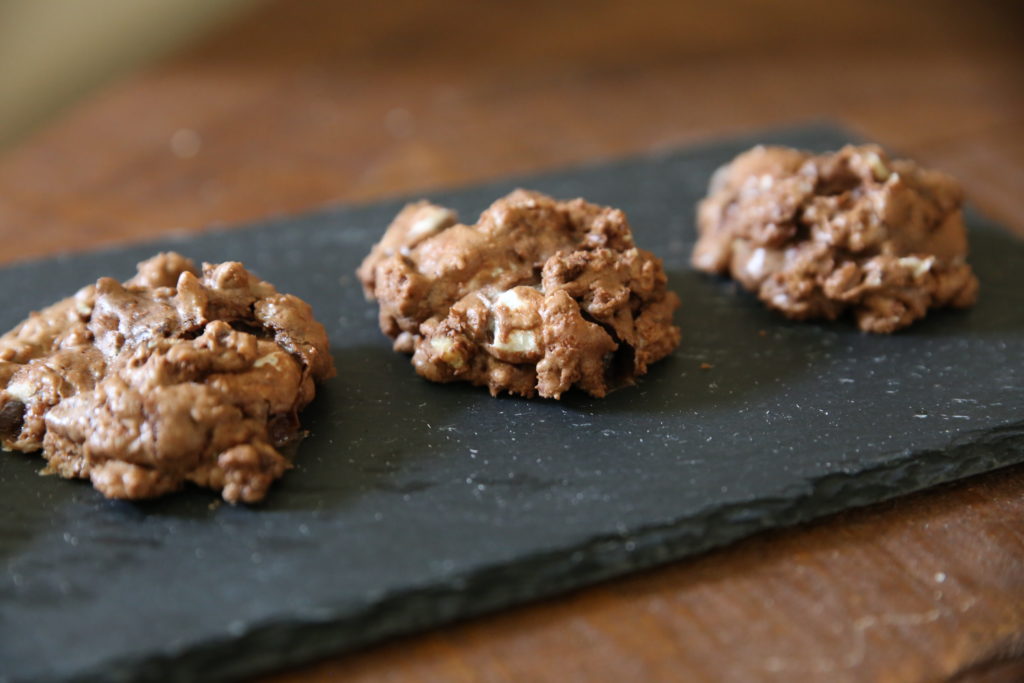
Instead of the usual chocolate chips, I found a bag of sno-caps in the baking aisle and decided to go with those. They’re basically chocolate chips with white nonpareils on the bottom, hence the name “sno-caps.” They look like snowy mountain tops!

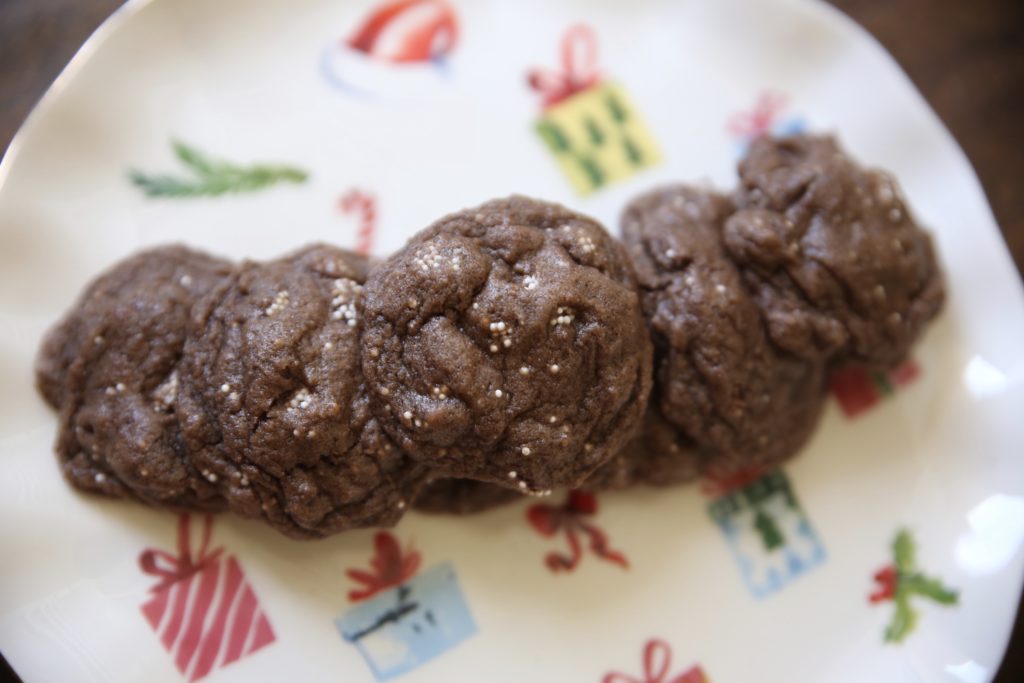
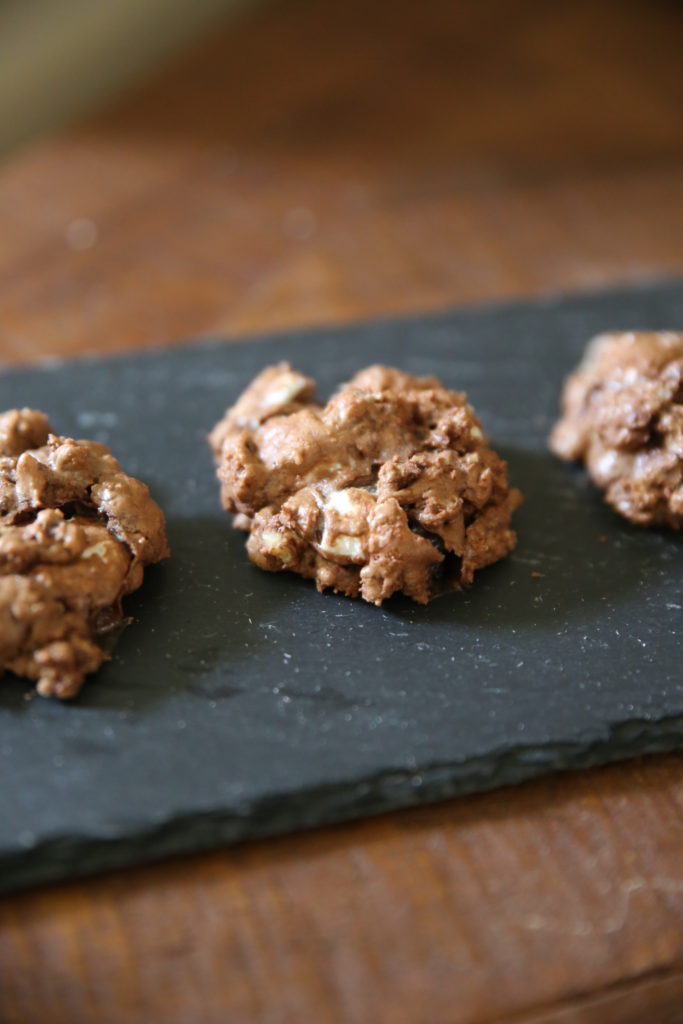
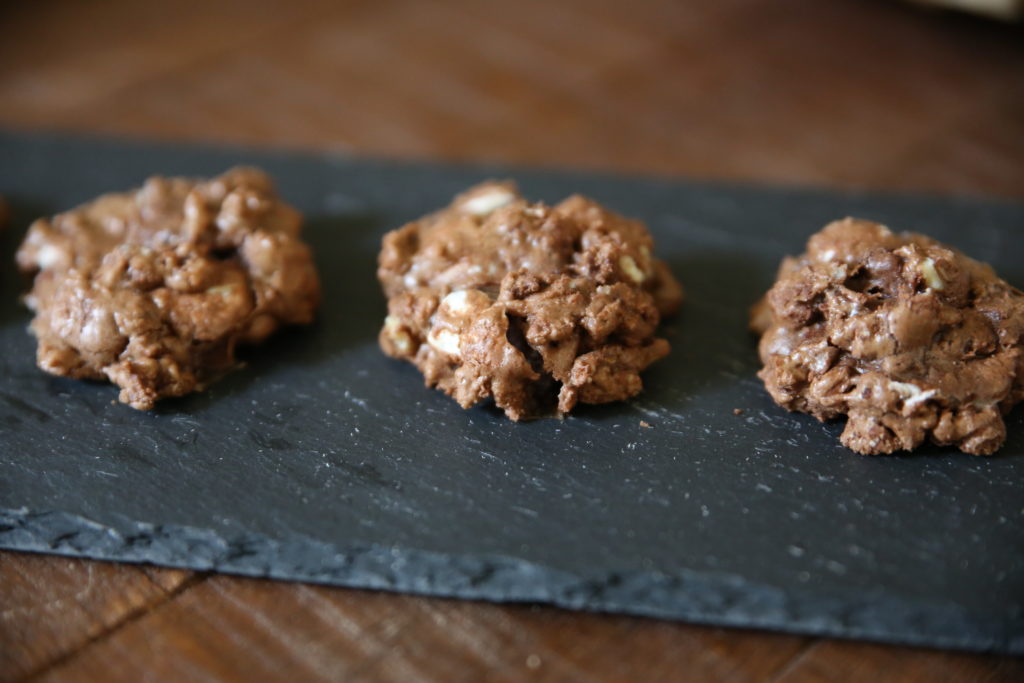
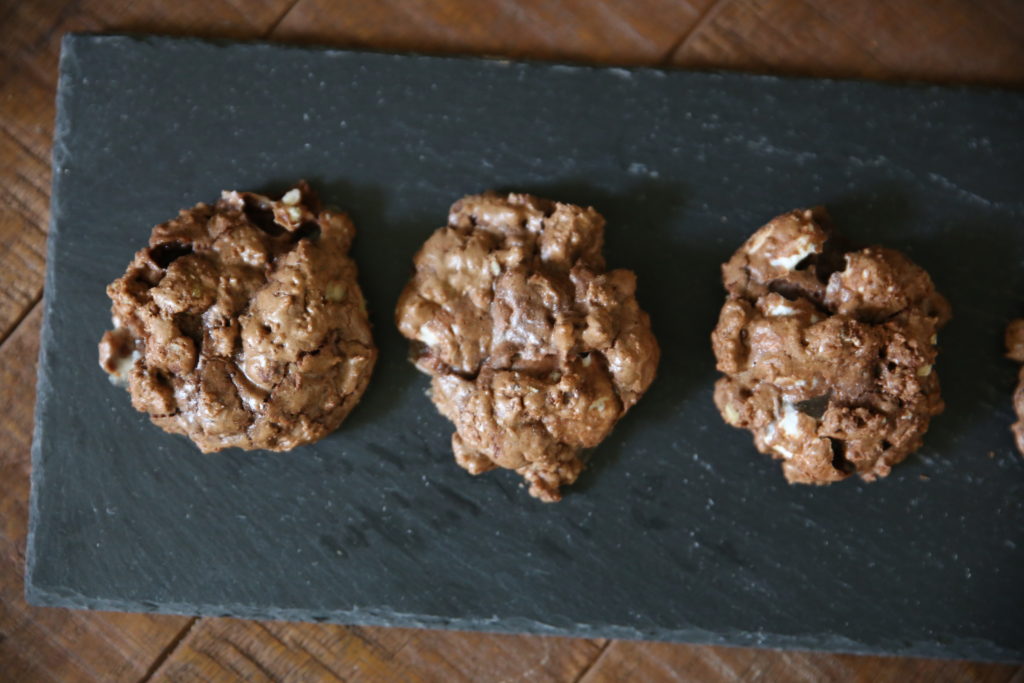
Although, to be honest, they all kind of meshed into the dough and it looks like I just added some sprinkles into the batter.

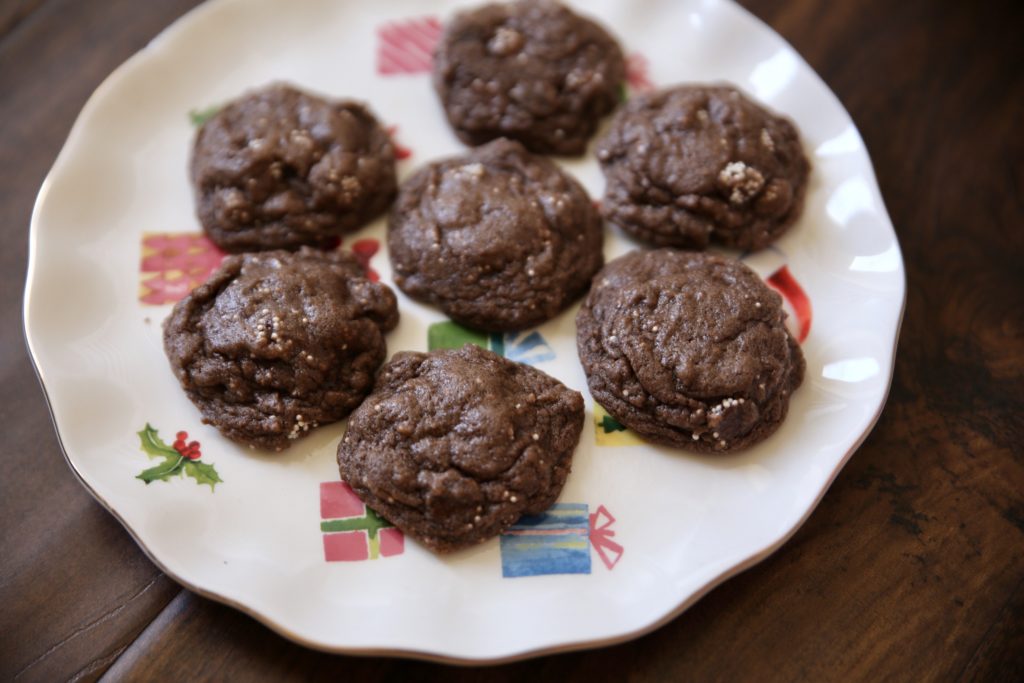
These cookies are rich and chewy, with a whole lot of chocolate. 

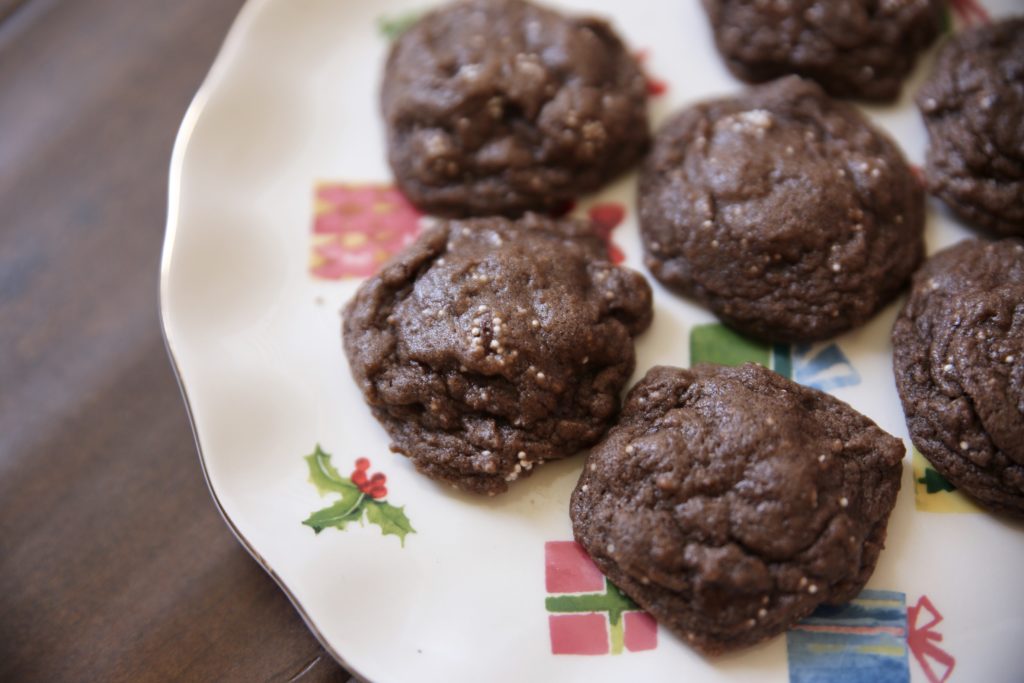
As I was photographing these photos, I noticed a hand jumped into my frame and a cookie was stolen. Ellie is so quick and quiet that I didn’t even hear her come up behind me!

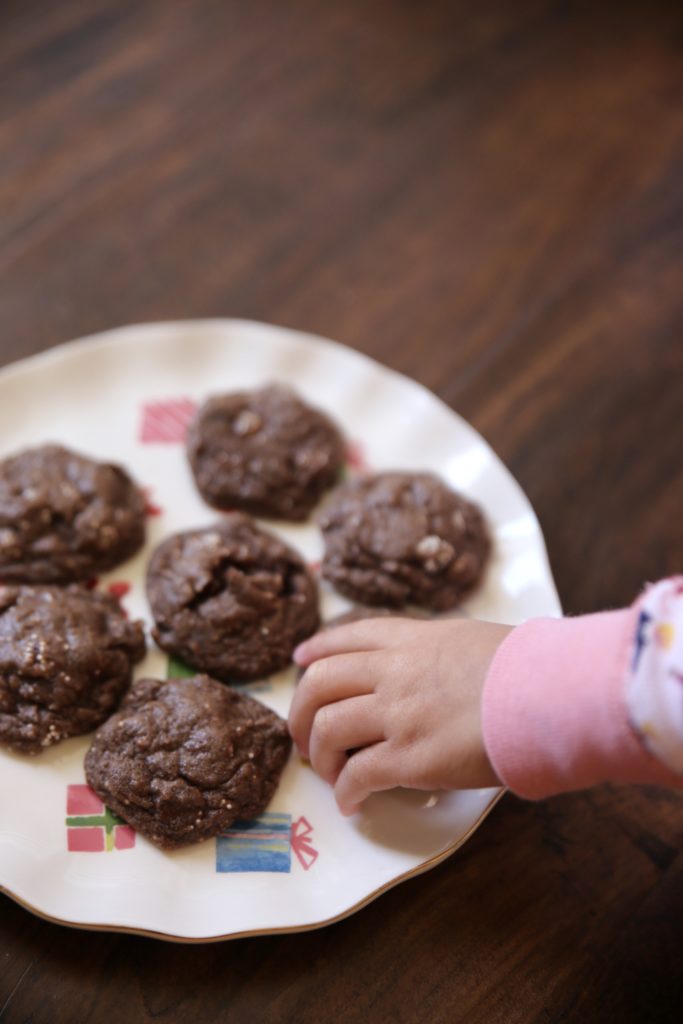
She was so happy that she successfully stole a cookie off of my photography plate.

After she took a bite, she realized that they were still warm out of the oven and yelled, “HOT!” Ah, kids. Maybe one day she’ll learn. 

Recipe slightly adapted from Cookies and Cups

Print
Chocolate Sno-Cap Cookies

Ingredients

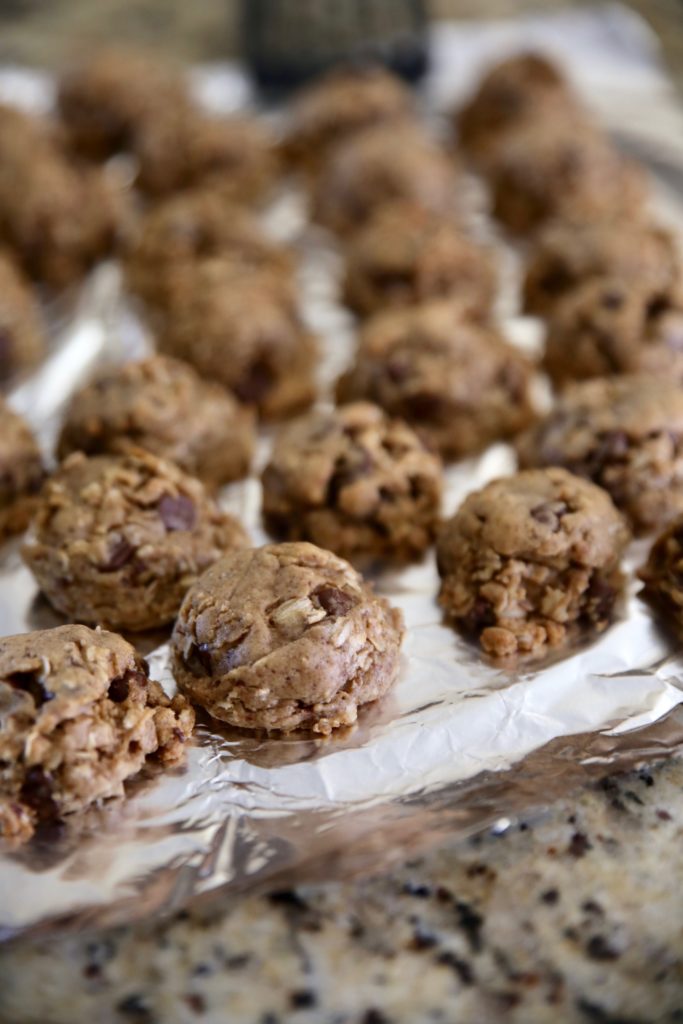
  • 1 cup butter, room temperature
  • 3/4 cup light brown sugar
  • 3/4 cup granulated sugar
  • 2 tsp Rodelle vanilla
  • 2 eggs
  • 2 1/3 cup flour
  • 1/3 cup Rodelle cocoa powder
  • 1 tsp baking soda
  • 1 tsp salt
  • 1 10 oz bag Sno-Caps

Directions

  1. Preheat oven to 350°
  2. Cream together butter and both sugars until light and fluffy.
  3. Mix in vanilla and eggs.
  4. Gradually stir in the flour, cocoa powder, baking soda and salt until just combined.
  5. Mix in sno-caps.
  6. Form dough into 2 tsp sized balls and drop on baking sheet.
  7. Bake 7-8 minutes until puffed and just set.
3.1
https://lovintheoven.com/day-6-chocolate-sno-cap-cookies/

Check out Paperless Post for all your invitation needs!

SaveSave

SaveSave

Filed Under: candy, cocoa, cookies, dessert

Day 5: Copycat Chick Fil A Cookies

December 10, 2017 by kim Leave a Comment

Day 5 of my 12 days of cookies: Copycat Chick Fil A cookies. Have you ever had the cookies at Chick-Fil-A? If you haven’t, you’re missing out. They’re SO GOOD. I tried this recipe to make them at home, but they’re nothing like the Chick-Fil-A cookies. Granted, they’re good, just not Chick-Fil-A good. 

Maybe because I made them too small? I should’ve used like 1/4 cup of dough to make a large cookie instead of a tablespoon. I also think the oats were a bit too apparent. I’d grind them into more of a powder or break them up a little bit before mixing them into the batter.Recipe from om and nom.

Print
Copycat Chick Fil A Cookies

Ingredients

  • 1/2 cup butter, room temperature
  • 1/2 cup butter-flavored Crisco
  • 1 1/3 cup dark brown sugar
  • 1/3 cup sugar
  • 1 Tbs molasses
  • 2 Tbs corn syrup
  • 2 tsp vanilla
  • 2 eggs, room temperature
  • 3 cups all-purpose flour
  • 1 cup quick oats
  • 1 cup old-fashioned oats
  • 1 tsp baking powder
  • 1 tsp baking soda
  • 1 cup chocolate chunks
  • 1 cup semi-sweet chocolate chips

Directions

  1. Beat the butter, Crisco, brown sugar, and sugar until fluffy.
  2. Add in the molasses, corn syrup, and vanilla.
  3. Add the eggs and beat until well incorporated.
  4. Gradually mix in the flour, both oats, baking powder, and baking soda until just combined.
  5. Stir in the chocolate chunks and chips
  6. Allow dough to chill for two hours.
  7. Pre-heat oven to 350* F.
  8. Roll dough into balls and place on a cookie sheet. Bake for 9 minutes.
3.1
https://lovintheoven.com/day-5-copycat-chick-fil-cookies/

SaveSave

SaveSave

Filed Under: chocolate chip, cookies, dessert, oatmeal

Day 4: Rocky Road Cookies

December 9, 2017 by kim Leave a Comment

I’ve always liked cookies that had a meringue texture.. you know, the ones that are light and fluffy with a crunchy exterior? These rocky road cookies are just that. I give you day 4 of my 12 days of cookies!

These have nuts in them, but if you’re allergic, feel free to completely leave them out. That won’t affect the texture much, so don’t stress over it.

I always get worried when I’m mixing if there’s such a thing as “over whipping” the batter. I stuck pretty true to the recipe and timed my whipping. They turned out perfect. 
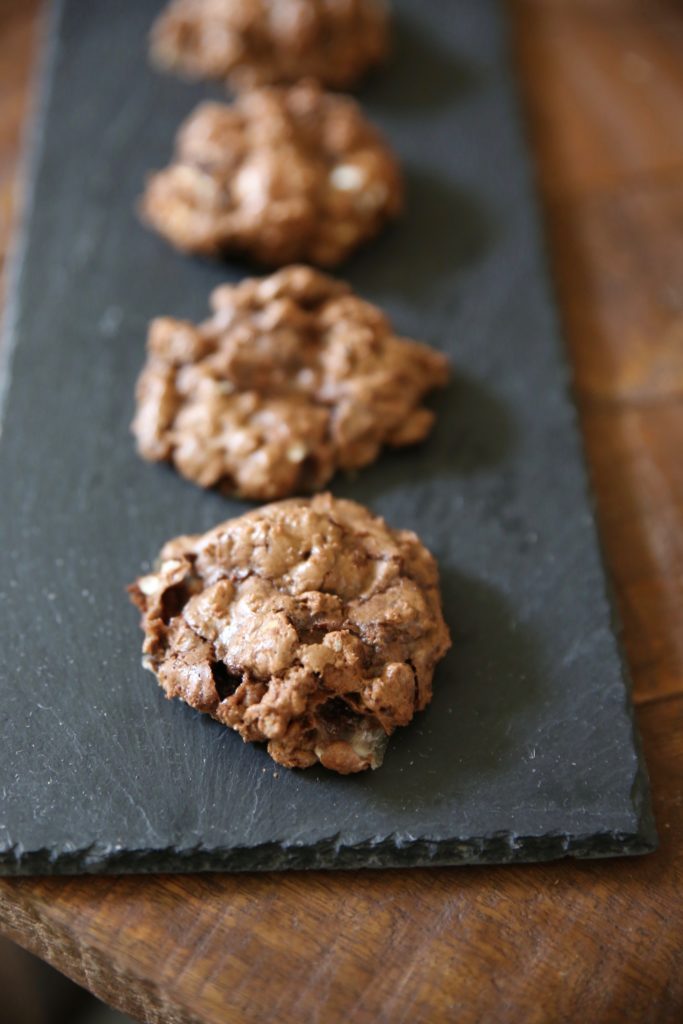
This is where a stand mixer comes in handy the most. Just turn the button on and let the machine do its thing.
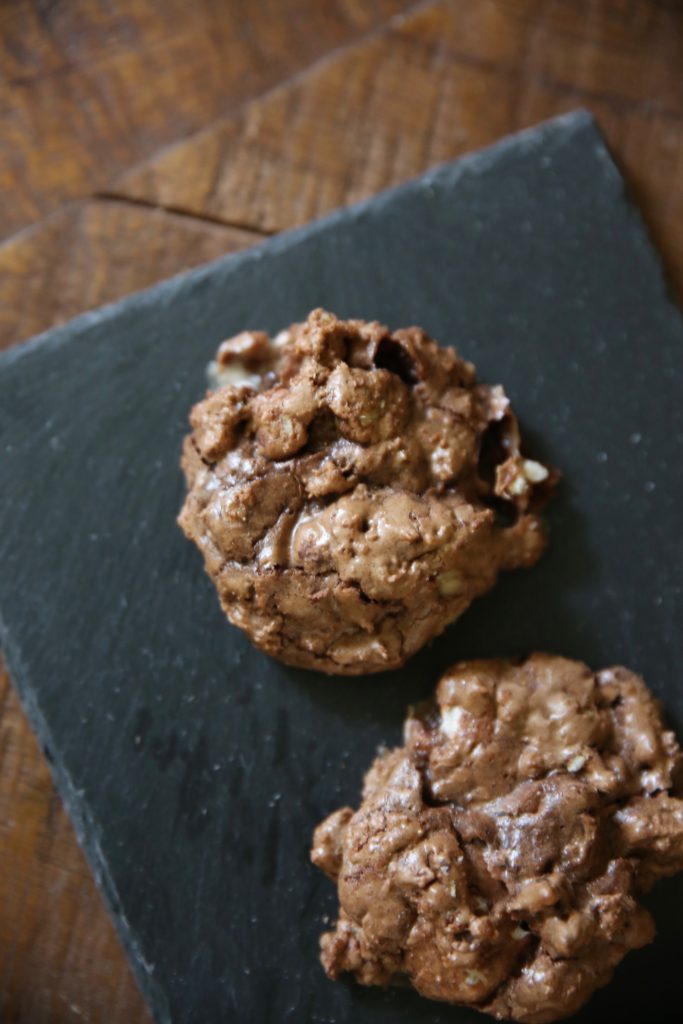
 Recipe from Momables.

Print
Rocky Road Cookies

Ingredients

  • 2 cups dark chocolate chips, divided
  • 6 tablespoons butter
  • ¾ cup flour
  • ¼ cup cocoa powder
  • ¼ teaspoon salt
  • 1 teaspoon baking powder
  • 2 large eggs
  • ⅔ cup sugar
  • 1½ teaspoons vanilla extract
  • ½ cup marshmallows
  • 2 cups chopped walnuts

Directions

  1. Melt 1 cup of the chocolate chips with the butter in the top of a double boiler until smooth. Remove from the heat, and let it cool to room temperature.
  2. Preheat the oven to 325F. Line cookie sheet pans with silpat and set aside.
  3. In a large bowl, beat the eggs, sugar, and vanilla until thick and light yellow, about 2 minutes.
  4. Gradually stir in the flour, cocoa, salt, baking powder, and cooled chocolate. Beat for a minute.
  5. Fold in the remaining 1 cup chocolate chips, the marshmallows, and the nuts.
  6. Drop a tablespoon of batter onto the prepared cookie sheet pans about 2 inches apart.
  7. Bake for approximately 10 minutes, or until just firm.
3.1
https://lovintheoven.com/day-4-rocky-road-cookies/

SaveSave

SaveSaveSaveSave

Filed Under: chocolate chip, cocoa, cookies, dessert

  • « Previous Page
  • 1
  • 2
  • 3
  • 4
  • 5
  • 6
  • …
  • 105
  • Next Page »

hi! i'm kim-- a girl mom, baker, blogger, and ex-flight attendant. welcome!

Search

  • Facebook
  • Instagram
  • Pinterest
  • Twitter

Categories

RODELLE-BABadge


Categories

  • Facebook
  • Instagram
  • Pinterest
  • Twitter

Copyright © 2026 · Foodie Pro Theme by Shay Bocks · Built on the Genesis Framework · Powered by WordPress