Lovin' From the Oven

  • Home
  • About Me
  • Recipes
  • FAQ
  • My Lifestyle Blog
  • Disclaimer

Tres Leches Cake

May 15, 2010 by kim 19 Comments


Tres Leches Cake. My boyfriend speaks fluent Spanish and I’m not gonna lie, I always say phrases to him in Spanish because I’d like to think that I’m fluent in another language besides English and Vietnamese.

No me gusta.
Te amo.
¿Qué Hora Es?
¡Ayúdame, por favor!


Nothing too special, really. Just the basic phrases you learn in Spanish I. And besides, practice makes perfect, right? How am I going to learn if I never try? I’m actually not that bad at Spanish– I used to write letters in Spanish when I was writing to my bestie on his mission in Guatemala. It’s the whole speaking part that I struggle with.

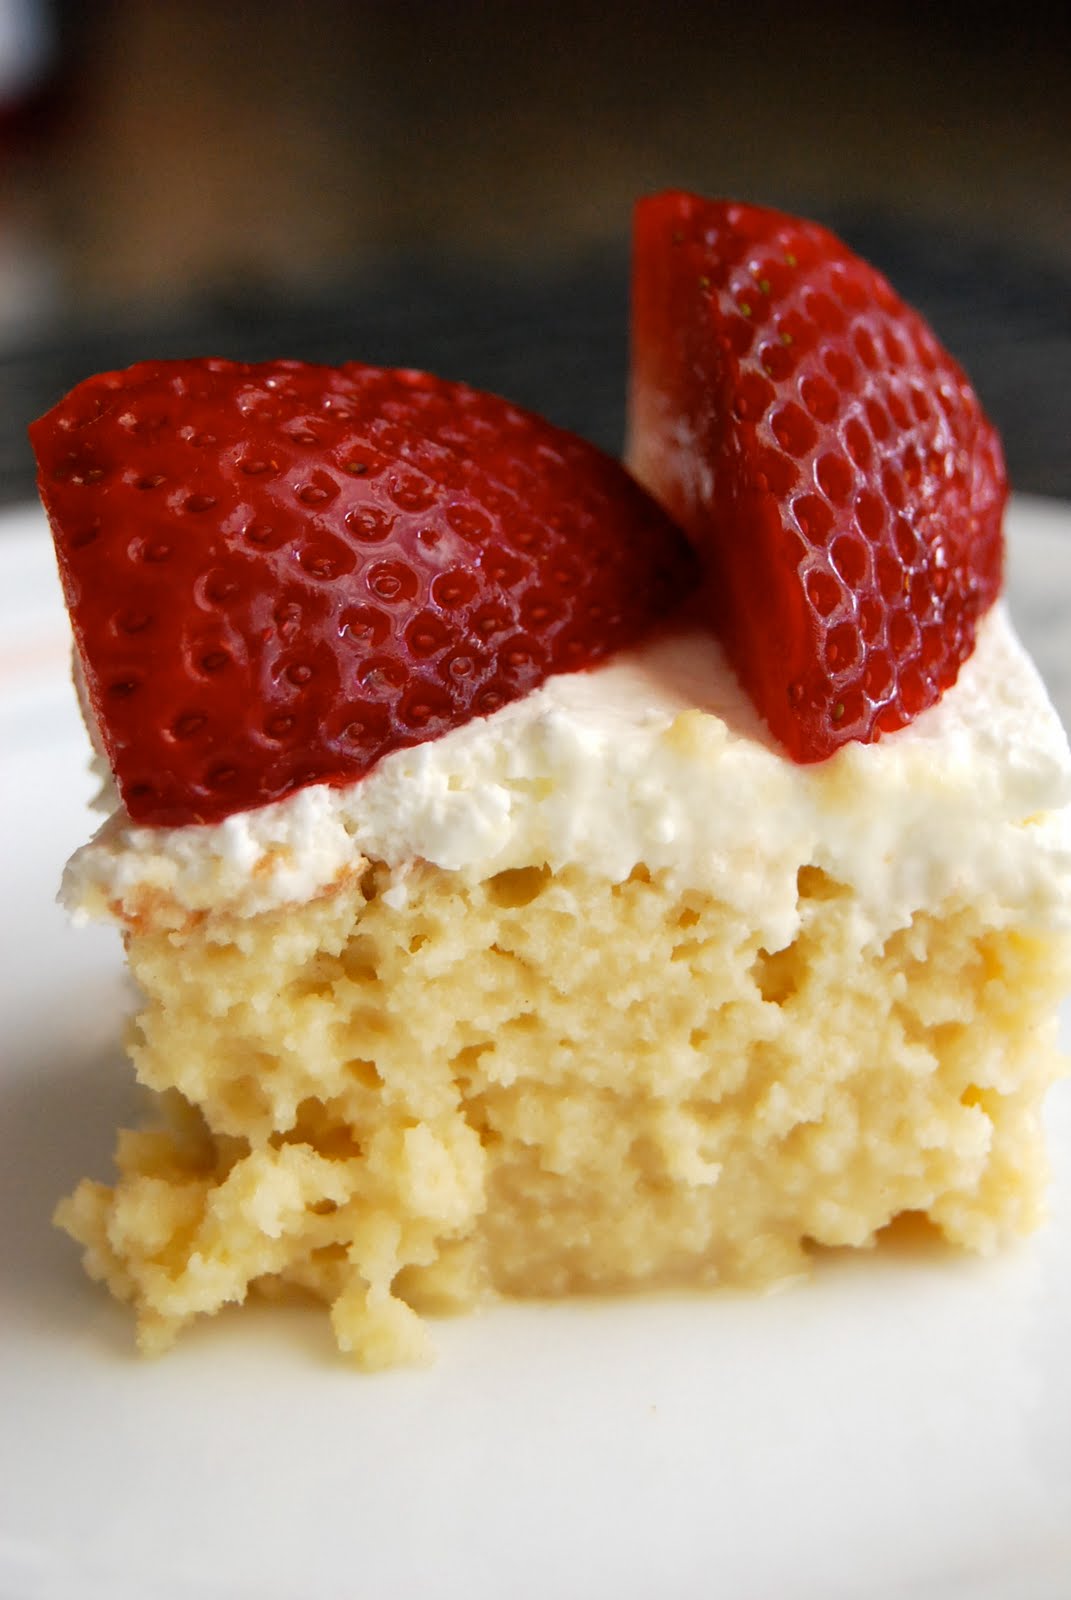
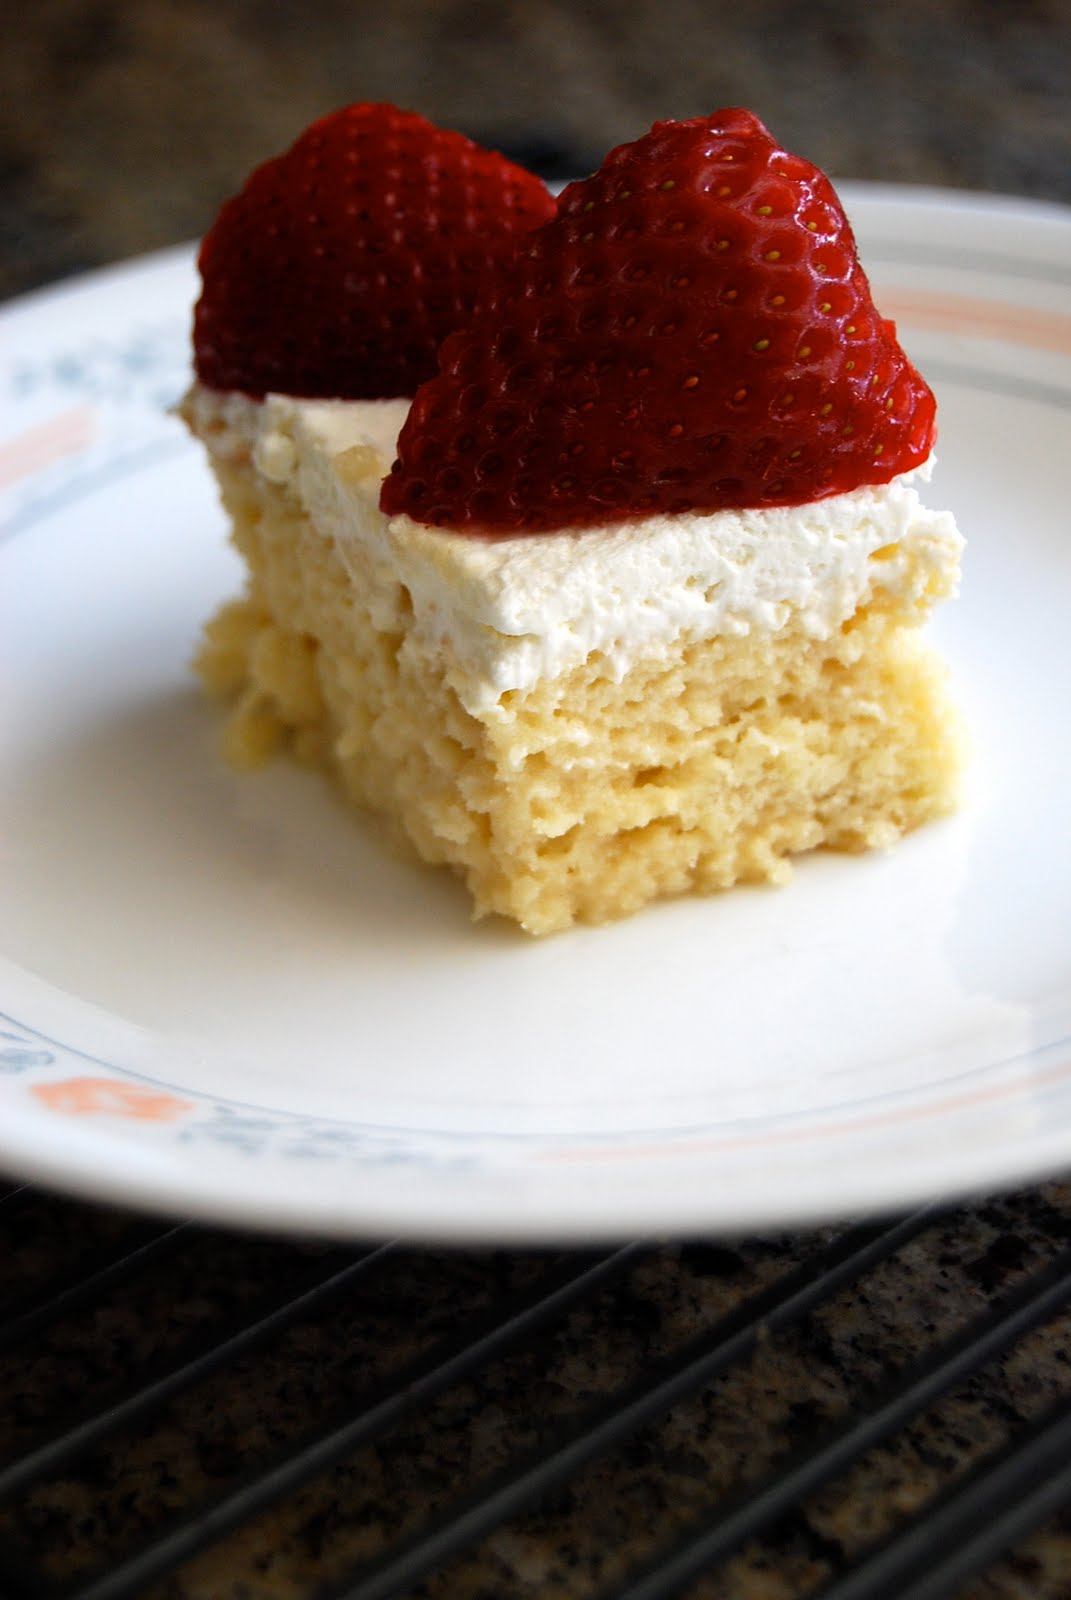
When I made this cake, I must have gone around the house saying “Tres Leches Cake!” a million times because it’s fun to say. I also took one of my formspring reader’s advice and baked something out of the ordinary– something more cultural. This cake is most popular in Latin America and I actually tried it for the first time at one of my boyfriend’s family gatherings since his grandma made it. It’s kind of strange, at first, if you’re not expecting it to be so…. wet. It’s basically a sponge cake soaked with three different kinds of milk. It may initially be very sweet, but the cake tends to mellow out if you refrigerate it overnight. I added freshly cut strawberries to top it all of, but any fruit will do. You can even leave it plain if you’d like. Recipe from The Pioneer Woman.

Ingredients

  • 1 cup All-purpose Flour
  • 1-½ teaspoon Baking Powder
  • ¼ teaspoons Salt
  • 5 whole Eggs
  • 1 cup Sugar, Divided
  • 1 teaspoon Vanilla
  • ⅓ cups Milk
  • 1 can Evaporated Milk
  • 1 can Sweetened, Condensed Milk
  • ¼ cups Heavy Cream

FOR THE ICING:

  • 1 pint Heavy Cream, For Whipping
  • 3 Tablespoons Sugar

  1. Preheat oven to 350 degrees. Spray a 9 x 13 inch pan liberally until coated.
  2. Combine flour, baking powder, and salt in a large bowl. Separate eggs.
  3. Beat egg yolks with 3/4 cup sugar on high speed until yolks are pale yellow. Stir in milk and vanilla. Pour egg yolk mixture over the flour mixture and stir very gently until combined.
  4. Beat egg whites on high speed until soft peaks form. With the mixer on, pour in remaining 1/4 cup sugar and beat until egg whites are stiff but not dry.
  5. Fold egg white mixture into the batter very gently until just combined. Pour into prepared pan and spread to even out the surface.
  6. Bake for 35 to 45 minutes or until a toothpick comes out clean. Turn cake out onto a rimmed platter and allow to cool.
  7. Combine condensed milk, evaporated milk, and heavy cream in a small pitcher. When cake is cool, pierce the surface with a fork several times. Slowly drizzle all but about 1 cup of the milk mixture—try to get as much around the edges of the cake as you can.
  8. Allow the cake to absorb the milk mixture for 30 minutes. To ice the cake, whip 1 pint heavy cream with 3 tablespoons of sugar until thick and spreadable.
    Spread over the surface of the cake. Decorate cake with whatever fruit your heart desires. Cut into squares and serve.


The Darling Foodie
Facebook Fan Page
Ask me anything on Formspring

Filed Under: cake, dessert, frosting, fruit

Jam Cake

April 13, 2010 by kim 7 Comments

I have to share with all of you this coincidence that arose from my kitchen today. I did the norm–baked a cake, let it cool for a whole two seconds before I gave in to cutting it, and then made 16 even pieces. I pulled a piece out and then carefully placed it on my plate before going to grab my camera. When I came back, the slice shifted a bit because it wasn’t completely cooled and turned into this beauty. A heart! Just itching for a photoshoot!

I find a lot of things cute, but this is SUPER cute! Heart shaped desserts make them taste ten time better. I can attest to it.


Can you tell it’s not cooled yet? The jam’s oozing everywhere!

Life is beginning to take its toll on me. Too much work and not enough baking, in my opinion. This is why this little heart shaped piece of cake made me so happy! It’s a sign that I need to reevaluate my schedule and find the time to do what I love again. 🙂 Someone please tell me why I’m not in culinary school already? ::sigh:: A girl can dream.


This is my second recipe from Framed, and it turned out just as good as the first recipe. Her pictures are truly stunning and she has a lot of recipes that I want to try. The cake was very fluffy and light, perfectly accompanied by the jam. The cake didn’t have too much flavor, so don’t be afraid to use the whole cup of jam as listed in the recipe. Feel free to change up the jam flavors to whatever floats your boat. The crumble topping had the perfect texture and crumbled perfectly. Every dessert should have a crumb topping, don’t you think?

I did adjust this recipe quite a bit because I didn’t have milk on hand, but it still turned out great. I’m posting the original recipe with my changes in italics.
  • 2 cups sifted all-purpose flour
  • 1/2 cup sugar
  • 1 tablespoon baking powder
  • 1/2 teaspoon salt
  • 1/3 cup butter
  • 1 egg, beaten
  • 3/4 cup milk (I substituted this for one serving of strawberry yogurt, 2 tablespoons of vegetable oil, 1/3 cup of evaporated milk, and a splash of water)
  • 1/2 cup apricot jam (I used raspberry)
  • 1/2 cup cherry jam (I used strawberry)

Topping:

  • 1/3 cup light brown sugar, firmly packed
  • 2 tablespoons flour
  • 2 tablespoons butter
  • 1/2 cup chopped walnuts or pecans (I used about 1/3 cup finely chopped walnuts)

1. Combine flour, sugar, baking powder, and salt. Cut in butter with pastry blender to make a fine crumbly mixture – or you can use a food processor.

2. Add egg and milk; stir just until dry ingredients are moistened.

3. Spoon batter into a generously buttered 9-inch square pan. Spoon both jams over the batter, then swirl through the batter with a knife.

4. Mix topping ingredients until crumbly and sprinkle evenly over batter.

5. Bake at 400° for 25 to 30 minutes, until done. Cut into squares and serve while still warm


The Darling Foodie
Facebook Fan Page
Ask me anything on Formspring

Filed Under: berry, cake, dessert

Chocolate Chip Coffee Cake

February 28, 2010 by kim 31 Comments


I’ve been baking like crazy recently. You have noooo idea. I baked six different things last night for my boyfriend’s nieces’ birthday party today. They’re growing up so fast! I have a lot to live up to at every one of the boy’s family events now… Since I brought baked goods the first time I met everyone, I’m kind of expected to bring them for the rest of my life. I’ve designated myself as the dessert girl without purposely doing so. Hahaha, I don’t mind.. I actually love it! Being able to bake Costco amounts of food and having it all be eaten in a day makes me feel great. Plus, my boyfriend has an amazing family and they’re well worth the effort.

This recipe comes from Pete Bakes and is uh-mazing. Recipes that come from the family and passed down are always the best. Also, it’s from a boy that bakes! How presh is that?! Do you have any idea how hard they are to find? As much as I love my boyfriend, he can barely boil water if his life depended on it. Boys that can cook, let alone bake, are rare to come by. Trust me. Also, trust me when I say that this recipe truly rocks. It’s moist, light, and pleasantly sweet.

  • 1 stick butter
  • 1 1/2 cups sugar
  • 1/3 cup brown sugar
  • 2 eggs
  • 1 cup sour cream
  • 1 tsp vanilla
  • 1 tsp water
  • 2 cups flour
  • 1 1/2 tsp baking powder
  • 1 tsp baking soda
  • 1 tsp cinnamon
  • 6 oz chocolate chips

1. mix 1/2 cup white sugar, brown sugar, cinnamon, chocolate chips.

2. cream butter, 1 cup white sugar, and eggs. add the sour cream, vanilla and water.

3. in a separate bowl, mix flour, baking powder and soda. combine into the wet ingredients.

4. pour half of the batter into a greased and floured 9×13 inch pan. sprinkle half of the cinnamon, sugar and chocolate chip mixture on the batter. pour in the rest of the batter and top with the rest of the cinnamon, sugar and chip mix.

5. bake at 350 F for 30 minutes. let it cool for at least an hour before cutting into it, or the chocolate chips will be too melty and it will be hard to get out of the pan.

—————————————————————–

oh, p.s. i created a FORMSPRING, so click over and ask me anything you’d like!

Filed Under: breakfast, cake, chocolate chip, dessert

  • « Previous Page
  • 1
  • …
  • 13
  • 14
  • 15
  • 16
  • 17
  • …
  • 23
  • Next Page »

hi! i'm kim-- a girl mom, baker, blogger, and ex-flight attendant. welcome!

Search

  • Facebook
  • Instagram
  • Pinterest
  • Twitter

Categories

RODELLE-BABadge


Categories

  • Facebook
  • Instagram
  • Pinterest
  • Twitter

Copyright © 2026 · Foodie Pro Theme by Shay Bocks · Built on the Genesis Framework · Powered by WordPress