Lovin' From the Oven

  • Home
  • About Me
  • Recipes
  • FAQ
  • My Lifestyle Blog
  • Disclaimer

Pumpkin Doughnut Muffins with a Cheerios Streusel for a Cheerios Breakfast Bash!

June 22, 2011 by kim 12 Comments

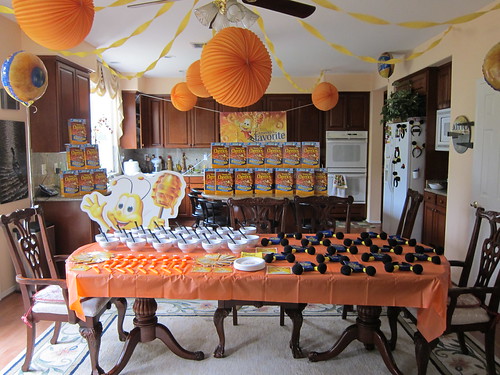
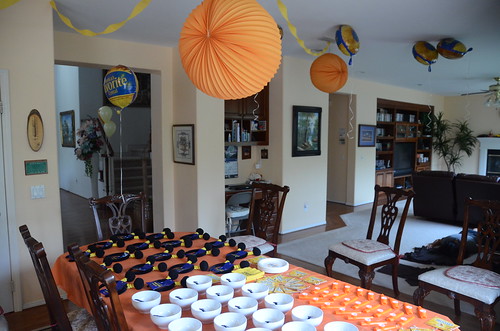
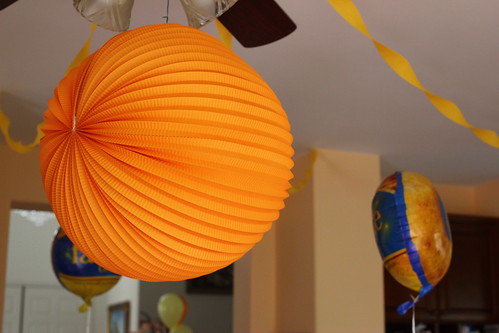
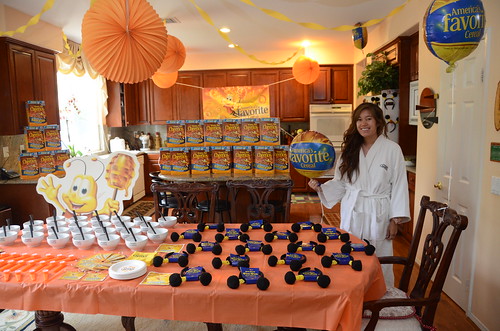
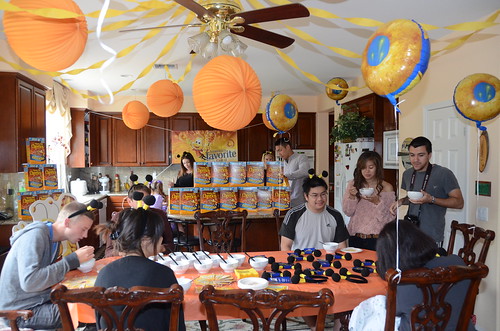
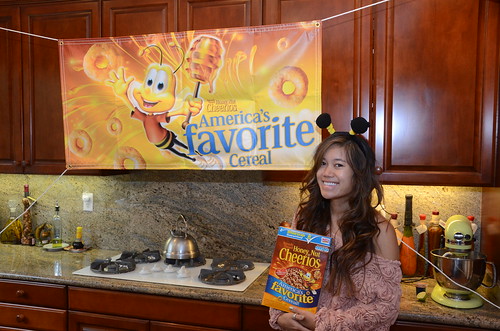
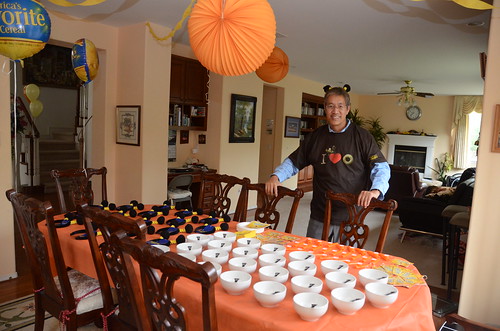
Remember the Cheerio Snickerdoodles I made a while back? Well, Cheerios caught wind and liked them so much that they asked me if I wanted to have my very own Cheerios breakfast bash, on them. That wasn’t very hard to answer… A week and 8 HUGE packages later, this was what my kitchen looked like (with lots of help from my dad and BYU buddies that came to visit me this past weekend):

IMG_3188

Can you believe that the boys actually twirled the streamers?

DSC_7002

IMG_5791

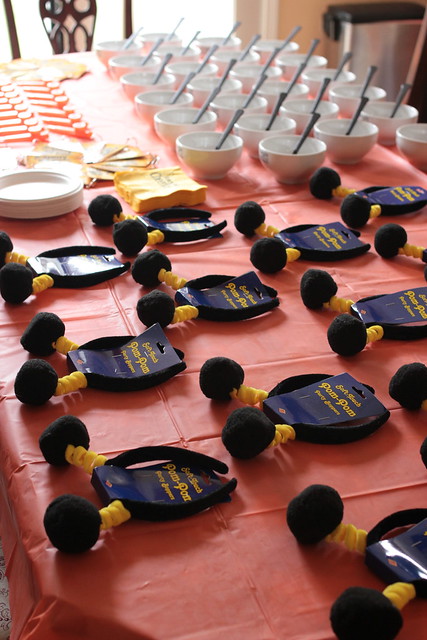
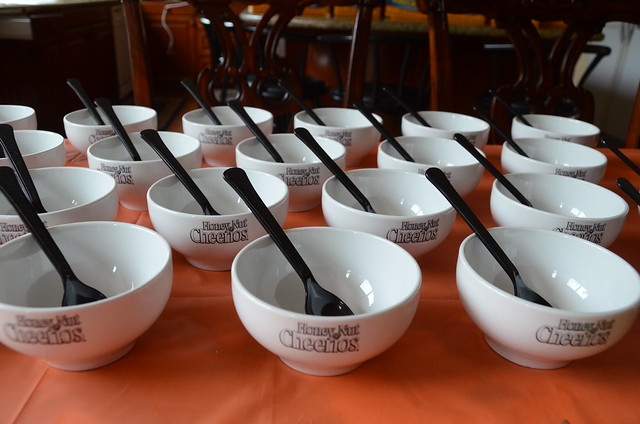
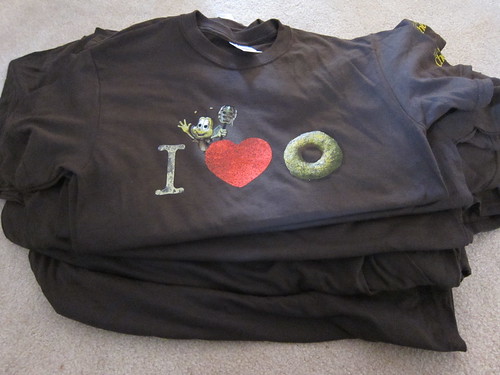
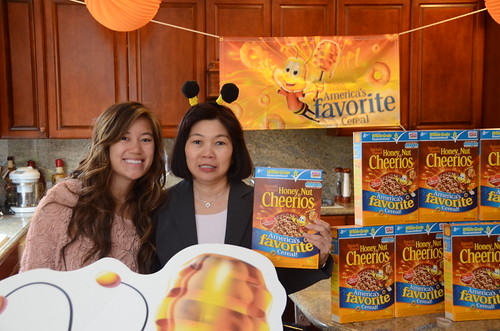
Everyone that came got to keep a Honey Nut Cheerios bowl, kazoo, recipe flip deck, bee antennas, and a t-shirt!

IMG_5774

DSC_6921

IMG_3192
As for me, I got a sweet robe!

DSC_6998

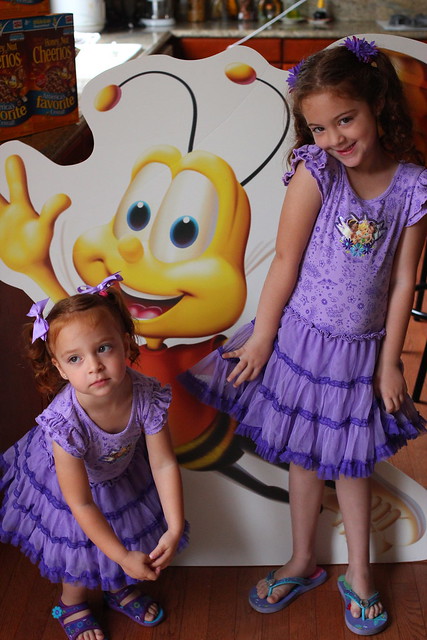
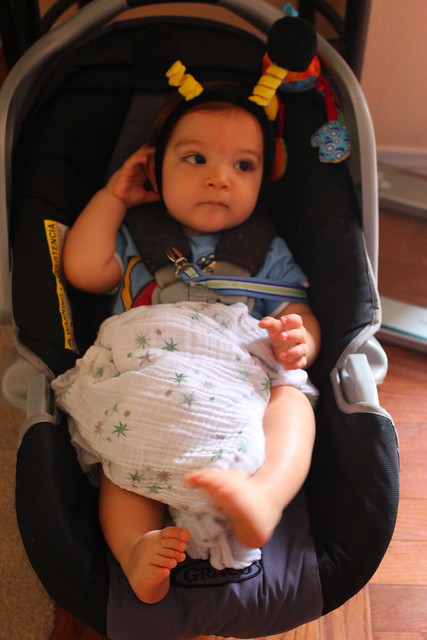
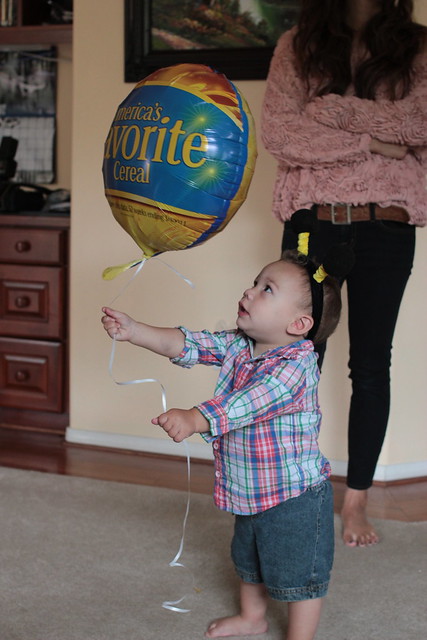
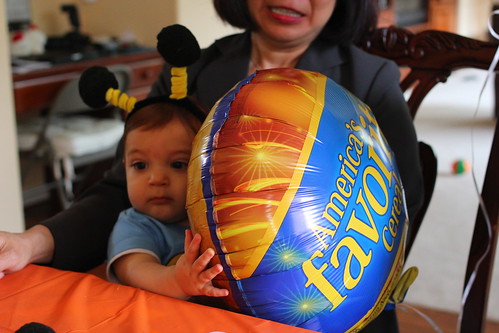
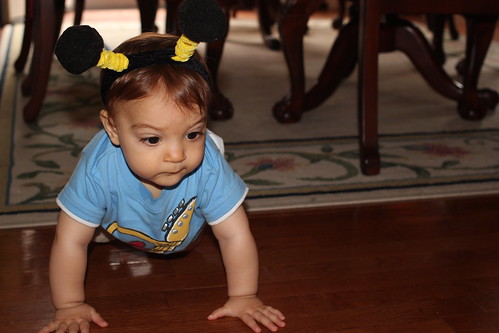
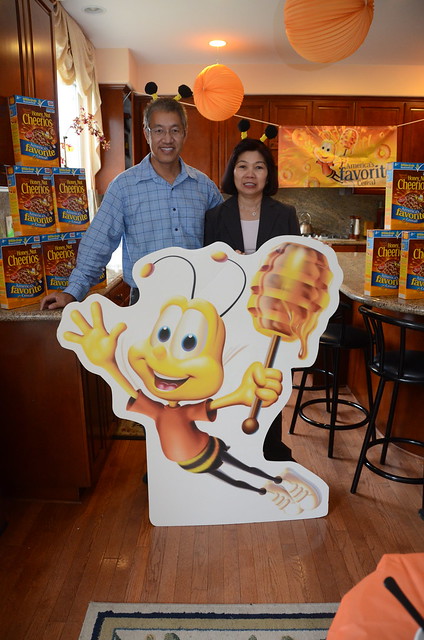
Then, all the cuties came and fell in love with BuzzBee.

IMG_5805

DSC_7058

IMG_5826

Did you know that it would take 3,168,000,000 Honey Nut Cheerios to wrap all the way around the earth? Me either.

IMG_5802

IMG_5786

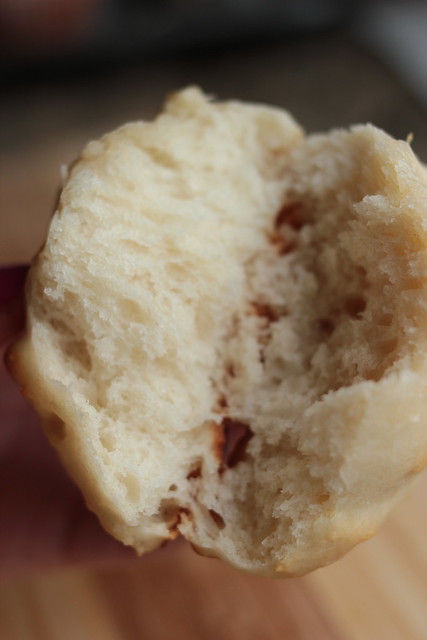
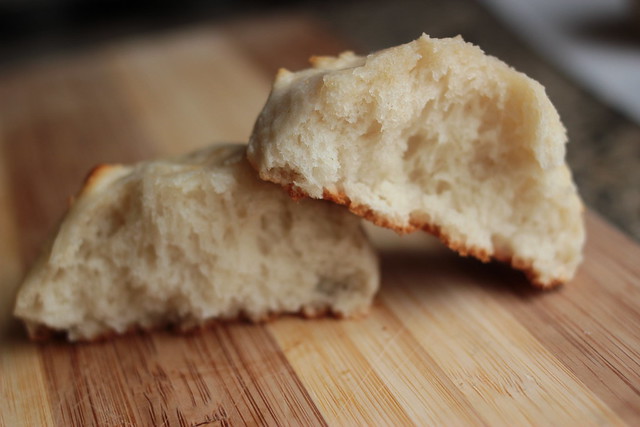
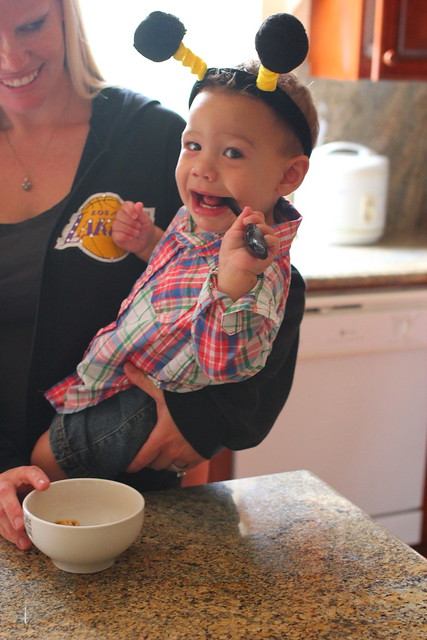
And we ate our hearts away…

DSC_7107

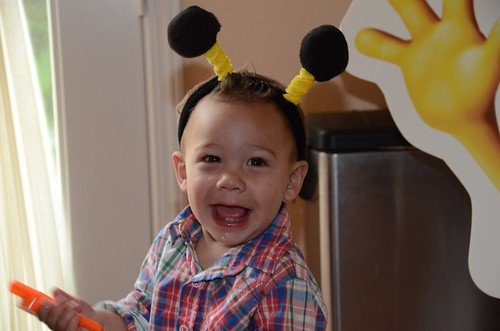
BuzzBee wasn’t the only charming fella…

IMG_5846

DSC_7081

DSC_7073

IMG_5864

DSC_7088

DSC_7037

DSC_6946

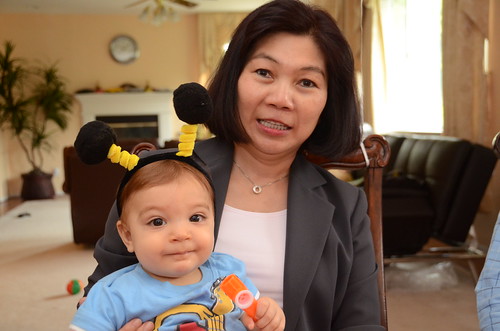
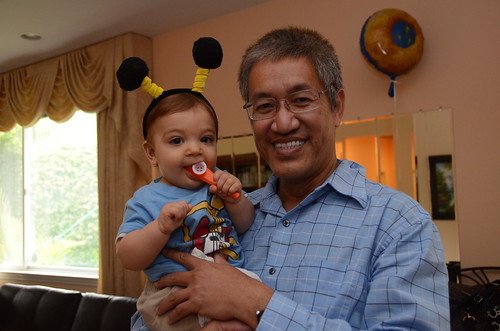
It was so cute how into it my dad got. He really went all out and helped so much with the picture taking.

DSC_7032

DSC_7035

DSC_7017

Also, special thanks to my DB for taking pictures as well!

DSC_7099

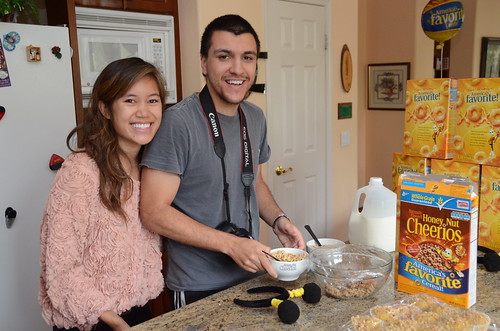
Being a recent (errrrr maybe not so recent) college grad, I lived off this stuff. Cereal and milk.. perfect for any time of the day! I enjoy Honey Nut Cheerios so much because it’s the perfect amount of sweet. When I was little, I used to add sugar to all my cereals (go figure). This is the only one I didn’t touch!

Do like them on Facebook and check out their website… it has a lot of great ideas, including a recipe section which I recently just discovered. Did someone say more Cheerios desserts?

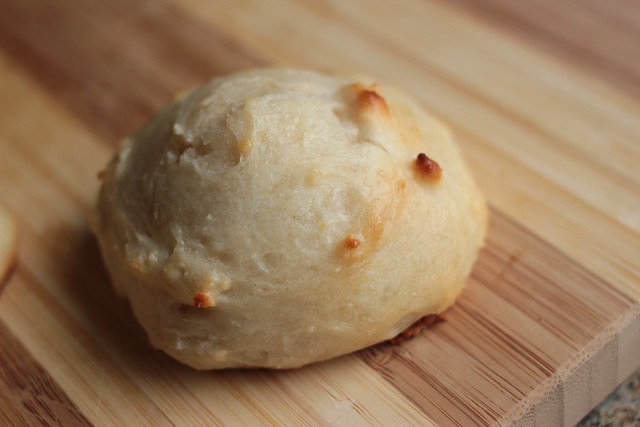
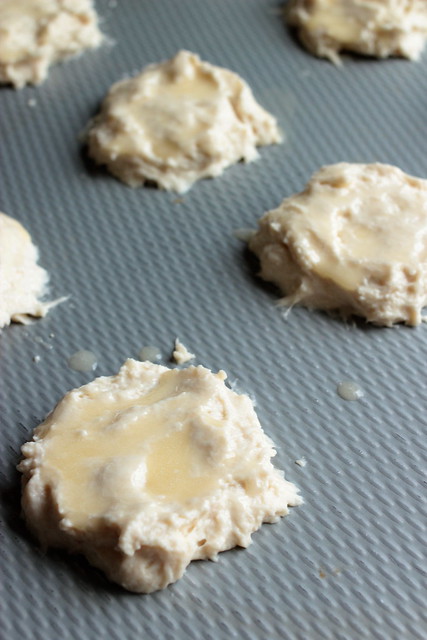
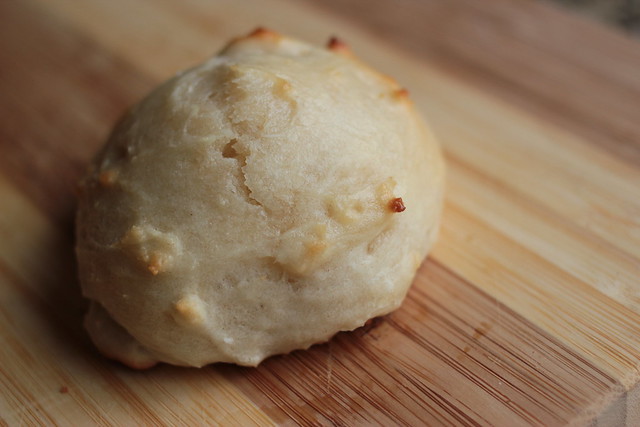
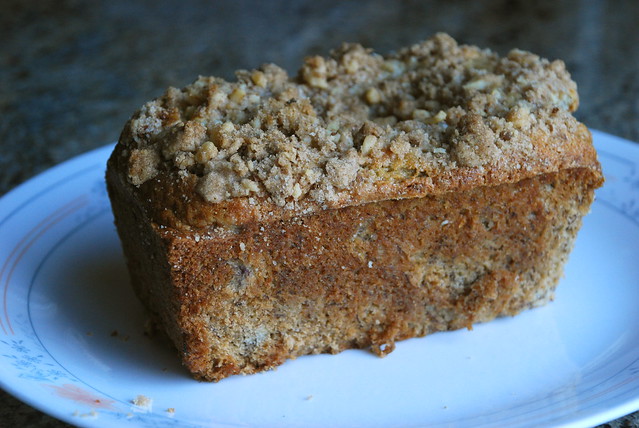
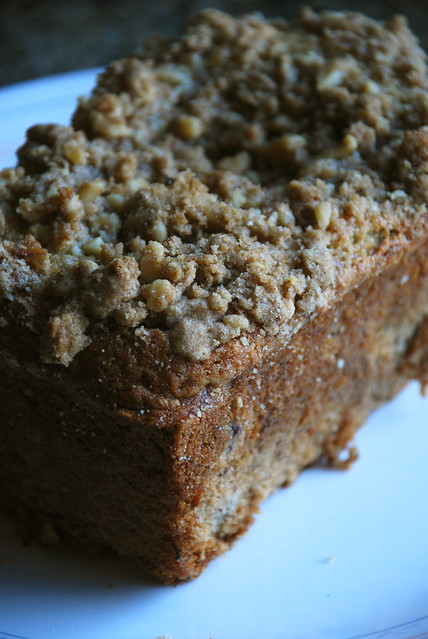
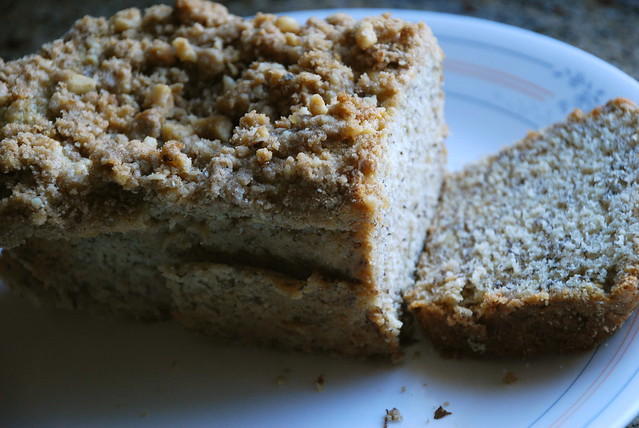
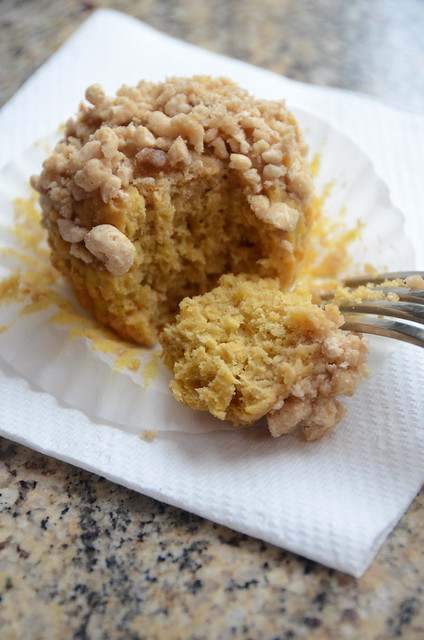
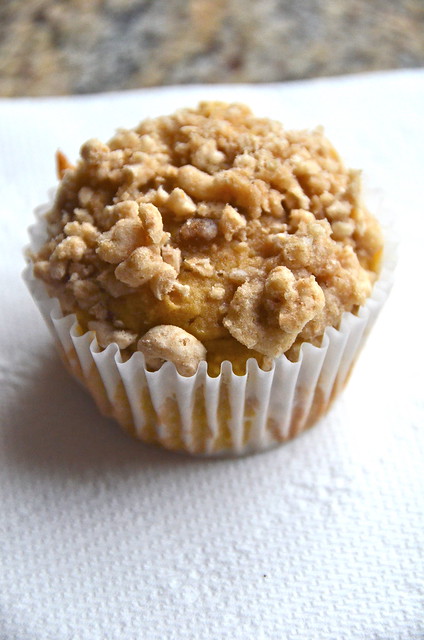
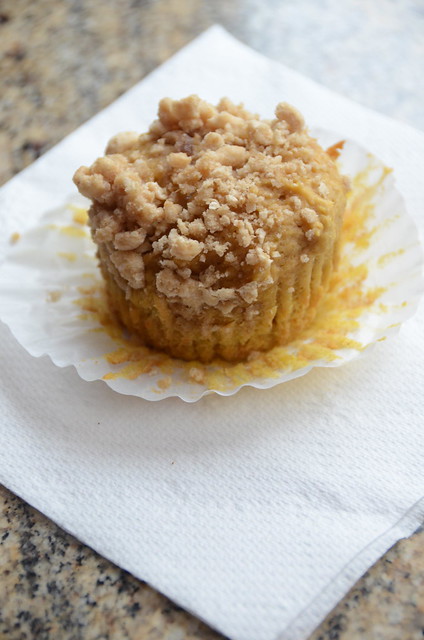
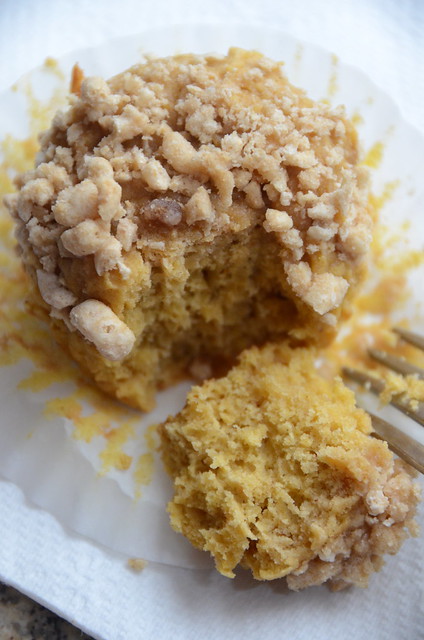
And of course, how can we have a Cheerios party without having a Cheerios baked good? I thought the Cheerios flavor would go well with pumpkin, so here’s what I came up with:

DSC_6967

DSC_6952

DSC_6966

DSC_6975

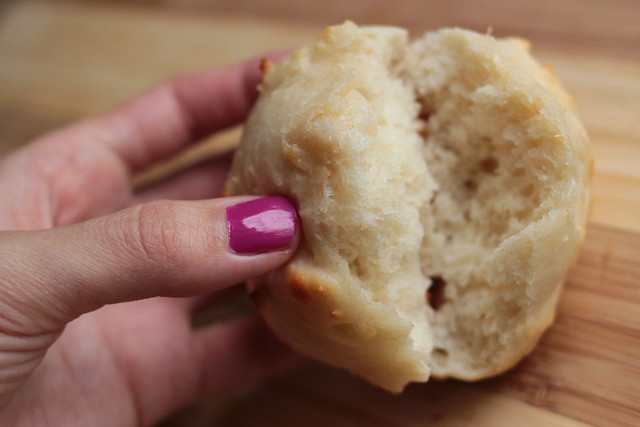
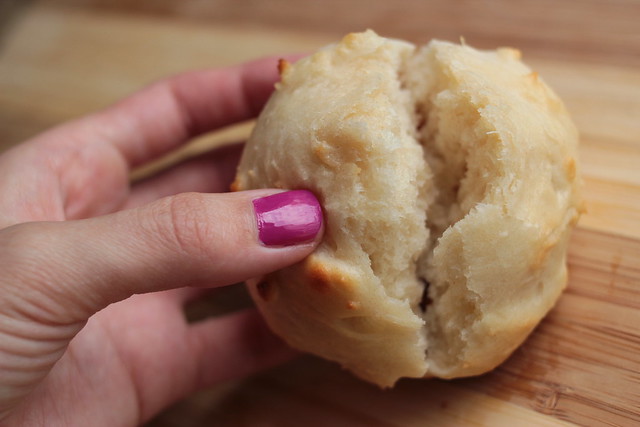
They were a hit with the little ones!

IMG_3223

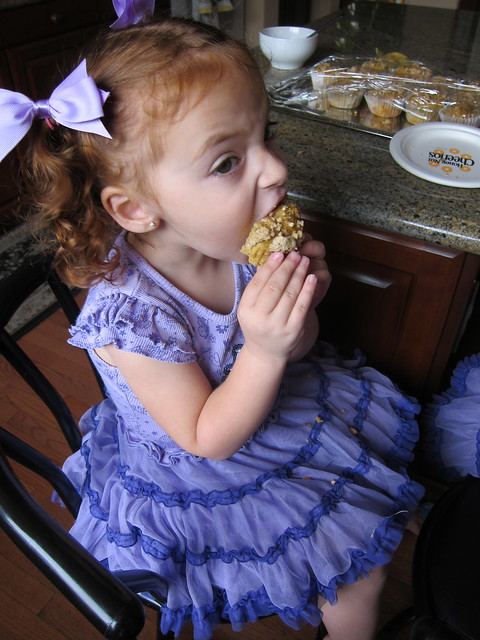
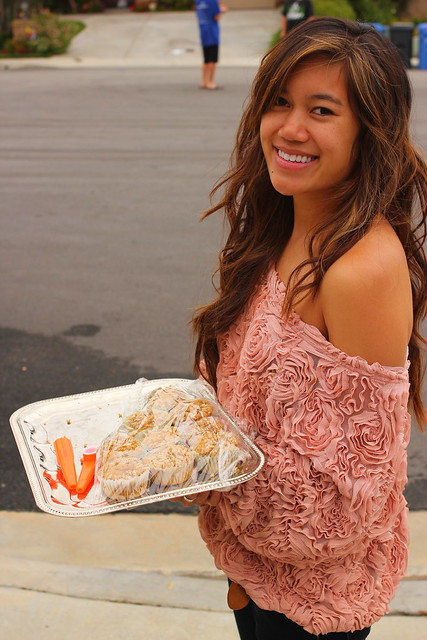
I even took them outside and gave them to all my little neighbor kids (along with some kazoos).

IMG_5877

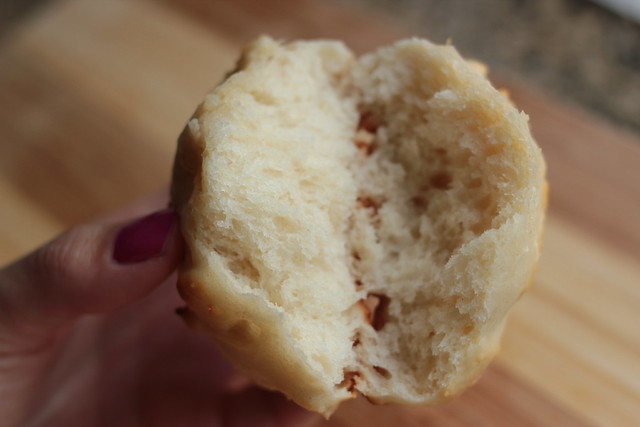
The doughnut muffin recipes comes slightly adapted from the Food Librarian, while the streusel recipe was mine. I didn’t completely crush the Cheerios in the topping, but I would recommend doing so next time. They became chewy if they weren’t crushed all the way. Makes 24 muffins.

Muffins

  • 1 1/4 sticks unsalted butter, room temperature
  • 3 cups all-purpose flour
  • 2 1/2 teaspoons baking powder
  • 1/4 teaspoon baking soda
  • 1 teaspoon salt
  • 1 1/2 teaspoon pumpkin pie spice 
  • 1/3 cup buttermilk (I used regular milk)
  • splash of vanilla
  • 1 1/4 cups pure pumpkin puree
  • 3/4 cup light brown sugar
  • 2 large eggs

Cheerio Streusel

  • 1 cup crushed Honey Nut Cheerios cereal
  • 1/2 cup flour
  • 1/2 cup light brown sugar
  • 1/3 cup butter, softened
  1. Preheat oven to 350 degrees.
  2. Line a muffin pan.
  3. In a bowl, whisk together the dry ingredients: flour, baking powder, baking soda, salt, and spices. Set aside.
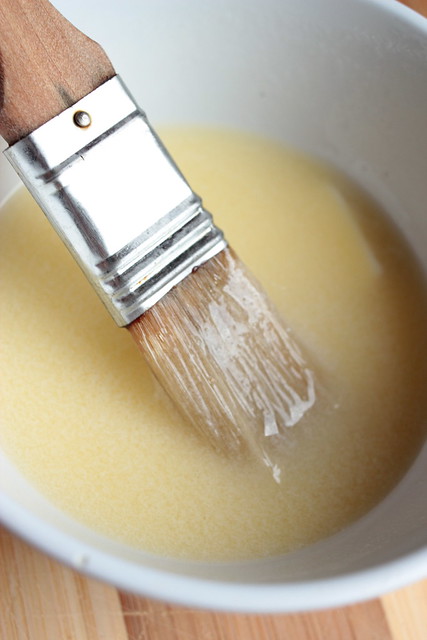
  4. Whisk together the buttermilk and pumpkin puree. Set aside.
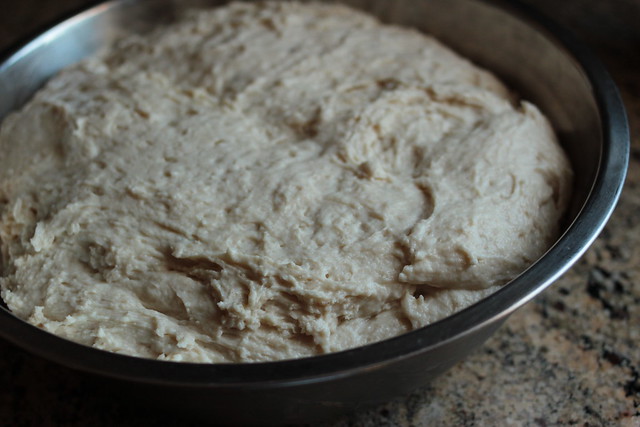
  5. Using your mixer, cream butter and brown sugar until light and fluffy. Slowly add in the eggs and vanilla until mixed.
  6. Stir in the flour mixture to the butter mixture in three additions, alternating with the pumpkin puree mixture. Do not overmix.
  7. Spoon the batter into the liners until they are about 3/4 full.
  8. For the topping, mix all ingredients together in a bowl with a fork until it comes together. Evenly distribute the topping onto each individual muffin.
  9. Bake for about 15 minutes, until a toothpick comes out clean.
It was fun being able to act like a kid again for a morning. Thanks Cheerios for helping me do so! 

Filed Under: breakfast, comfort food, food porn, muffins, personal, pumpkin

Buttermilk Biscuits

April 4, 2011 by kim 12 Comments

IMG_4256

IMG_4267

First of all, thanks for all your suggestions on what to do with a carton of buttermilk over on my Facebook Fan Page! I ended up making one of the more popular suggestions, buttermilk biscuits. I was so excited with how they turned out that I even made a video. What got over me? I have no idea. So here it is, my very first video (nothing special, it’s just shot using my webcam so don’t get too excited). After watching it, I realized I may or may not have biscuit batter in my hair. But hey, that’s life.

Scary, right? Let’s stick to pictures… This is the dough after it’s been sitting in the fridge for a day.
IMG_4022

And this is how I chose to splat them on the baking sheet.
IMG_4239

Melted a bit of butter…
IMG_4234

I brushed the butter on prior to making in one batch, and after they were baked in another.
IMG_4246

IMG_4258

IMG_4266

IMG_4262

Look at that gorgeous center!
IMG_4264

IMG_4270

So here’s the recipe, courtesy of Melissa and dedicated to Sarah (“my favorite Southern friend”). 🙂 Thanks again, readers!

Makes approximately 2 dozen large biscuits.

  • ‎1 package yeast
  • 1/4 cup warm water
  • 4 teaspoons baking powder
  • 1/2 teaspoon baking soda
  • 2 teaspoons salt
  • 1/2 cup vegetable oil
  • 2 1/2 cups buttermilk
  • 1/2 cup sugar
  • 5 1/4 cup flour
  1. Dissolve the yeast in the warm water and set aside.
  2. In a separate bowl, mix together the baking powder, baking soda, salt, vegetable oil, buttermilk, sugar, and flour.
  3. Add in the yeast mixture. Mix until well combined.
  4. Keep in refrigerator and pinch off as much as you need. It can be rolled out or dropped onto greased cookie sheet.
  5. Bake at 450 degrees for 10 minutes or until brown.
*It gets better each day it sits in the refrigerator. (Melissa’s note that I whole heartedly agree with!)

I chose to brush mine with melted butter. I tried putting the butter on pre baking and post baking. In my opinion, they turned out better when the butter is brushed on post baking. Also, the dough is very, very sticky to work with. Don’t believe me? See for yourself:

IMG_4166

“Splatting” them on the baking sheet was wayyyyy easier than rolling it out, but if you’re feeling courageous, I say go for it. Looks can be deceiving, though. It actually washes off your hands quite easily under warm water. I only know that because I had to wash one hand using that one hand so that I could take this picture.

P.S. I’ll be heading to San Fran/Berkeley for this weekend. Does anyone have any food suggestions that I must check out? Thanks in advance!

Filed Under: bread, breakfast, comfort food, snack

Simply Banana Bread

March 27, 2011 by kim 10 Comments

DSC_4087

DSC_4080

DSC_4095

DSC_4096

Everyone once in a while I get into a rut. I type and backspace more times than I can count and end up with a blog post full of pictures, but no words. Well, today is one of those days. Usually, I’ll be driving and think of something to blog about, so I quickly grab my pen and jot it down on a post it note before I forget (at a red light, of course). That post-it note is empty for this week and I’ve got nothing to blog about at 2AM in the morning. My apologies!

So to go with my semi-boring post, here’s yet another banana bread. Yes. I can’t get enough. There are so many bananas in a bunch that some are bound to be made into bread! The bread and streusel did not disappoint, but then again, does streusel ever disappoint? The recipe is from simply scratch, although I didn’t toast the banana beforehand and I added a splash of vanilla extract.
I also made three mini loaves instead of one huge one. The amount of streusel topping was quite overwhelming, which I loved! If you’re not a fan of eating spoonfuls of streusel, just halve the topping recipe. Now go bake away!
For the Bread:

  • 3 whole bananas
  • 1 tablespoon milk
  • 2 teaspoon ground cinnamon
  • 1/8 teaspoon fresh grated nutmeg
  • 8 tablespoons (1 stick) unsalted butter, softened
  • 1 cup granulated sugar
  • 2 large eggs
  • 1 tsp vanilla
  • 2 cups all-purpose flour
  • 1 teaspoon baking powder
  • 1 teaspoon baking soda
  • 1 teaspoon salt

Streusel Topping:

  • 1/3 cup all purpose flour
  • 1/3 cup dark brown sugar
  • 1/4 teaspoon cinnamon
  • 4 tablespoons cold unsalted butter
  • A pinch of salt
  • 1/3 cup Walnuts, Chopped
  1. Preheat oven to 325 degrees.
  2. Butter a 9 x 5 x 3 inch loaf pan.
  3. Cream together the butter and sugar until well mixed. Add the eggs and vanilla, mix well.
  4. In a separate bowl, mash the bananas, cinnamon and nutmeg with a fork. Mix in the milk.
  5. Add the prepared banana mixture to the creamed butter/sugar mixture and mix until combined. Add in the dry ingredients (flour, baking powder, baking soda and salt) until incorporated.
  6. Pour batter into prepared pan and bake 40-45 minutes. With ten minutes remaining, prepare the streusel topping by combining the butter, flour, and dark brown sugar until well mixed. Add the cinnamon, pinch of salt and the chopped walnuts. After the 40 minutes remove and sprinkle on topping evenly and bake for an additional 20-25 minutes or until a toothpick inserted in the center comes out clean. Set aside to cool on a rack for at least 15 minutes.

Filed Under: banana, bread, breakfast, nuts

  • « Previous Page
  • 1
  • …
  • 29
  • 30
  • 31
  • 32
  • 33
  • …
  • 39
  • Next Page »

hi! i'm kim-- a girl mom, baker, blogger, and ex-flight attendant. welcome!

Search

  • Facebook
  • Instagram
  • Pinterest
  • Twitter

Categories

RODELLE-BABadge


Categories

  • Facebook
  • Instagram
  • Pinterest
  • Twitter

Copyright © 2026 · Foodie Pro Theme by Shay Bocks · Built on the Genesis Framework · Powered by WordPress