Lovin' From the Oven

  • Home
  • About Me
  • Recipes
  • FAQ
  • My Lifestyle Blog
  • Disclaimer

Instant Pot: Chao Ga (aka Chicken Congee or Rice Porridge)

October 20, 2018 by kim 3 Comments

Oh my gosh, you guys. I’m the worst. I have quite a few posts in my queue and I never posted them! I’m going to try and get them all published so I can share this goodness with you. This was from when I went through my Instant Pot phase and used it for every single meal.

I still love the Instant Pot, but I use it mostly for making rice now and days since I have zero time for anything.

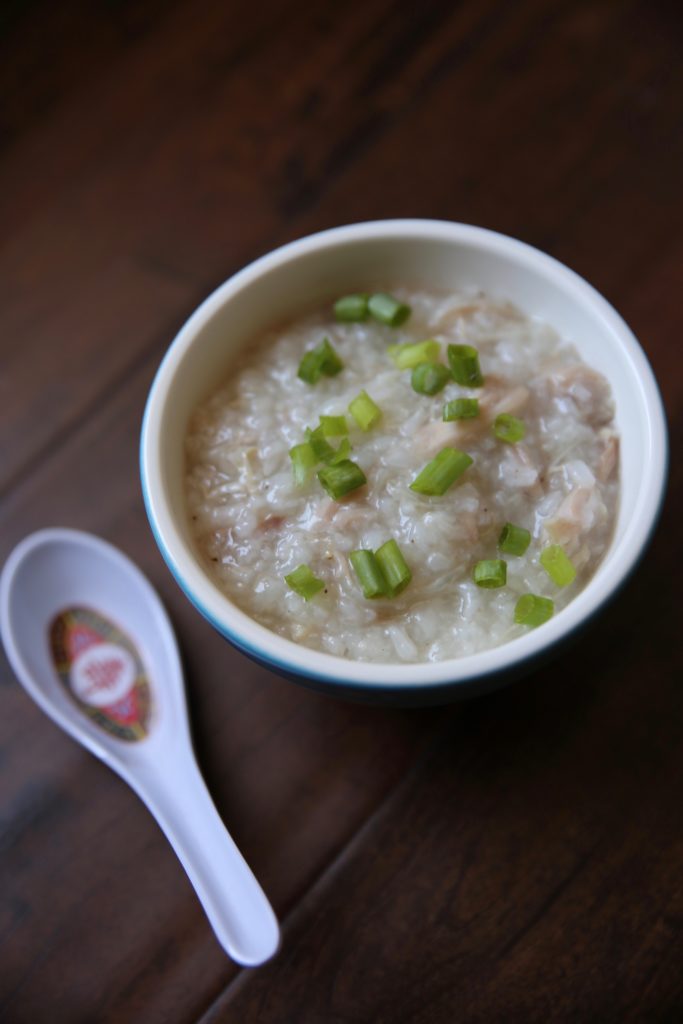
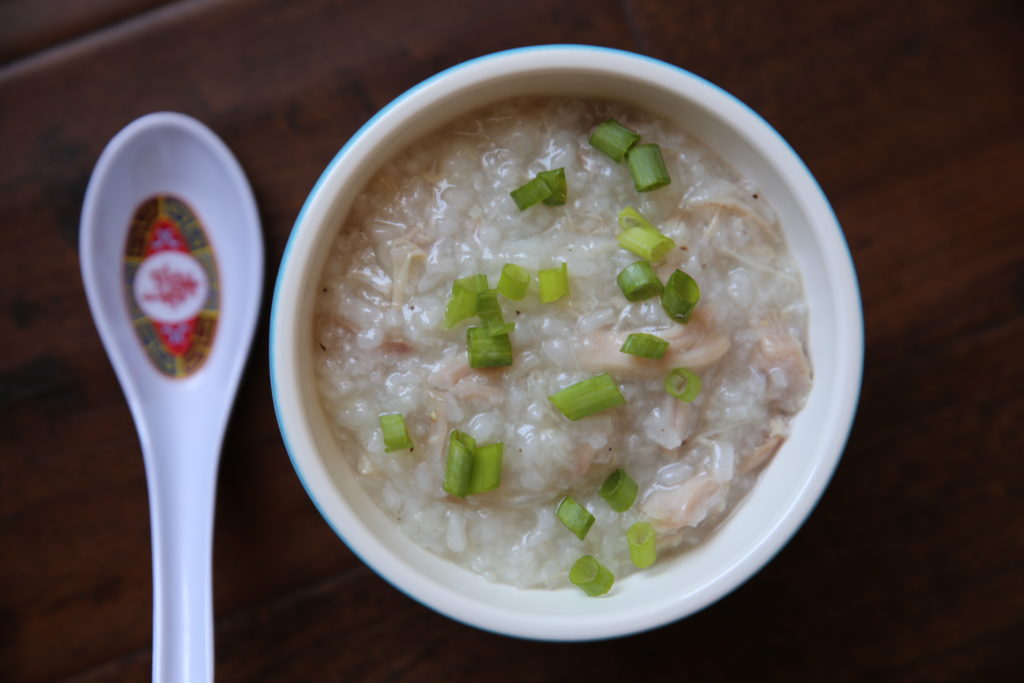
I know this meal as chao ga and I’ve eaten it ever since I can remember. My mom made it, my nanny made, my dad recently learned how to make it, and now I can make it too! It’s SO DARN EASY.

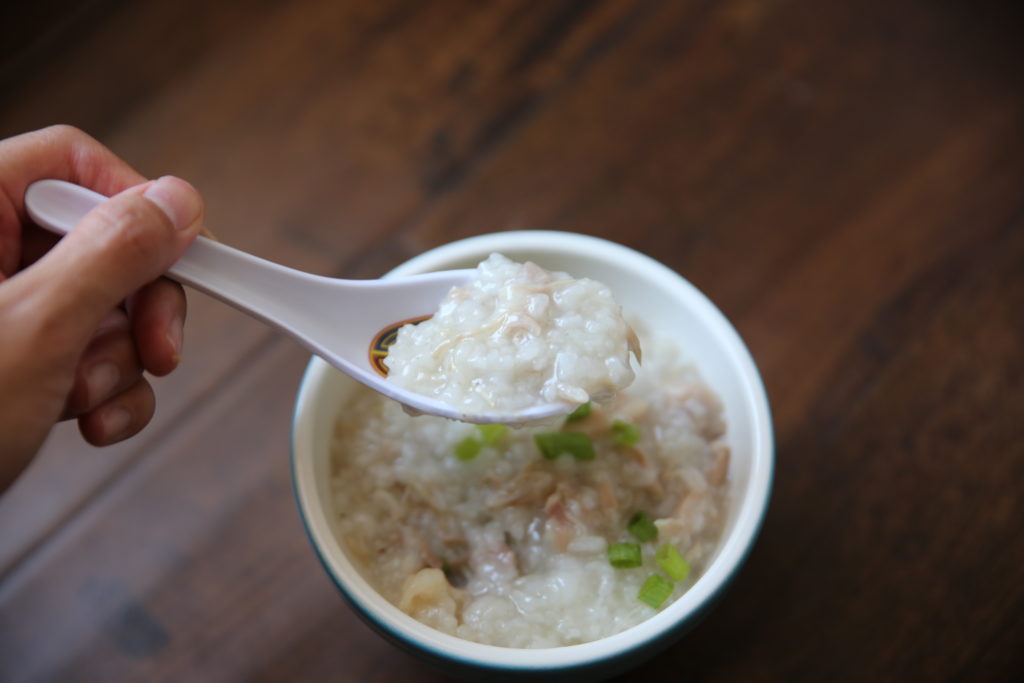
It’s basically just rice cooked into chicken broth with chicken. That’s it. It’s as delicious as it sounds.

I remember eating this whenever I was sick. It was my go to meal when I was feeling under the weather and it still is. 
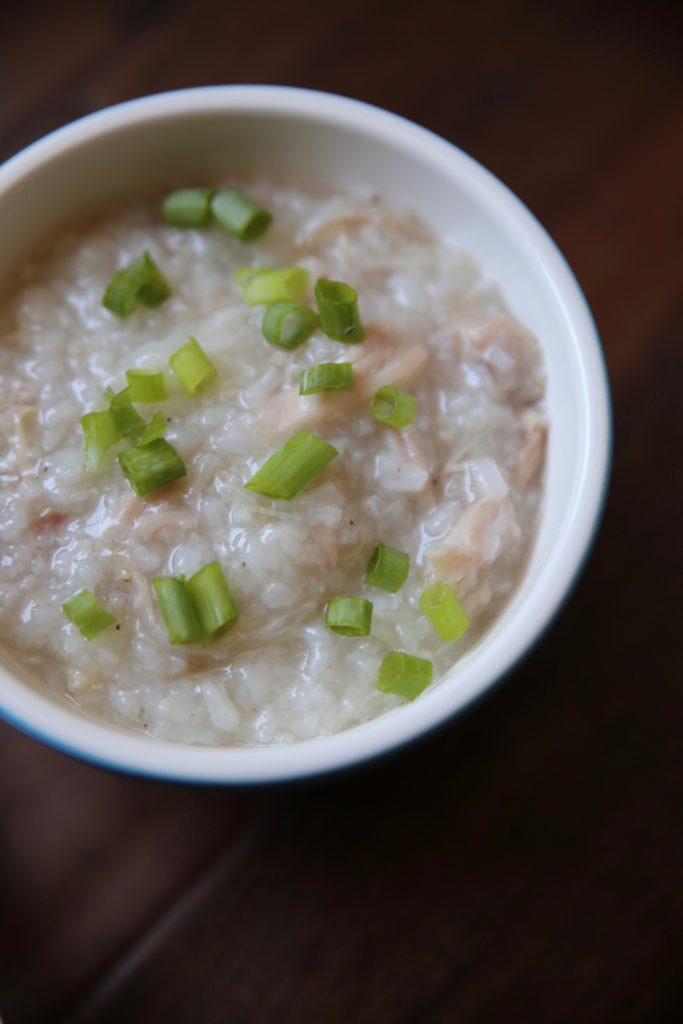
Normally, I’d top my chao with fried onions, but I couldn’t find them at the store since I was in a rush with a toddler. I’ll definitely have to have them for next time!

from Pressure Cook Recipes

Print
Instant Pot: Chao Ga (aka Chicken Congee or Rice Porridge)

Ingredients

  • 1 rice measuring cup Jasmine rice
  • 7 cups water
  • 5 – 6 chicken drumsticks
  • 1 tablespoon ginger, sliced into strips
  • 2 tablespoons fish sauce
  • salt to taste
  • green onions for garnish

Directions

  1. Rinse the rice until the water is clear.
  2. Place the rice, 7 cups of water, chicken drumsticks, and ginger into the instant pot.
  3. Close the lid and make sure the valve is sealed. Cook on manual high pressure for 30 minutes.
  4. Let the pot naturally release.
  5. Use tongs and fork to separate the chicken meat from the bones. Remove the chicken skin and bones.
  6. Mix in the fish sauce and salt to taste.
  7. Serve hot topped with green onions.
3.1
https://lovintheoven.com/instant-pot-chao-ga-aka-chicken-congee-or-rice-porridge/

Filed Under: chicken, dinner, instant pot

Chicken Potsticker Salad

July 21, 2018 by kim Leave a Comment

I don’t have many salad recipes on here, mostly because I usually just throw them together without measuring specific ingredients. Most of my salads have an olive oil dressing, and this one is no different!

We LOVE potstickers in this household. Ellie eats them like crazy! These ones from Crazy Cuizine are the perfect addition to some protein on top of a salad. I used a mixture of cabbage and romaine lettuce to make the base and added corn, edamame, red bell peppers, and green onions.

It’s seriously the easiest thing to put together. Cooking the potstickers was also a cinch, since they are already fully cooked. All you have to do is fry them in a little bit of oil, add some water, put the lid back on and let it heat up thoroughly. 

Presentation wise, I can’t tell if it looks better with the dumplings whole or cut up. They both look great!

I found the potstickers at my local Ralph’s, but make sure to check the store locator for where to buy them. Crazy Cuizine also has a couple of other delicious products, so make sure to check them out!

Print
Chicken Potsticker Salad

Ingredients

  • 8 pieces Crazy Cuizine Chicken Potstickers, pan-fried according to the directions on the bag
  • 4 cups chopped romaine lettuce
  • 4 cups chopped cabbage
  • 2 green onions, chopped
  • 2 red bell peppers, chopped
  • 1 can of corn, drained (15 oz)
  • 1 cup edamame beans
  • 2 tablespoons low sodium soy sauce
  • 1 tablespoon sesame oil
  • 1 tablespoon rice vinegar
  • 2 teaspoons sugar
  • fresh lime juice to taste (I used 2)
  • 1 tsp ground ginger
  • 1/2 cup olive oil

Directions

  1. To make the salad: Toss all of the ingredients, except for the potstickers, together in a bowl. Top with the potstickers.
  2. To make the dressing: Whisk all of the ingredients together, slowly pouring in the oil last. Pour over salad as desired.
3.1
https://lovintheoven.com/chicken-potsticker-salad/

This is a sponsored post, but the opinions expressed are my own.

SaveSave

SaveSave

Filed Under: dinner sides, lunch, vegetables

5 Reasons Why I Chose to Whiten My Teeth At Home

May 21, 2018 by kim 4 Comments

As a new mom (again), it’s hard for me to find time for myself. I have a toddler and four month old at home, so my time is spent wrestling both of them while trying to remember to feed them. Once they’re asleep (which they hardly are at the same time), I have to cook, clean, run errands, and sleep. My to-do list is never-ending and I’m never caught up, but all moms have to make some time for themselves sometime!

When Smile Brilliant reached out, I knew it was the perfect for me. I was obsessed with teeth whitening back in high school thanks to Crest Whitestrips, but I haven’t had any time to do it again since. If I can do it while juggling two kiddos, so can you. Here’s why I chose to whiten at home:

1. Time.

I don’t have time to actually go out and get my teeth whitened by a professional. With Smile Brilliant, I have the convenience of doing it at home and on my own time. I never have to leave the house or worry about finding someone to watch my two kids.

2. Convenience.

Like I said before, I don’t have to go anywhere to get it done. Everything is done via snail mail and once I got my molds, I was able to whiten while I watched T.V., do laundry, cook, give my kids a bath, or even swim!

3. It’s a fraction of the cost.

By cutting out the middle man, you’re able to save quite a bit with the same results. For the complete teeth whitening system for light-stains, it’s only $139 as opposed to the $600+ that they would charge you at the dentist.

4. I’ve got nothing to lose.

Smile Brilliant offers a money back guarantee. They want you to be happy and believe in their product so if for any reason you’re unhappy, they offer a complete refund (minus shipping fees). It’s a win win situation.

5. Once you’ve got your tray, you can whiten again in a couple of years without paying full price.

All you need to buy is some additional whitening gel and desensitizing gel. There’s no wasted money on purchasing a tray again (unless you need to!).

Back in the day, Crest Whitestrips worked quite well on me. My teeth were still pretty white from ten years ago, but Smile Brilliant brought it to another level. I’ve become quite the coffee drinker after having kids, and Smile Brilliant erased those years away from my teeth. I show my smile proudly now with my two kids. Don’t believe me? Here’s what 9 days of whitening did:

There’s no editing at all done to these photos besides adding the text. Can you believe it? It truly made a difference in my life!

I did each session for two to three hours every night and slept right after. It didn’t ruin my schedule at all– I simply incorporated it into my bedtime routine. Eat dinner, put the tray in, get the kids to bed, and then catch up on shows until I was done. If I knew I wouldn’t have time to do it at night, I snuck it in after lunch instead.

The entire process was a breeze from beginning to end. Just make sure to read the instructions from start to end before you do anything!

Giveaway & Coupon Code

If you want to give it a try yourself, I have some great news! I’m doing a giveaway for $149 worth of credit to Smile Brilliant to use as you see fit. All you have to do is enter HERE. The giveaway ends in a week, so make sure to enter soon!

If you’d rather purchase right away to get the process started, you can use the code “lovintheoven15” to get 15% off your order online!

SaveSave


Tooth Whitening Gel

This post contains affiliate links. I was sent product to try for an honest review. 

SaveSave

Filed Under: review

  • « Previous Page
  • 1
  • …
  • 4
  • 5
  • 6
  • 7
  • 8
  • …
  • 289
  • Next Page »

hi! i'm kim-- a girl mom, baker, blogger, and ex-flight attendant. welcome!

Search

  • Facebook
  • Instagram
  • Pinterest
  • Twitter

Categories

RODELLE-BABadge


Categories

  • Facebook
  • Instagram
  • Pinterest
  • Twitter

Copyright © 2026 · Foodie Pro Theme by Shay Bocks · Built on the Genesis Framework · Powered by WordPress