Lovin' From the Oven

  • Home
  • About Me
  • Recipes
  • FAQ
  • My Lifestyle Blog
  • Disclaimer

Chewy M&M Cookie Bars

July 1, 2013 by kim 28 Comments

mmcookiebars-7

I feel complete now that I have my DSLR with me back down in Southern California. Taking pictures on a point and shoot is just not the same. Although, now with this heat wave, I don’t want to do anything since I’ve become so lethargic. It takes a lot more effort to do something when it’s 100 degrees outside vs when it’s a cool and breezy 65 degrees. This is about the only time I’d prefer to be in SF than LA.

mmcookiebars-8

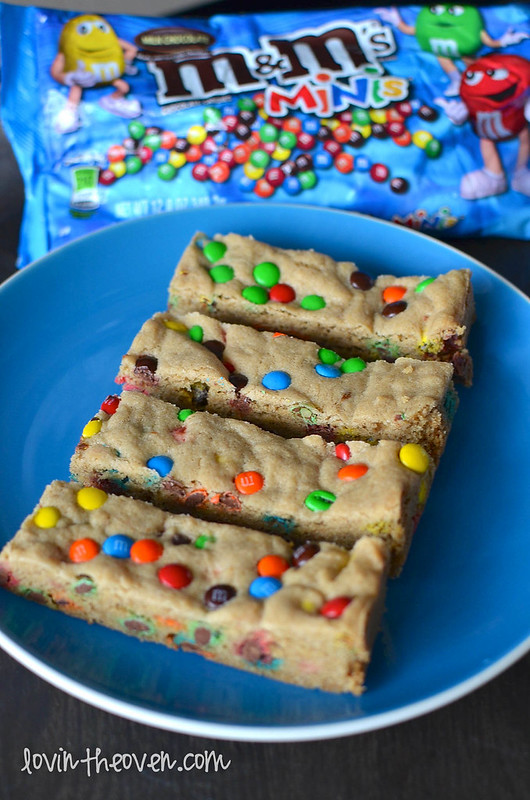
I thought it was impossible to find mini M&M’s anywhere now and days, but then I stumbled across some at Target. Were they always there and I somehow overlooked them?

I have a love/hate relationship with Target (but really, it’s mostly love). Every time that I go shopping there with the intention of buying one item, I somehow wind up juggling six-seven things in my two hands and end up searching for a shopping cart nearby that I can throw everything into. You can never walk into Target and only buy one thing. It’s impossible.

mmcookiebars

I mean, have you seen all their new items recently? Cotton candy is my achilles heel, along with churros.

It’s kind of like the Costco disease. Who goes to Costco and spends under $50? No one. Buy five items and you’re already over your limit.

mmcookiebars-3

mmcookiebars-4


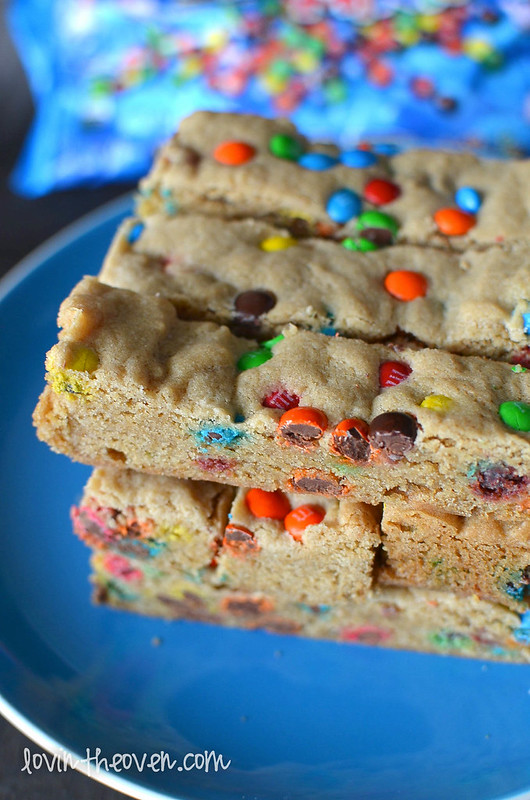
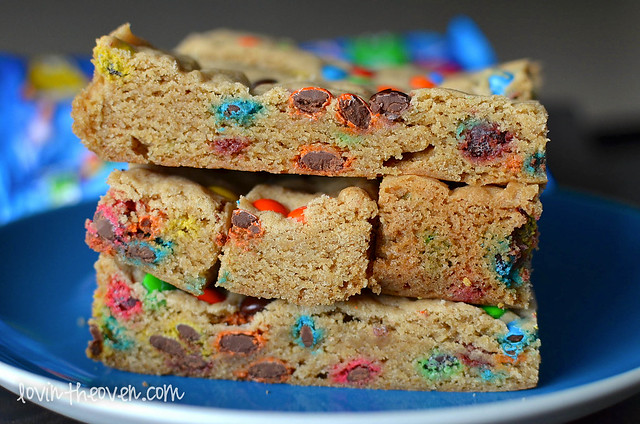
Oh, back to mini M&M’s. They’re the best… better than any regular sized M&M’s (except for Crispy, but those have sadly been discontinued). They’re much better for baking, too. Just take my word on it.

mmcookiebars-5 mmcookiebars-9

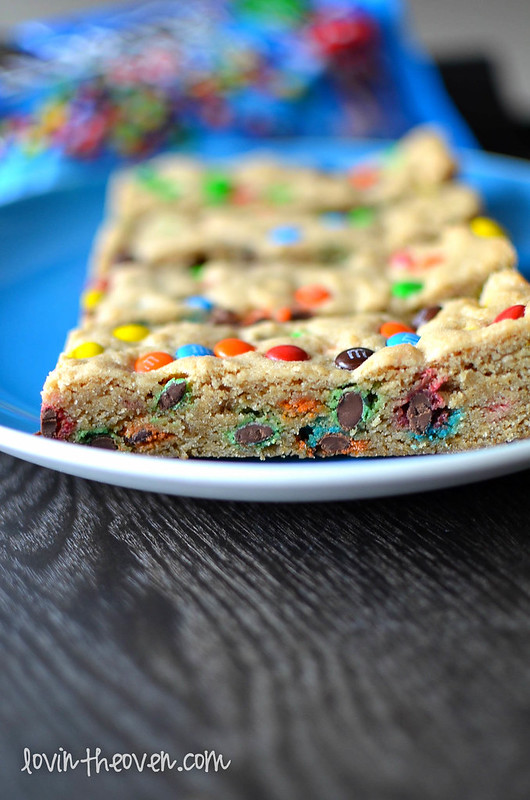
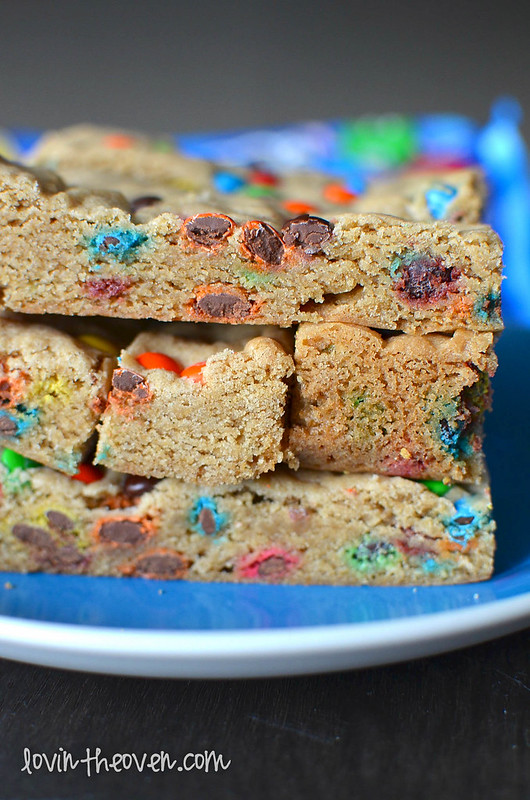
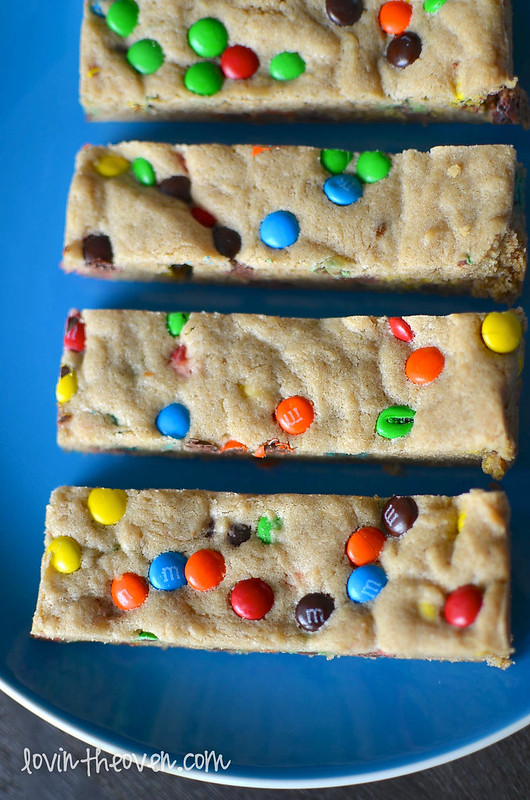
Some days, I just want a bit of something sweet, not an entire bar. I cut these into little strips so that there was plenty to share and just enough to satisfy your sweet tooth.

mmcookiebars-10

This recipe comes from Fantastic Family Favorites and are perfect for traveling. I’d throw them into a ziploc bag and take them on a trip with me for easy eating. The bars were sturdy, soft, colorful, and not at all greasy. Would I make them again? Definitely.

Print
Chewy M&M Cookie Bars

Ingredients

  • 2 1/8 cups flour
  • 1/2 tsp salt
  • 1/2 tsp baking soda
  • 12 TBSPs butter (1 1/2 sticks), melted and cooled slightly
  • 1 cup brown sugar
  • 1/2 cup white sugar
  • 1 large egg
  • 1 large egg yolk
  • 2 tsps vanilla extract
  • 1 12oz bag mini M&M's, divided

Directions

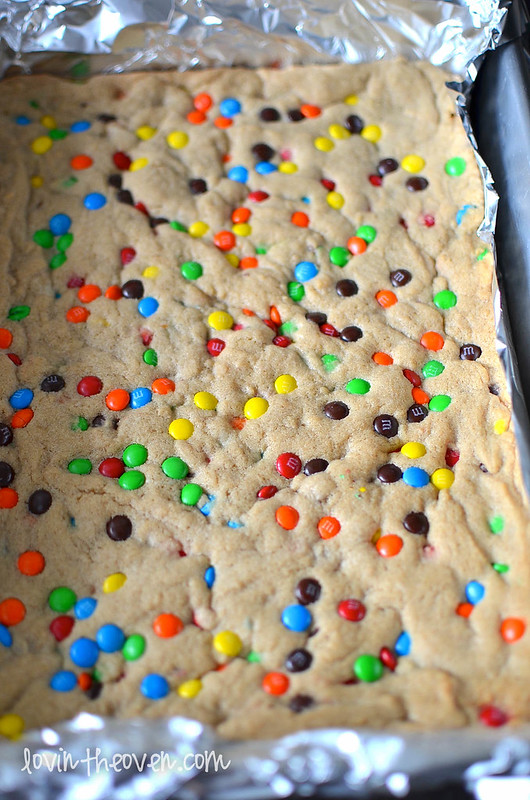
  1. Preheat the oven to 325 degrees. Line a 9x13 inch pan with foil, with the foil overhanging on the sides.
  2. Mix together the butter and sugars until combined. Stir in the egg, egg yolk, and vanilla.
  3. Fold the flour salt, and baking soda into the wet mixture until just combined.
  4. Stir in 1 cup of M&M's and turn the batter into the prepared pan, smoothing the top with the spatula.
  5. Sprinkle remaining M&M's on top and press in slightly.
  6. Bake until the top of the bars is light golden brown, slightly firm to the touch, and edges start pulling away from sides of pan, 25-28 minutes. Let cool before cutting into bars.
3.1
https://lovintheoven.com/chewy-mm-cookie-bars/

Filed Under: bars/brownies, candy, cookies, dessert

Bacon Mashed Potatoes

June 27, 2013 by kim 1 Comment

baconmashedpotatoes-2

You can’t always have beautiful food pictures 24:7. Or maybe you can, if you have a room set up just for food with white lights, reflectors, and diffusers. But I don’t. I just have me, my little apartment, and a camera. Usually, I don’t even have time to take pictures of regular food because my DB’s impatiently waiting for dinner half the time.

baconmashedpotatoes

This was one of those times. Once the mashed potatoes were done, it was time to eat dinner. If you wait too long trying to get the perfect picture, the food will be cold and dinner won’t be as good. Who wants a cold dinner? You have to know when to pick your battles. In this instance, the stomach outweighs the blog. Sorry, guys.

Fair warning: I’m going to have a couple more mediocre pictures on my blog. For example, all the baking that I’ve been doing at my parent’s house will have ehhhh pictures because I didn’t bring my DSLR down with me from Northern California. I’ve been using my point and shoot. You’ve been warned.

Mashed potatoes is such an easy dish to make. I don’t know why more people make it from scratch. It’s much better than the instant potato flakes that you mix with water. The mixture of sour cream and margarine makes this side dish extra creamy and fluffy. Plus, bacon makes everything better! You can omit the green onions if you want, but I personally think they add more to the dish in color, texture, and taste. Bon appetit!

Print
Bacon Mashed Potatoes

Ingredients

  • 6 large red potatoes
  • 1/2 cup margarine
  • 1/2 cup sour cream
  • 5-6 slices thick cut bacon, cooked until crispy and chopped
  • 2 stalks of green onion, chopped
  • salt and pepper to taste

Directions

  1. Rinse the potatoes and cut them into eighths.
  2. Put the potatoes in a large pot of water and cook until soft, about 15-20 minutes.
  3. Once the potatoes are easily pierced by a fork, drain and put the potatoes into a large mixing bowl.
  4. Mix until desire consistency. Add in the margarine, sour cream, bacon, green onion, and salt and pepper. Mix well.
3.1
https://lovintheoven.com/bacon-mashed-potatoes/

Filed Under: dinner sides, potatoes

Buttermilk Blackberry Crumble Muffins

June 24, 2013 by kim 4 Comments

blackberrymuffins-5


Happy summer! Have I apologized lately about how I severely suck at posting during June, July, and August? Without fail, summer comes around and my computer collects a layer of dust while I’m out enjoying the weather. Basically, I get lazy. Instead of baking, I’ll fall asleep under an umbrella in my backyard or on the beach.

Since I’m partially living at my parent’s house at the moment, I’m spoiled by not having to cook dinner. I can get away with showing up around dinner time with food ready to eat.

blackberrymuffins


My dad does, however, constantly asks for sweets. That is one thing that is not made in the house when I’m away: dessert.

That’s also one thing I can and will gladly do.

blackberrymuffins-2


I love baking with fruits during the summer because grocery stores are overflowing with ripe, plump, and colorful goods. Nothing screams summer more than fresh berries, pineapple, and watermelon!

blackberrymuffins-3


Don’t get too caught up in the office this summer. Go out and enjoy this glorious weather! We haven’t quite hit the 90’s yet where I live, so this mid 80 degree weather calls out to me every day.

blackberrymuffins-4


I don’t really bake with blackberries too often, so the amount of seeds in these muffins caught me off guard. Do people actually like biting into all those little blackberry seeds? I never notice them when eating the fruit as is, but in desserts, I feel as if you need to crush and strain the blackberries before adding them in.

blackberrymuffins-6


Then again, that would defeat the purpose of having whole fruit mixed into the batter. You’d be adding more of a jam swirl into these muffins if you did that.

blackberrymuffins-7

blackberrymuffins-8

blackberrymuffins-9

In the end, it’s really all about personal preference. I thought there were way too many blackberries and it overpowered the batter. I’d halve the amount of blackberries and deseed them prior to adding them in next time. Recipe from Scarletta Bakes.

Print
Buttermilk Blackberry Crumble Muffins

Yield: 14 muffins

Ingredients

    For the muffins:
  • 3/4 c. white sugar, granulated
  • 5 tbsp. unsalted butter, softened
  • 3/4 c. buttermilk
  • 2 large eggs
  • 2 c. all-purpose flour
  • 2 tsp. baking powder
  • 2 c. blackberries, roughly chopped
  • For the crumble topping:
  • 3/4 c. dark brown sugar, tightly packed
  • 1/2 c. Maria cookies, crushed (You can use any type of plain vanilla cookies here, I just suggest that you crush them relatively unevenly -don’t completely pulverize all the cookies- and leave a few larger chunks for some crunch in the finished muffins.)
  • 3 tbsp. unsalted butter, melted

Directions

  1. Preheat oven to 400°.
  2. Line the cavities of a standard-sized muffin tin with paper liners and set aside.
  3. To prepare the crumble topping, toss the sugar, crushed cookies and melted butter in a small bowl with your hands until well combined. Set aside.
  4. Meanwhile, begin preparing the muffins by creaming the butter and sugar together until light and fluffy. Beat in the eggs, and then the flour and baking powder alternating with the buttermilk, mixing just until you have a uniform batter. Fold in the chopped blackberries and fill the lined muffin cavities approximately 2/3 full. Top each muffin generously with the crumble topping. Bake for 18-22 minutes or until a cake tester inserted in the center of a muffin comes out clean. Serve baked muffins warm or store in a covered container for up to 1 week.
3.1
https://lovintheoven.com/buttermilk-blackberry-crumble-muffins/

Filed Under: berry, breakfast, fruit, muffins

  • « Previous Page
  • 1
  • …
  • 121
  • 122
  • 123
  • 124
  • 125
  • …
  • 289
  • Next Page »

hi! i'm kim-- a girl mom, baker, blogger, and ex-flight attendant. welcome!

Search

  • Facebook
  • Instagram
  • Pinterest
  • Twitter

Categories

RODELLE-BABadge


Categories

  • Facebook
  • Instagram
  • Pinterest
  • Twitter

Copyright © 2026 · Foodie Pro Theme by Shay Bocks · Built on the Genesis Framework · Powered by WordPress