Lovin' From the Oven

  • Home
  • About Me
  • Recipes
  • FAQ
  • My Lifestyle Blog
  • Disclaimer

Heathy Cookies

September 15, 2012 by kim 6 Comments

heathycookies-2

heathycookies-4

heathycookies

I had a terrible experience at a certain coffee shop that rhymes with “Schmarbucks” the other day. It was so bad that I had to walk out latte-less. I’ve never done that!

Hey “Schmarbucks,”the way I see it: If you’re unhappy at your job, PLEASE find another one! Life is too short to be hating what you do. Why do you think I’m not in law school right now? Or sitting in an office cubicle? I understand that sometimes you have to do what you don’t love to make ends meet, but at least be nice about it.

//end rant

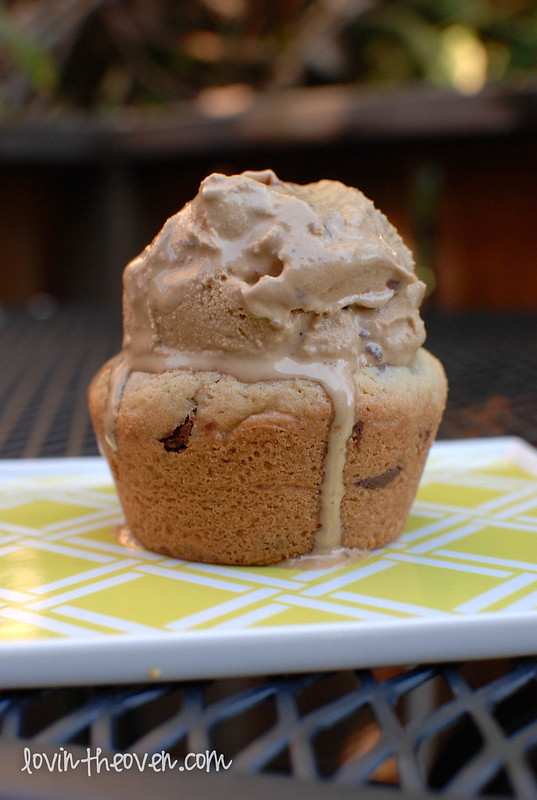
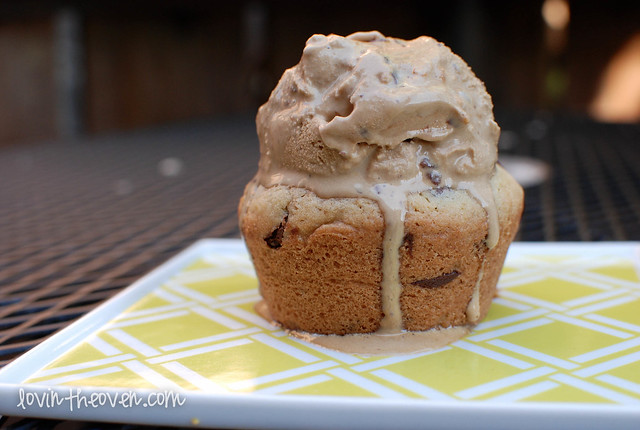
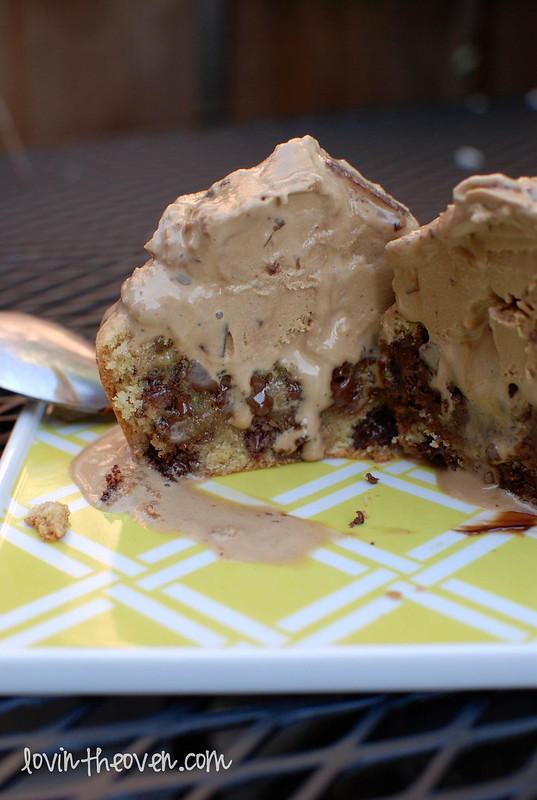
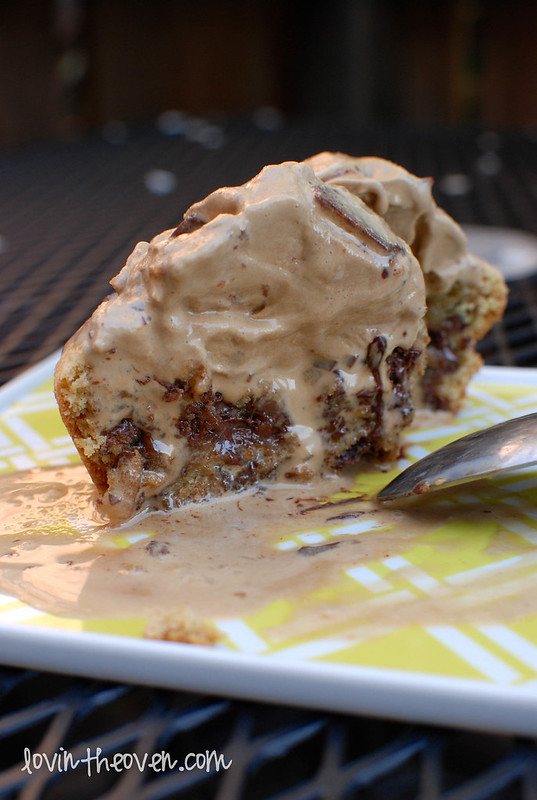
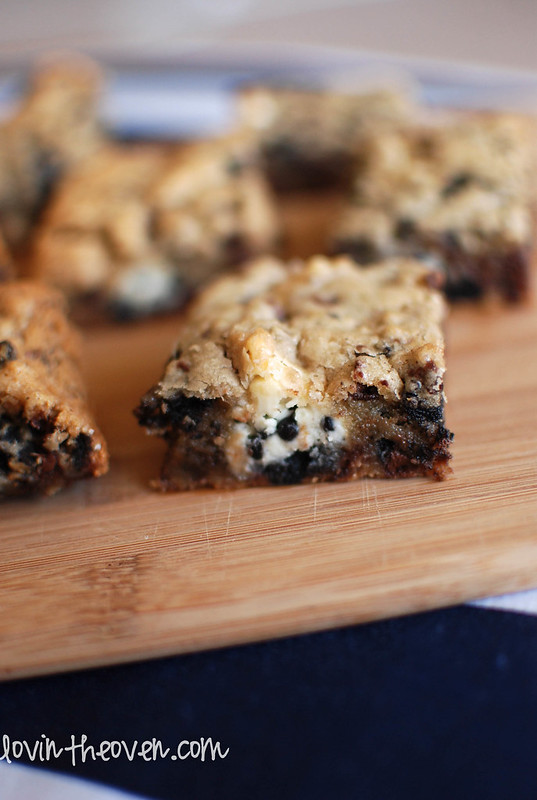
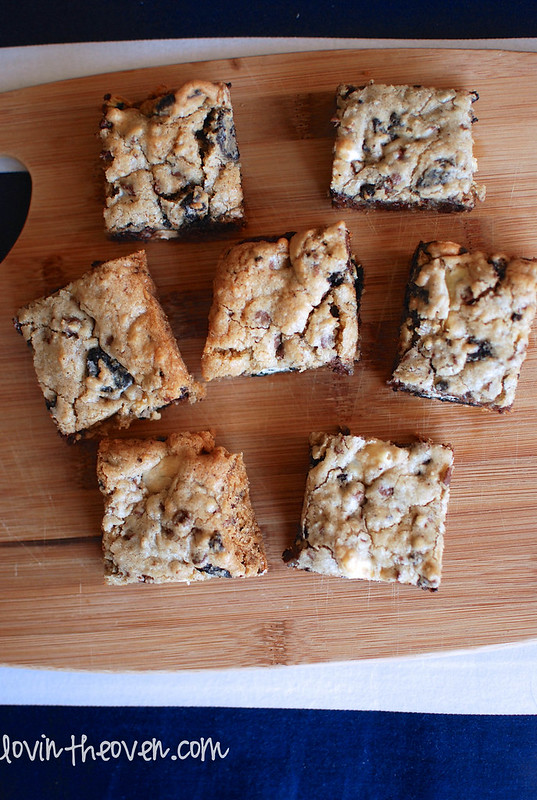
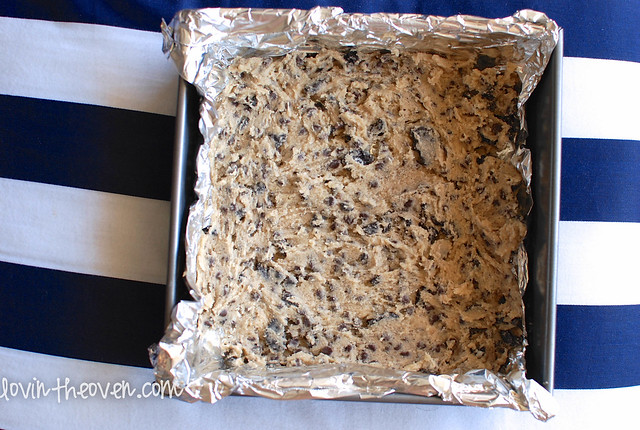
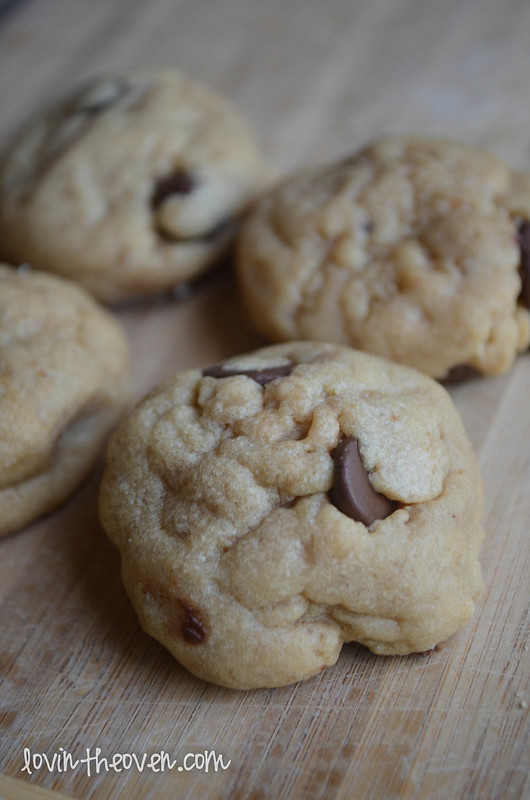
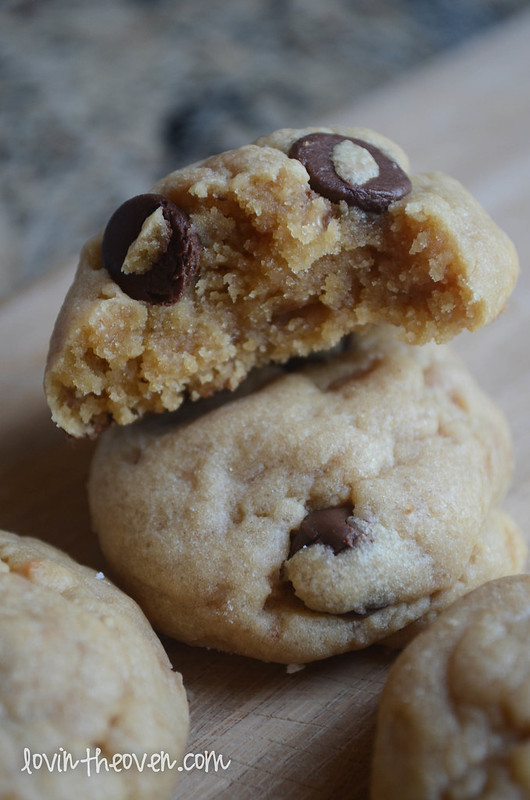
No, my post isn’t titled “healthy cookies.” These are by no means healthy. They’re actually HEATHy cookies… as in Heath candy bars. These cookies didn’t spread out much and strongly held their shape when being baked, so make sure you roll them into pretty dough balls. I imagine that these would be great for mailing because they’re quite sturdy. This is for the peanut butter/chocolate combo lovers out there, so thanks Bakerella for the recipe!

Print
Heathy Cookies

Yield: 2 1/2 dozen cookies

Ingredients

  • 2 cups all purpose flour
  • 3/4 teaspoon baking soda
  • 1/2 teaspoon salt
  • 1/2 cup butter, slightly softened
  • 1 cup dark brown sugar
  • 1/2 cup peanut butter
  • 2 eggs
  • 2 teaspoons vanilla
  • 1 1/3 cup (8 oz bag) Heath Toffee Bits
  • 1/3 cup chocolate chips

Directions

  1. Preheat oven to 350 degrees.
  2. Cream together the butter, sugar, and peanut butter. Add in the eggs and vanilla.
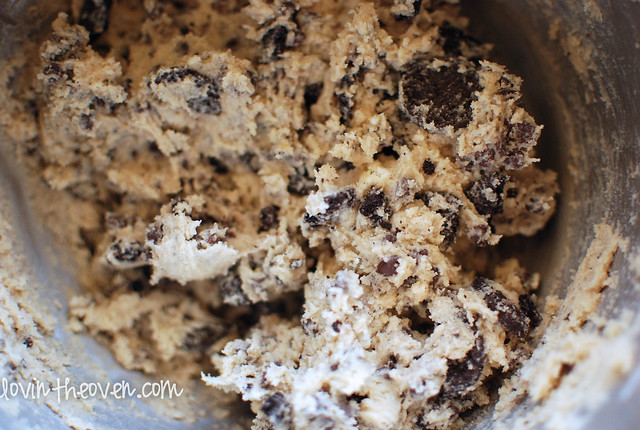
  3. Gradually stir in the flour, baking soda, and salt until just combined. Stir in toffee bits and chocolate chips.
  4. Roll cookie dough into 1 1/2 inch balls and drop them on a baking sheet.
  5. Bake about 10 minutes.
3.1
https://lovintheoven.com/heathy-cookies/

Filed Under: candy, chocolate chip, cookies, dessert, peanut butter/peanuts

Chocolate Chip Lava Cookies

September 12, 2012 by kim 9 Comments

As much as I love living up here in the bay area, I HATE that B.J.’s is quite a journey from me. I have to either pay a bridge toll or drive over half an hour just to get to one. I crave pizookies on a daily basis, so this situation is quite unfortunate for me.

On the other hand, I could try and make a substitute at home in my kitchen. This recipe may not be the exact one, but it comes close enough to subdue my pizookie cravings.

chocolava

chocolava-2

chocolava-3

chocolava-4

chocolava-5

chocolava-6

I served the cookies warm, straight from the oven. I also nuked them in the microwave for 20 seconds the next day before serving and it was just as good. I topped it with a generous scoop of Ben and Jerry’s Coffee Heath Bar Crunch ice cream, but feel free to use any ice cream flavor you’d like. Everything goes good with chocolate chip cookies! … except maybe sherbet.

Seriously. These babies were delicious. I may or may not have eaten all ten lava cookies by myself and am not one bit ashamed. Recipe from Kevin & Amanda.

Print
Chocolate Chip Lava Cookies

Ingredients

  • 1/2 cup (1 stick) butter, softened
  • 1/2 cup light brown sugar, packed
  • 1/2 cup granulated sugar
  • 1 large egg
  • 1/2 tablespoon vanilla extract
  • 1 3/4 cups all purpose flour
  • 1/2 teaspoon salt
  • 1/2 teaspoon baking soda
  • 1 (11.5 oz) bag milk chocolate chips

Directions

  1. Preheat oven to 350 degrees F. Grease a muffin tin.
  2. Put 1/2 cup of the chocolate chips in a Ziploc bag and microwave laying flat for 30 seconds. Remove bag and flip over, microwaving for an additional 10-15 seconds until all the chips are softened. Set aside to cool.
  3. In a mixer, cream together the butter and both sugars. Stir in the egg and vanilla. Once that is well blended, mix in the flour, salt, and baking soda until just combined. Add the remaining chocolate chips (1 cup) and stir to combine.
  4. Using half of the cookie dough, scoop 1.5-2 tbsp of dough, flatten it, and place in the bottom of the muffin tin. Repeat for a total of 10 cookies.
  5. Snip off a corner of the Ziploc bag and gently squeeze a layer of chocolate over the cookie. Scoop and flatten the remaining dough and place on top of the chocolate layer.
  6. Bake at 350 for 15-20 minutes, until the edges are just browned. As soon as they come out of the oven, run a knife around the edges to make for easy removing later. Cool completely before removing from the muffin tin, running a knife around the edge to help loosen.
3.1
https://lovintheoven.com/chocolate-chip-lava-cookies/

Filed Under: chocolate chip, cookies, dessert

Cookies N’ Cream Kiss Cookie Bars

September 6, 2012 by kim 6 Comments

I’m really excited to let you know that I’ve had a blog makeover! Check it out! I got rid of all the extra noise and went back to a simple, clean layout. I wanted the pictures to be the main focus, not all the clutter in the background. What do you think?

DSC_2551

Now, I have room for bigger pictures. How’s that for you?

DSC_2515

DSC_2433

DSC_2443

Unwrap those babies!


DSC_2441DSC_2451

First layer goes into the lined pan.

DSC_2469

Throw some kisses on top.

DSC_2472

Drop some more dough on top.

DSC_2482

DSC_2483

And spread evenly.

DSC_2486

Bake.

DSC_2492

Cut.

DSC_2510

DSC_2511

DSC_2539

I’ve spent quite a bit of time this week on my blog. Probably more than I should have, but it’s such a labor of love. Once I get into the groove of things, I’m non-stop. I stayed up until 2AM last night editing pictures, adding drafts, and tweaking the tiny details on my layout. If you know me, you’ll know that 2AM is WAY past my bedtime. I’m usually out at 10PM. That’s another one of grandma characteristics I can’t seem to get of. As long as I have a good soundtrack to listen to while working, I can be at it for hours.

Now, I can’t stop looking at my blog layout. I don’t know why I didn’t do it earlier. I guess as I grow, my blog really does grow with me. I’ve also edited the link bar at the top, particularly the “About Me” section. I realized I wasn’t 24 anymore and my DB and I have been dating for more than 3 years. Whoops.

Anyways, I just wanted to thank you guys for following along. Truly, I wouldn’t be doing this if it weren’t for my blog readers. I’m amazed at how far this little ol’ blog has come along after… *gasp* 5 years! My blog will be FIVE years this fall. I. Cannot. Believe. It. THANK YOU!

Oh, I guess I probably should talk about these heavenly squares. I’ve always loved Hershey’s Cookies N’ Cream bars. I even ate so much of it when I was little that I threw up, but that doesn’t stop me from eating them now. Sorry, that probably wasn’t appropriate for a food blog… but I promise these won’t have that effect on you (unless you’re allergic, eat too much, you hate cookies n’ cream, or are drunk).

Recipe from Picky Palate.

Print
Cookies N’ Cream Kiss Cookie Bars

Yield: 12-16 bars

Ingredients

  • 1 stick unsalted butter, softened
  • 1/2 cup granulated sugar
  • 1/2 cup packed light brown sugar
  • 1 large egg
  • 1 teaspoon pure vanilla extract
  • 1 1/2 cups all purpose flour
  • 1/2 teaspoon baking soda
  • 1/2 teaspoon kosher salt
  • 1 cup mini chocolate chips
  • 12 Oreo Cookies, broken up
  • 25 Cookies and Cream Hershey’s Kisses

Directions

  1. Preheat oven to 350 degrees. Line an 8x8 pan.
  2. Cream together the butter and both sugars. Add in the egg and vanilla until well mixed.
  3. Stir in the dry ingredients, chocolate chips and oreo cookie pieces until just combined.
  4. Press 1/3 of the dough into the bottom of prepared baking pan. Place the kisses on top. I did 4x5, but you can do 5x5 if you want more kisses.
  5. Spoon the remaining dough on top of the kisses and spread evenly. Bake for 25-30 minutes, until golden brown. Let cool completely before cutting into squares.
3.1
https://lovintheoven.com/cookies-n-cream-kiss-cookie-bars/

Filed Under: bars/brownies, candy, chocolate chip, cookies, dessert, white chocolate

  • « Previous Page
  • 1
  • …
  • 51
  • 52
  • 53
  • 54
  • 55
  • …
  • 105
  • Next Page »

hi! i'm kim-- a girl mom, baker, blogger, and ex-flight attendant. welcome!

Search

  • Facebook
  • Instagram
  • Pinterest
  • Twitter

Categories

RODELLE-BABadge


Categories

  • Facebook
  • Instagram
  • Pinterest
  • Twitter

Copyright © 2026 · Foodie Pro Theme by Shay Bocks · Built on the Genesis Framework · Powered by WordPress