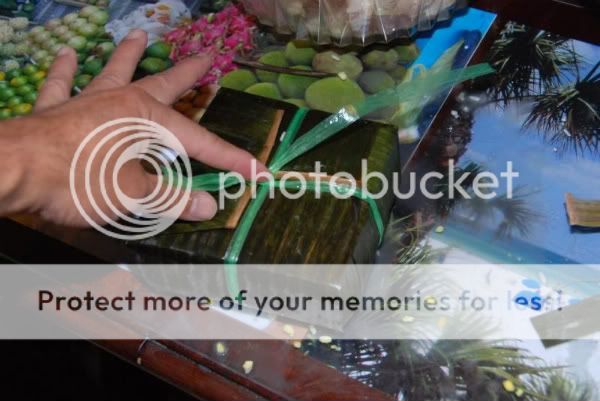
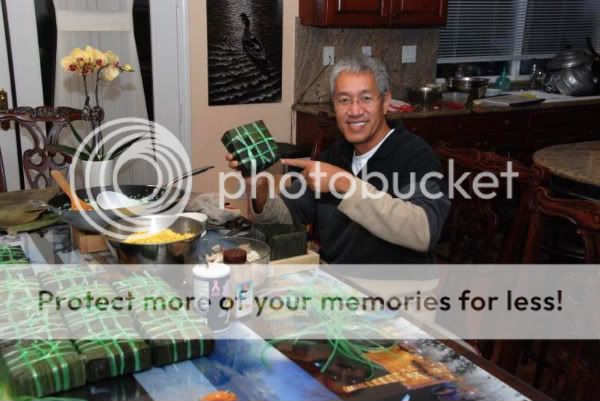
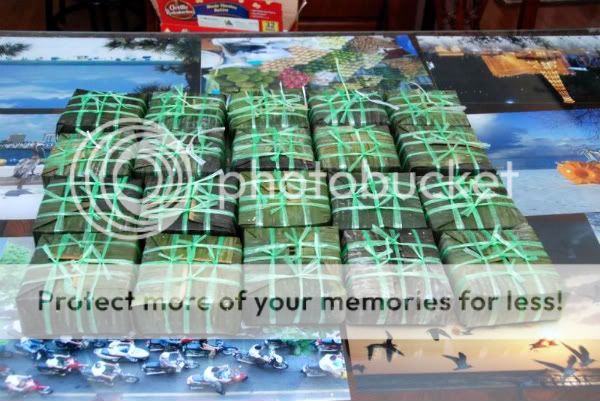
My pops usually makes a traditional Vietnamese cake for Chinese New Year, but he decided to make it out of the blue today. It’s called “banh chung,” and is made from layering sticky rice, mung bean, and seasoned pork. It’s a very lengthy process, taking just over twelve hours to assemble and cook. My dad decided to document the whole process this time, so I thought I’d share with all of you his hard work!
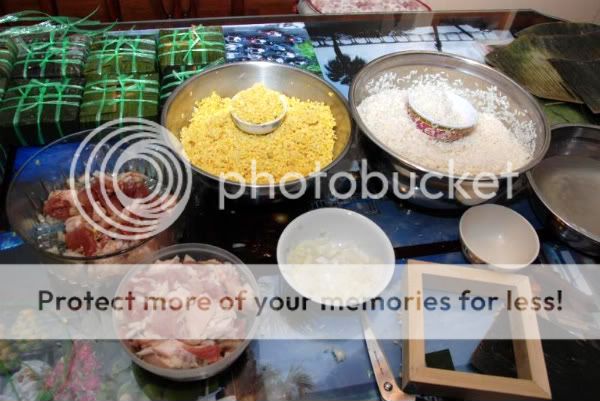
Here are all of the ingredients lined up, after the mung bean and rice have had plenty of time soaking in water.
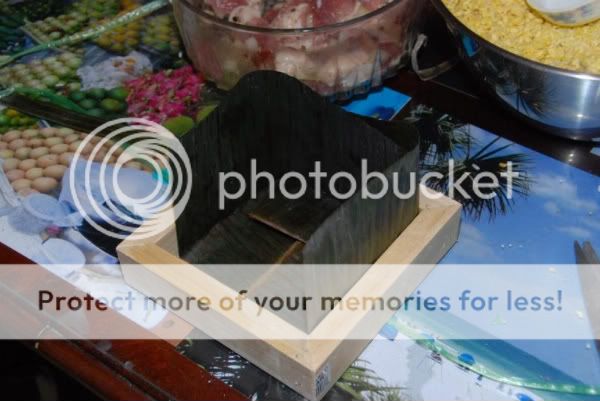
First, use your wooden square mold (which my dad built) as a guide to start lining your banana leaves.
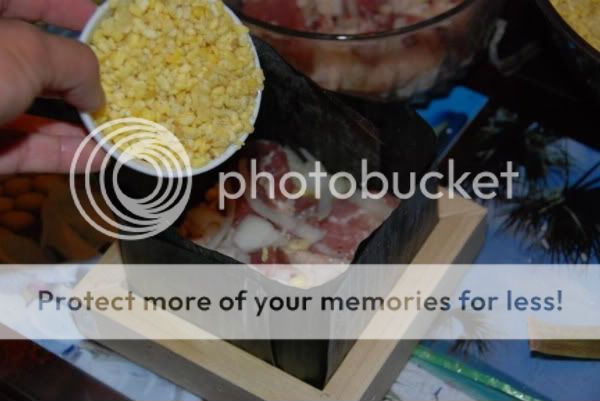
Layer the rice, then beans, then meat, then beans and rice again.
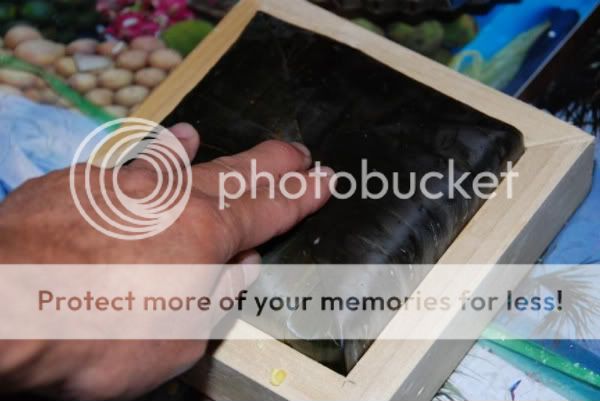
Fold the banana leaves back over to secure everything together.
and wrap with plenty of strings!
Like this!:
This is how they look prior to cooking:
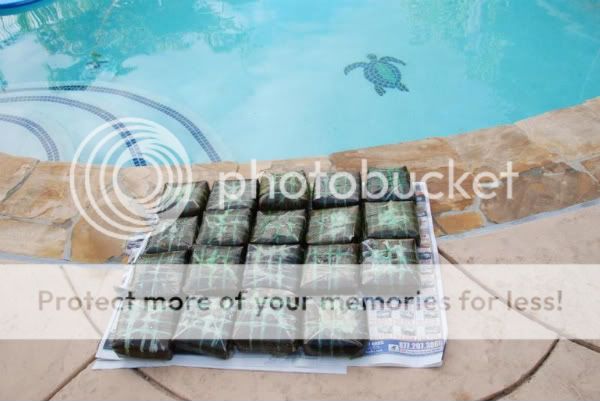
Wrap them in saran wrap and layer them in a huge pot.
Fill the pot with water and cook for 6ish hours, making sure to keep the water level above the cakes!
Take them out and let them cool for an hour or so.
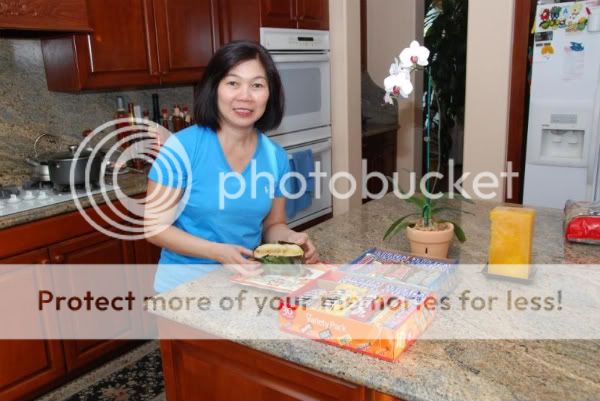
Cut and eat! Yum! (oh heyyyy Halloween candy on the counter)
Dump the water out and clean the pot.
Halloween Chocolate Cut-Out Cookies
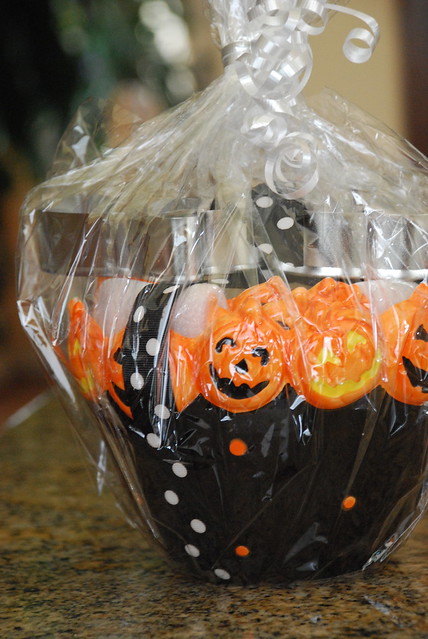
Today’s post is inspired by a little gift basket I won at my friend’s baby shower a couple weeks ago. What did I win? This!
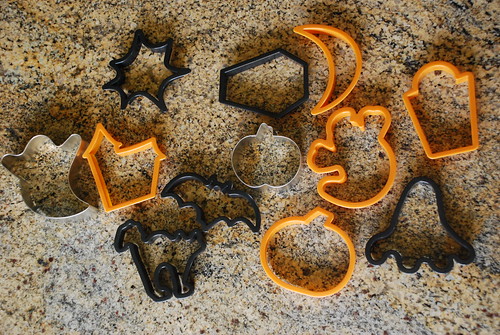
How cute, right? And might I add… perfect for a baker! Three Halloween themed bowls and two cookie cutters. I used the two cookie cutters in the basket plus an assortment that I got from Target’s dollar section last year.

Can someone please tell me what that cookie cutter is in the bottom right hand corner?! I’ve turned it a million ways and I just don’t see it. A deformed foot?
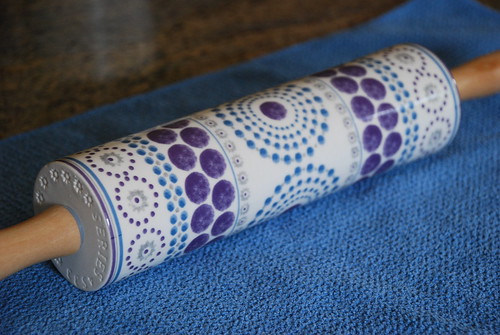
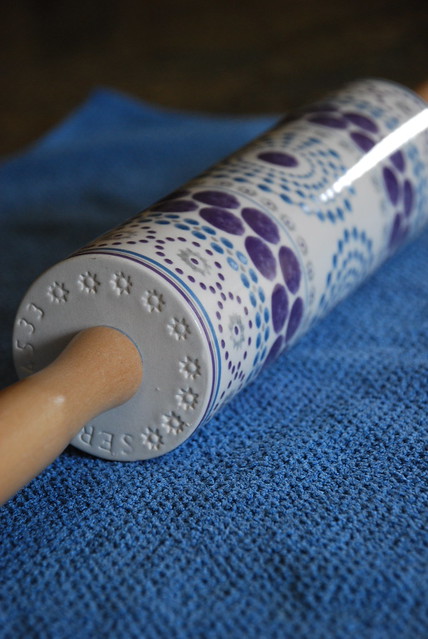
I was also able use my gorgeous rolling pin that I got from some of my friends for my birthday.
Isn’t she just beautiful? It’s from Anthropologie and I can’t stop staring at it. Look at the detail on the side! I’m in love.
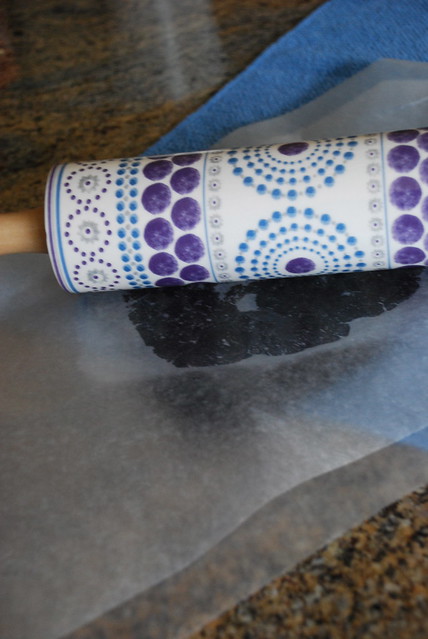
Okay, focus… Roll out the refrigerated dough between two pieces of wax paper.
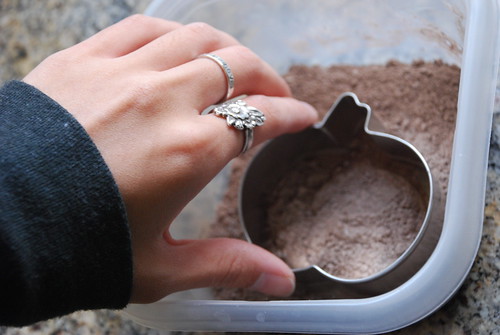
Dip your cookie cutters in a mixture of cocoa powder/flour to keep the dough from sticking to them…
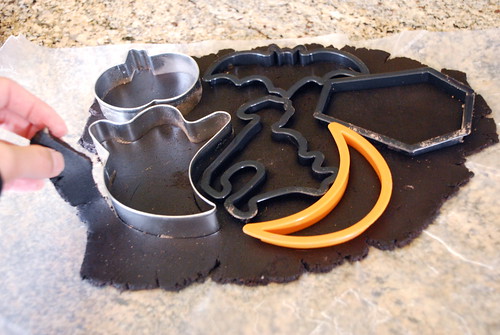
Place your cookie cutters in place and start peeling away the excess.
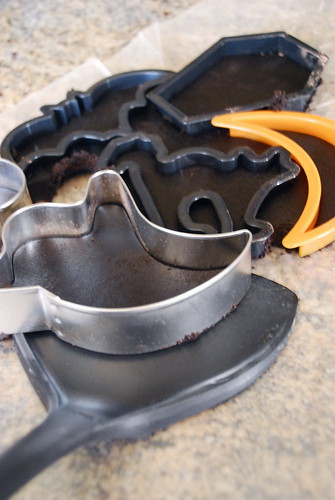
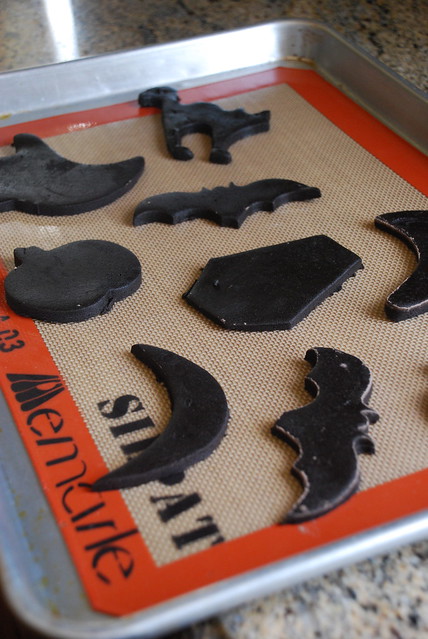
Use a spatula to help successfully transport your cookie dough to the baking sheet.
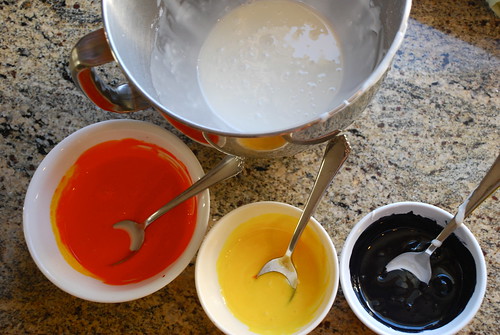
While baking, start making & coloring your icing (I stuck to Halloween colors).
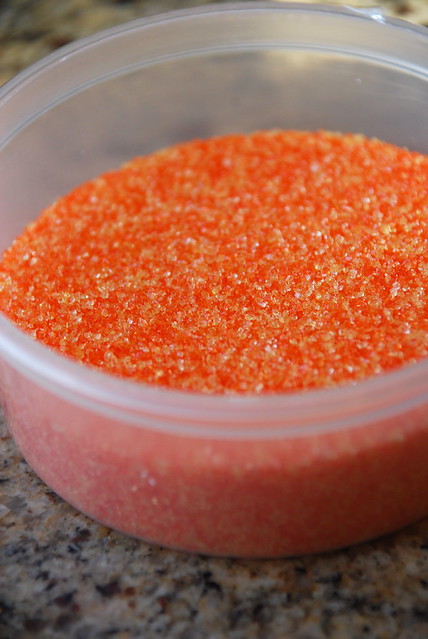
and have plenty of sprinkles to decorate with!
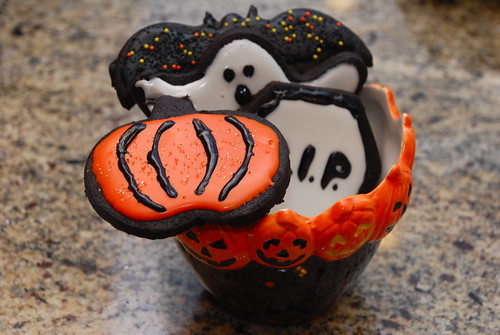
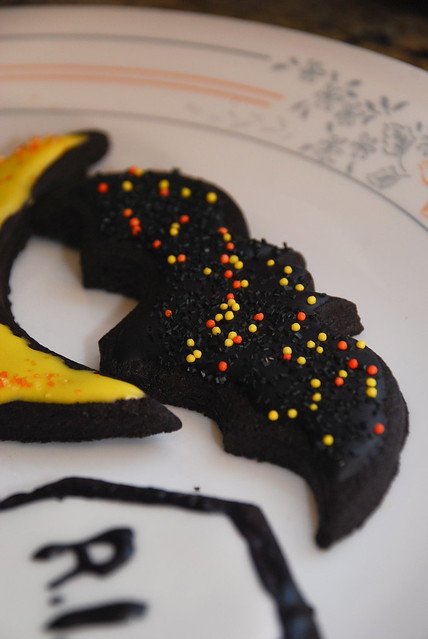
Decorate away! (my poor ghost cracked a little bit because I moved it before it was completely dry)
I rarely ever make cut out cookies because 1.) they’re a pain in the butt to make (waiting to refrigerate and then cut out), 2.) they’re a pain in the butt to decorate, and 3.) you’re going to use your entire kitchen space AND a million dishes just to make three decorated cookies. Not cool.
Although I love pretty decorated cookies, I don’t necessarily jump at the idea of making them. I’d rather let the people with the right tools and patience whirl away in their kitchens decorating sugar cookies. I didn’t bust out my Wilton tip set or pastry bags for these… I simply used a spoon and a toothpick. I already spent 3+ hours making the dough, waiting for the dough to refrigerate, waiting for the cookies to cool, and making the icing that I didn’t have the patience to sit another couple of hours to decorate. Plus, I wasn’t going to have anymore sunlight to take pictures by the time I was done! So please excuse my not-so-perfect cookies.
Even though they’re not as pretty as most, they sure tasted deeeeelish! They were sturdy enough to hold their shape and not break apart as I moved them around, yet they were soft as can be when biting into them. I think I loved them so much because I used dark cocoa powder rather than the normal. It really makes a difference! I’m going to start replacing regular cocoa with dark cocoa in every recipe now. This recipe is ever so slightly adapted from Bake Greek.

- 1 1/2 (3/4 cup) sticks unsalted butter, room temperature
- 1 cup sugar
- 2/3 cup dark cocoa powder
- 1 egg
- 1 1/2 tsp vanilla extract
- 1 1/4 cup flour
- Cream butter and sugar until smooth.
- Add the cocoa powder, and mix until incorporated.
- Add egg and the vanilla extract. Blend together
- Finally, mix in the flour until combined.
- Wrap and refrigerate the dough in two separate batches for at least two hours.
- Roll the dough out between two pieces of wax paper.
- Dip cookie cutters in a mixture of equal parts flour + cocoa powder before cutting out the shapes.
- Place shapes at least two inches apart on the baking sheet.
- In an oven preheated to 350 degrees, bake for 10 mins, 12-15 for larger ones.
Royal icing recipe, as seen HERE (I halved it and still had plenty extra)
- 6 oz (3/4 cup) of warm water
- 5 Tablespoons meringue powder
- 1 teaspoon cream of tartar
- 1 kilogram (2.25 lbs.) powdered icing sugar
- In mixer bowl, pour in the warm water and the meringue powder. Mix it with a whisk by hand until it is frothy and thickened…about 30 seconds.
- Add the cream of tartar and mix for 30 seconds more.
- Pour in all the icing sugar at once and place the bowl on the mixer.
- Using the paddle attachment on the LOWEST speed, mix slowly for a full 10 minutes. Icing will get thick and creamy.
- Cover the bowl with a dampened tea-towel to prevent crusting and drying.
- Tint with food colourings or thin the icing with small amounts of warm water to reach the desired consistency.
Testing out something new, food reviews!: Bottega Louie
So, some of you may or may not know about my other food review blog, The Darling Foodie, but I’ve decided once again to merge that blog back with this one. Why? Primarily because I can’t stand WordPress. Maybe because I don’t know how to use it, maybe because it won’t let me run ads on it, or maybe because it always crashes on me when I’m uploading pictures. Either way, I’m a blogger user and I’m gonna stick to it.
When I say “merge,” I mean post my food reviews on this blog from now on. I looked into importing my blog from WordPress to Blogger, but my goodness, that’s just something way out of my league. I do not have the patience or skill to do it.
The plus side is that there will be more posts and more food here! Thoughts?
Now to the point. Botegga Louie!
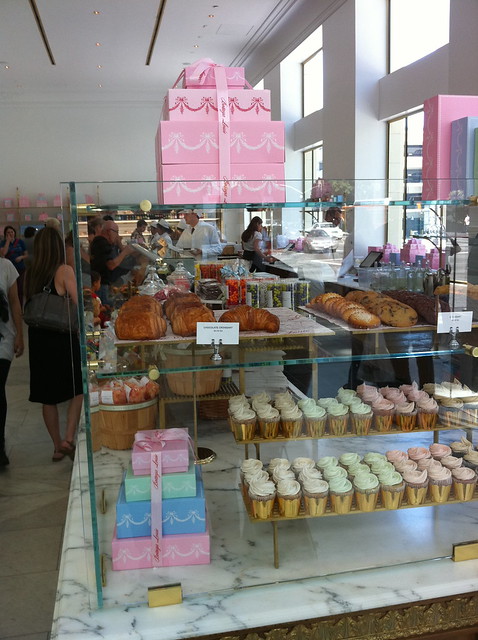
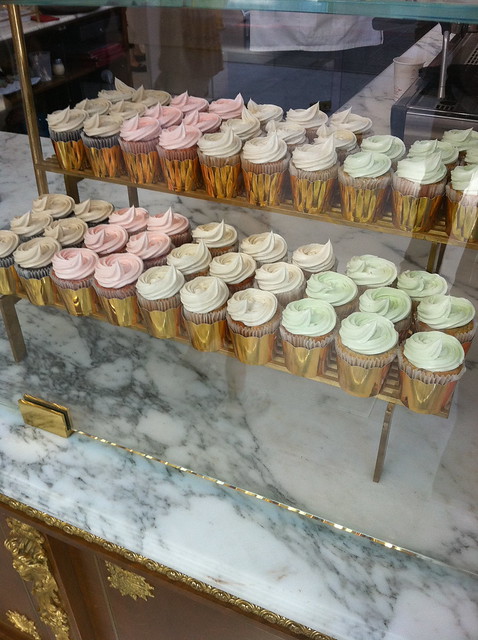
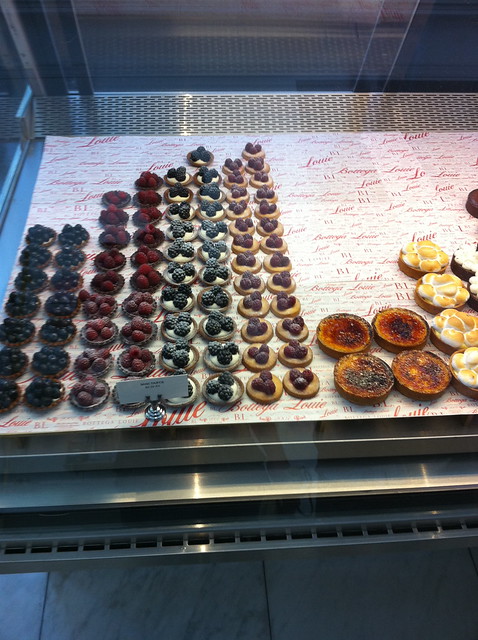
Now, I actually didn’t get to go here. My DB found this place all on his own and went while he was doing some training in the area and took these photos for me. He even created a video so that I could see the entire place (see below)! Bless his little heart.
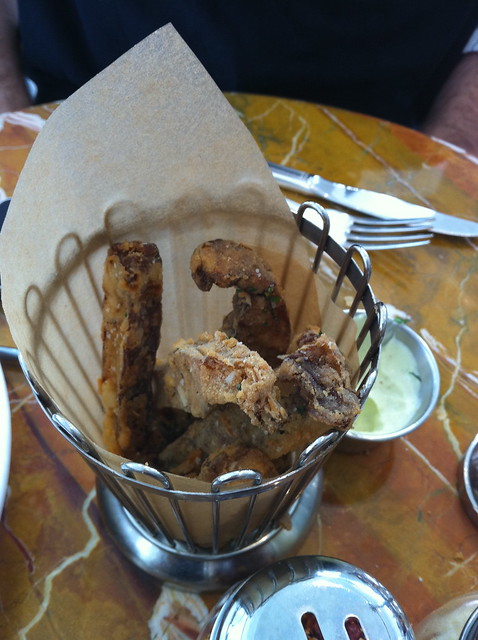
My DB and his friend also ate lunch while they were there. They ordered some portobello mushroom fries:
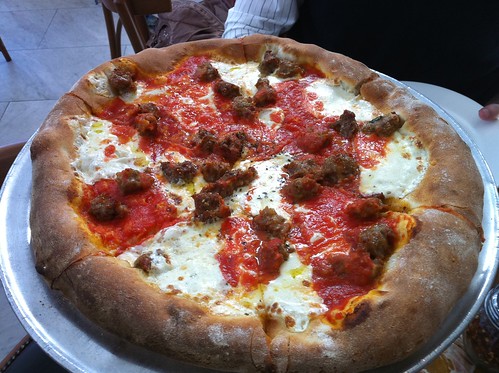
And some pizza…
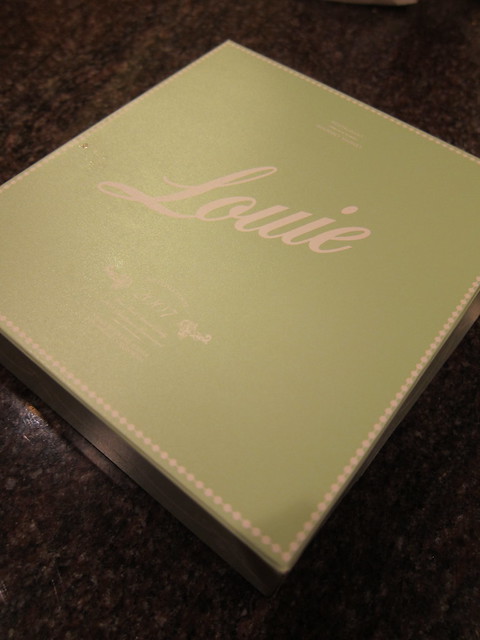
Not only that, he brought a couple goodies home for me!
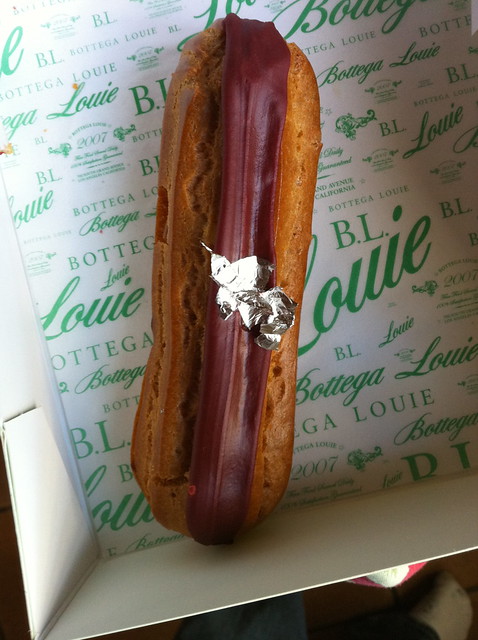
Starting with a chocolate eclair…
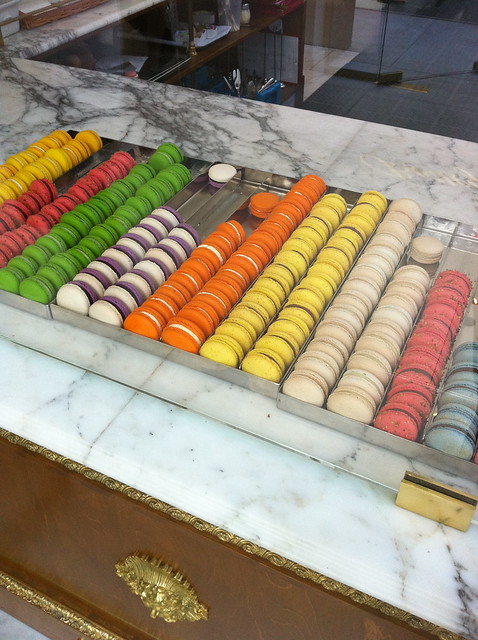
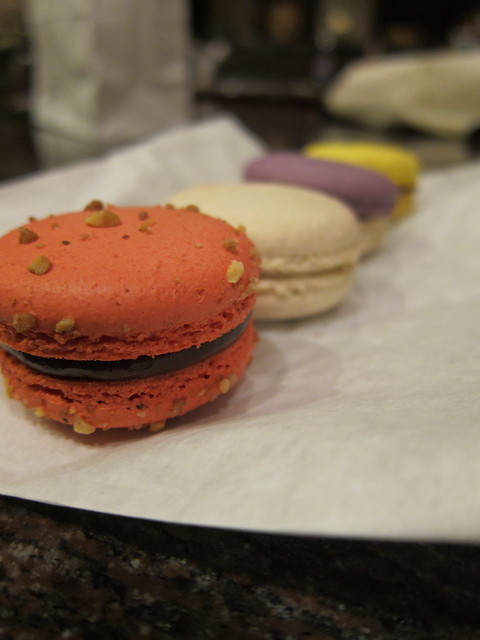
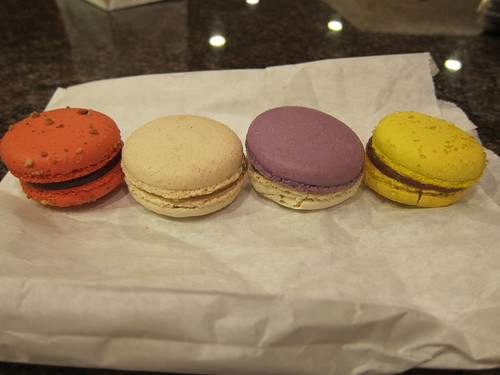
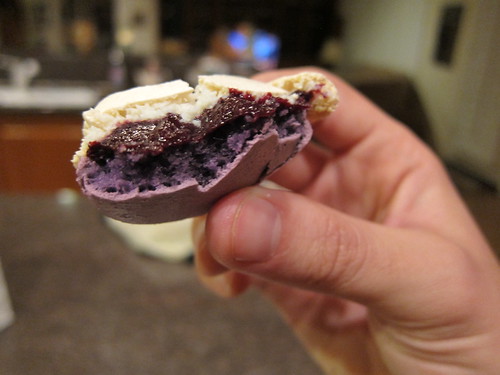
and some macarons!
hazelnut, vanilla bean, some kind of berry, and banana chocolate:
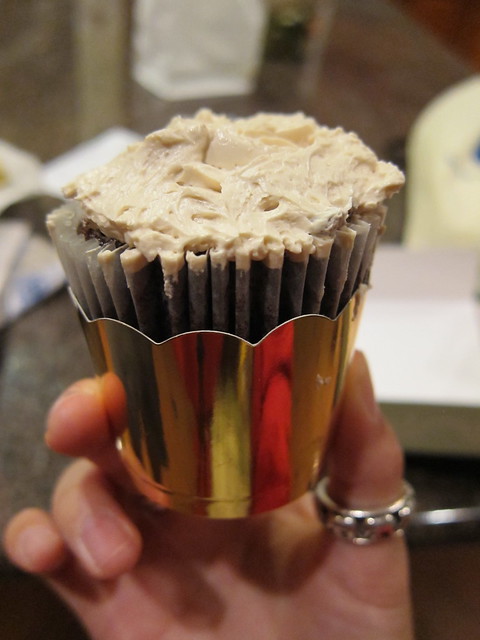
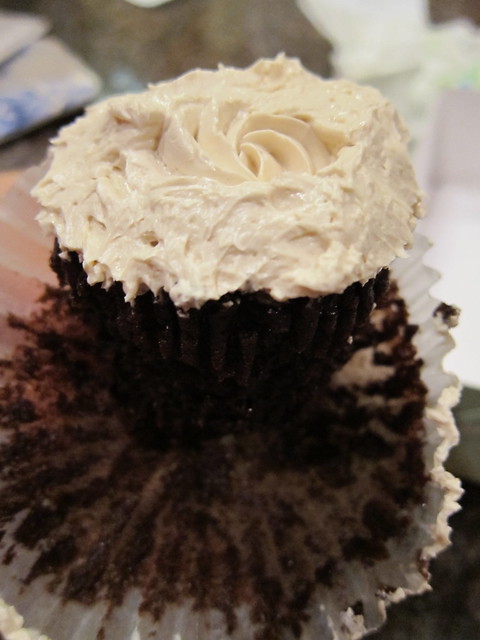
Chocolate cupcake with a coffee frosting:
It didn’t travel that great, but it sure did taste great!
And here’s the video he shot for me:
Everything that I tried was above par. Although I couldn’t be at the actual store to get the whole experience, my DB made sure I got a good piece of it. This was also the first time I tried a macaron, believe it or not, and I can’t believe what I’ve been missing all my life! I need to get on that, pronto.
All of the desserts are packaged so beautifully, too. The box, the cupcake wrapping, the edible gold foil on top of the eclair… just gorgeous. I need to go for myself– I keep hearing the portobello mushroom fries and pizza are to die for.
- « Previous Page
- 1
- …
- 217
- 218
- 219
- 220
- 221
- …
- 289
- Next Page »

