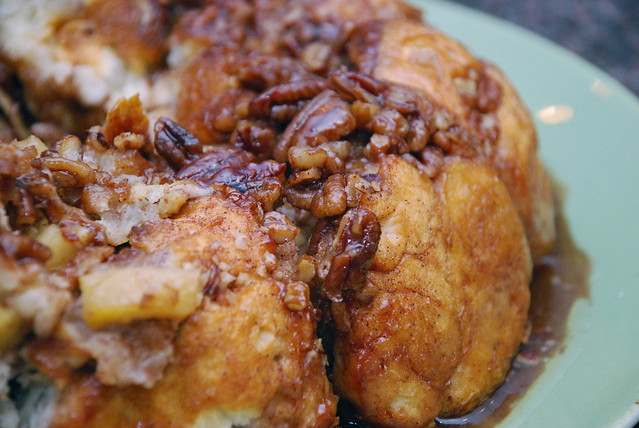
Looks good, doesn’t it? Too bad it was kind of a fail on my part. But as always, we must trek on.
I’ve always been intrigued by monkey bread and have had it bookmarked for for-ev-er. Why didn’t I ever get around to making it? Well, to be honest, refrigerated biscuits kind of freak me out. What person would create such a gut wrenching pop in order to simply open a can? I used to be scared of cracking eggs when I was little, for goodness sakes! This girl is not good with surprises.
My DB and I were invited to our friends’ new place for dinner. I figured that it was the perfect time to give monkey bread a try. If only I knew what I was getting myself into…
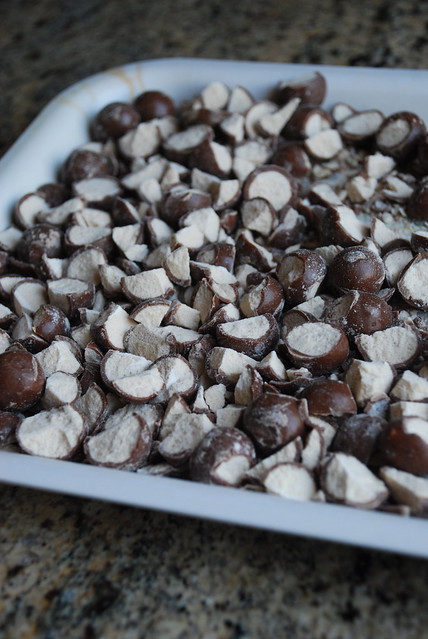
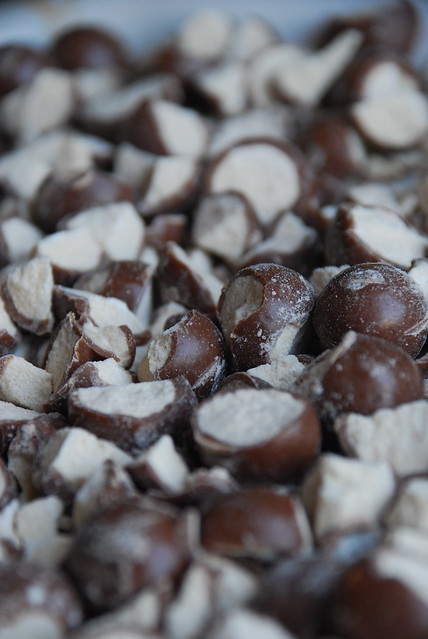
This is my favorite part of it all.. chopping up the apples and snacking away at them while I prepared the rest of the recipe.
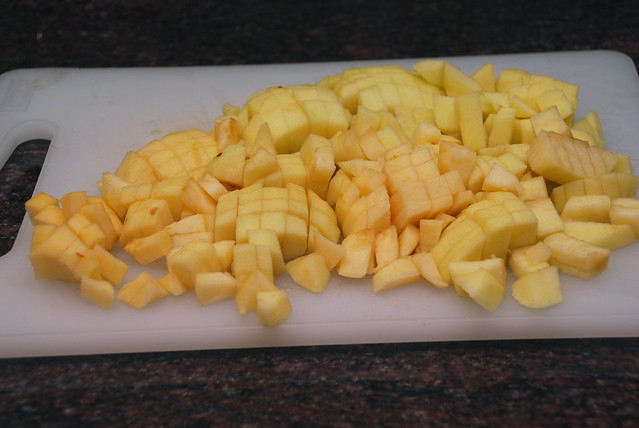
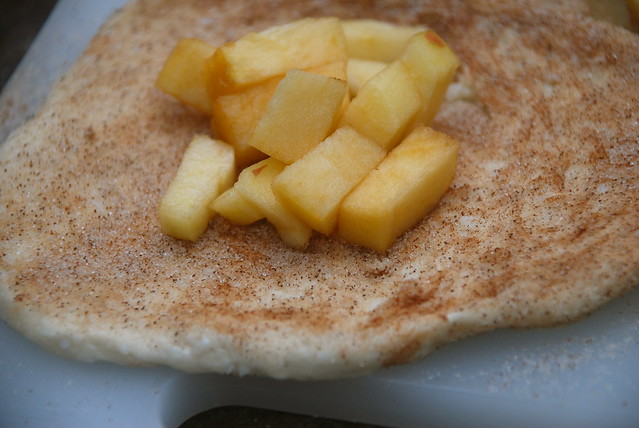
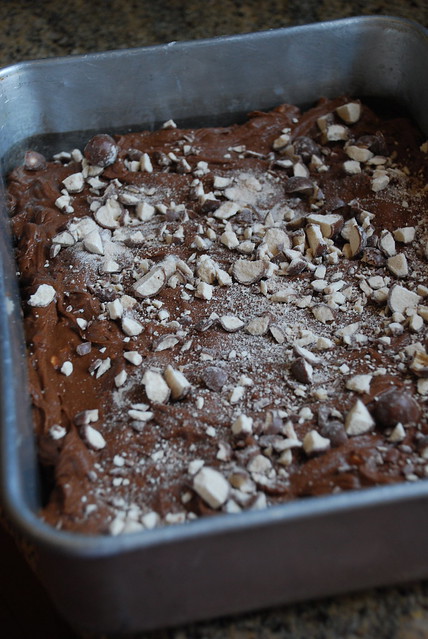
Place apples inside..
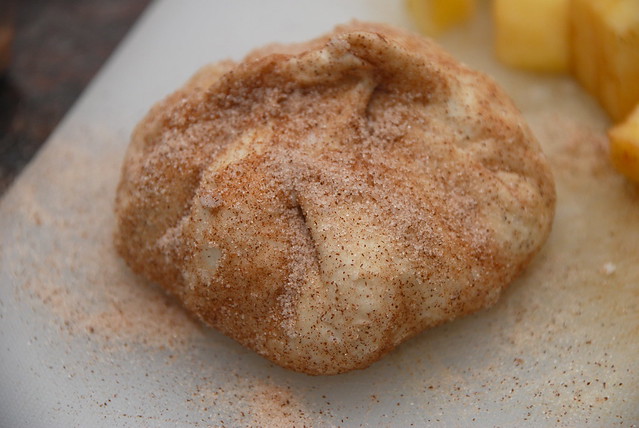
and pinch it up!
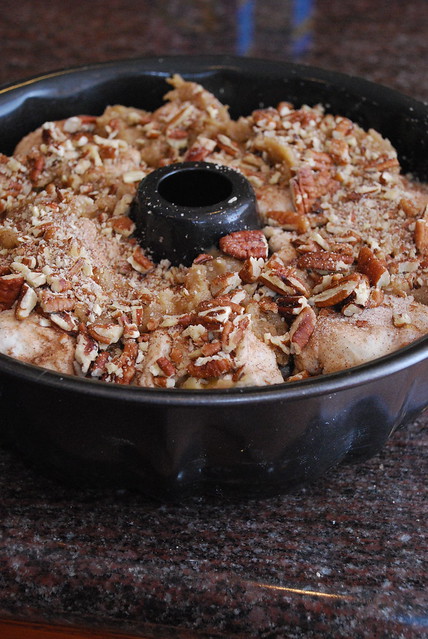
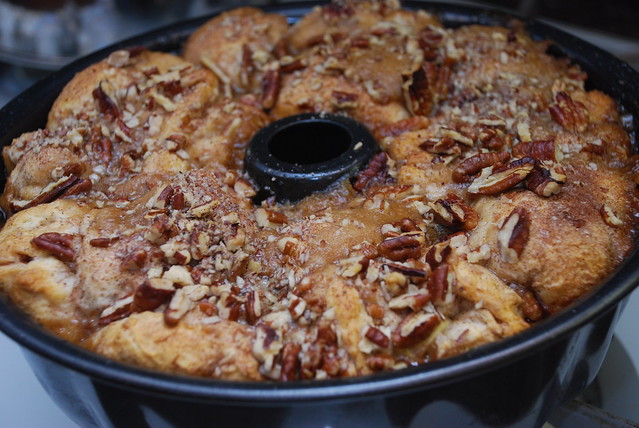
Everything started off well; The cans opened up with ease, the dough balls remained closed, and before I knew it, everything was layered up in the pan, ready for the oven.
The sweet cinnamon sugar aroma filled the kitchen as I became a bit anxious. I baked it for the allotted 30 minute baking time, but after taking a peek at it, I wasn’t quite sure if it was done or not. When in doubt, leave it in for a little bit longer. So that’s exactly what I did– I left it in for another ten minutes before pulling the bread out.
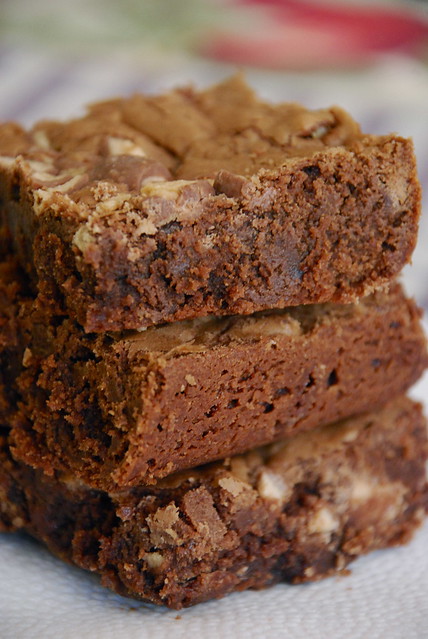
The hardest part of the whole thing? Flipping it over in one piece. I definitely did not succeed.
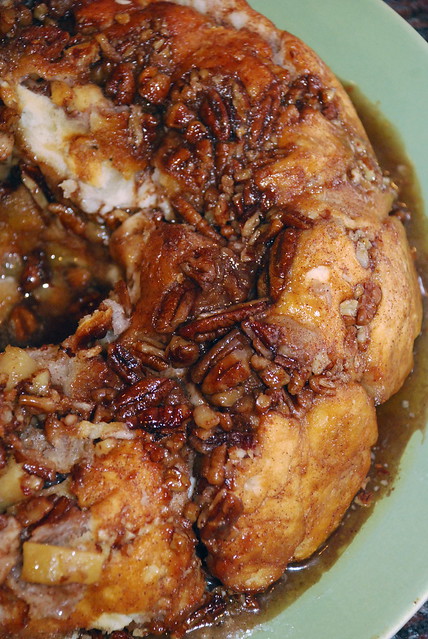
Even though the top wasn’t that pretty, I was hoping it tasted as good as it smelled. The thing with bread is that you can’t taste it to make sure everything is okay. With cookies, you can try them before bringing them somewhere so you know how they taste. With cakes and bread, it’s like jumping in the pool head first.
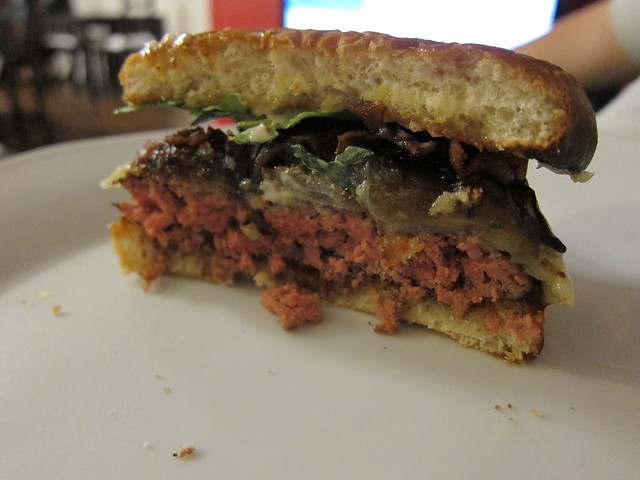
I wrapped up the cooled monkey bread and took it with me to Sam and Adam’s place while hoping for the best. Sam made us baked brie and bruschetta with bread for appetizers. I’m pretty sure I ate an entire loaf before dinner. All throughout the main meal, all I could think was, “What if the bread is not throughly cooked? I’m done for!!” and “Gosh, this is one good burger!” Adam barbecued bison burgers with caramelized onions for dinner that were delicious! I devoured half of it before I even thought about taking a picture to share with you guys.
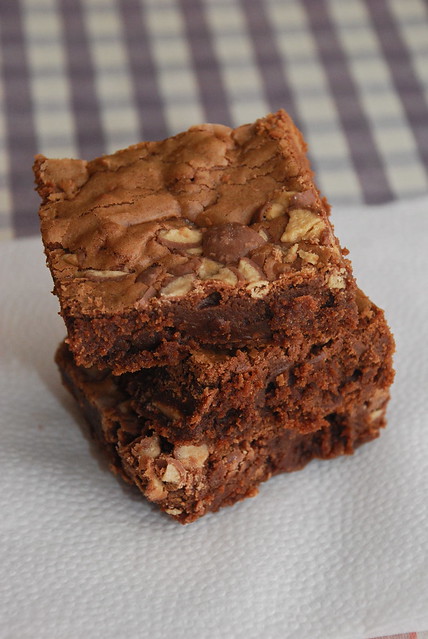
We finished our meal and it was time for dessert. Cutting through the bread, I found out that it was not cooked all the way. Eeeeep, a baker’s worst nightmare! We nibbled around the baked edges and I ate all the apples inside. I was so embarrassed, but good thing I brought cookies and brownies to accompany the uncooked bread. Never again, I told myself. I’ll only bake things that are foreign to me when I’m baking for myself. I’ll leave cookies and familiar desserts for dinner parties.
This baking disaster kept me up all night. Not really, but I did think a lot about it. I think the reason why it didn’t cook all the way was because my biscuits were too thick. The original recipe calls for 3 12 oz cans and I used 2 16 oz cans instead, so each biscuit had less dough in the original recipe. I should have split each biscuit in half and make smaller balls. Lesson learned.
One day, I’ll tackle monkey bread again. Slightly adapted from Joelen’s Culinary Adventures.
- 1/4 cup sugar
- 3 teaspoons cinnamon
- 1/2 cup (1 stick) butter
- 1 cup packed brown sugar
- 2 (16-ounce) cans refrigerated biscuits
- 3 small apples, peeled and finely chopped
- 1 1/2 cups coarsely chopped pecans
- Preheat the oven to 350 degrees F.
- Spray or grease a bundt pan with nonstick cooking spray. Mix the sugar and cinnamon, set aside.
- In a small bowl, stir together the melted butter and brown sugar; set aside.
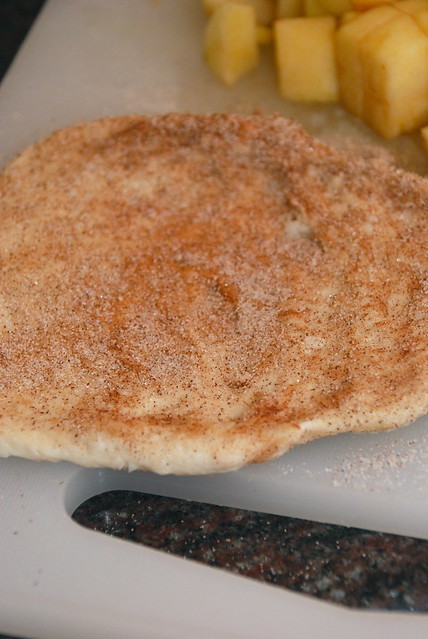
- Press the individual biscuits out and flatten with your fingers; dredge each side of the flattened biscuit in the cinnamon sugar.
- Place about a teaspoon of chopped apples in the center of each biscuit, wrapping and sealing the dough around the apples; set aside. Repeat with all the remaining biscuits.
- Sprinkle 1/2 cup of the nuts into the bottom of the bundt pan. Place half of the prepared biscuits in the pan. Sprinkle with cinnamon sugar, pour half of the melted butter mixture over the biscuits, and sprinkle on 1/2 cup of nuts.
- Layer the remaining biscuits on top, sprinkle with the remaining cinnamon sugar, pour the remaining butter mixture over the biscuits, and sprinkle with the remaining 1/2 cup of nuts.
- Bake for 30-40 minutes. Remove from the oven and cool for 5 minutes. Place a plate on top and invert.