It’s been a while, but I needed to post this recipe for me to refer back again and again. It’s arguably one of the easiest dessert I’ve ever made and the best part is there’s no turning on your oven involved over the hot summer! It’s a dessert that you can make ahead of time and serve whenever needed.
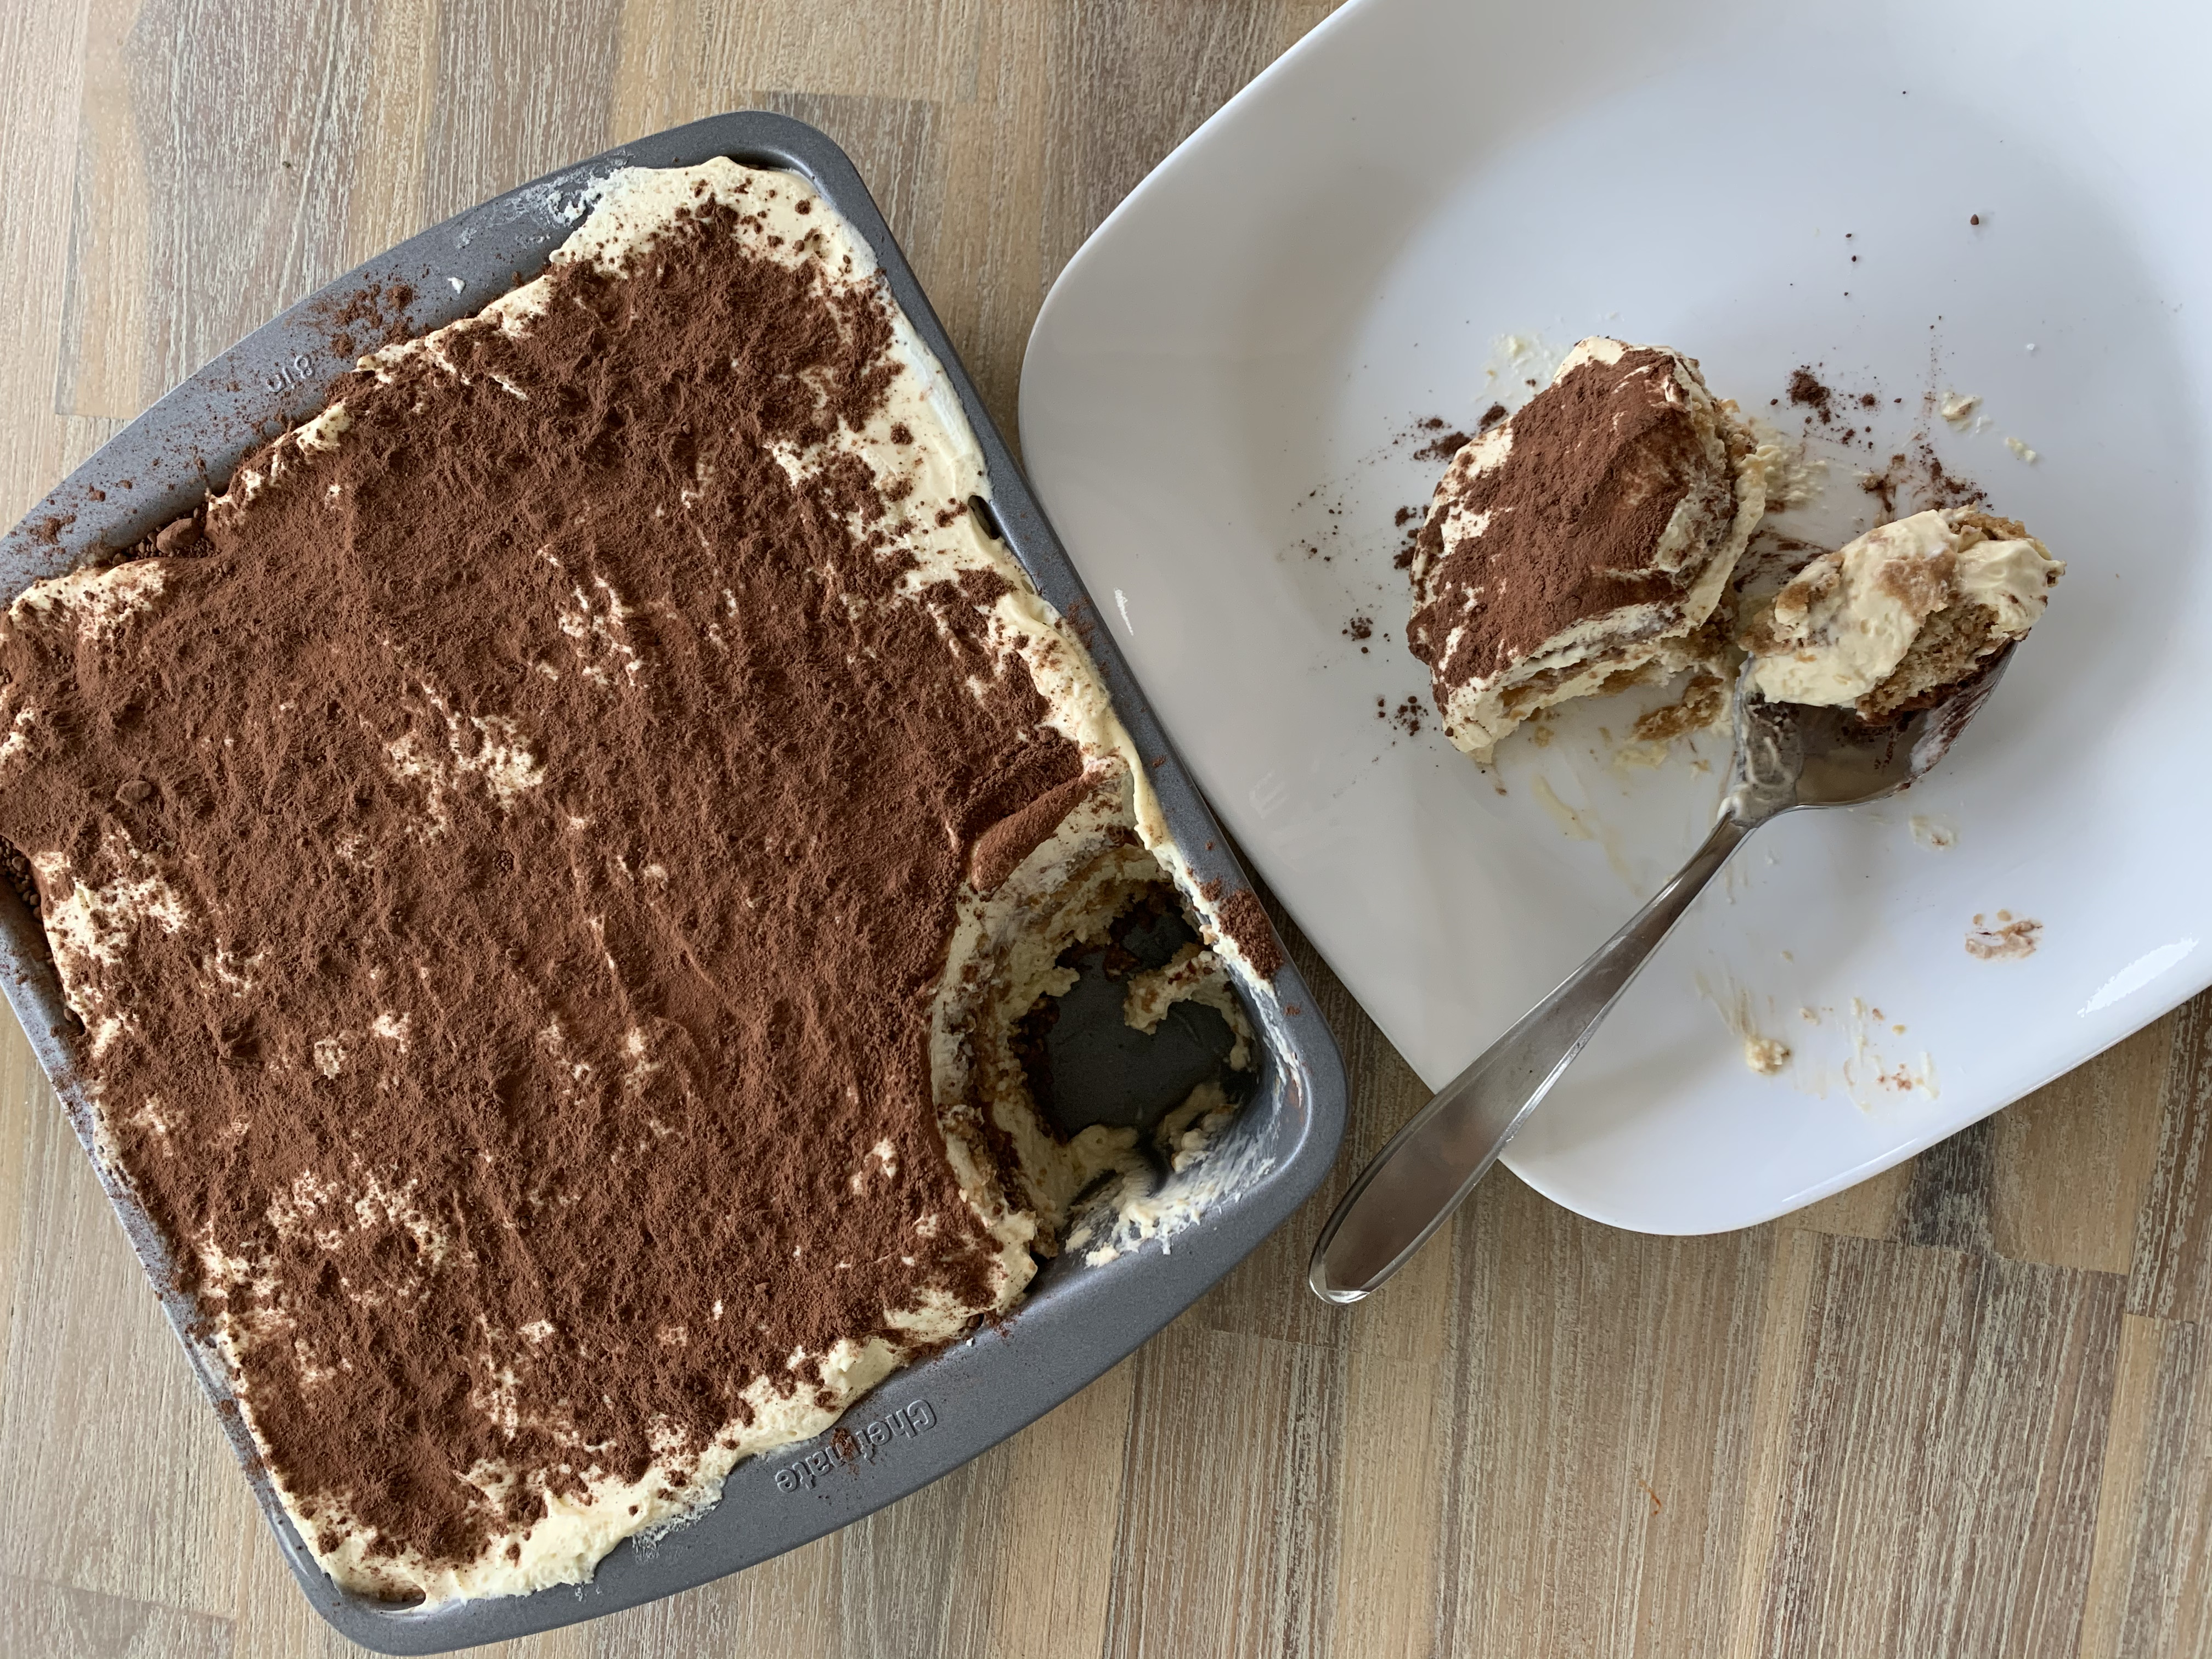
As you can tell, I’ve already made this recipe a couple of times (hence the different pans). I’ve made it for us, for gatherings, and even another time since the girls requested it. I’m actually surprised how much Ellie and Thea love it. There’s coffee, just a tad of rum, and all the things I did not care for as a child. Coffee was an acquired taste for me and I didn’t like the taste until I was in high school. Apparently, our kids are not the same as me.
It’s a dessert that the kids can easily help with. They helped dip the ladyfingers in coffee, spread the filling, and sprinkle cocoa powder on top. There’s really no wrong that you can do with this recipe.
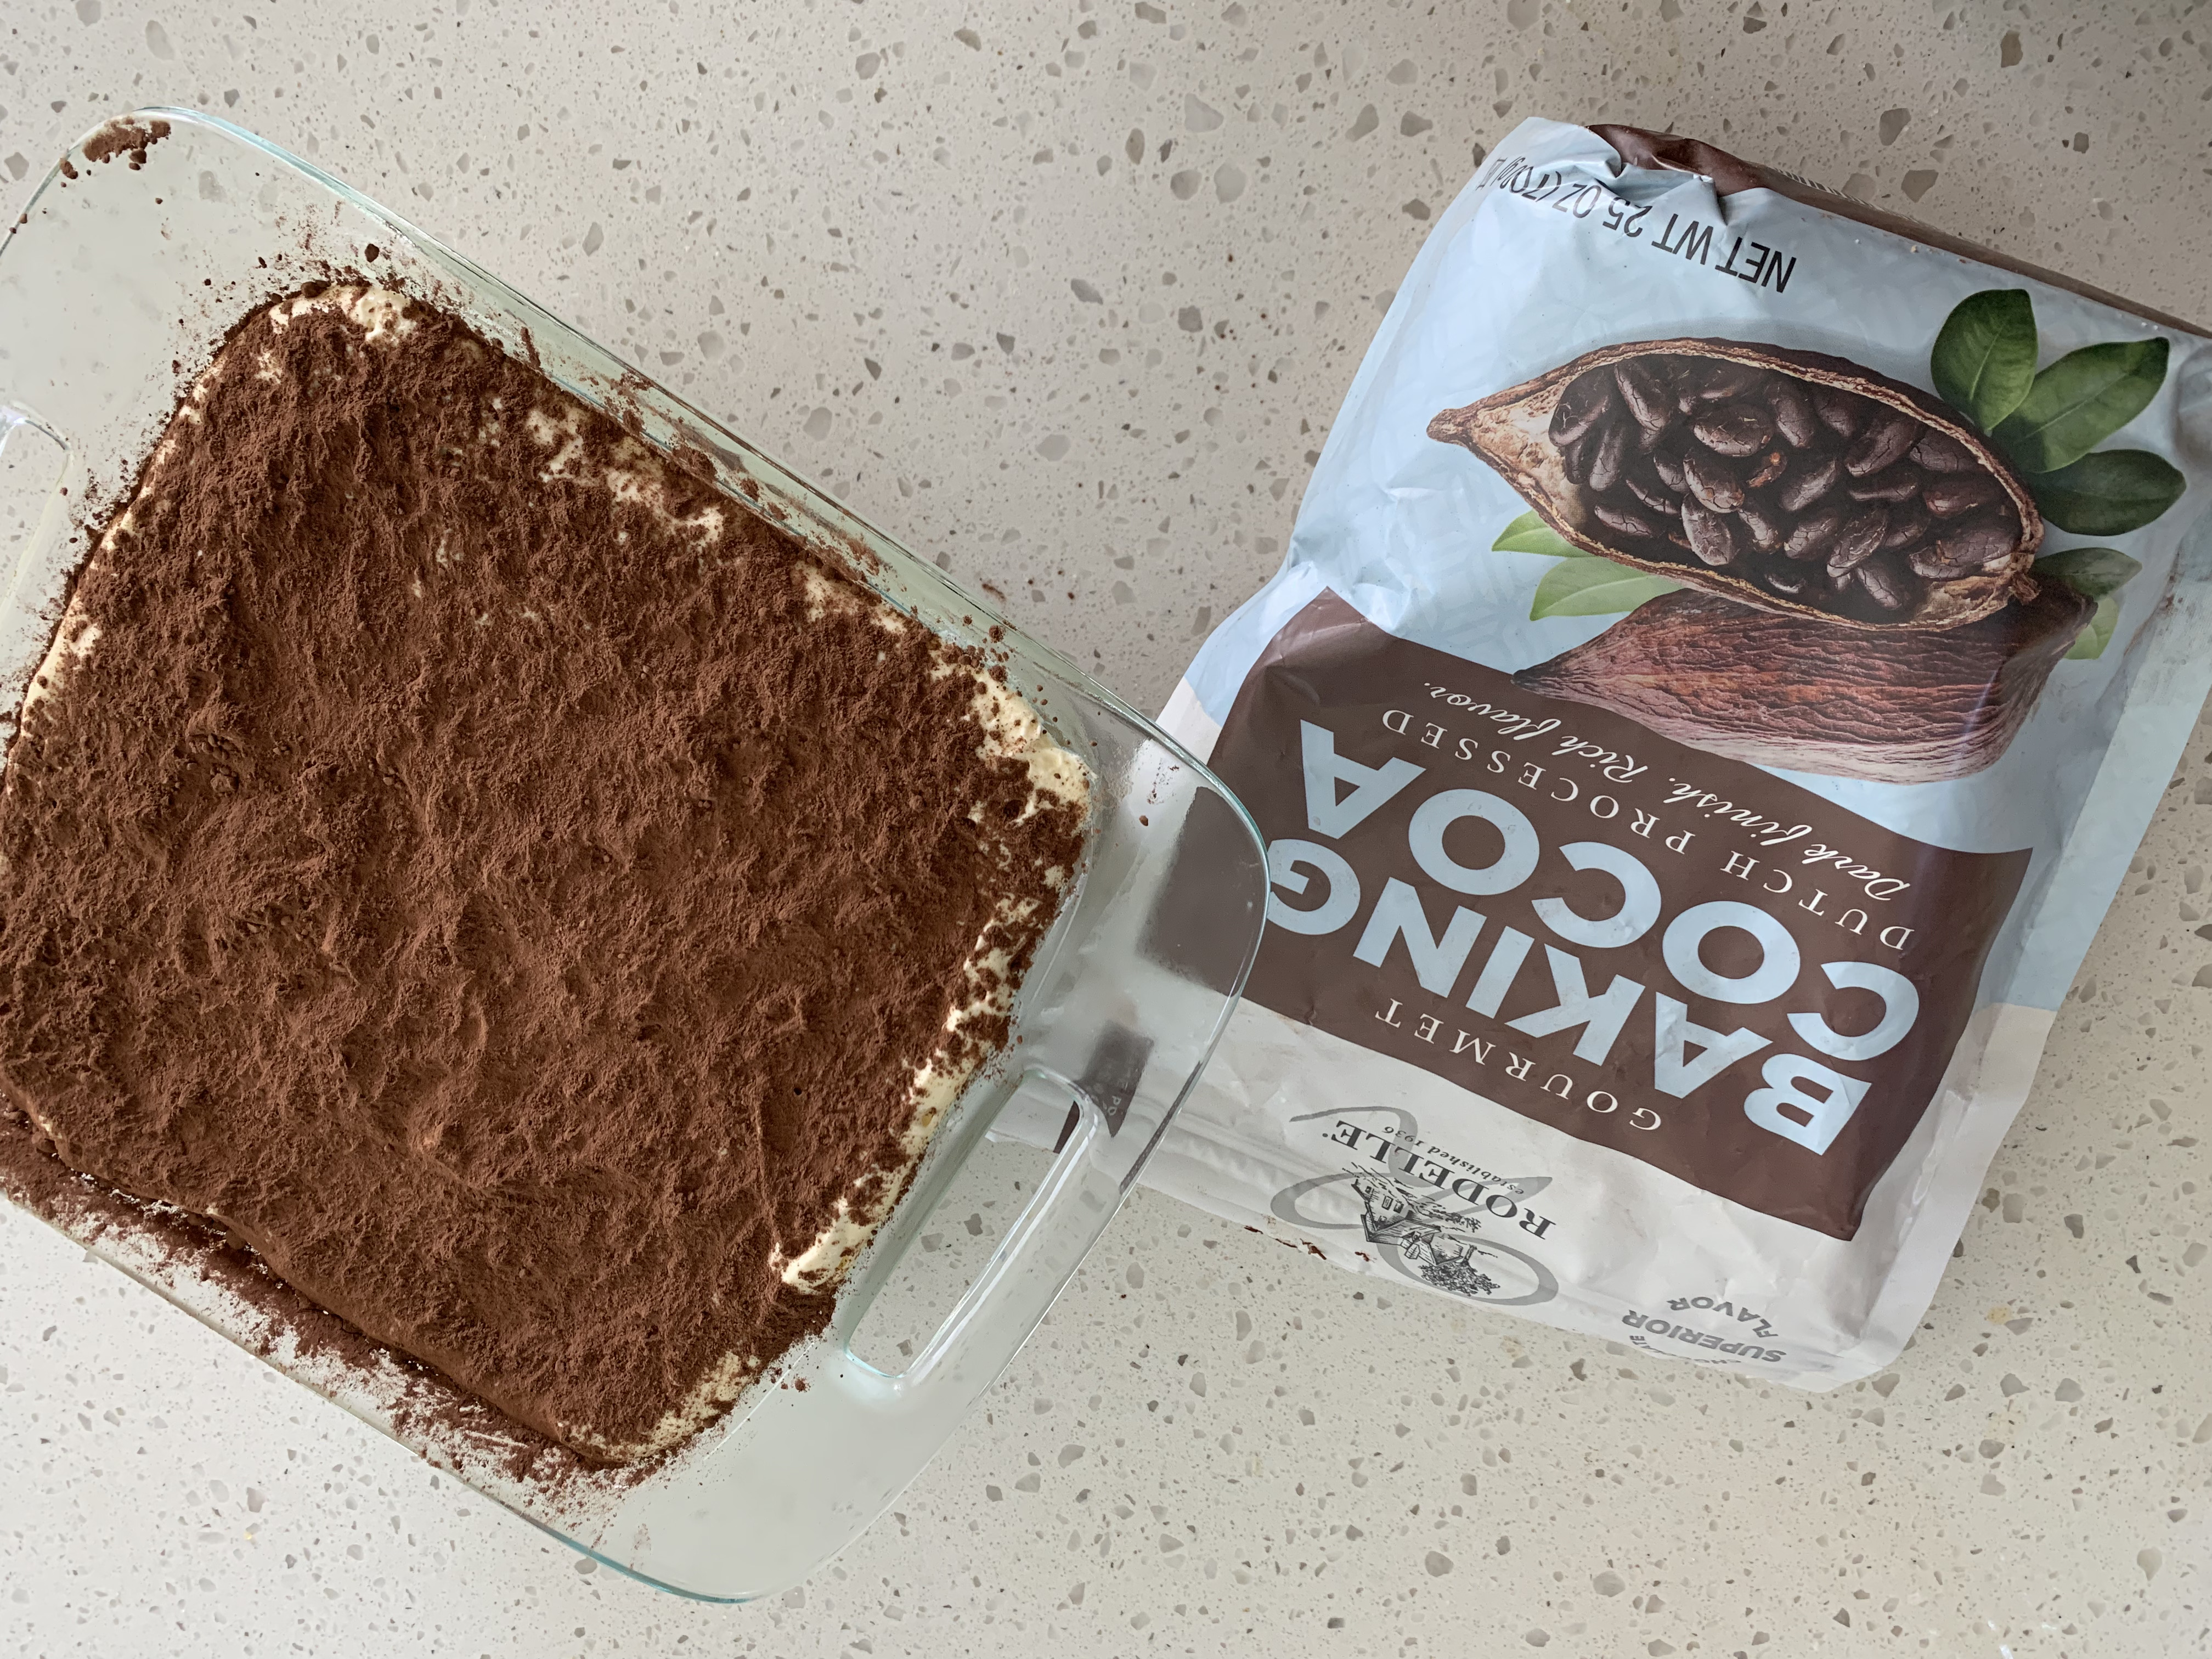
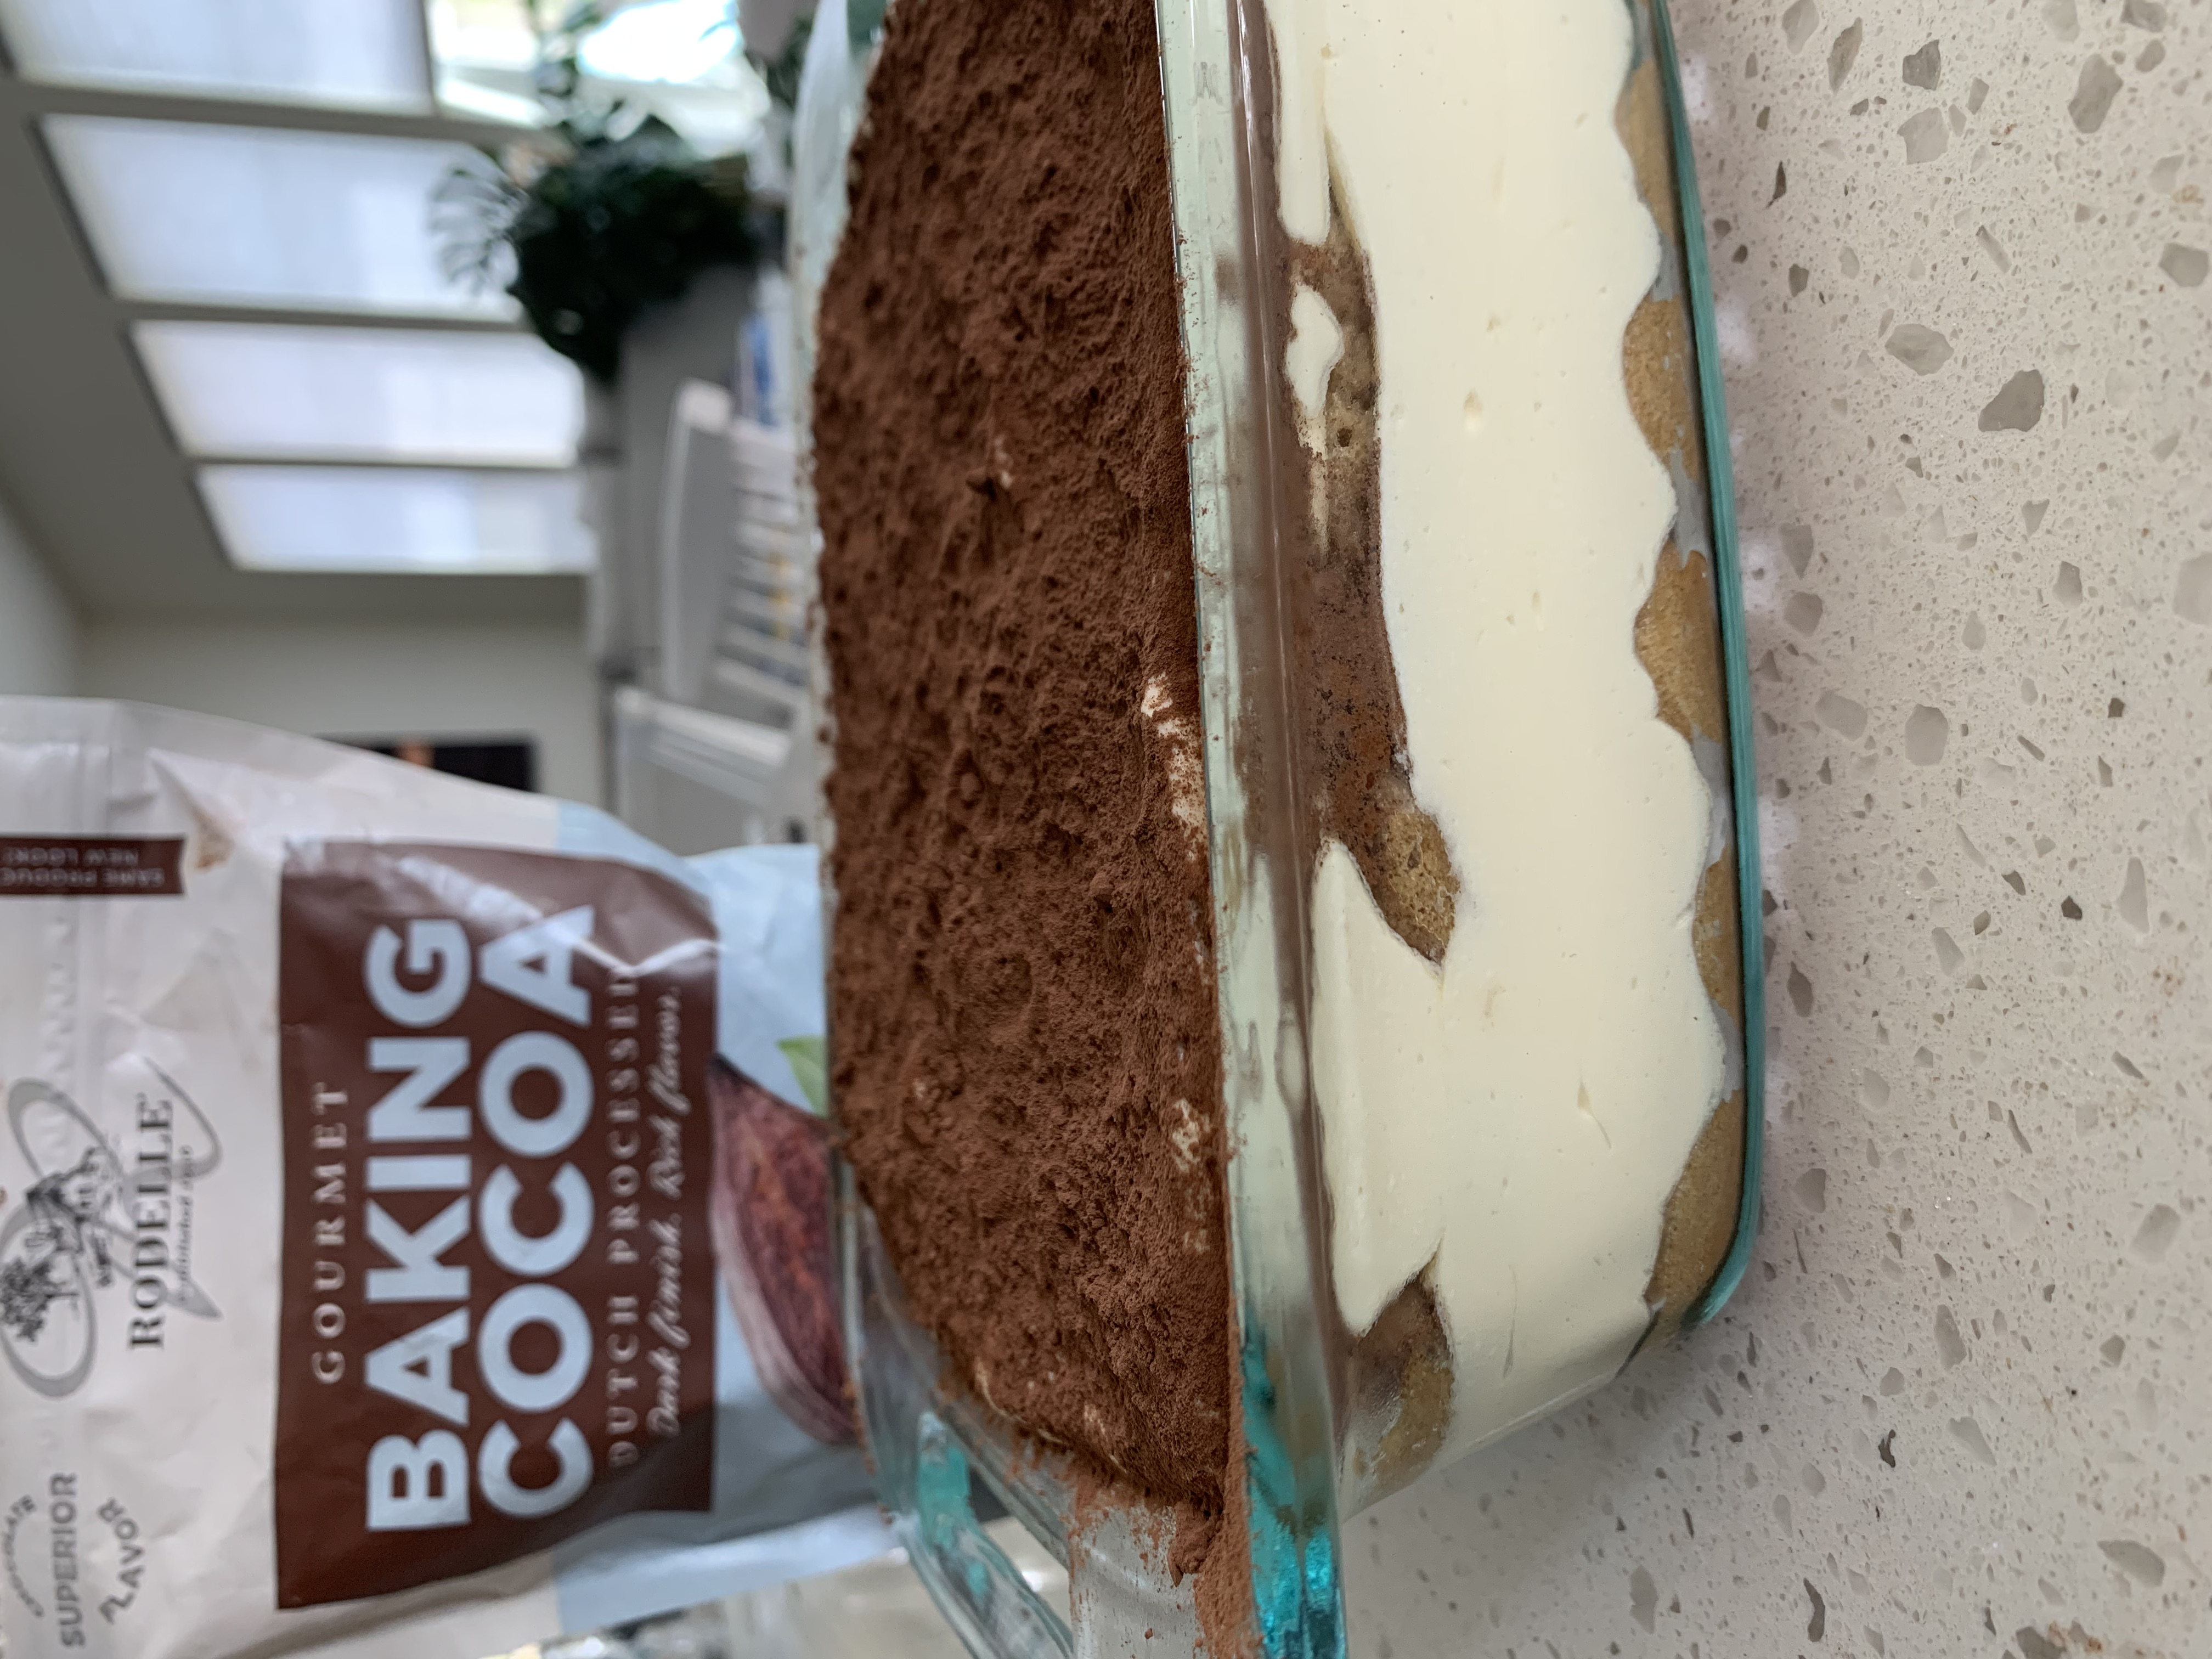
I use Rodelle Gourmet Cocoa Powder with any recipe that asks for cocoa powder. The Dutch Processed, rich chocolate flavor is what makes my desserts. There’s nothing better.
This recipe is from A Cozy Kitchen and I’m so glad I stumbled across it to try!

Ingredients
- FILLING:
- 4 large egg yolks, cold
- 3 tablespoons dark rum
- 1/4 cup heavy cream, cold
- 1/2 cup sugar
- 1/4 teaspoon salt
- 16 ounces mascarpone (from 2 containers), cold
- FOR ASSEMBLY:
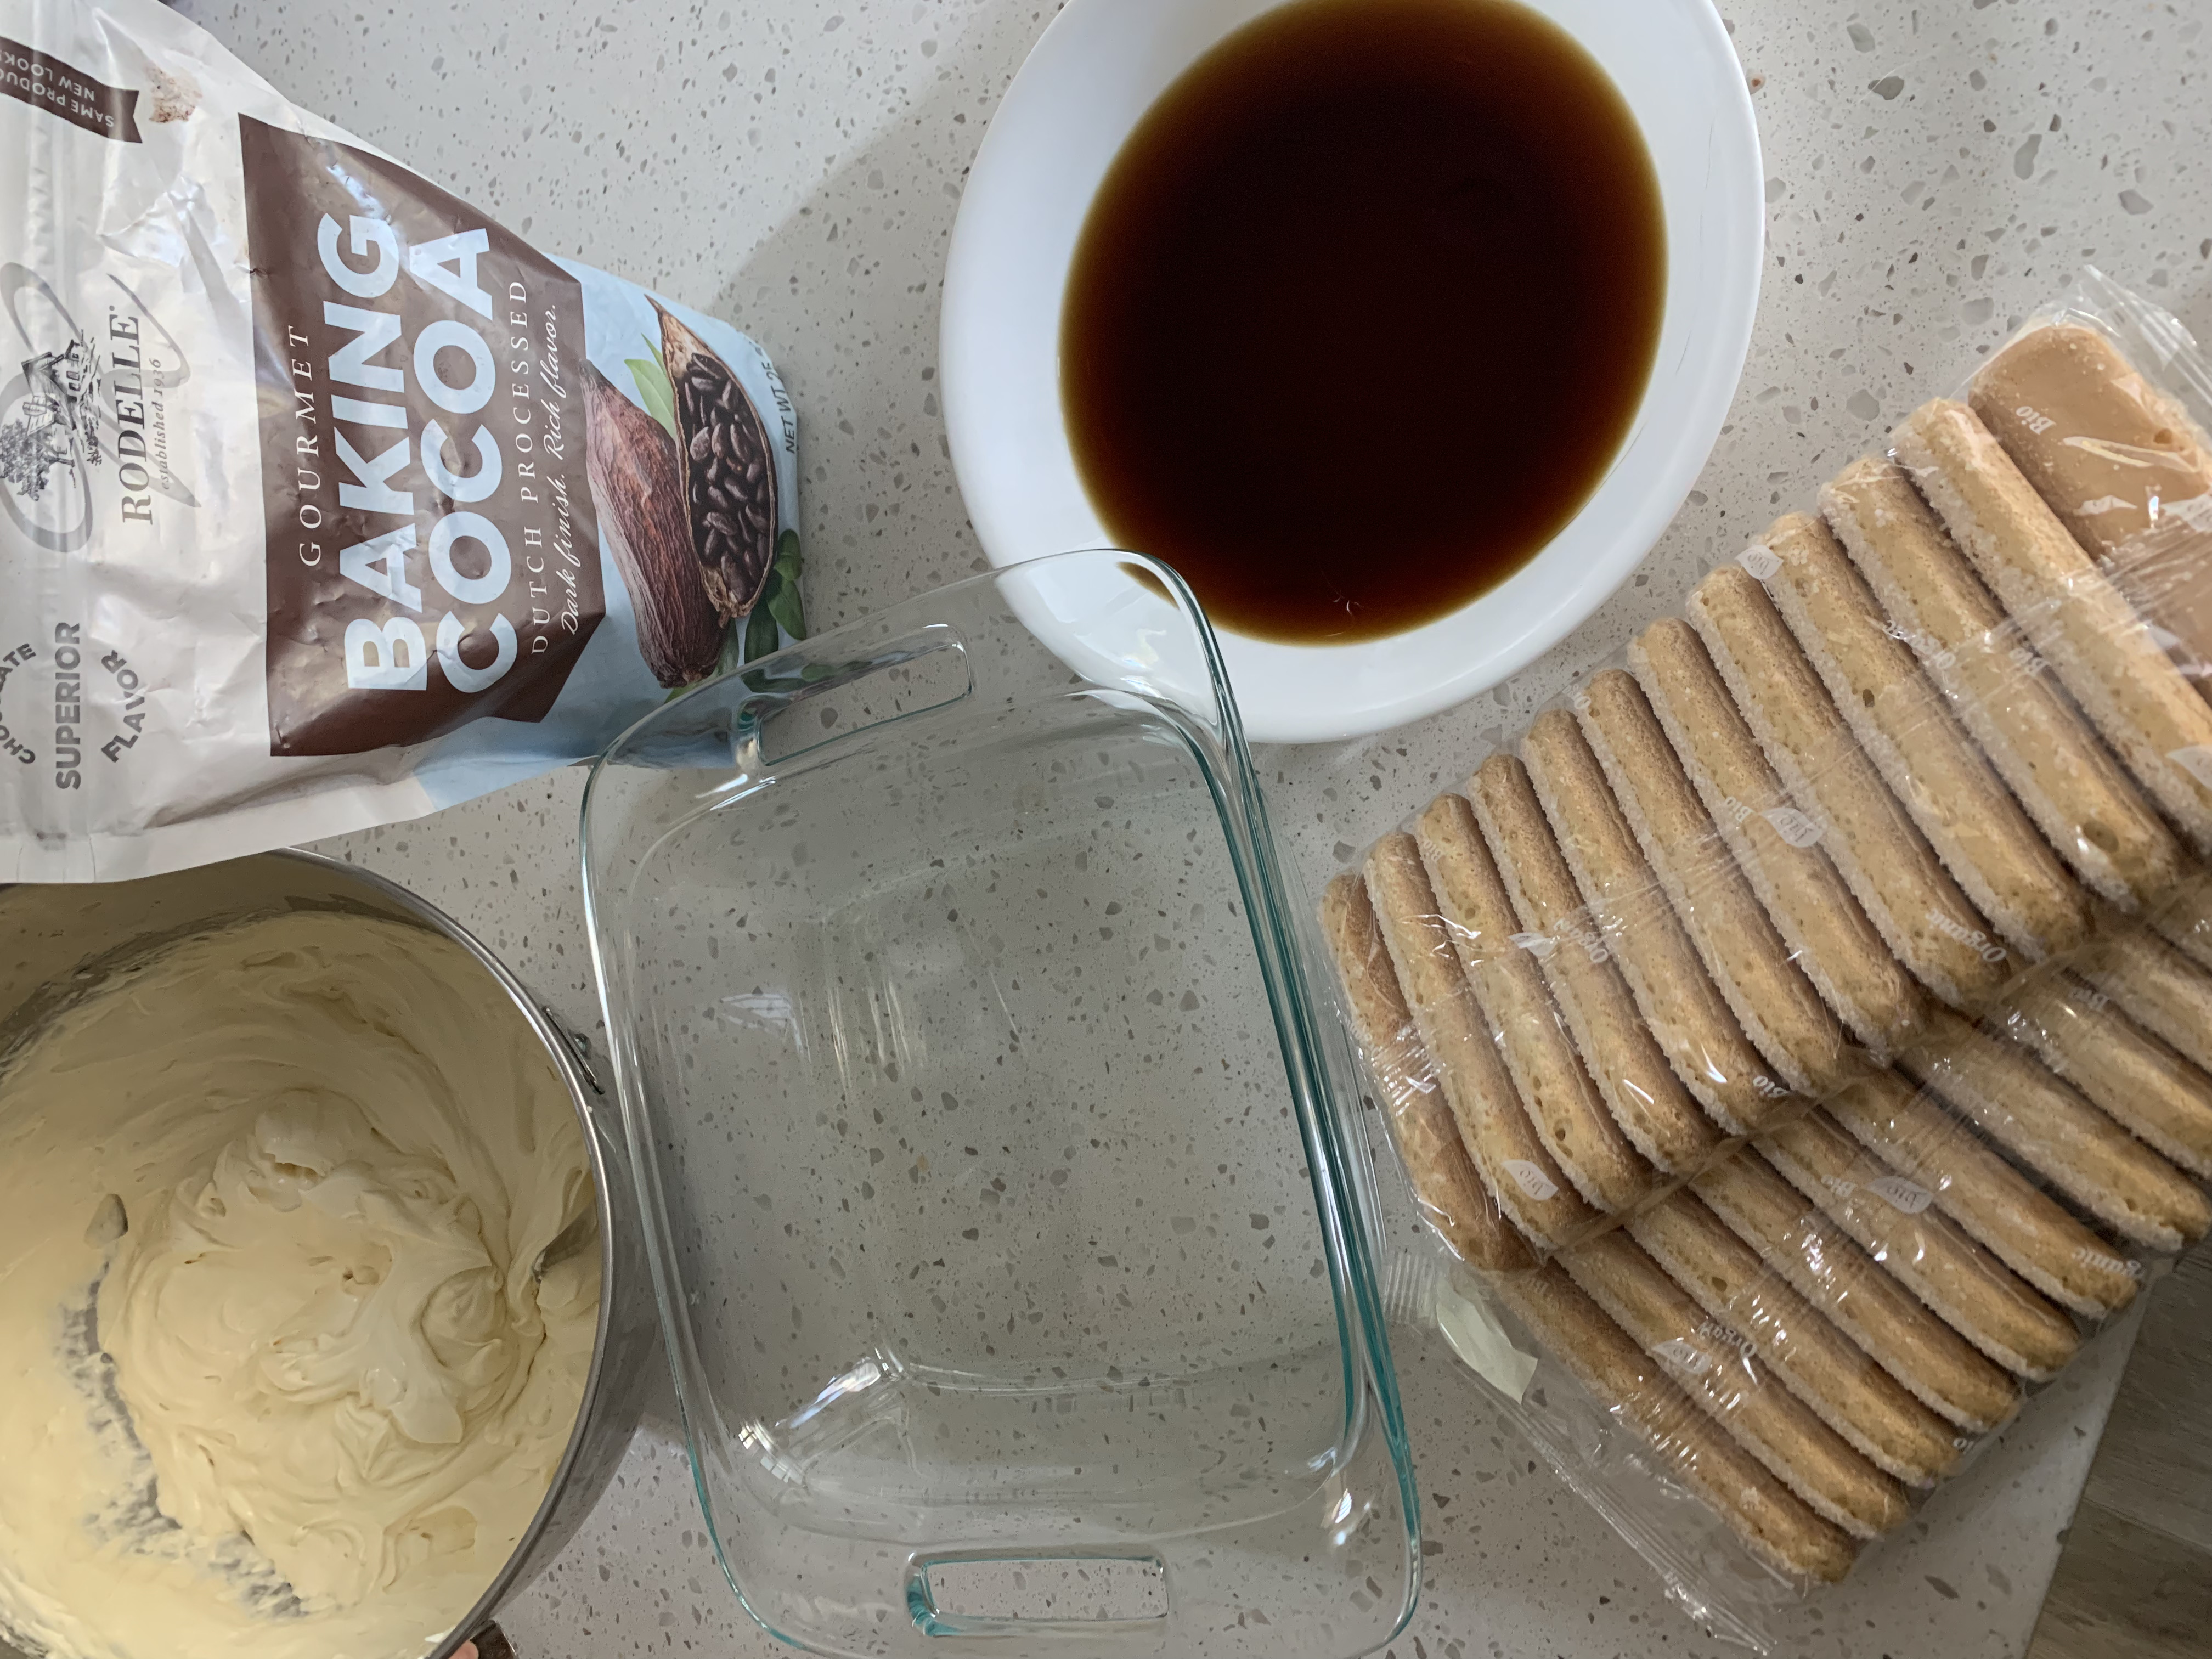
- 1 3/4 cup strongly brewed coffee
- 24 lady fingers (from a 7-ounce package)
- FOR TOPPING:
- 2 tablespoons Rodelle Gourmet Baking Cocoa
Instructions
- Make the filling by adding all of the filling ingredients into a stand mixer. Beat together for 1 minute, scrape down the sides of the bowl, then beat for another minute. Stick to the two minutes! Set aside.
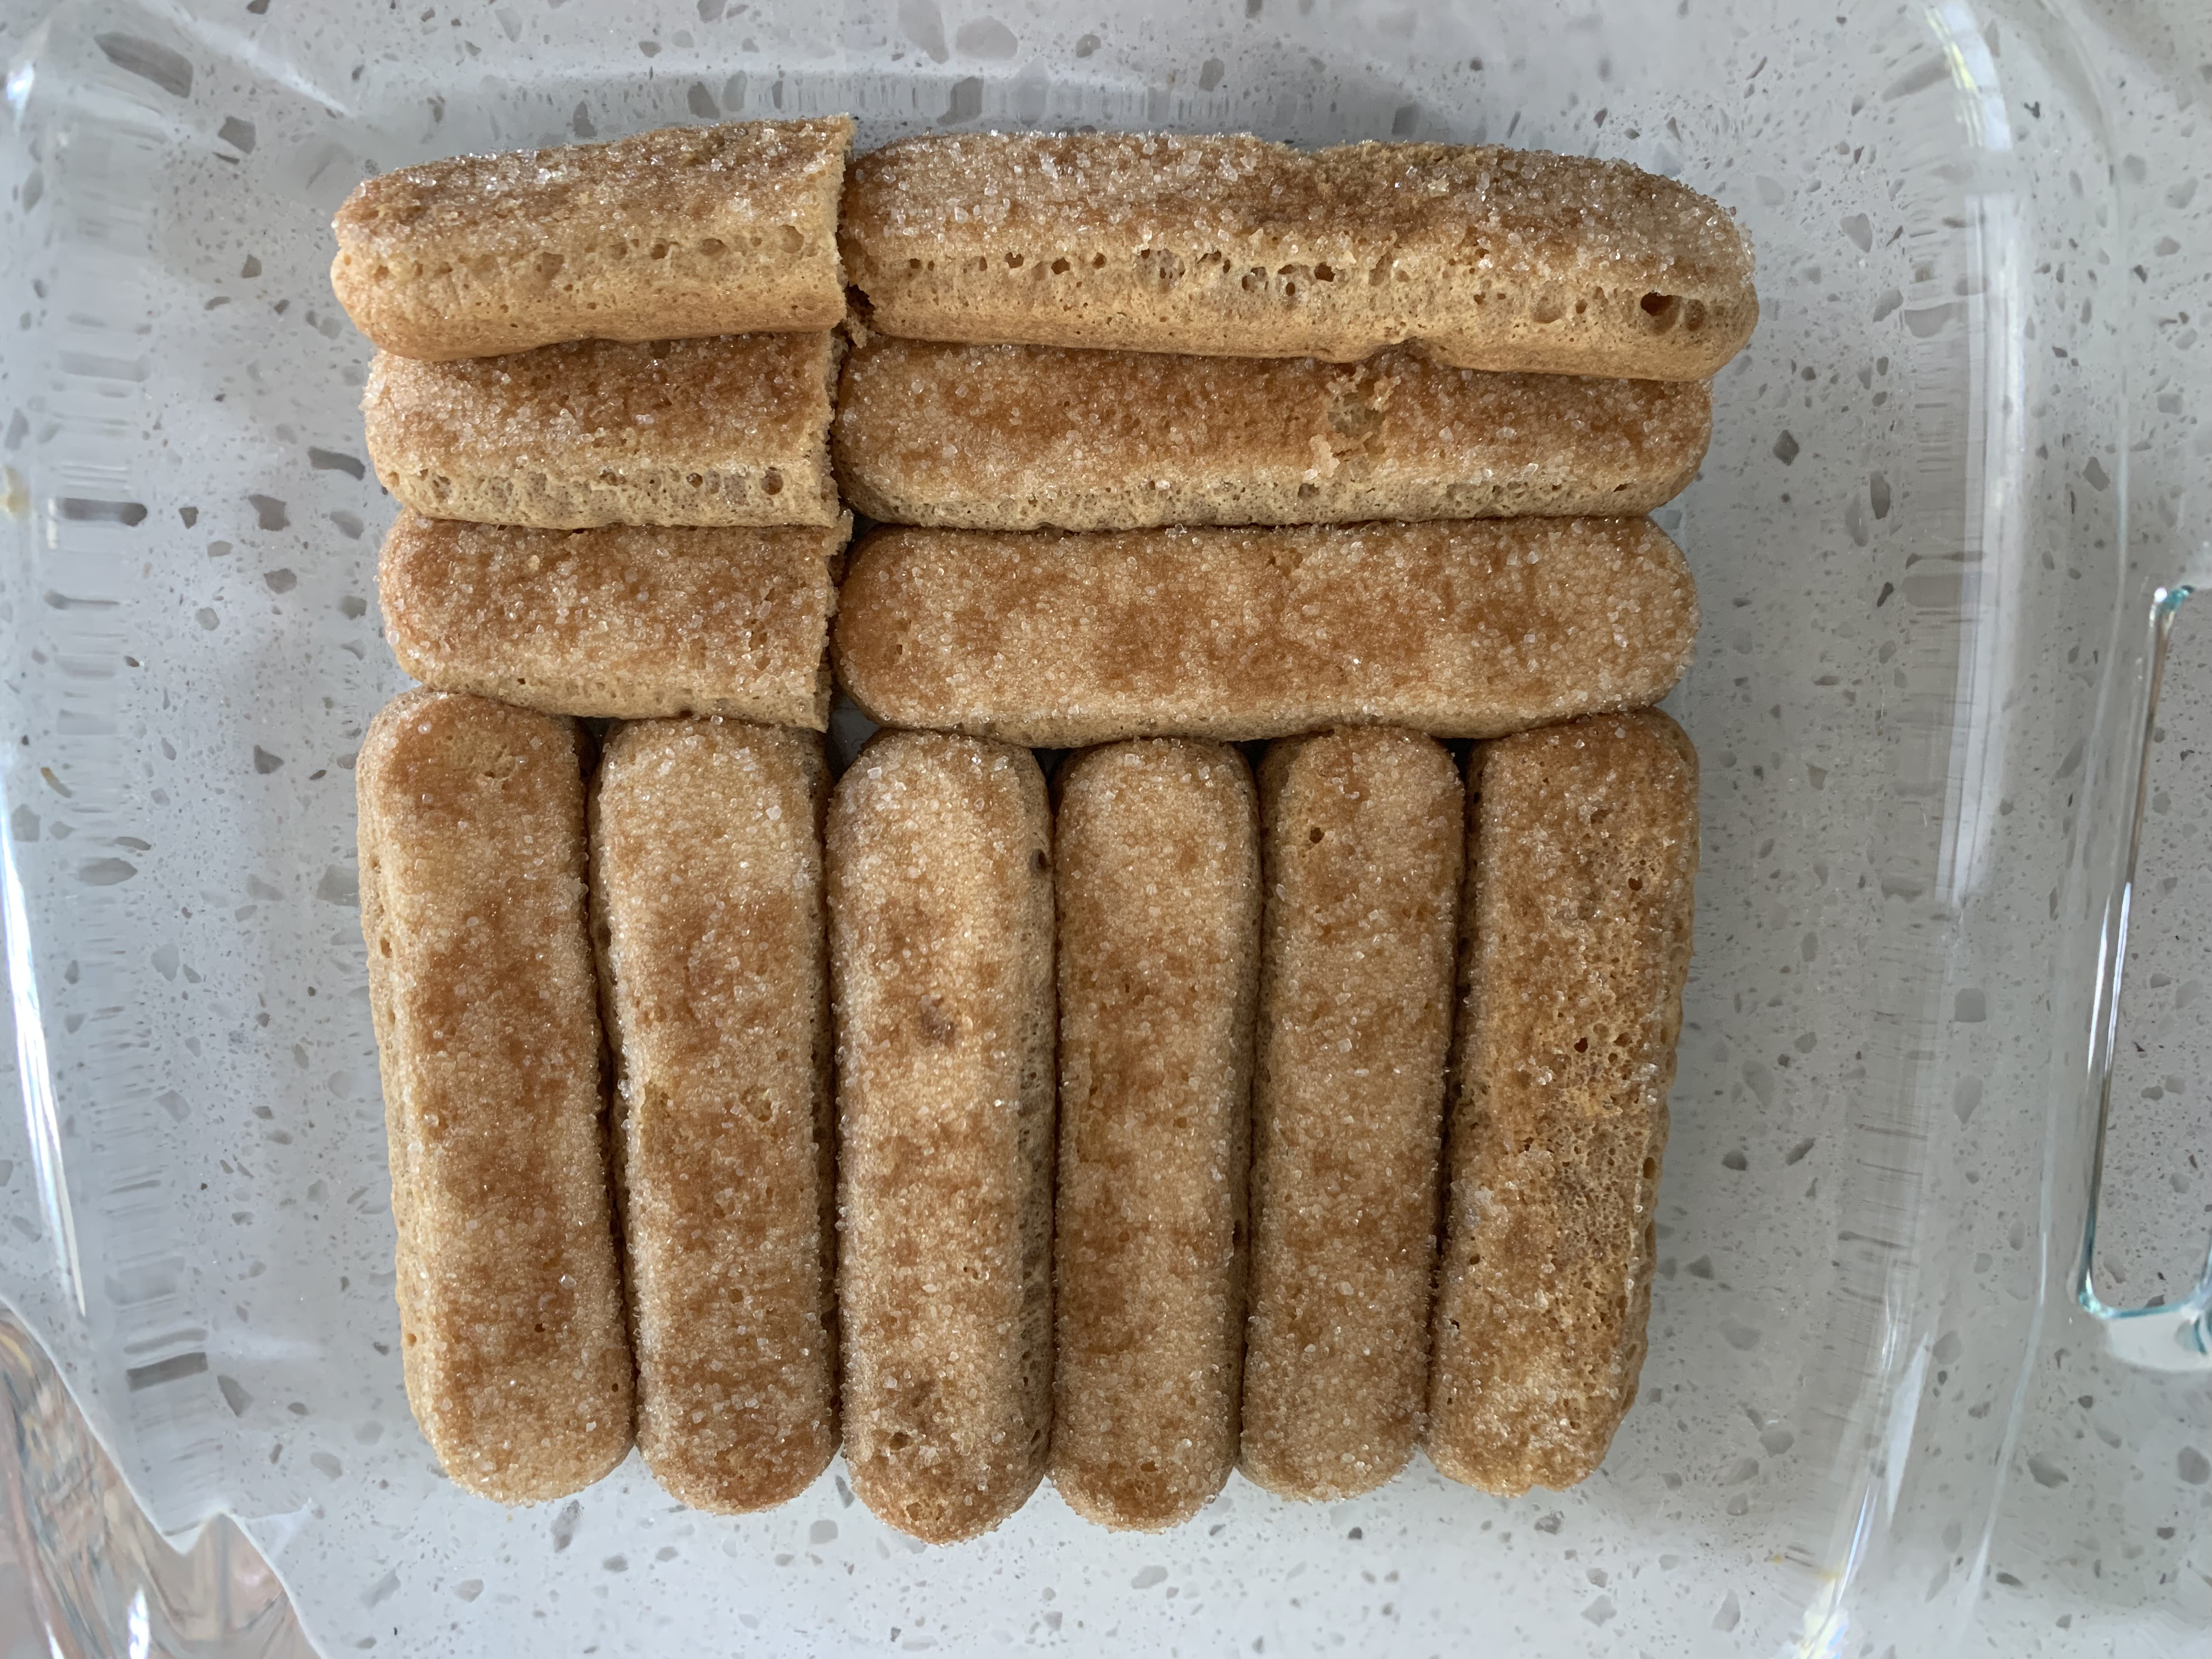
- In a 8×8 dish, dip the ladyfingers into the coffee and set them next to each other, breaking pieces if necessary to cover the bottom of the dish.
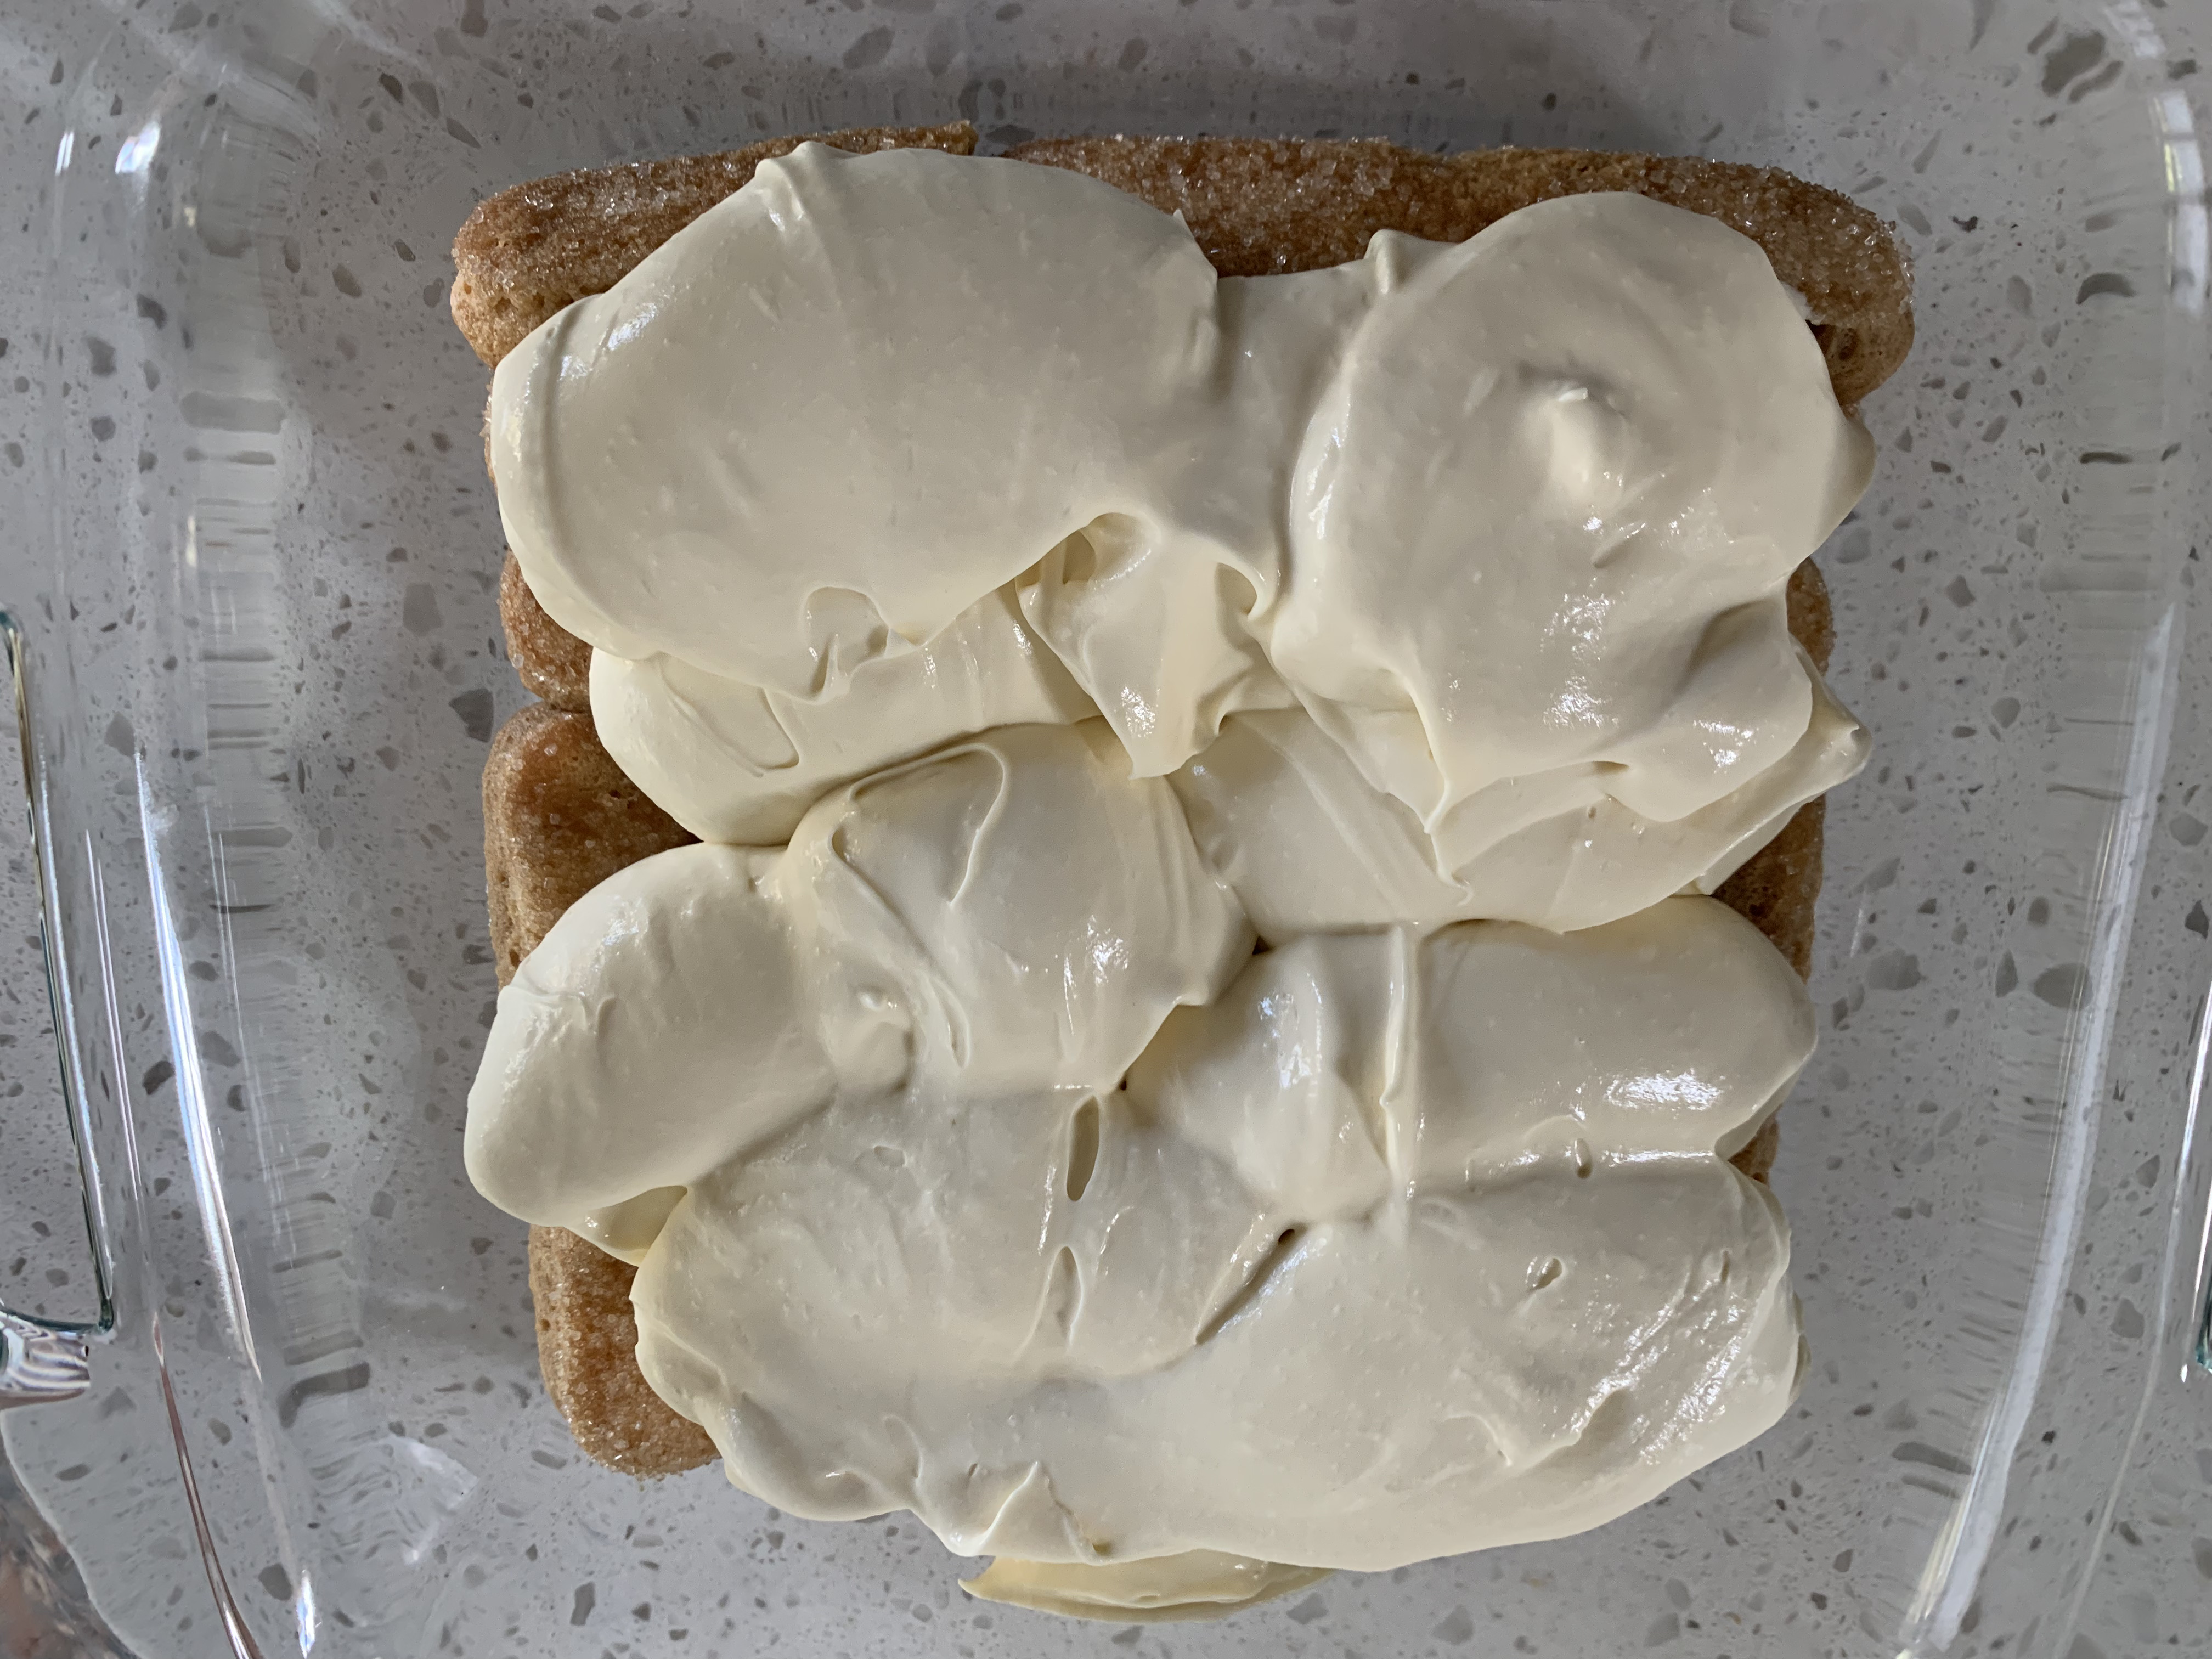
- Drop half of the filling mixture on top of the ladyfingers layer and spread evenly.
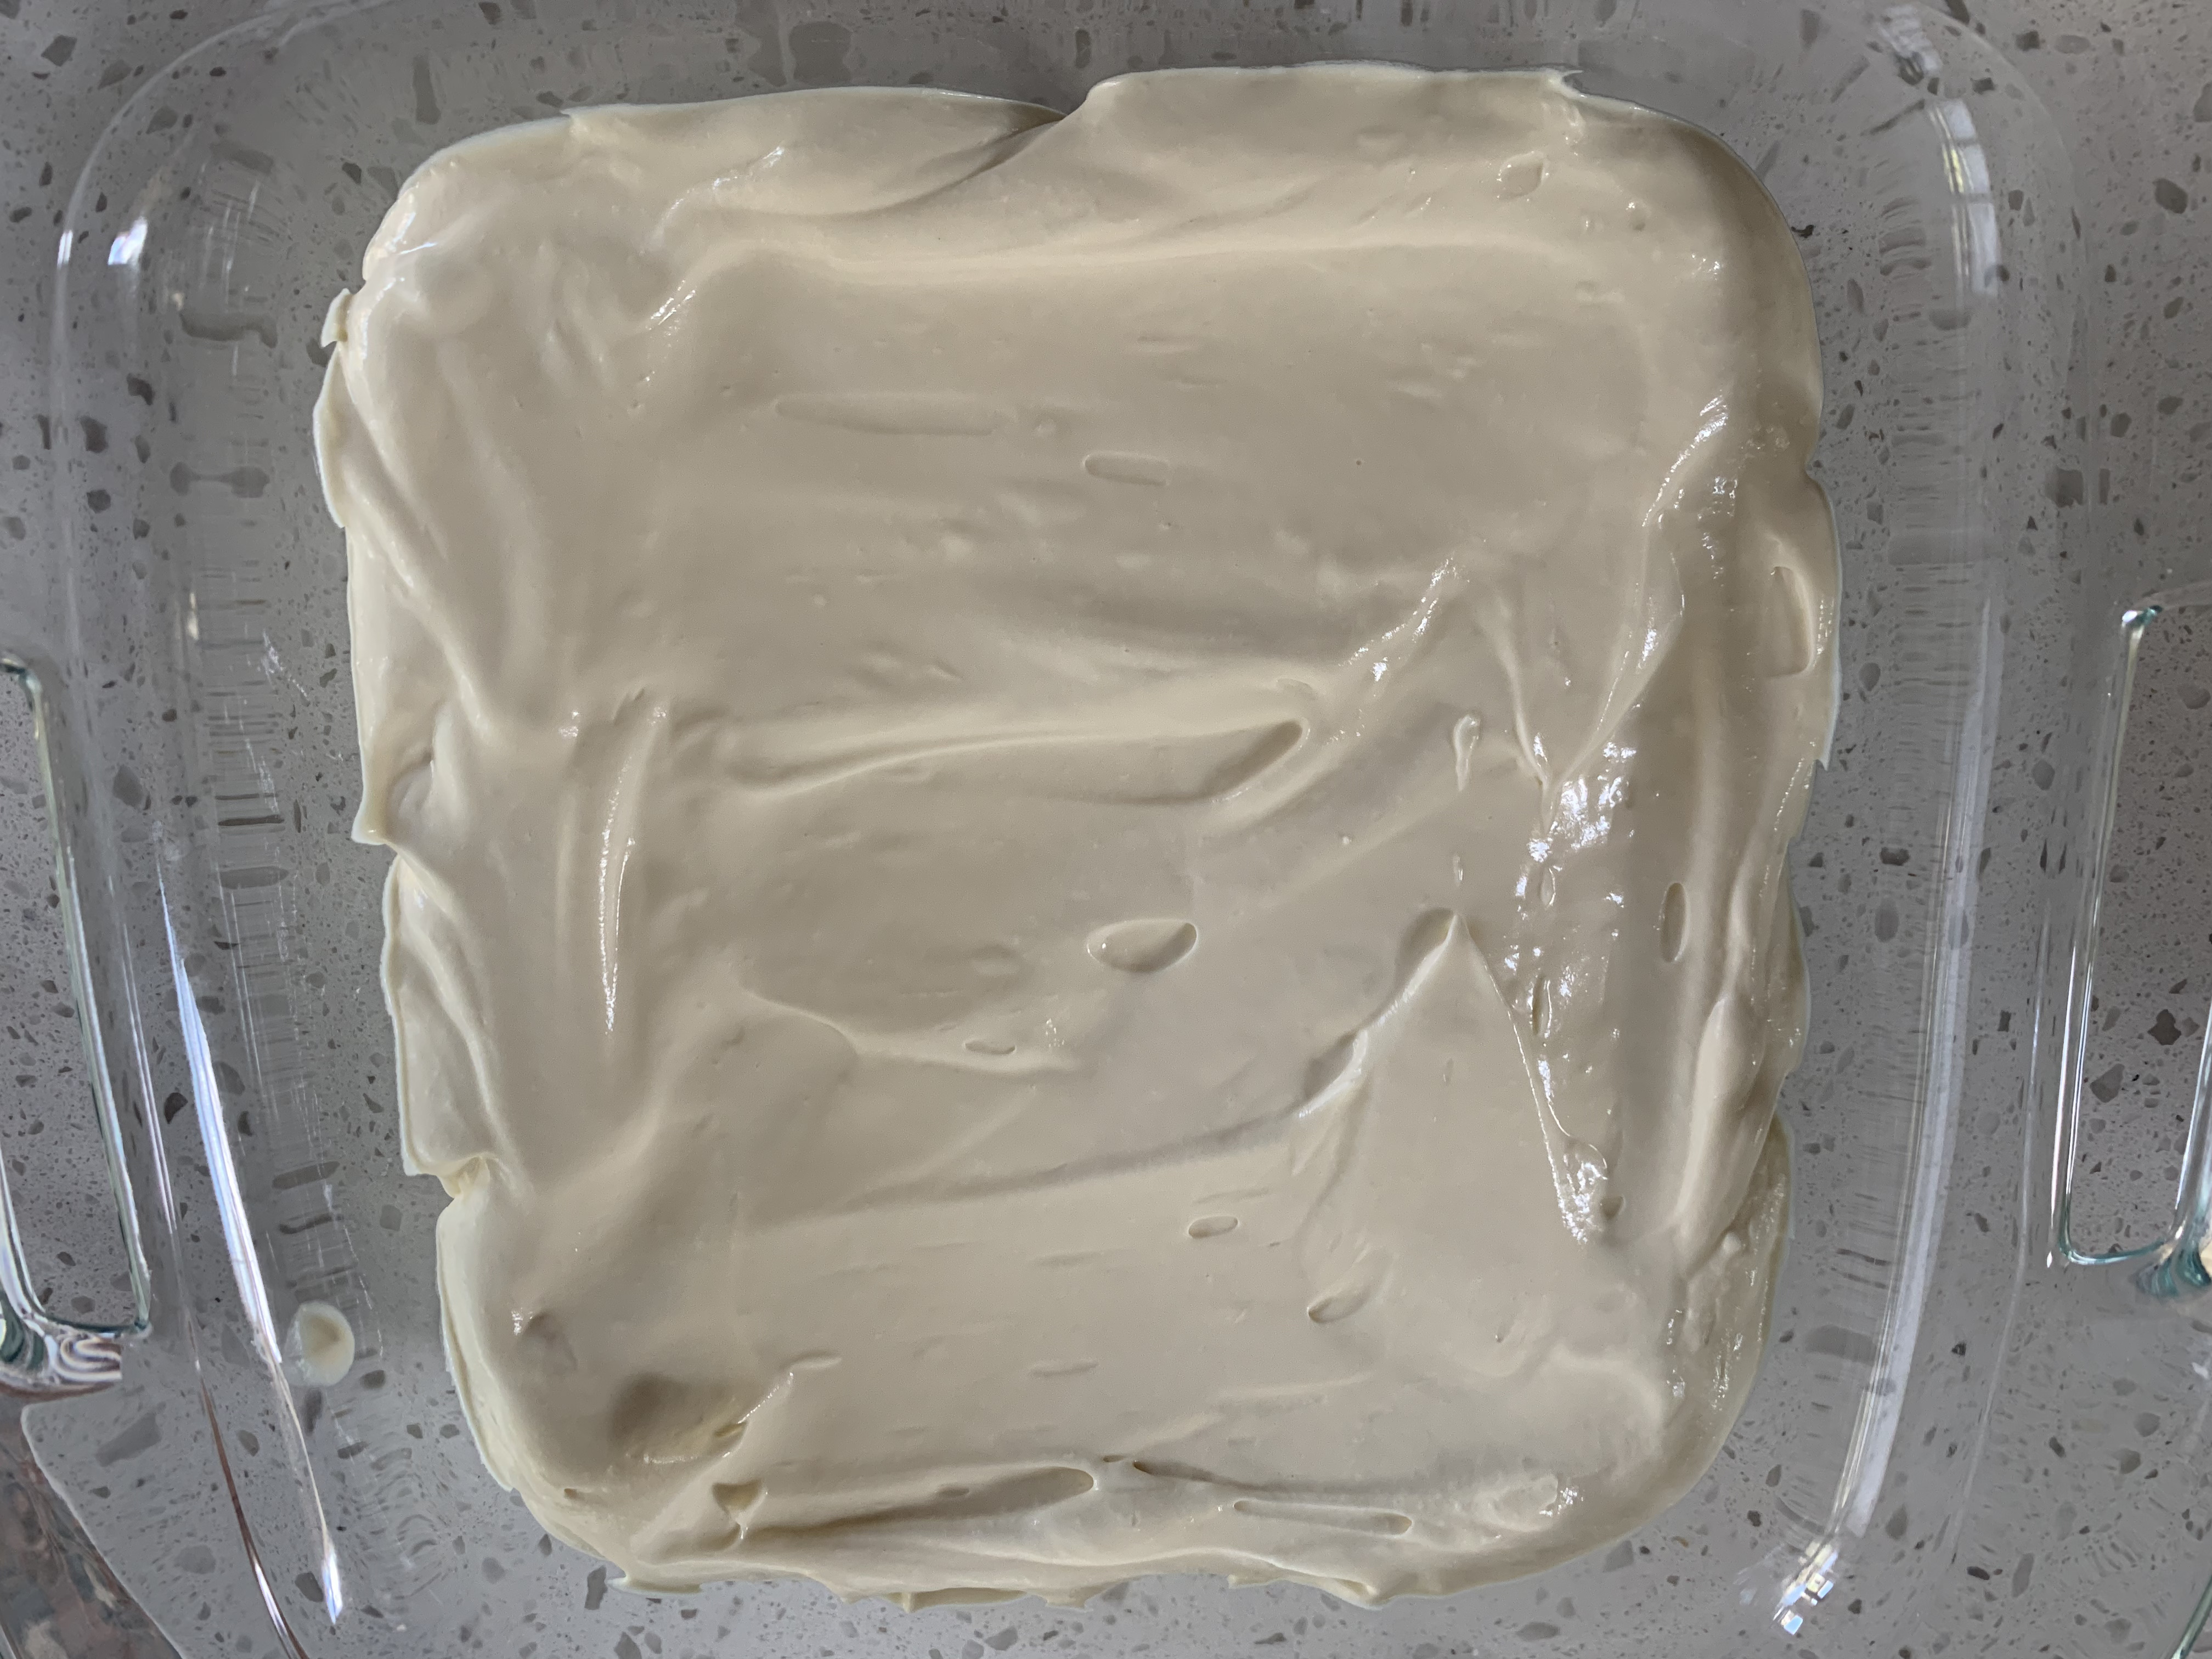
- Do another layer of coffee dipped ladyfingers on top of that and finish with the rest of the filling. Spread evenly and then cover tightly with saran wrap. Chill in the refrigerator for at least 3 hours (overnight is best!).
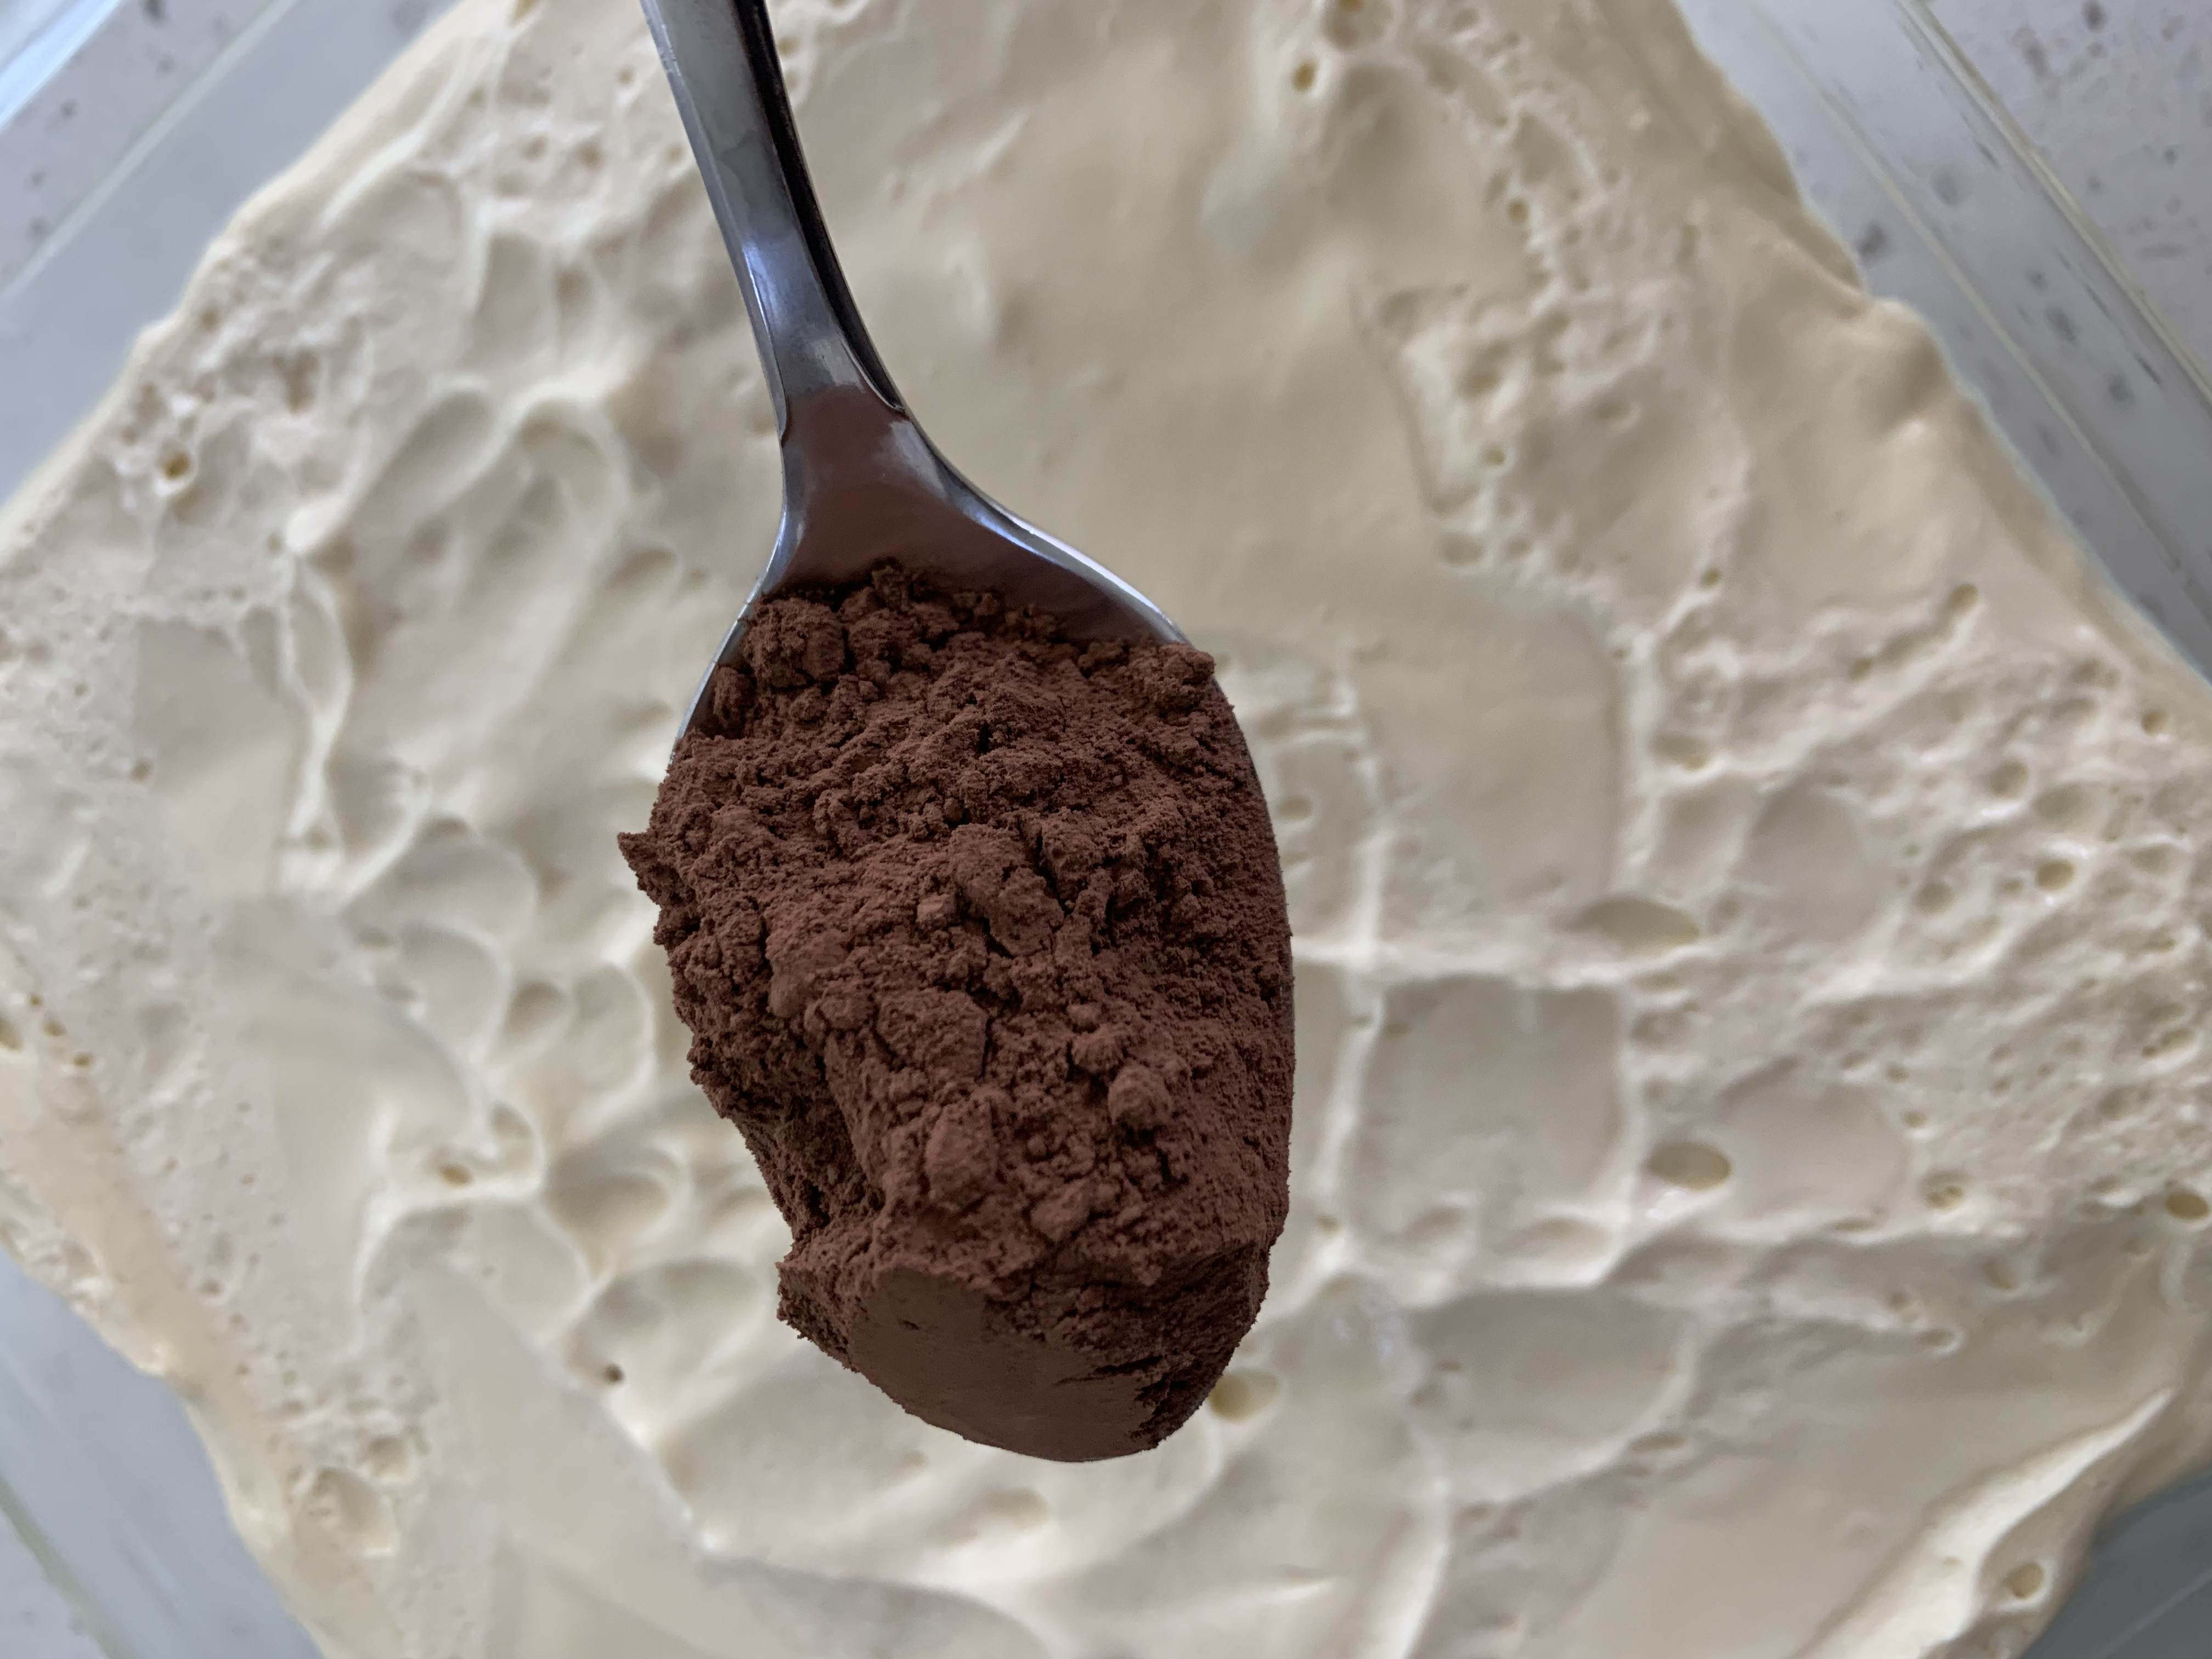
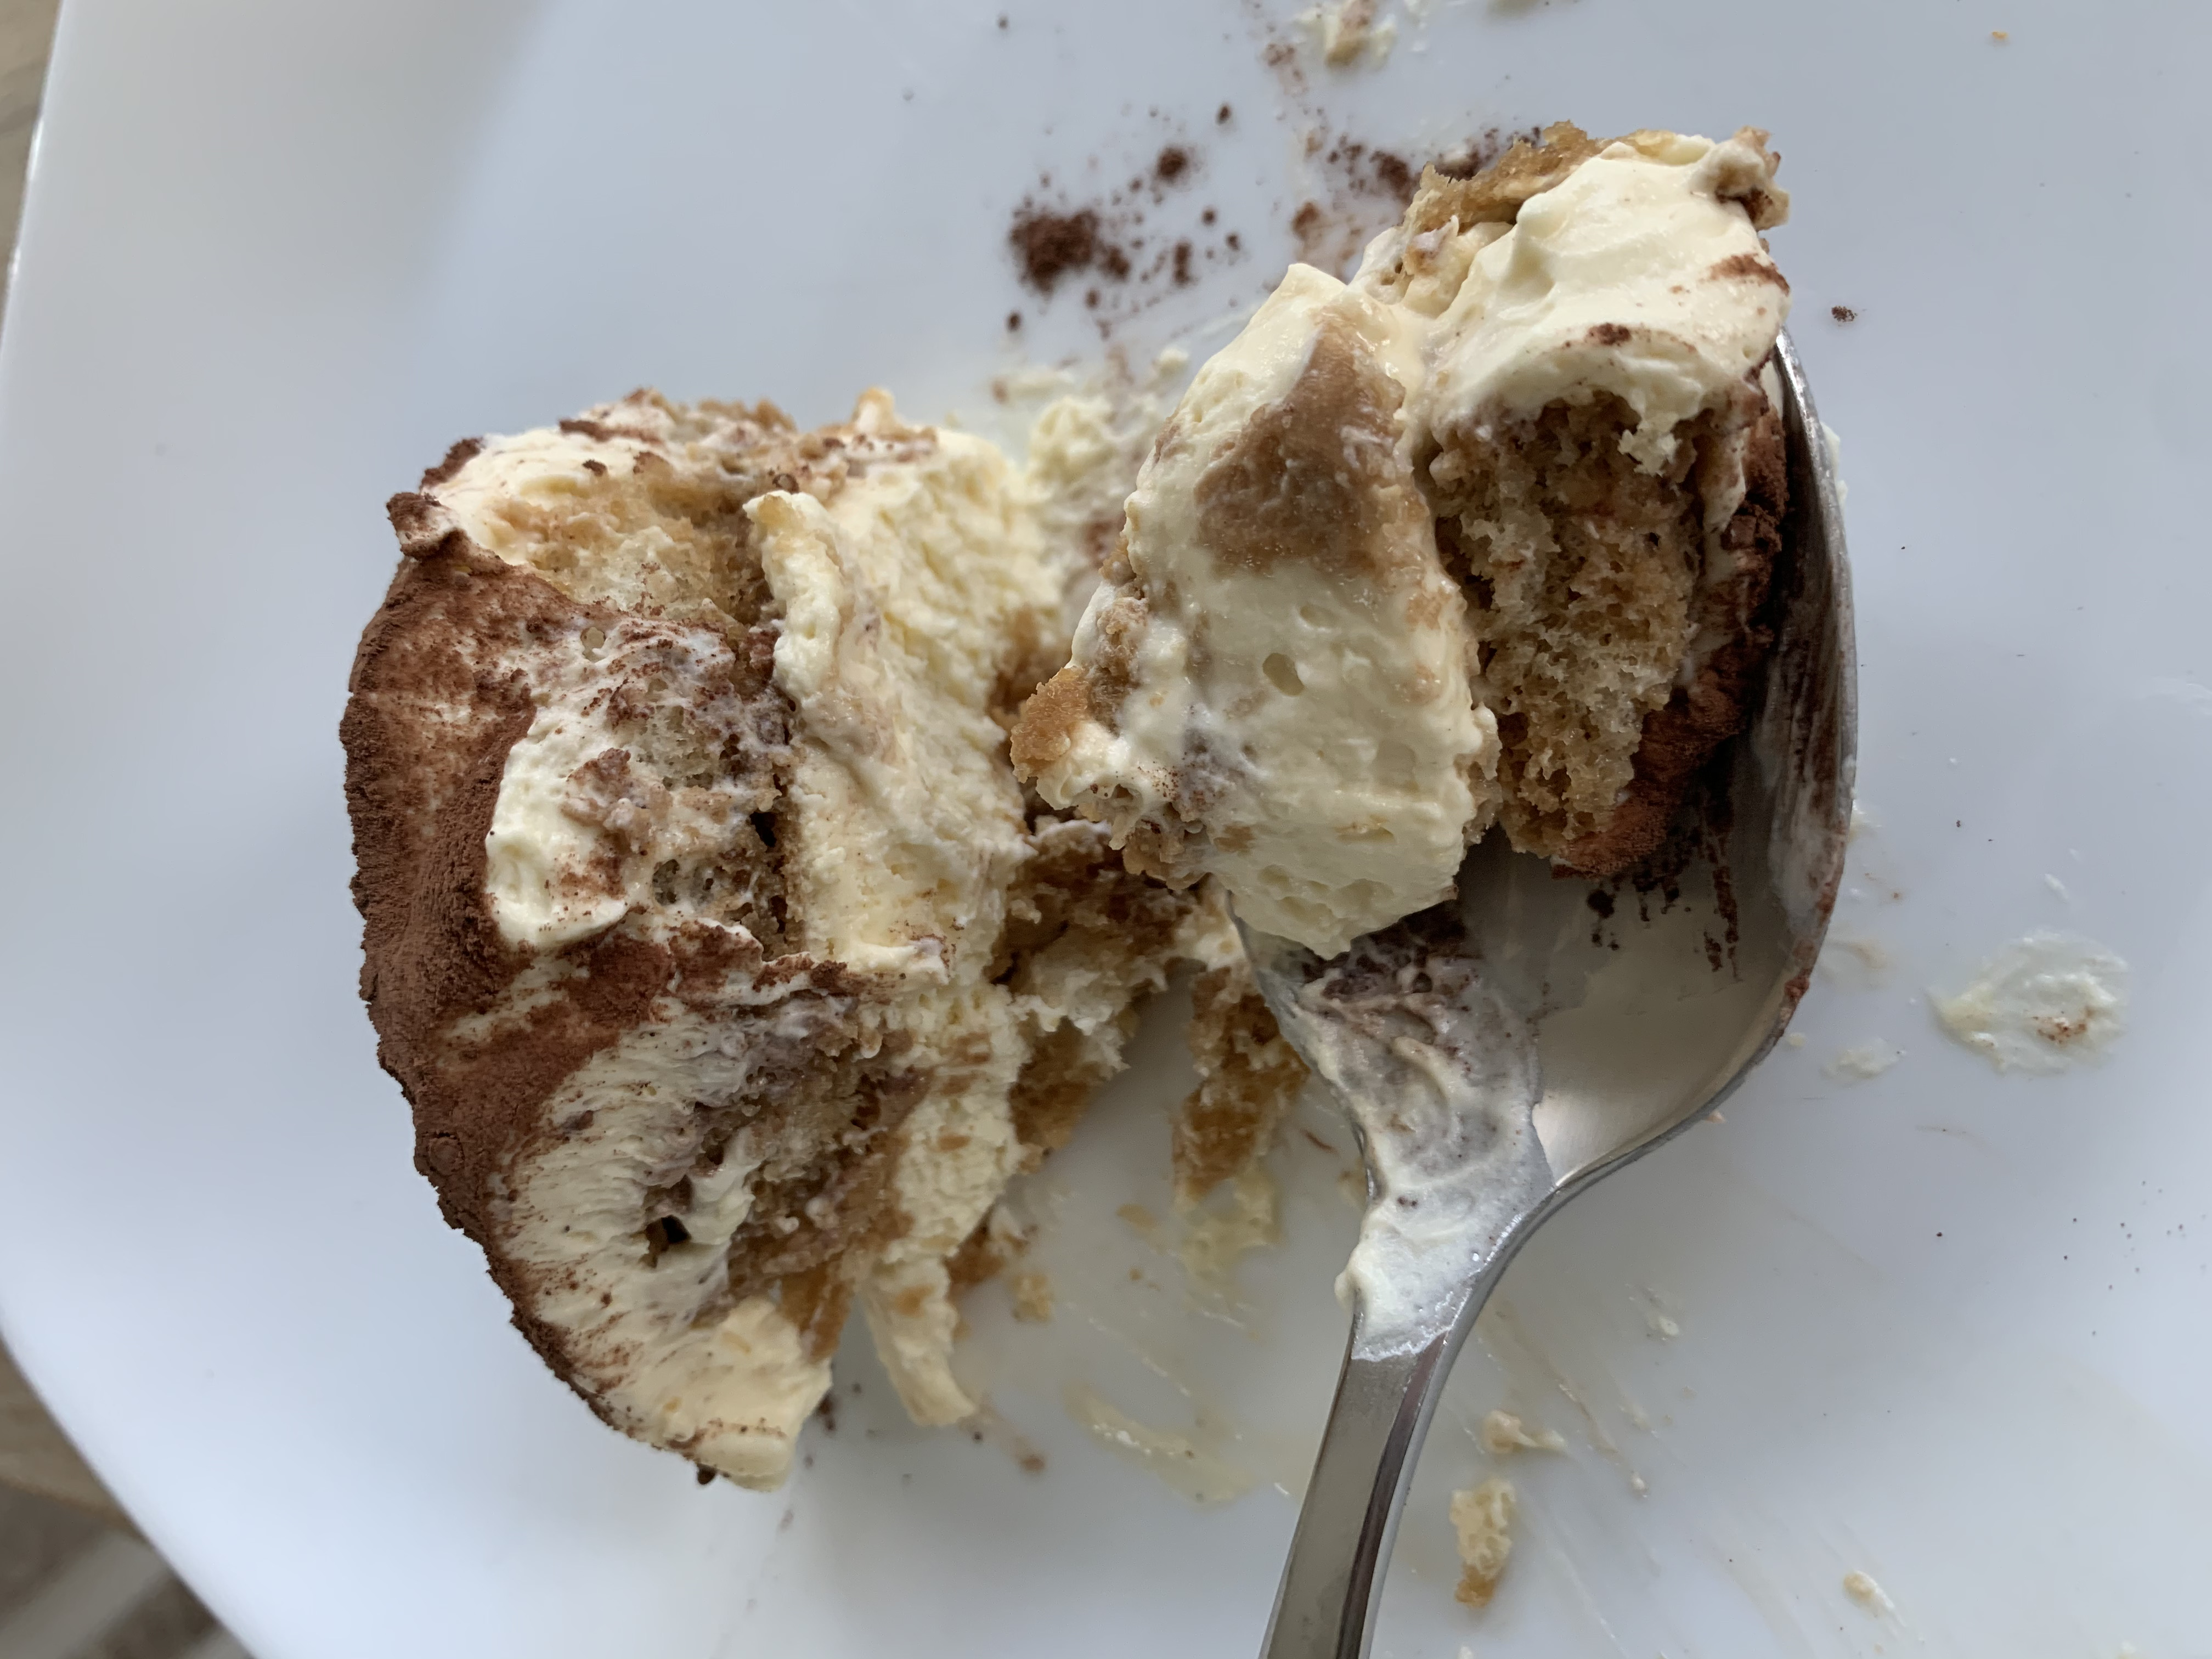
- When ready to serve, sift the cocoa powder on top. This tiramisu is more of a scoop and serve– no clean slices needed!